Alpha Version
  • 30 min.
  • 3 hours
  • 3/5

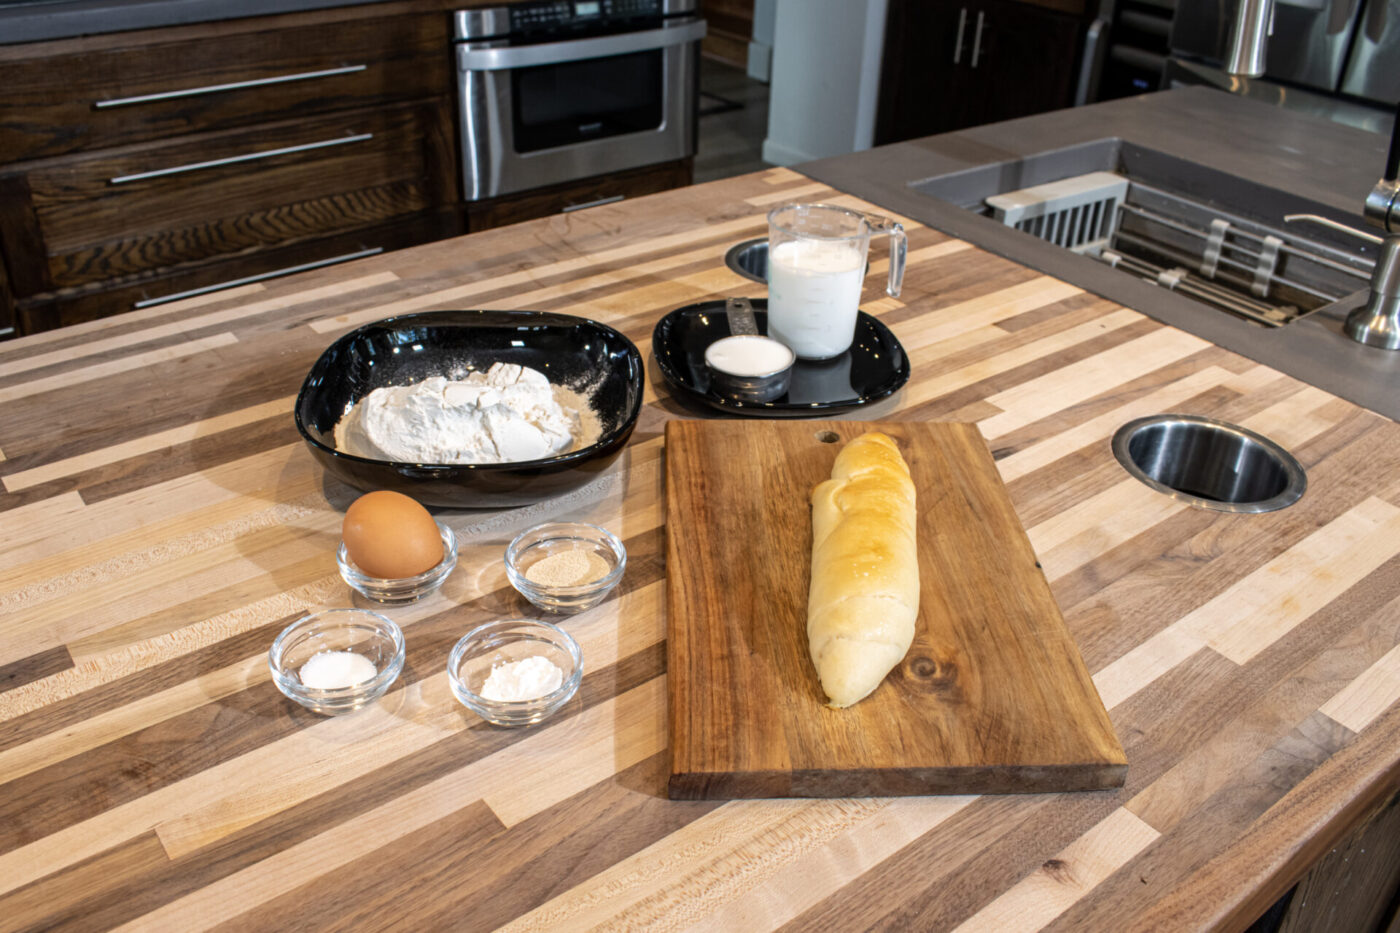
Ingredients:

* Best is to use old bread (even a hard one). It will help you to prevent food waste hand in hand with reaching better results.

Directions:

Ingredients side bread dumplings-1

1. Bread:

1.1.

Cut bread into dices (about ½ – 1” big) and place into a medium mixing bowl (measure about 2 cups of diced bread or use even more — up to 3 cups).

1.2. Add:

¼ cup of milk

Fold them together using a spatula.

1.3.

Place aside for a later step.

2. Dumpling dough:

2.1. Place into the kitchen mixer with hook attachment:

2 cups of bread flour
1 TSP of confectioners’ sugar
2 TSP of active dry yeasts
1 TSP of salt

Briefly stir with a whisk just enough to combine all ingredients (about 1 minute).

2.2. Add:

1 large egg
¾ cup of lukewarm milk

Knead on low speed until all ingredients are partially incorporated (about 1 – 2 minutes).

2.3.

Increase the speed to medium-high and knead until the dough is formed (about 1 – 2 minutes).

2.4. Then add:

Bread soaked in milk (from step 1, including excess liquid)

Knead at a slow speed until nicely combined (about 1 minute).

3. Rising the dough:

3.1.

Remove the bowl from the mixer and cover it with plastic wrap (make some holes to let the dough breathe).

3.2.

Let it rise in a warm place until it has doubled in size (about 2 – 3 hours).

4. Shaping:

4.1.

Split the dough into 2 or more parts based on your preference and also the diameter of your pot (future dumplings). Shorter dumplings will be easier to cook and manipulate.

4.2.

On a lightly floured surface, form each piece into each dumpling by rolling with your hands. The thickness of the dumpling is up to you. However, I would recommend a diameter of about 2 ½“ (the dumpling will significantly expand during cooking).

4.3.

Place the shaped dumpling on a lightly floured cutting board, lightly flour the top of the dumpling, and let rest for about 15 -30 minutes while covered with a dish towel. Note: Extending the rising time may result in over-proofed dumplings that can complicate the cooking process (dumplings may not hold together well).

5. Cooking:

5.1.

Meanwhile, fill a large pot with water to ½ capacity, cover it with a lid, and bring to a boil on high heat.

5.2.

Carefully slip the dumplings down into the boiling water, cover with a lid, and cook until fully cooked. The internal temperature should be at least 165°F (about 6 – 9 minutes from each side – depending on the thickness and density of the dumplings). Turn the dumpling carefully using two forks, with a large turner or any other method.

5.3.

Carefully remove the cooked dumplings from the water using a skimmer or two large turners.

5.4.

Then, penetrate each dumpling in several places with a fork and brush with 1 TSP of oil to prevent it from drying out.

5.5.

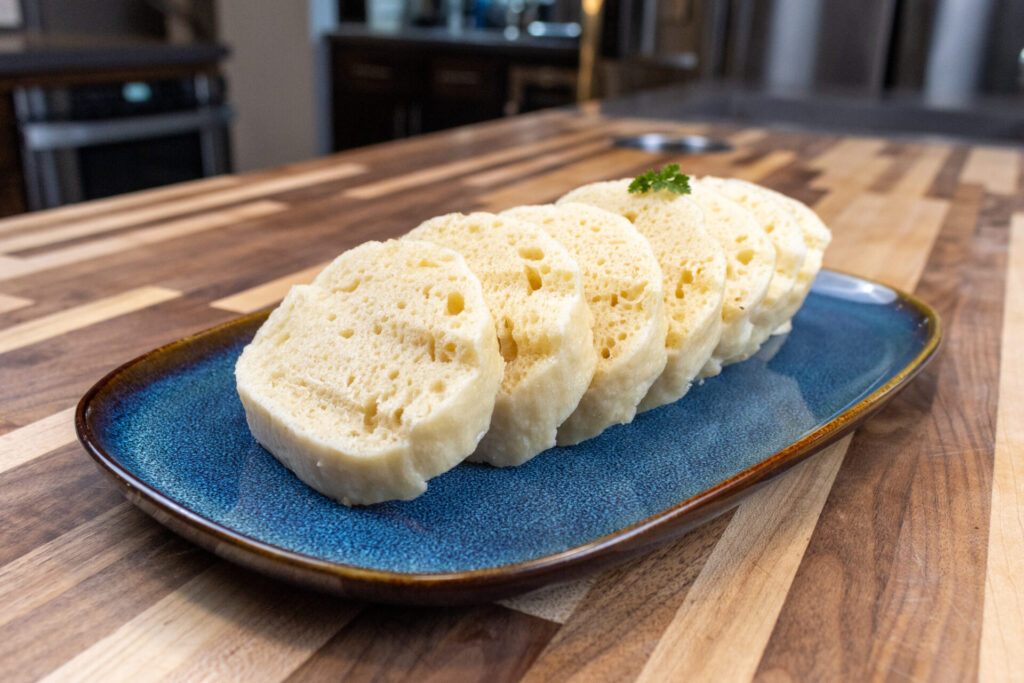
Let them rest for about 5 minutes (or until fully cooled). Serve sliced with the sauce of your choice.

  • Do you want to make the dumpling process a little easier? Make 2 or 3 short dumplings instead of one long dumpling. It will be easier to manipulate them in the pot.
  • If you have already prepared your dumpling ahead of time, it is easiest to reheat individual slices in the microwave at the time of serving; or you can use any steam pot. Either way they will quickly become warm and steamy.
  • You can also freeze your dumplings (whole or sliced) for later use (they stay great in the freezer for up to a half year. It is best to slice the dumpling before freezing for faster defrosting).
About the Author:
TomFounder
# 1
  • Published Recipes: 194
  • Av. Recipe Evaluation:
  • Location: Iowa, USA
  • Member since: 2023-02-02

Add My Review

If you want to add your review, you must log in.

Disclaimer

All content and information (including recipes, articles, and other materials) on CookingHub.com are the opinions of the authors and are not intended to provide dietary, medical, legal, or political advice. Consult with a professional before deciding to follow these opinions.

Authors and www.CookingHub.com (operated by CookingHub Foundation) are not responsible for any part of any possible outcome or its consequences, which include (but are not limited to):

  • Any health risk related to the handling of food, food quality, and/or not following USDA recommendations (including minimum safe serving temperatures and other guidelines).
  • Safety during preparation, including the handling of equipment and the equipment’s suitability for food preparation.
  • Improper performance of cooking techniques.
  • Sourcing of ingredients, providing tools, equipment, and anything else related to the preparation and consumption of the products of this recipe.
  • Nutritional data and information and diet-related information (and their accuracy). It is important to consult with your medical provider to ensure that the diet you are considering is suitable for you and to verify the information provided before proceeding.
  • The overall outcome of following recipes, including the look and taste of the final product.
  • Possible errors in articles and recipes (including incorrectly or unclearly explained steps and directions).
  • Typos.

All readers (users and visitors of www.CookingHub.com) are responsible for evaluating the recipes and articles and making their own decisions about whether to follow the steps and recommendations. They must ensure that the ingredients and steps fit with their dietary restrictions and avoid preparation methods that could pose a health risk due to an unsuitable diet.

Please note that “CookingHub Foundations” should be singular, “CookingHub Foundation.”