Lo Mein – version 1
(spaghetti shape)
- Desired thickness 2
- Switch to the spaghetti cutter and cut into Lo Mein (round version of noodles).
- Cooking time is about 1 – 2 minute (with really dense dough it may take a little longer).
Preparing Lo Mein noodles totally from scratch is a piece of cake. And if you ever prepared Italian pasta from scratch, you will be nicely surprised how the similar recipes are.
 Tom Founder
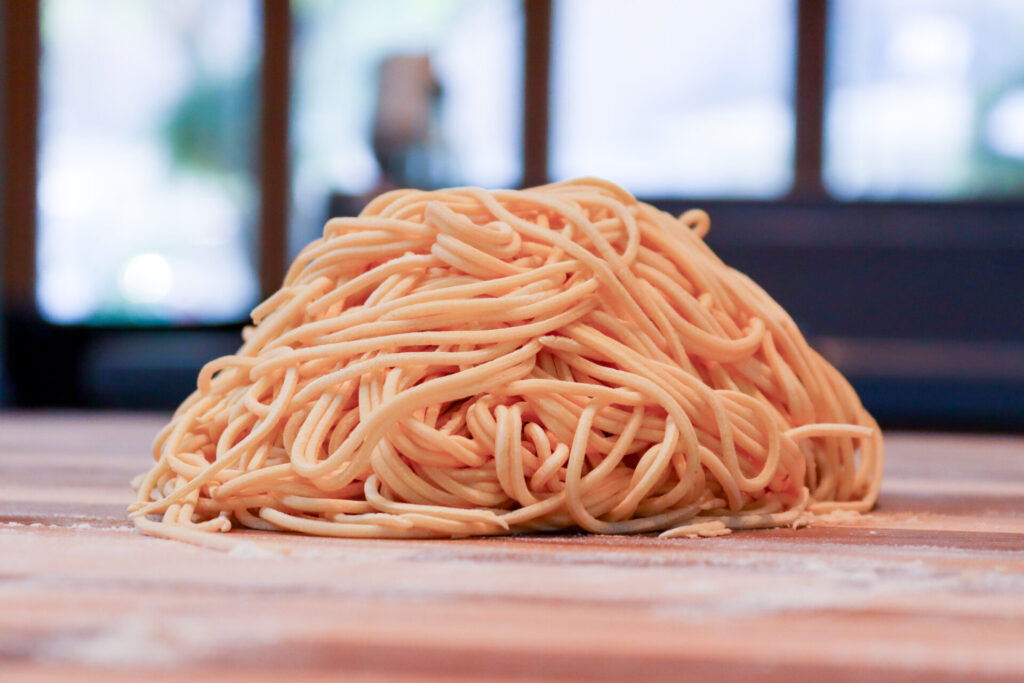
Note:
There is no need to add oil or salt into the water (you want to get any benefit from doing so).
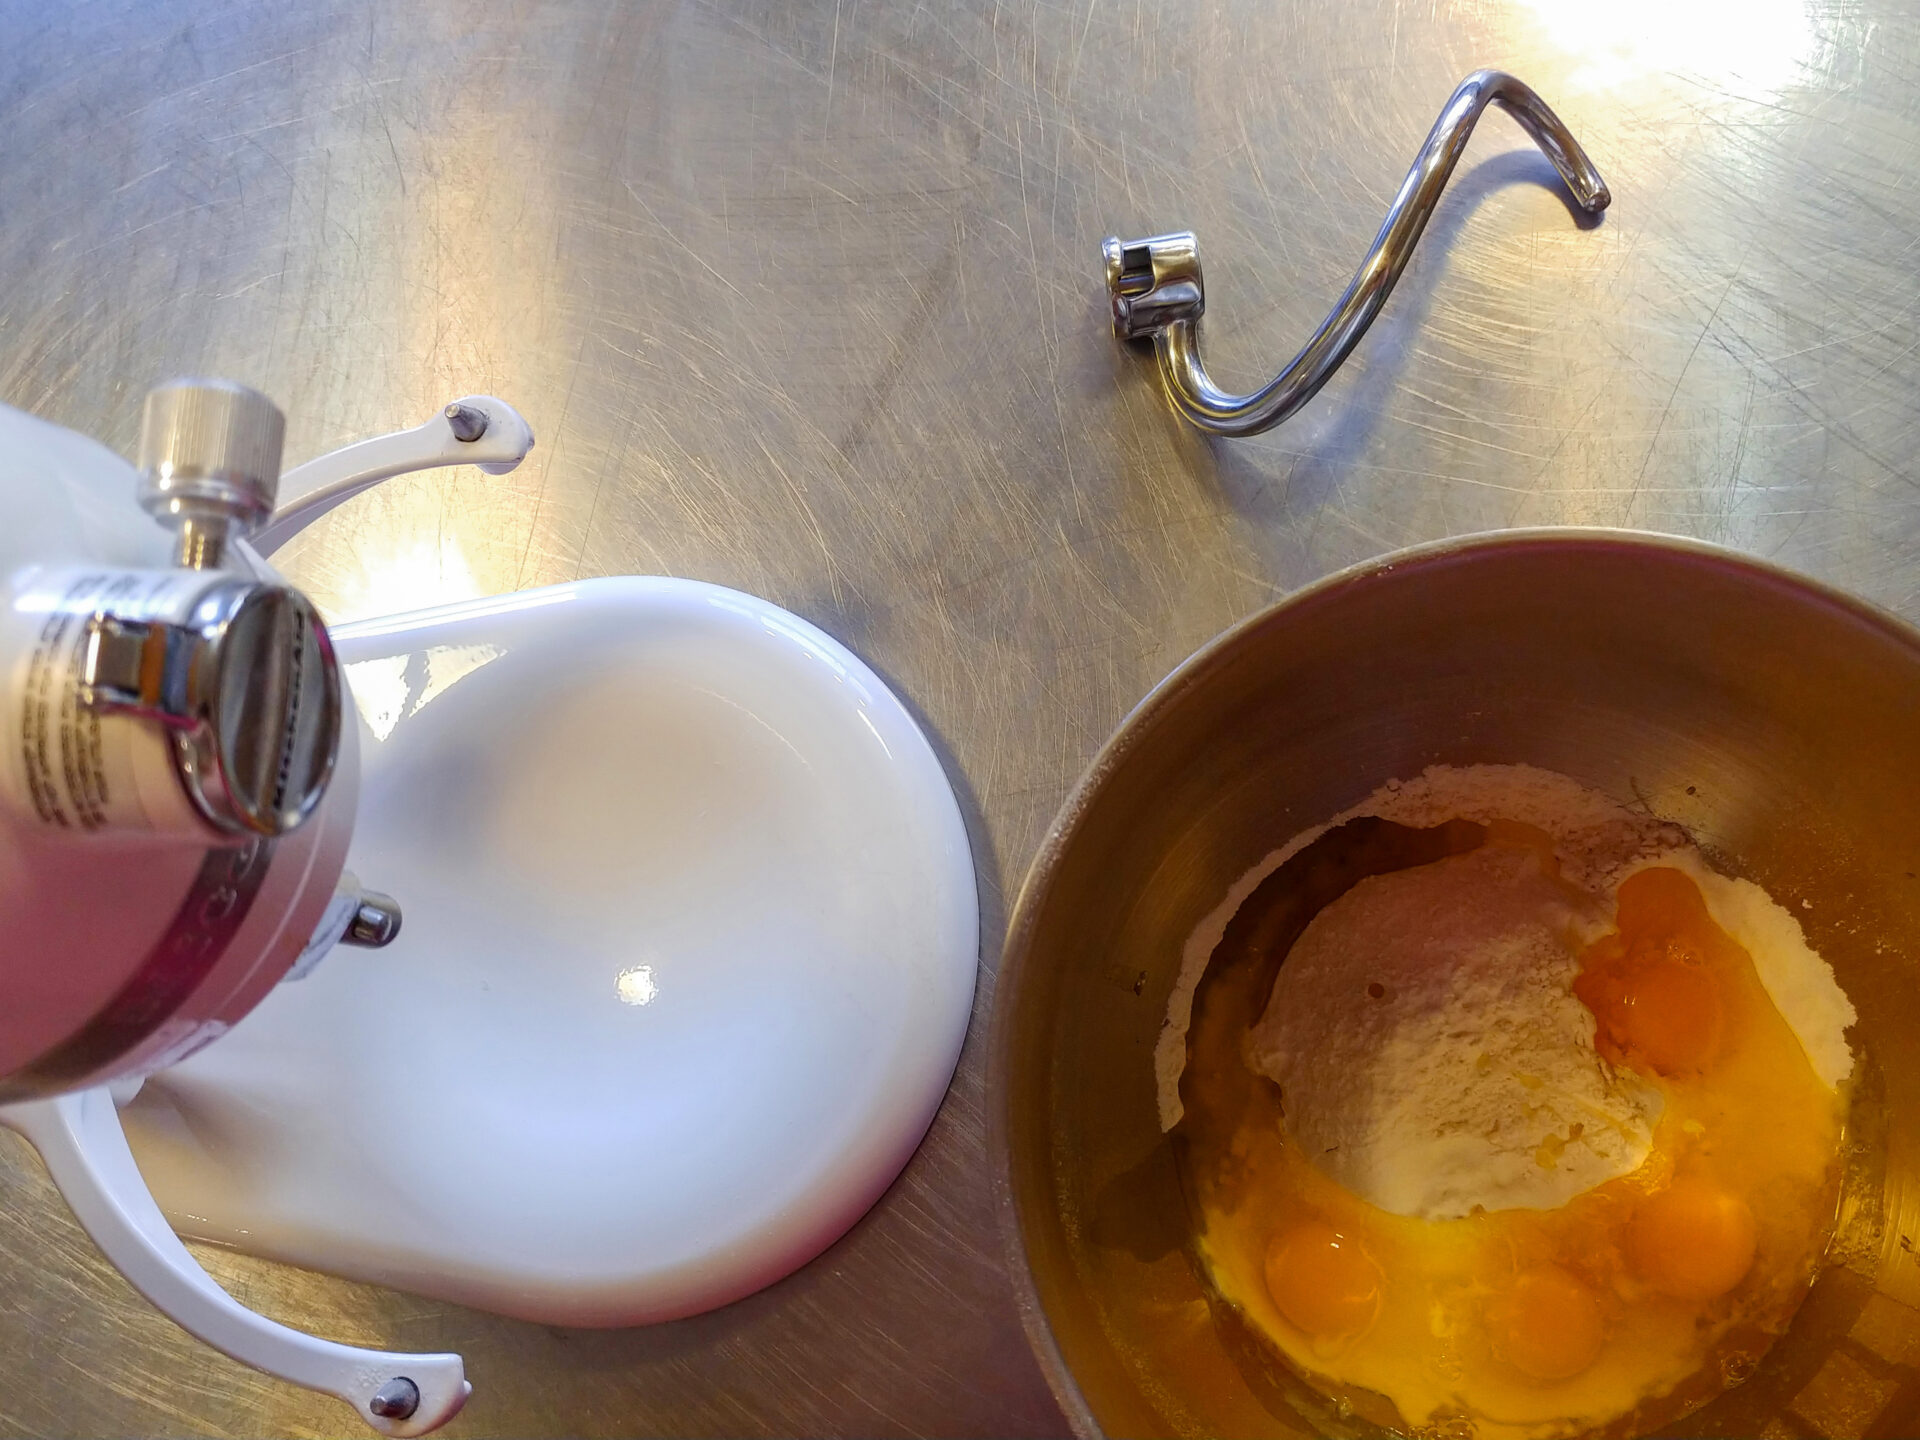
2 ¼ cups of bread flour
4 large eggs
2 TBSP of water
Pinch of salt
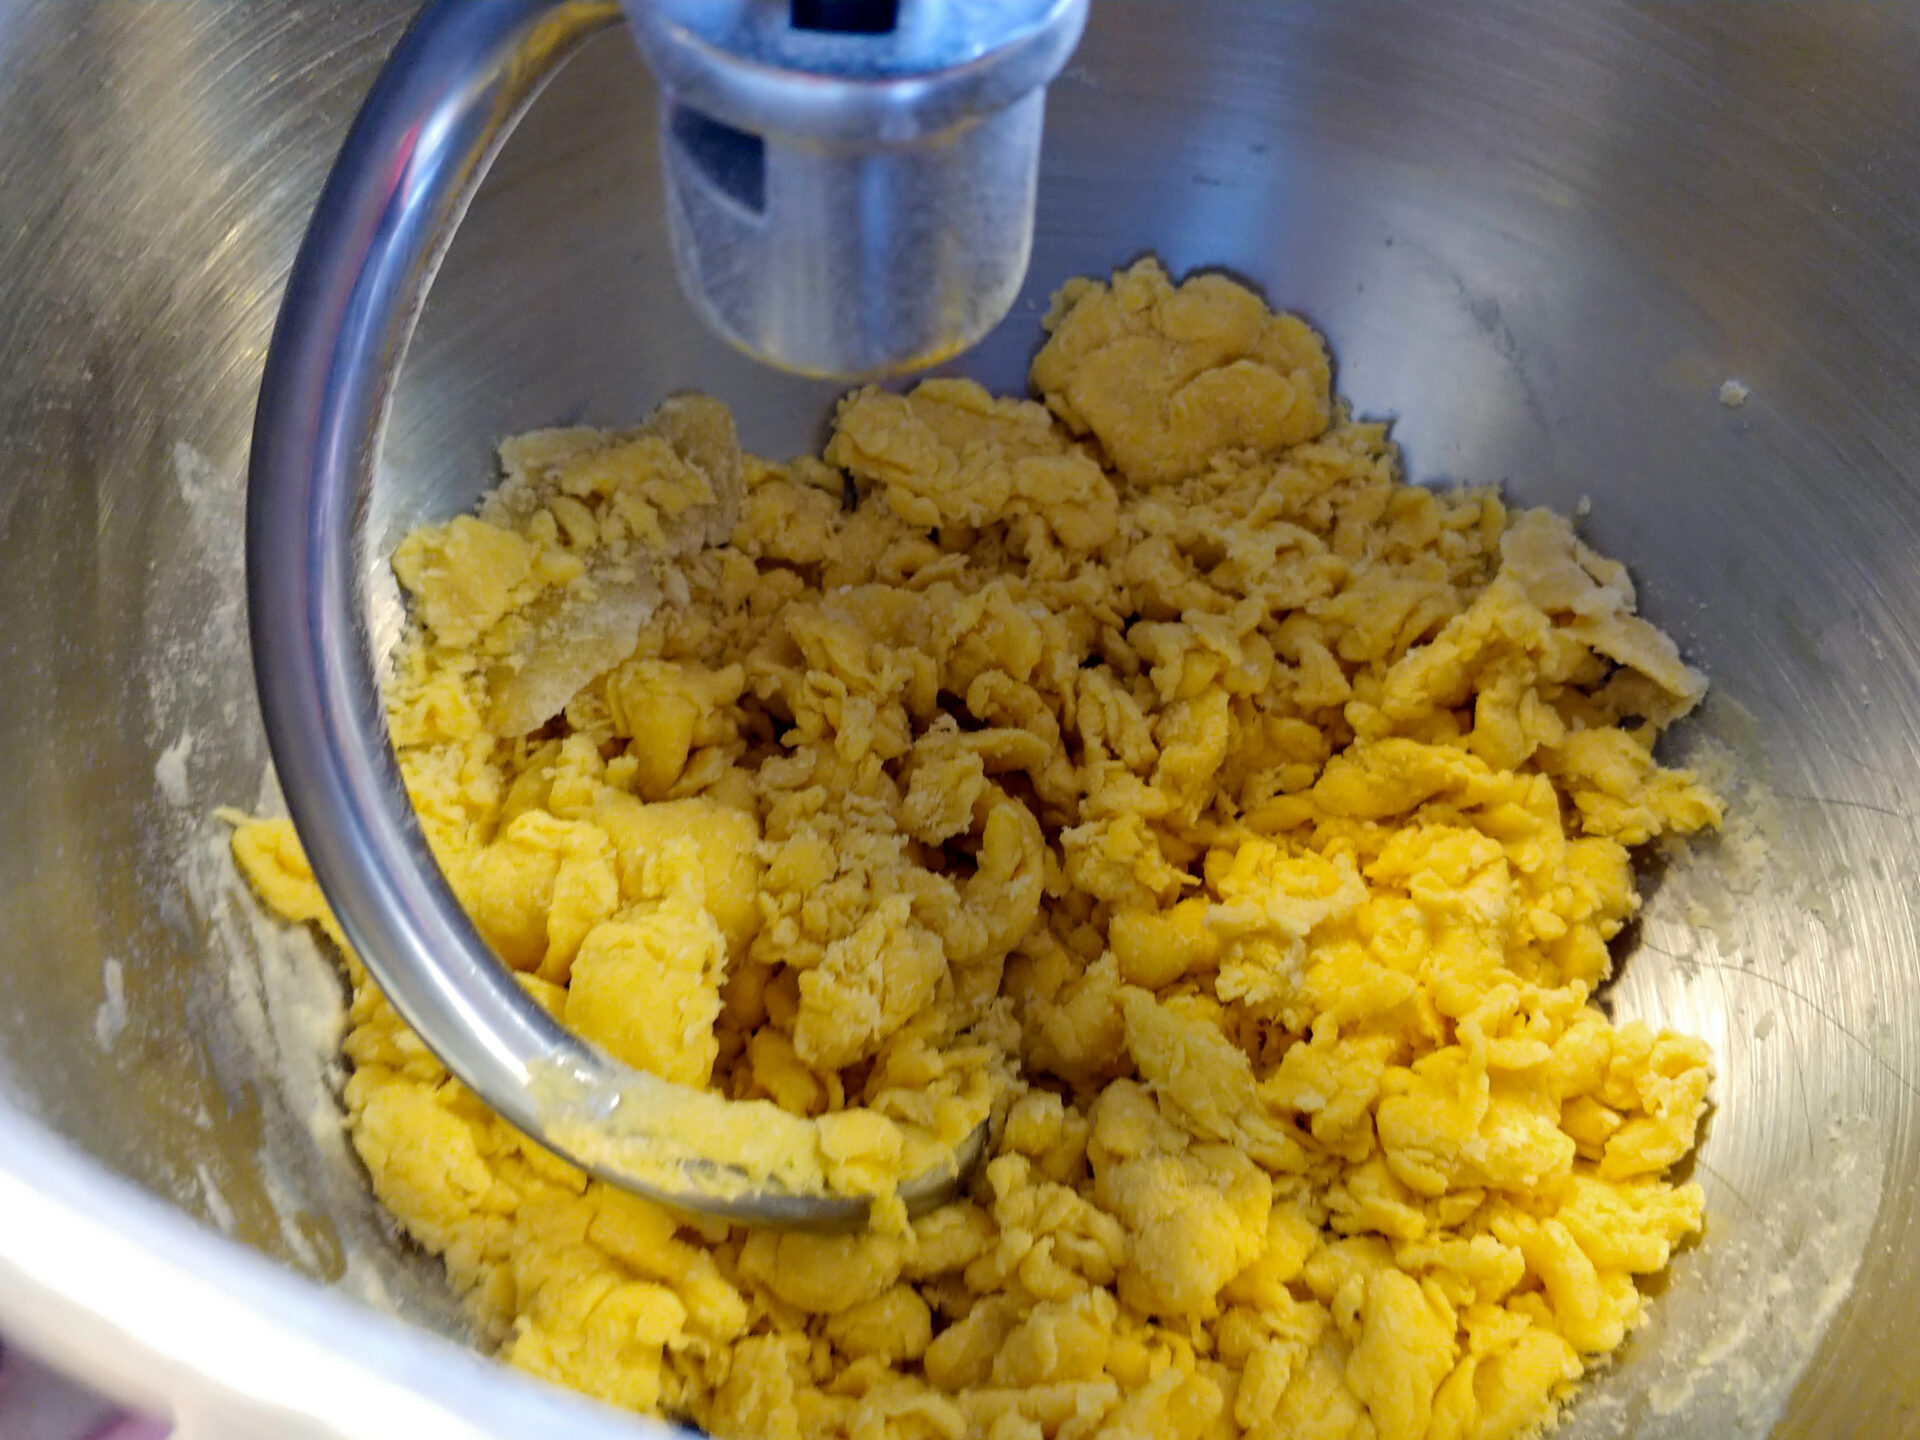
Process on medium-slow speed until all ingredients are partially combined (about 2 – 3 minutes).
Tip:
If you are busy and don’t have time to wait, you can optionally skip the resting time without significant consequences.
Important:
Do not put into the refrigerator as the dough would start turning black.
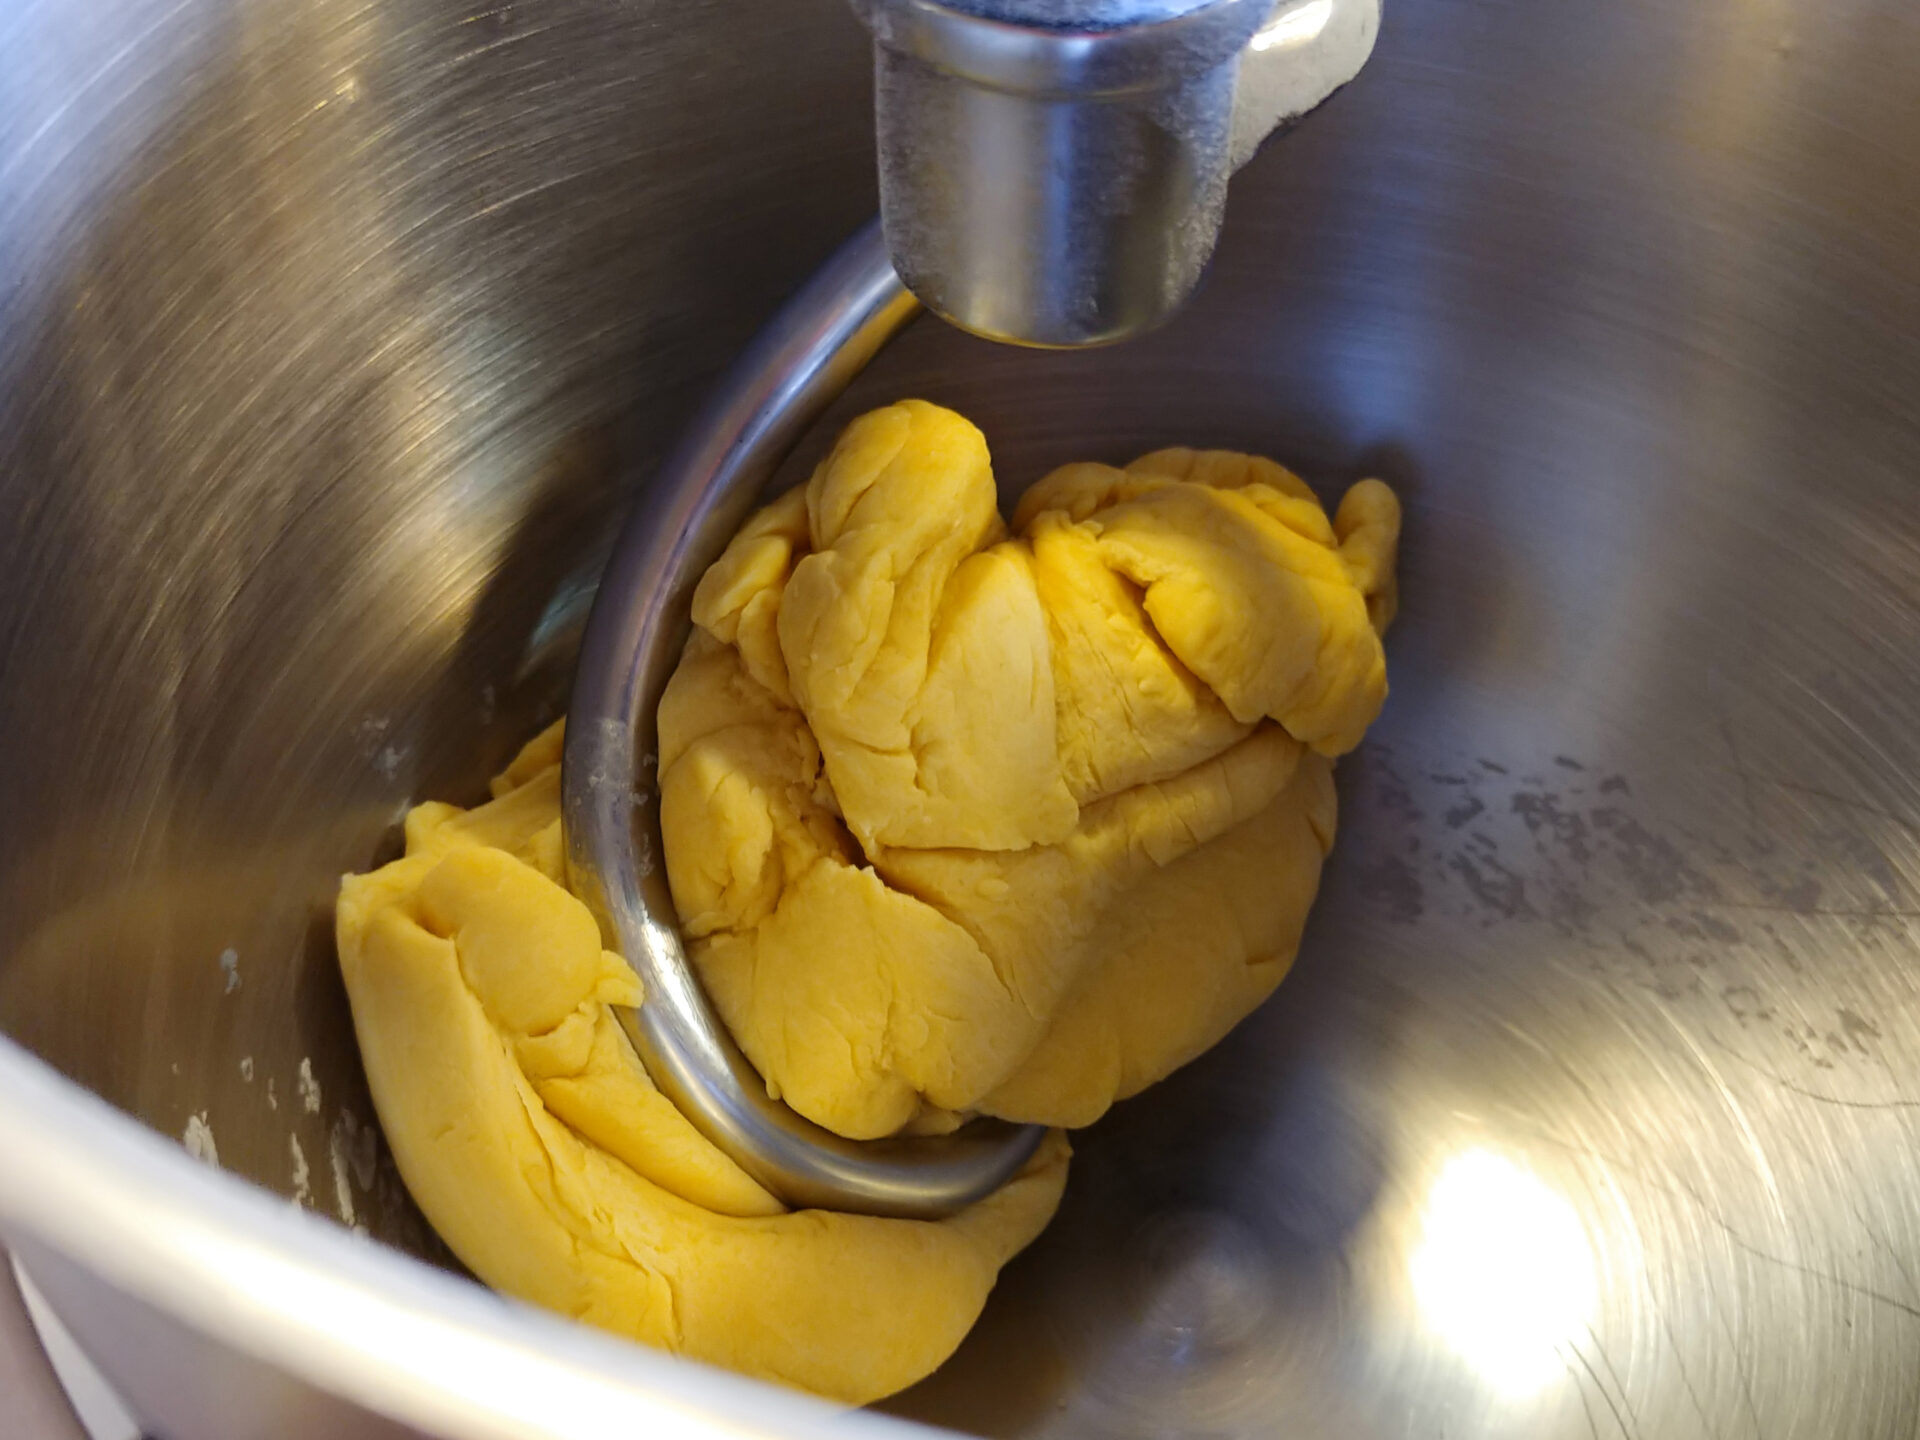
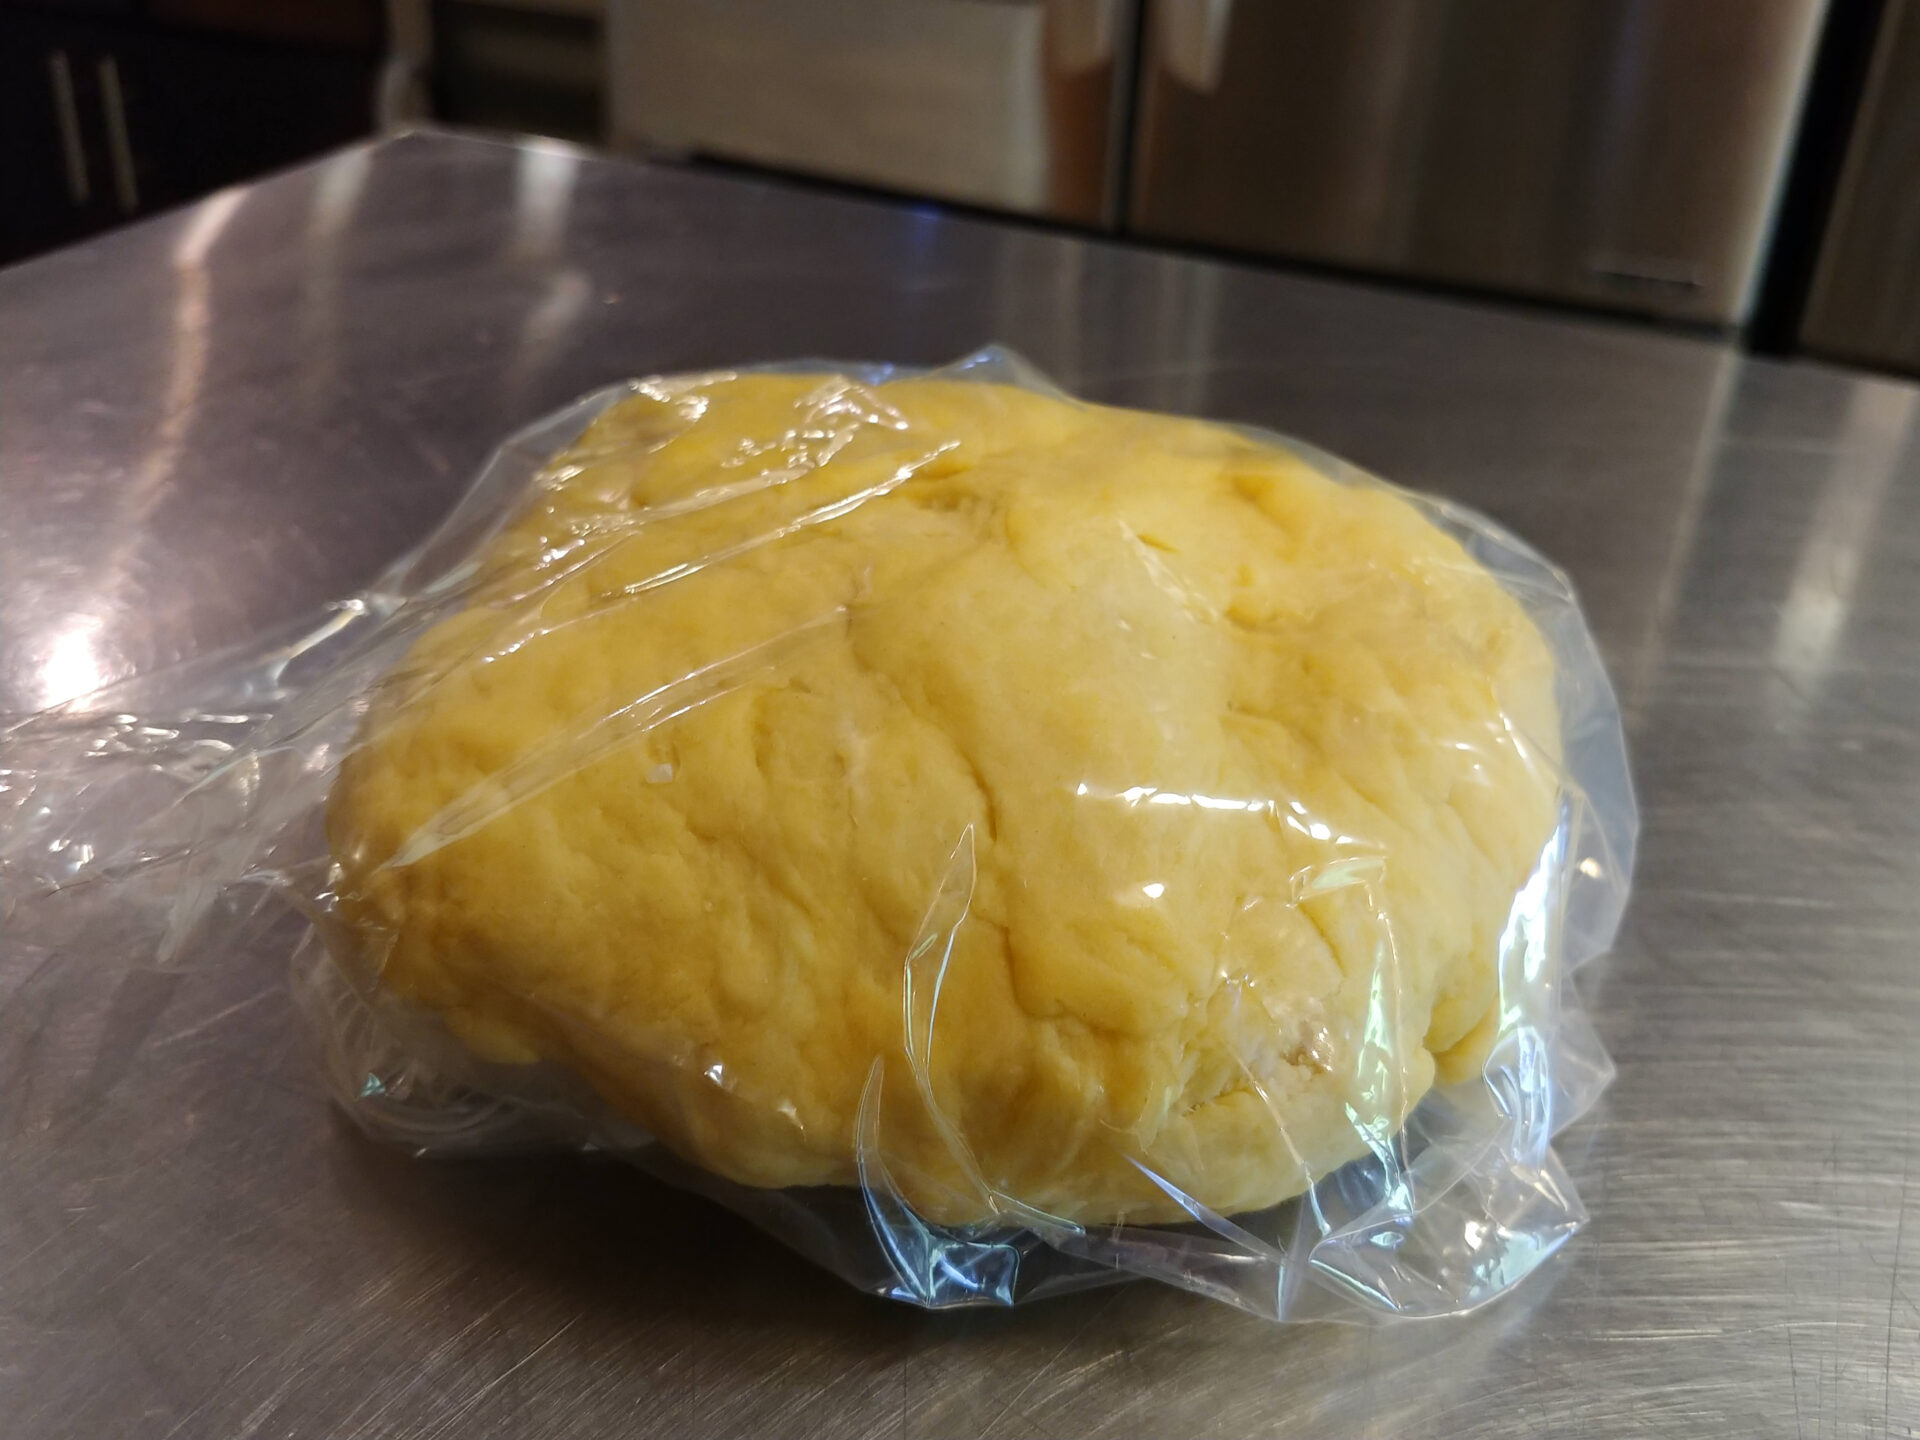
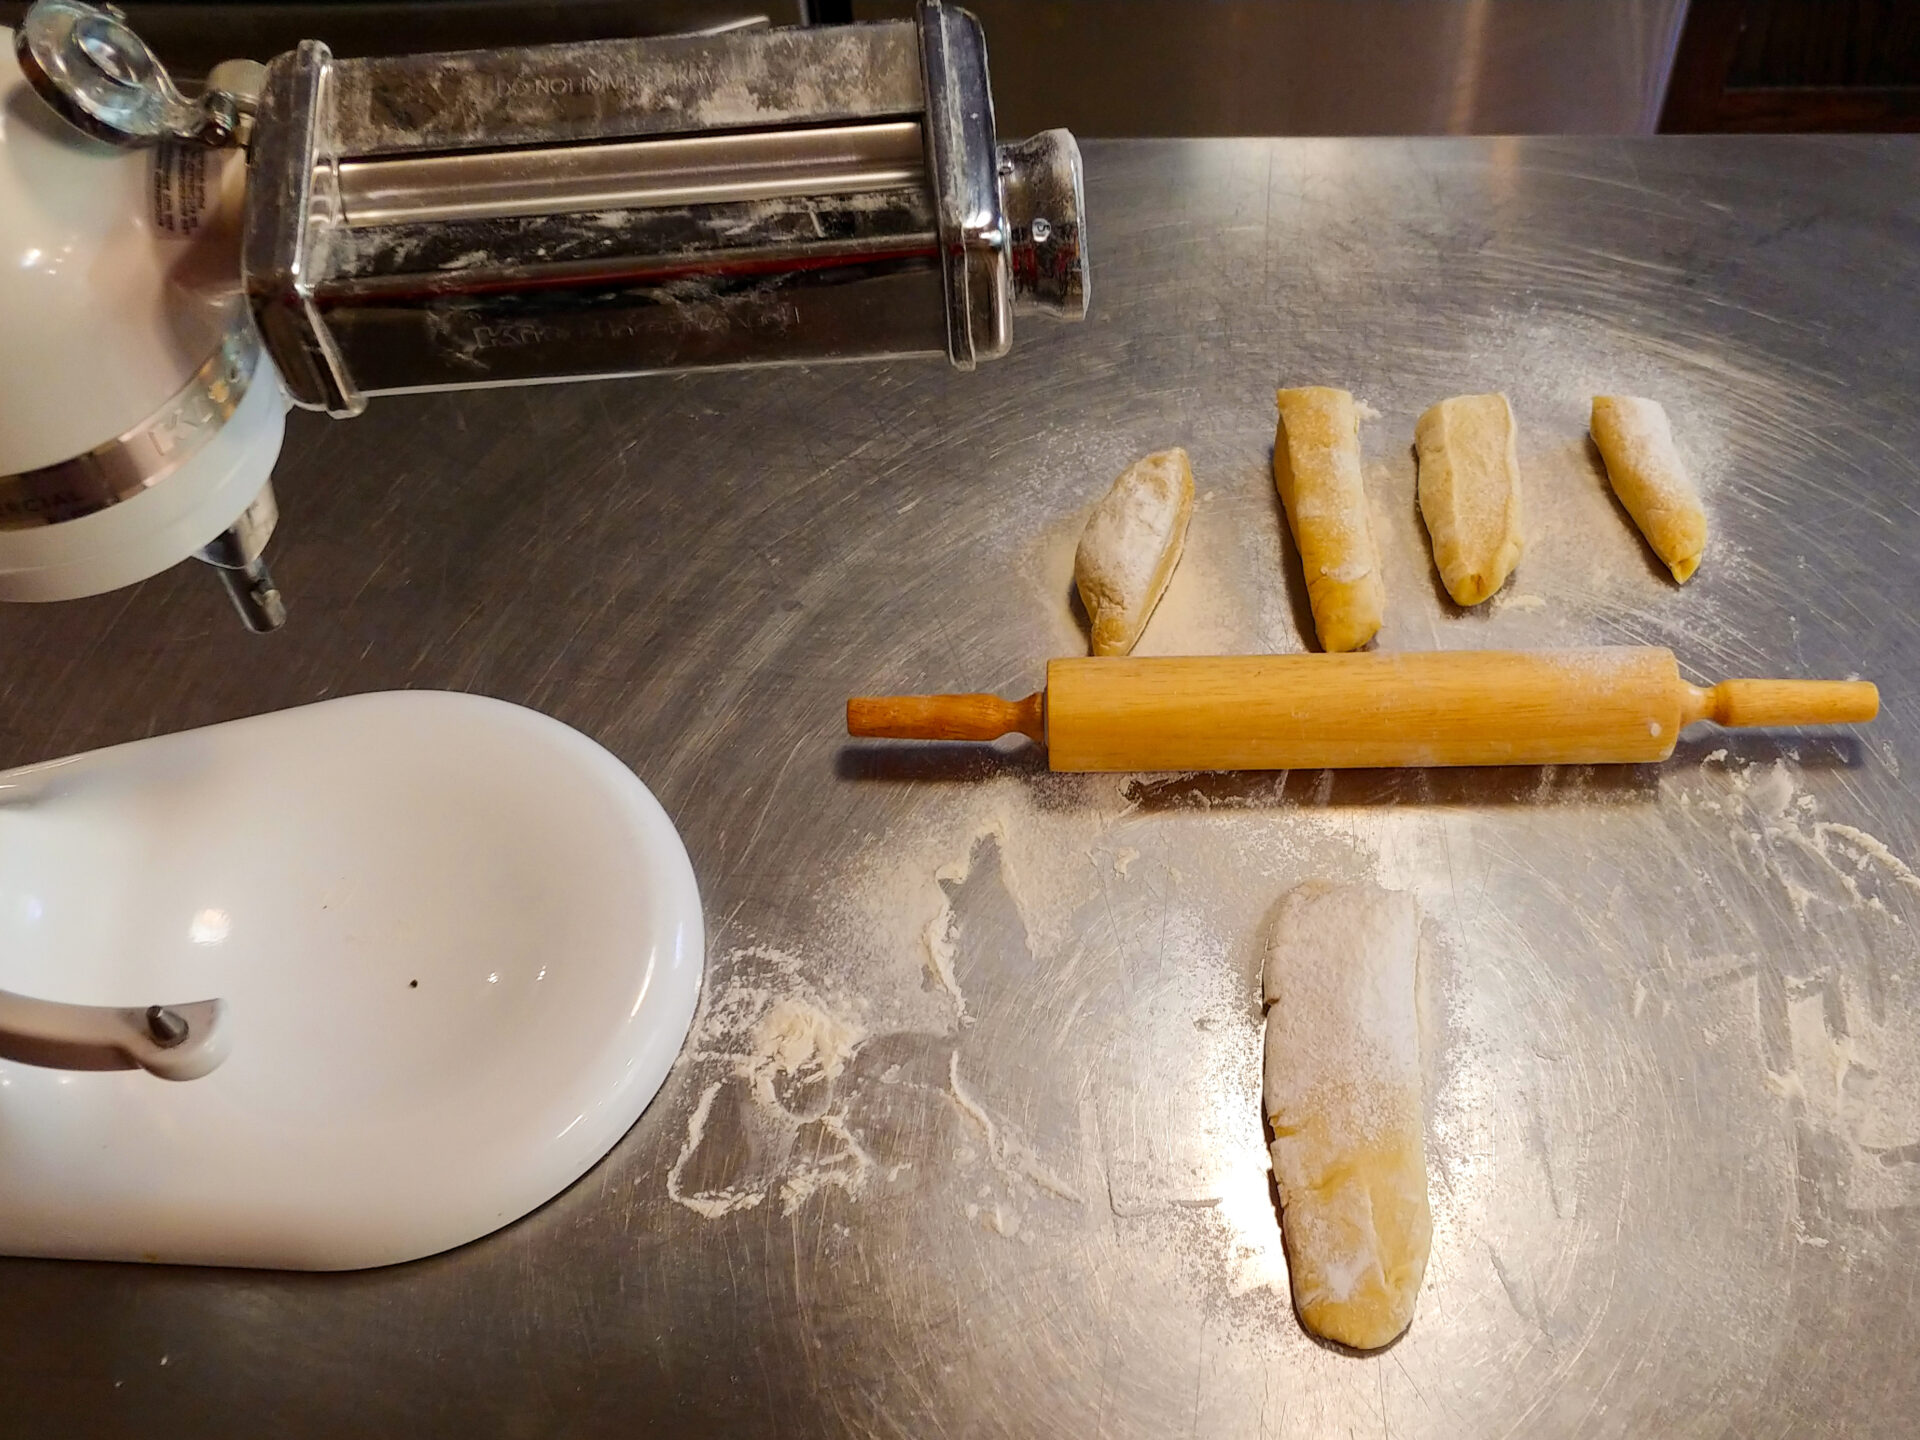
Place the dough on a floured working surface and using a dough cutter, separate into 6 pieces (lengthwise).
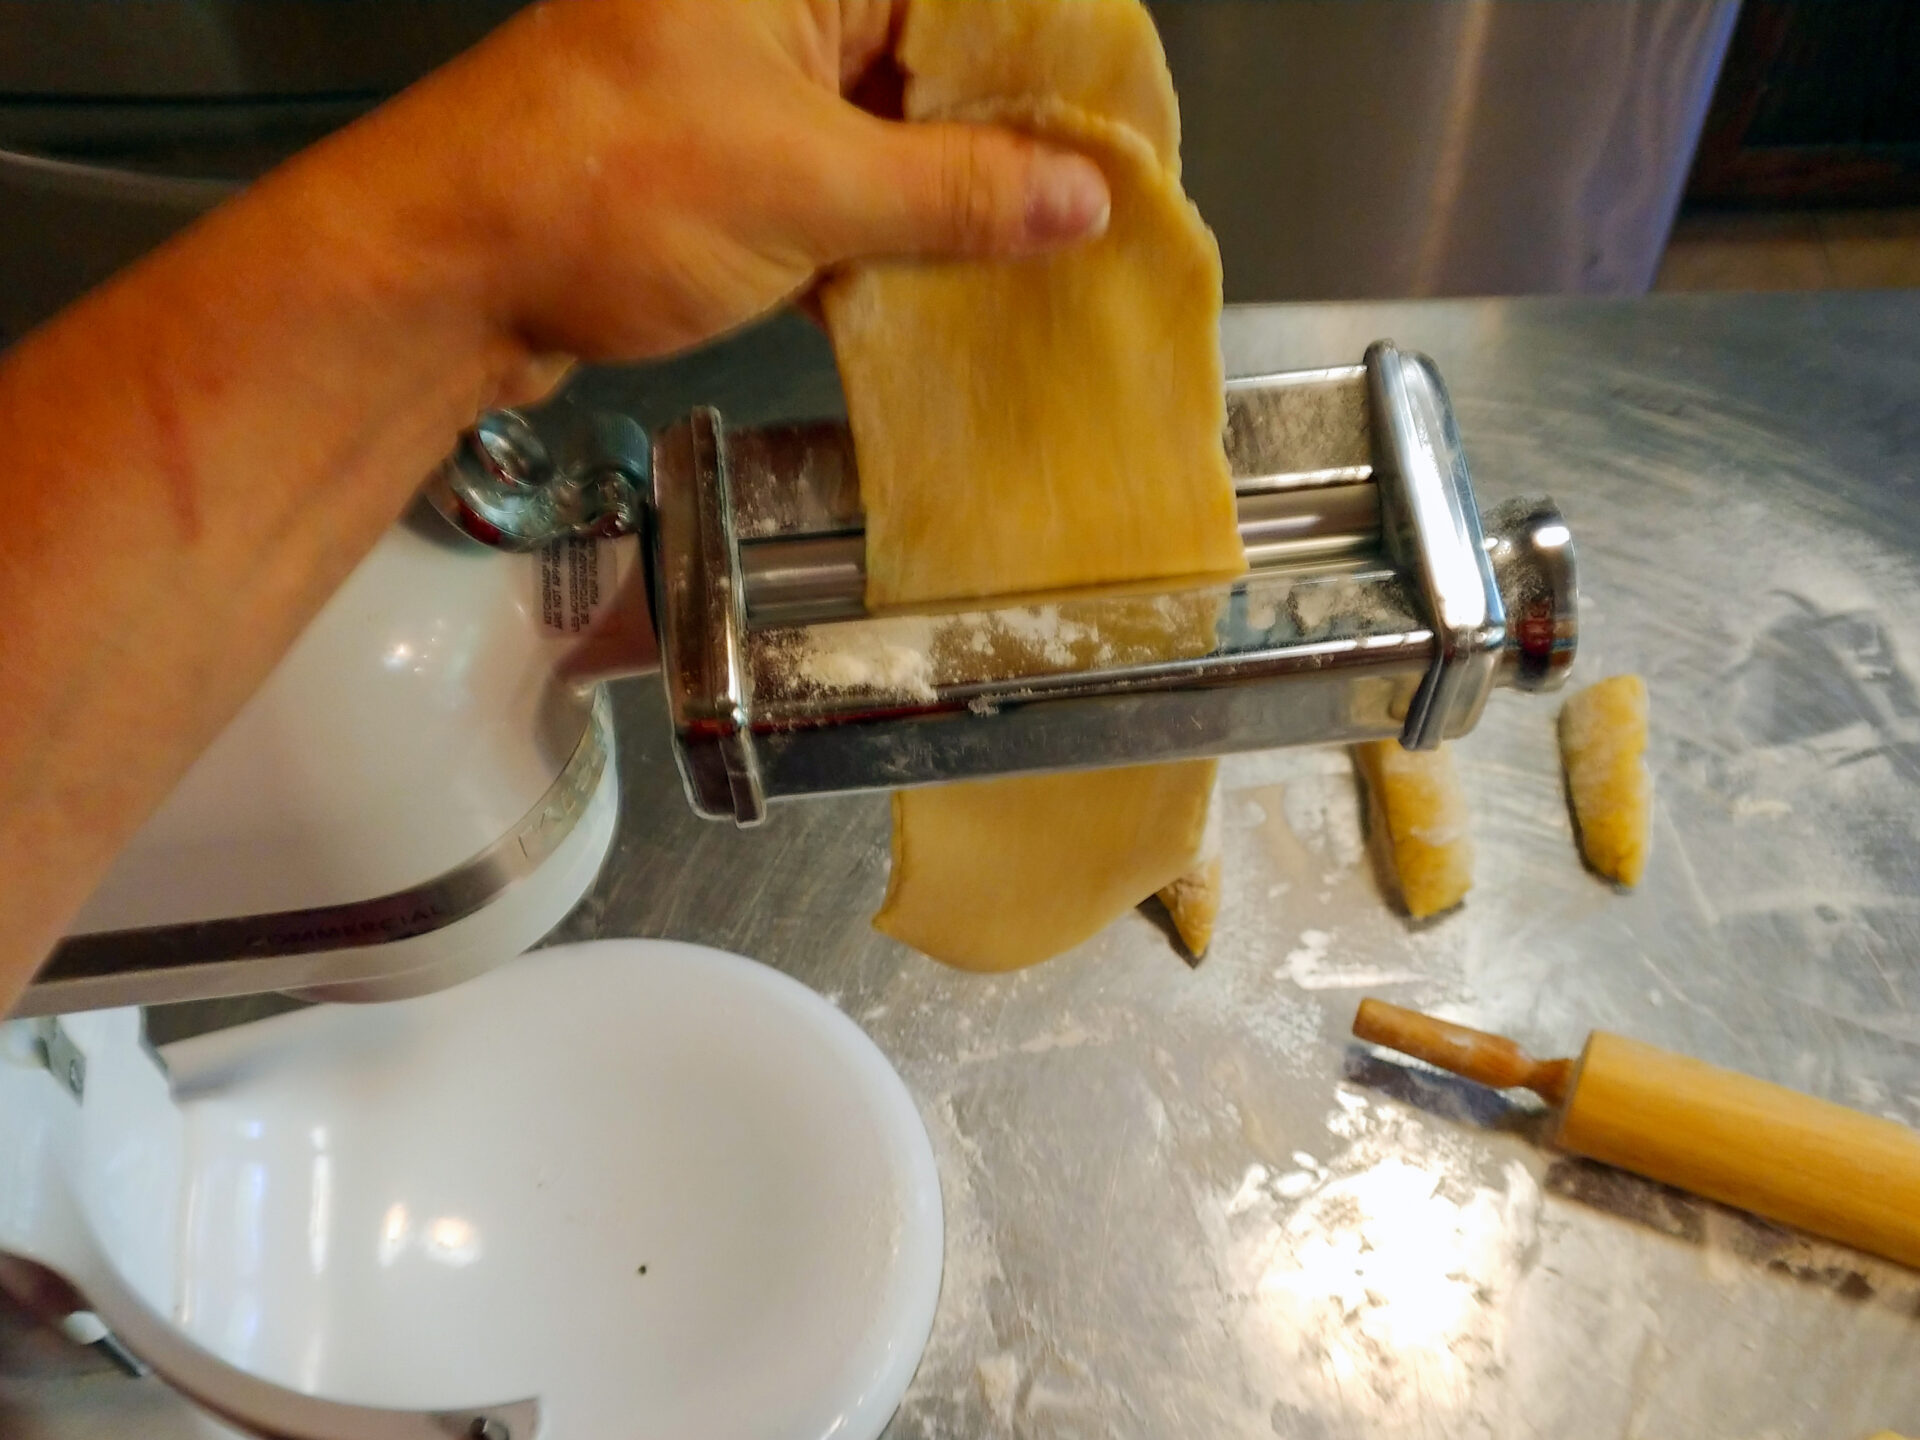
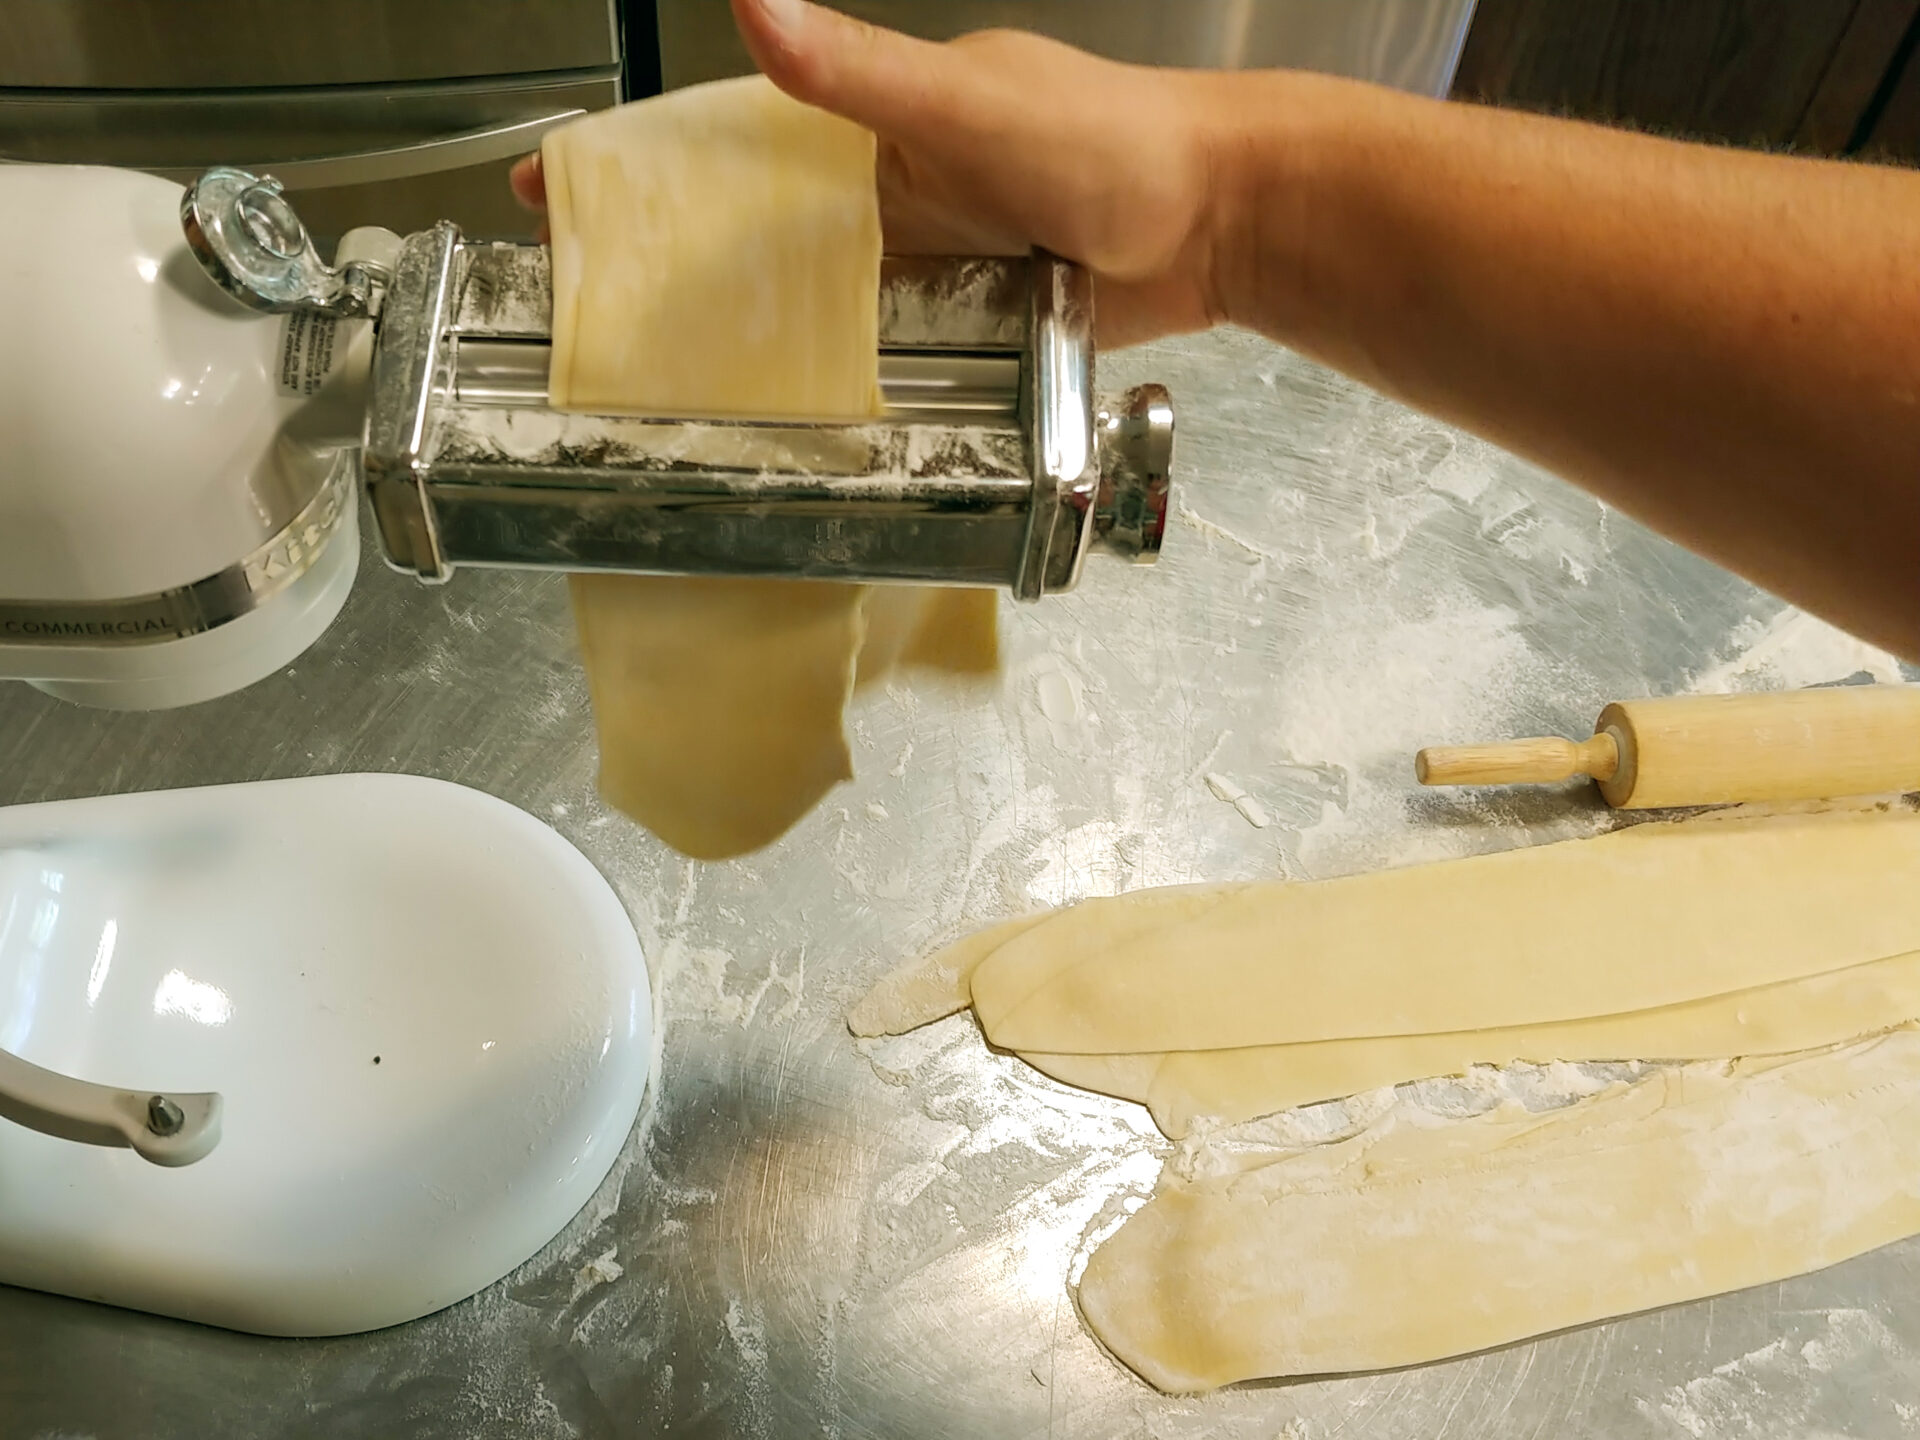
Generously flour all pieces, and using a rolling pin, flatten into sheets about 1/4″ or less thick and again generously flour.
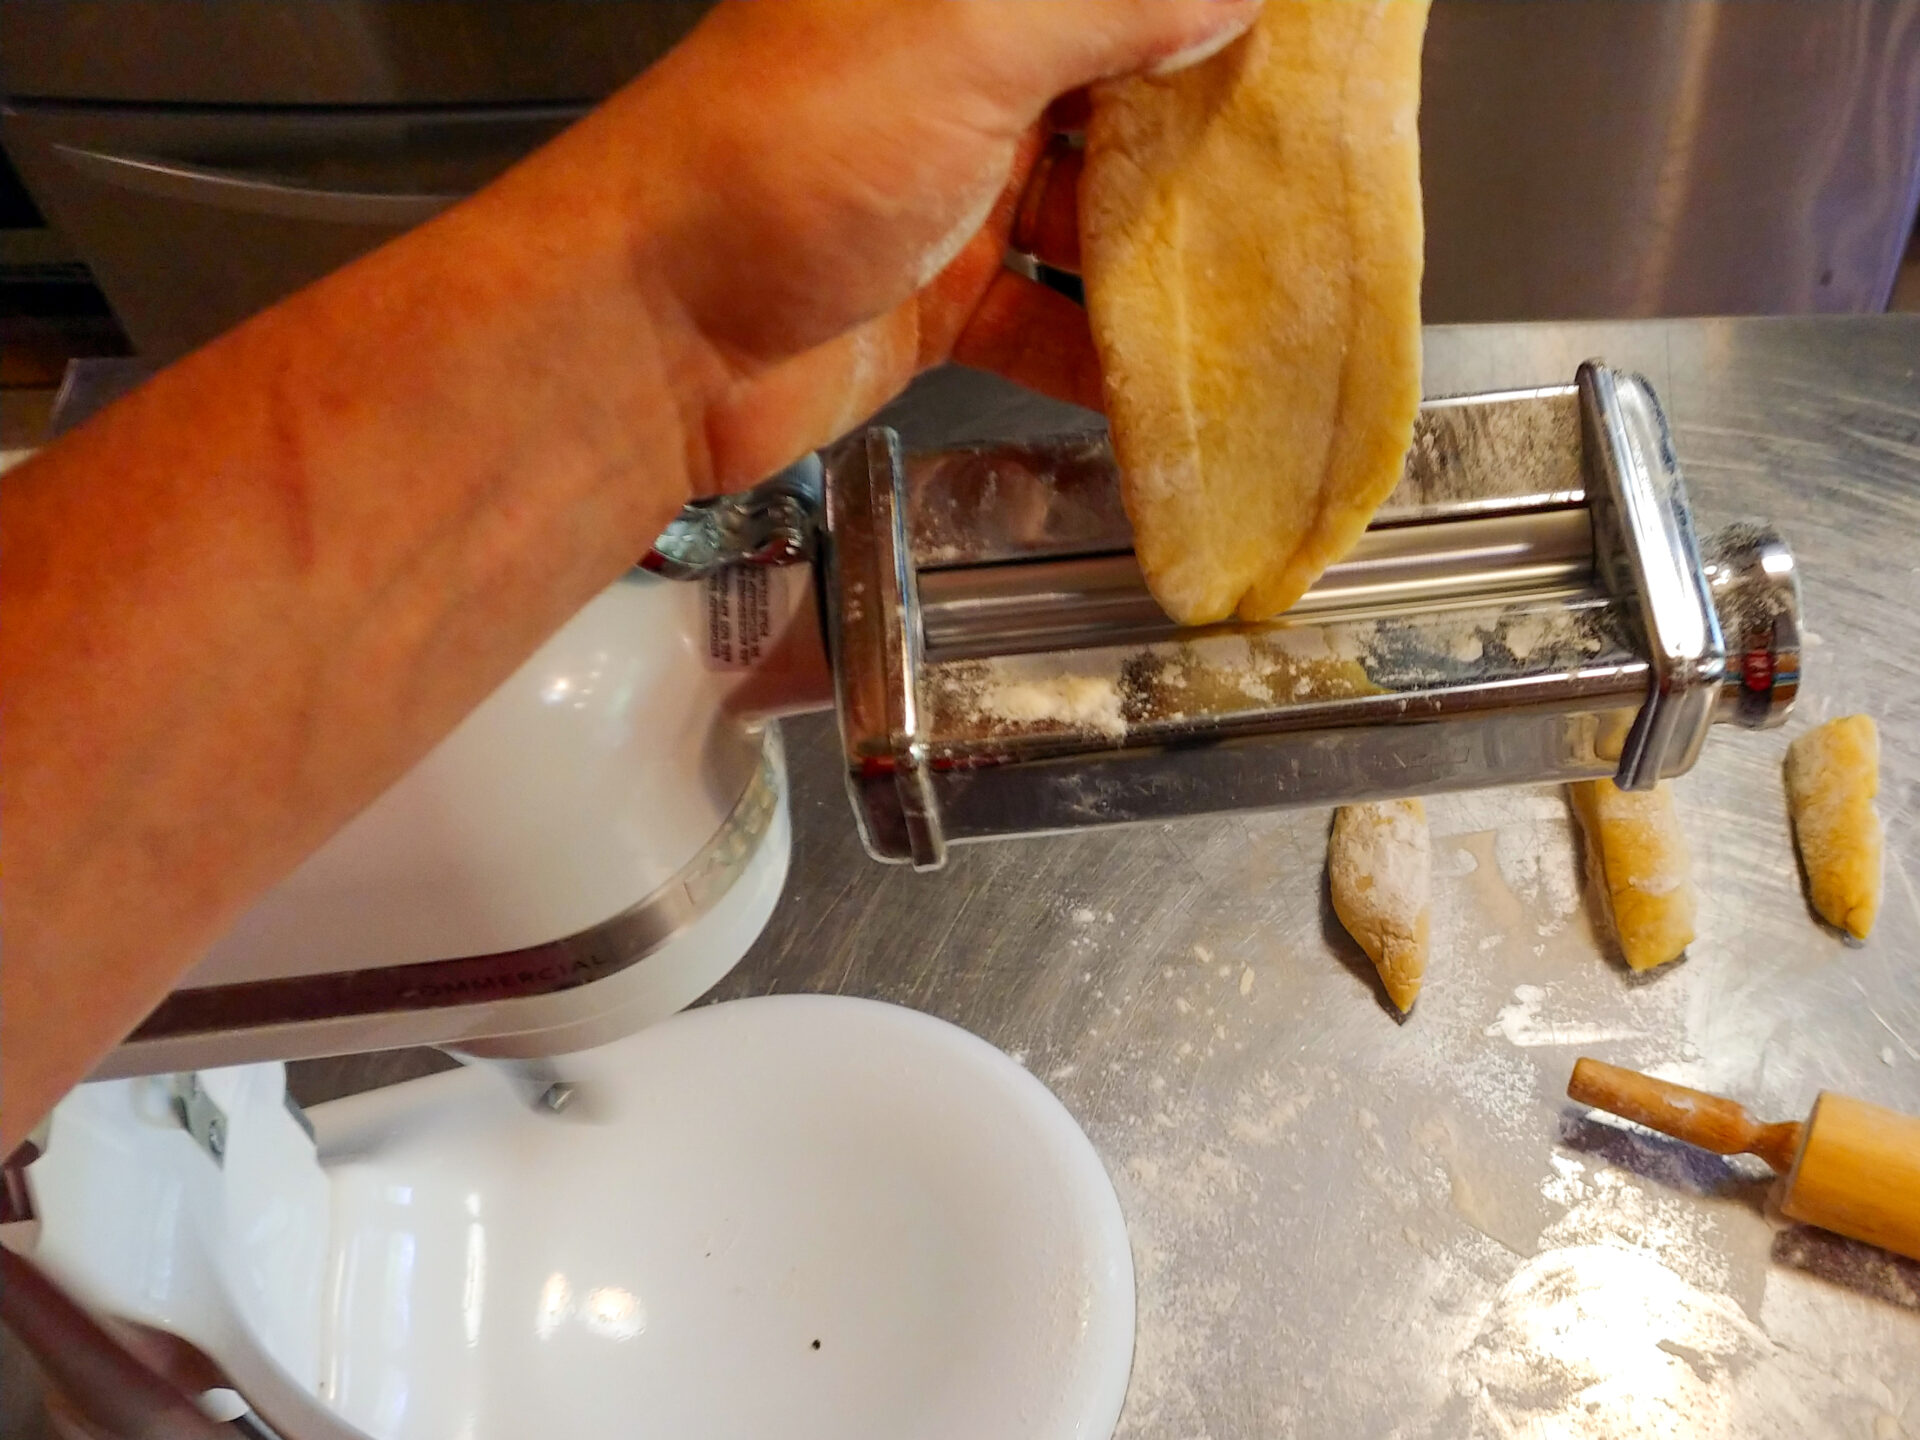
Set the pasta maker (sheet roller) to 1 (maximum thickness) and process into sheets on high speed.
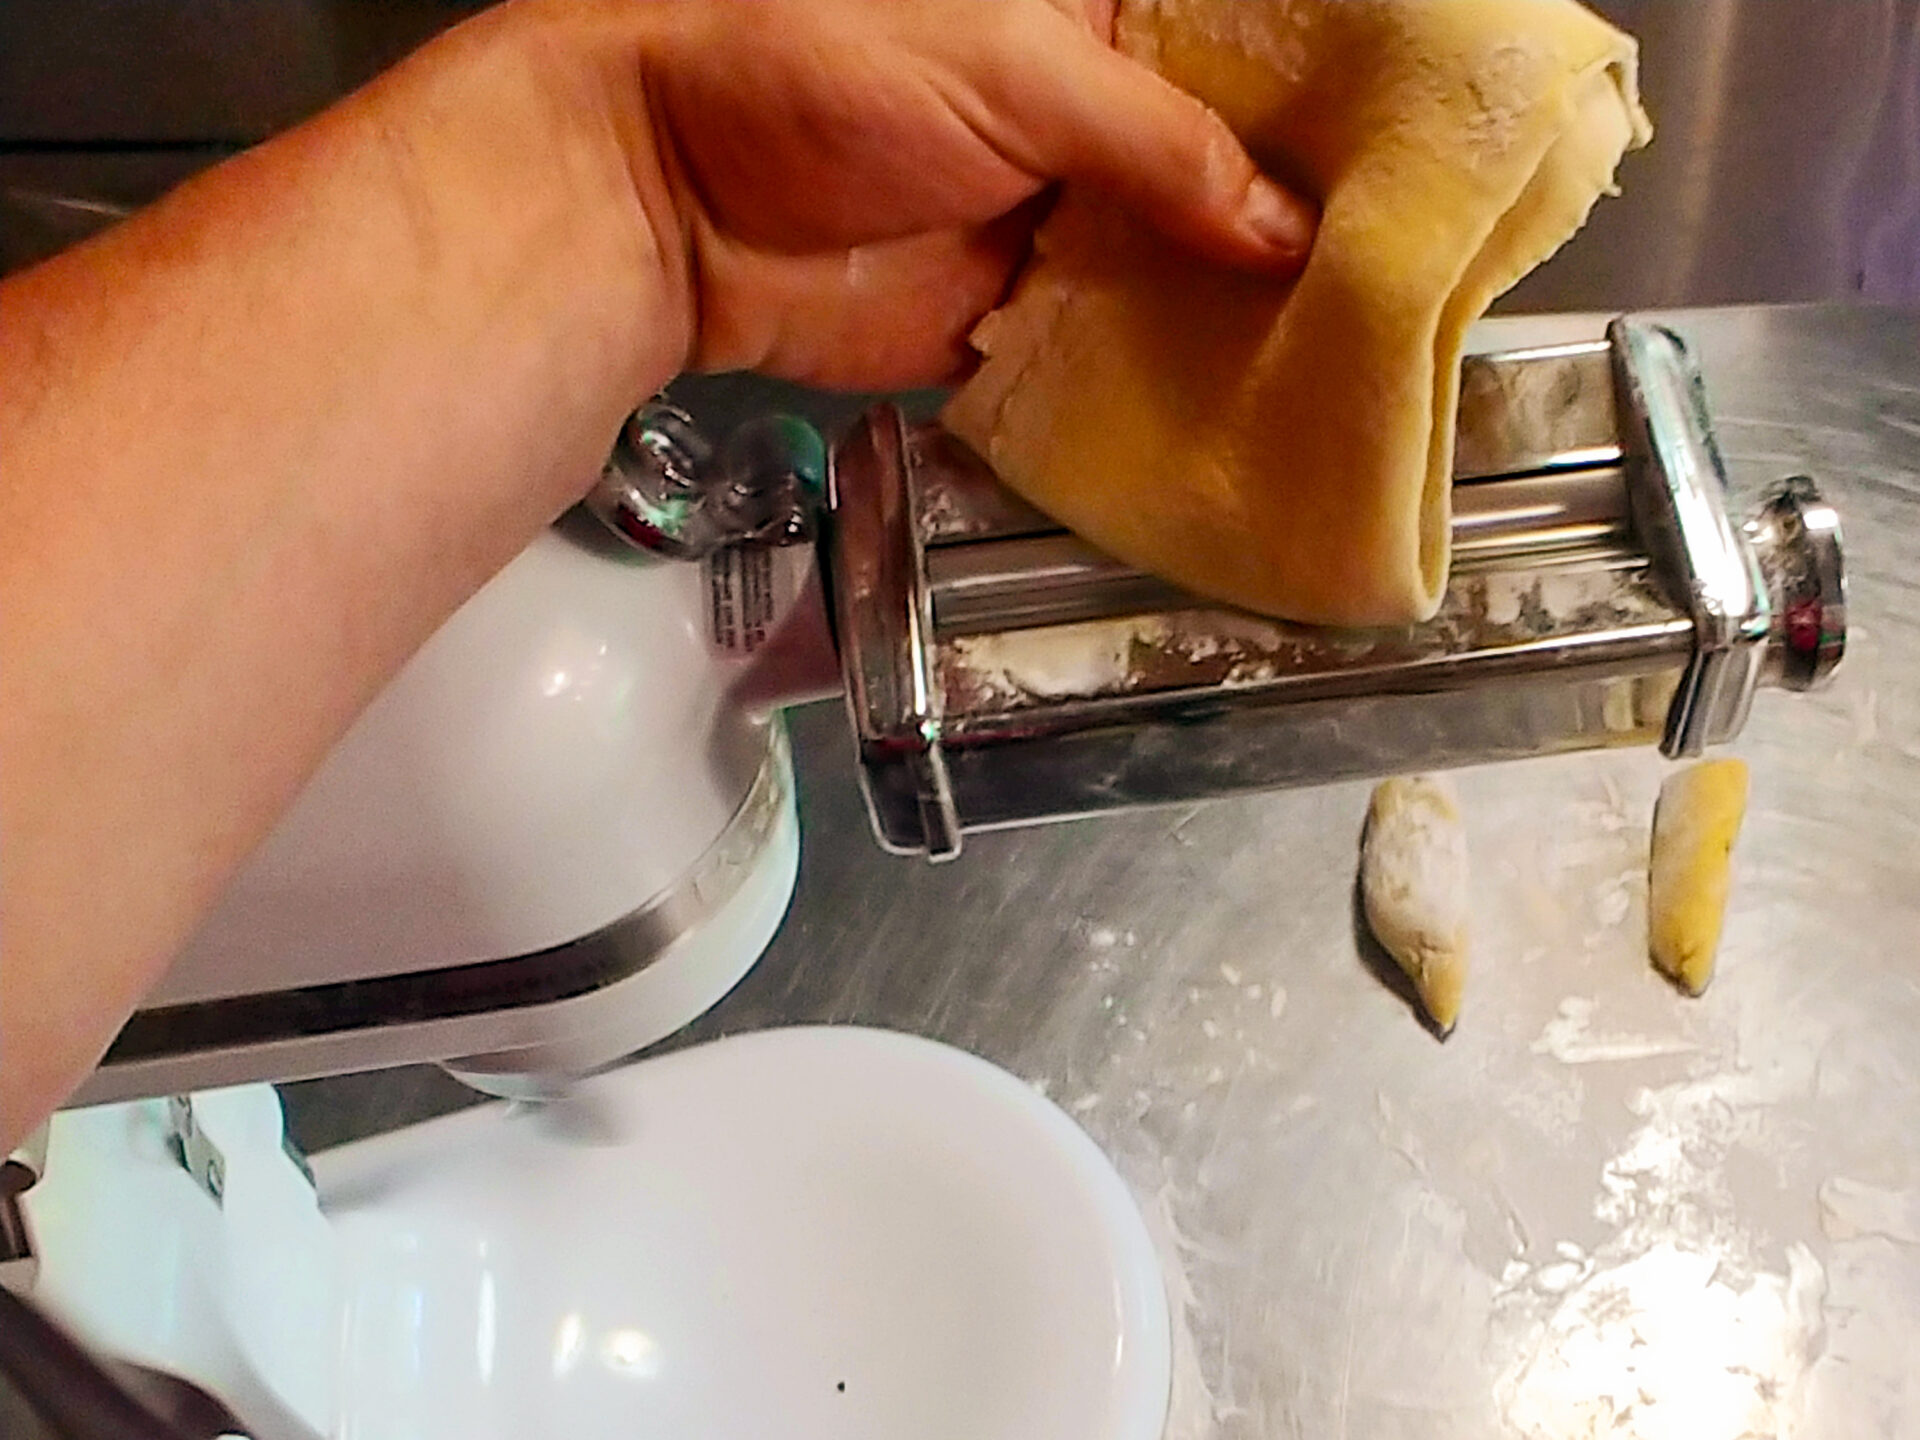
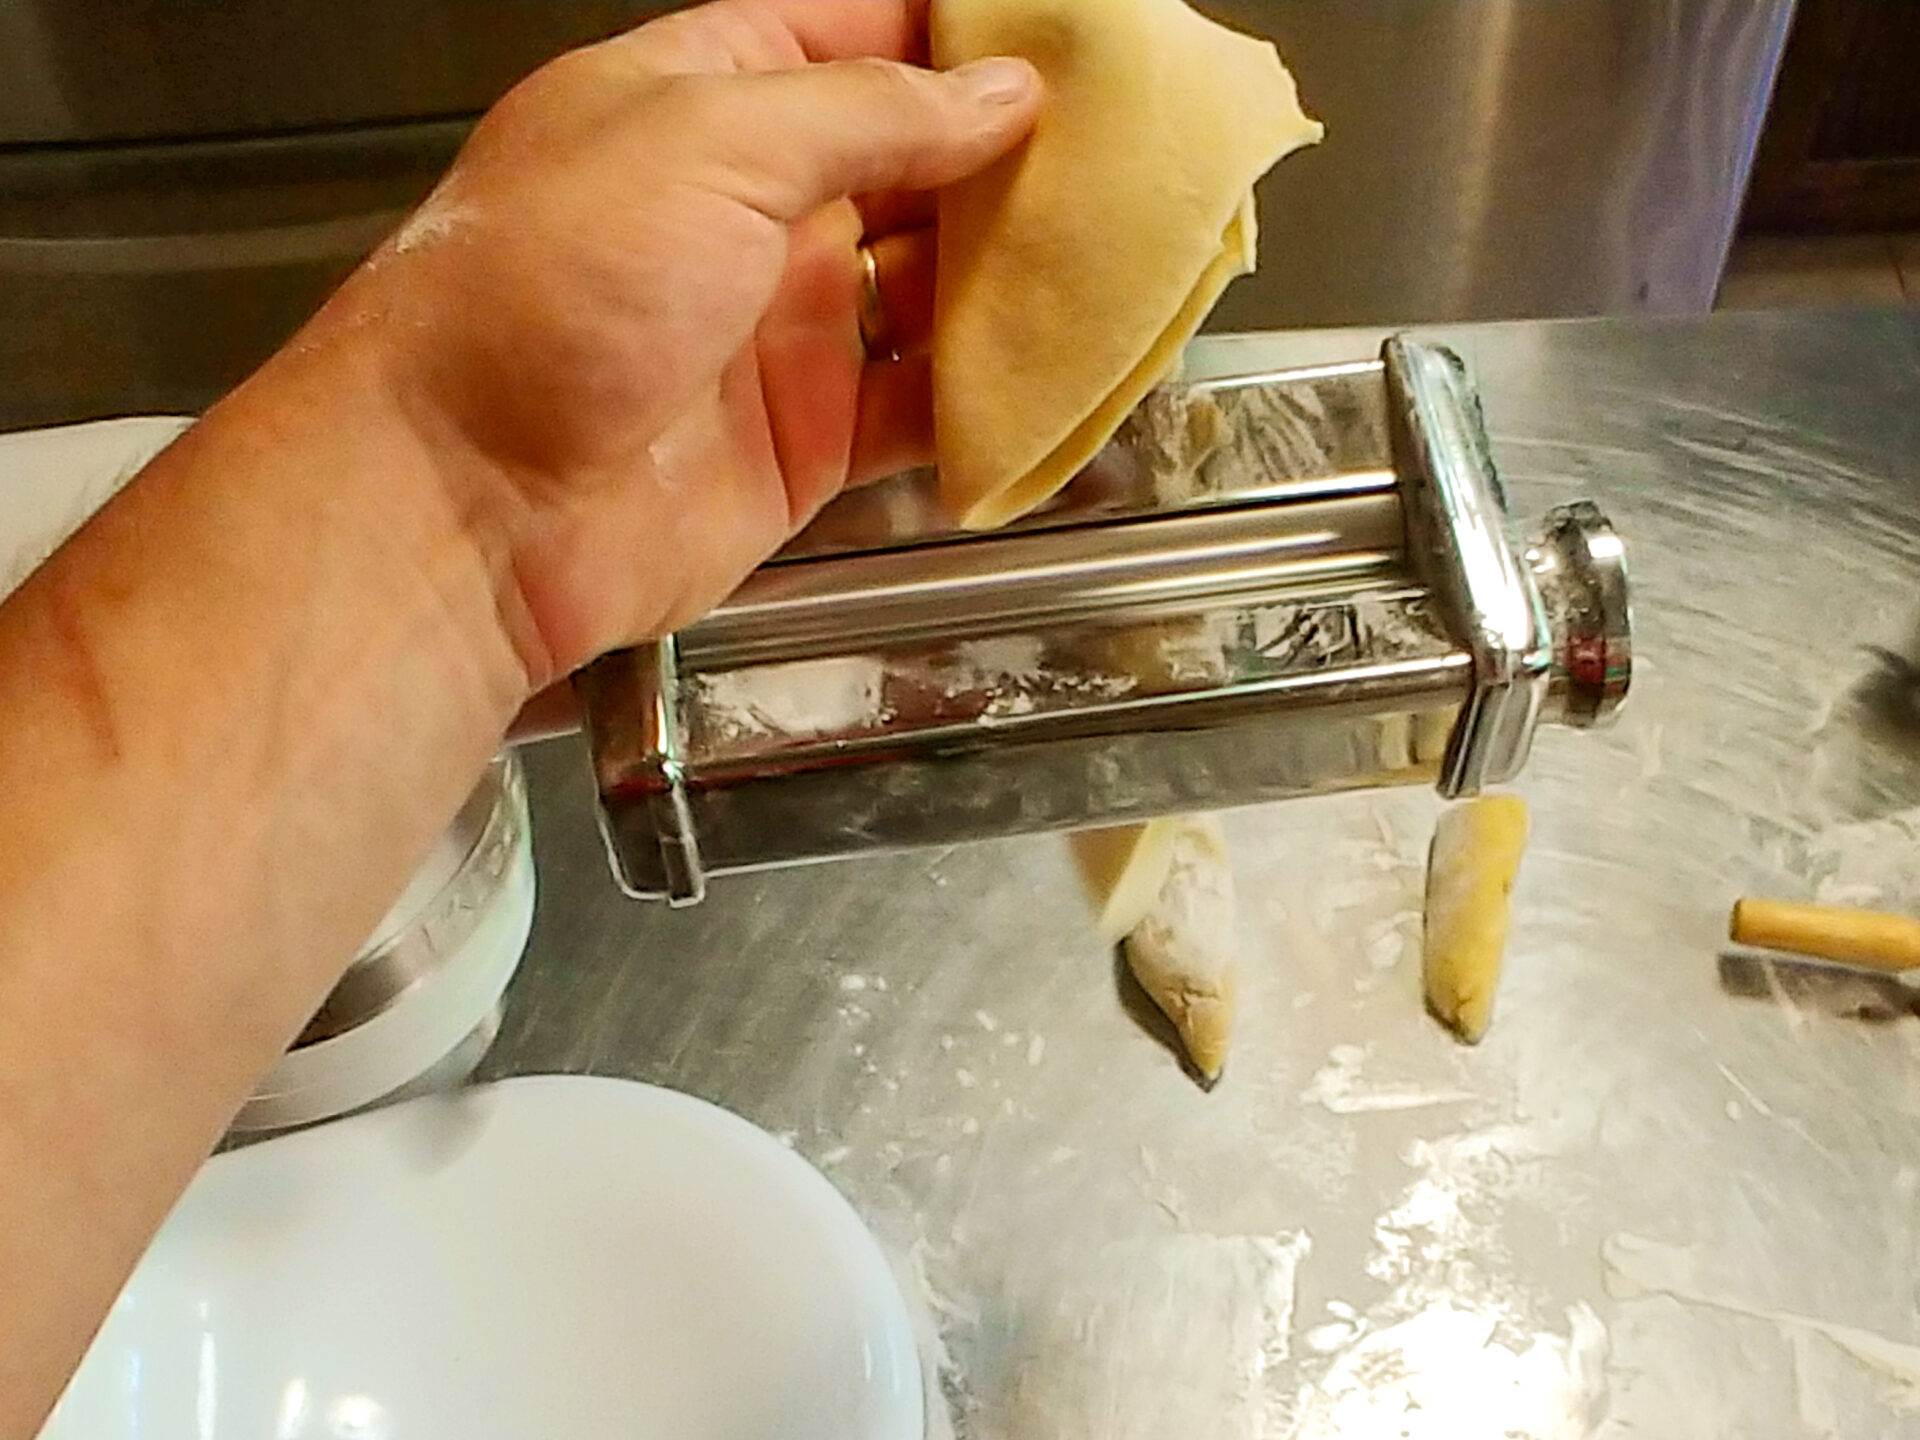
Then fold each processed sheet in half and process again (feed the folded side in). Dust between the majority of the folds to start forming a compact dough.
Repeat this step about 3 – 5 times to reach a nice smooth and pliable consistency.
Always fold into half the width or lengthwise based on how wide the dough is (a dough with a thickness of 1 should have a width that is at most ½ of the width of the noodles roller).
Optionally, fold the dough or even cut it into half (lengthwise) if the dough is getting to be too wide.
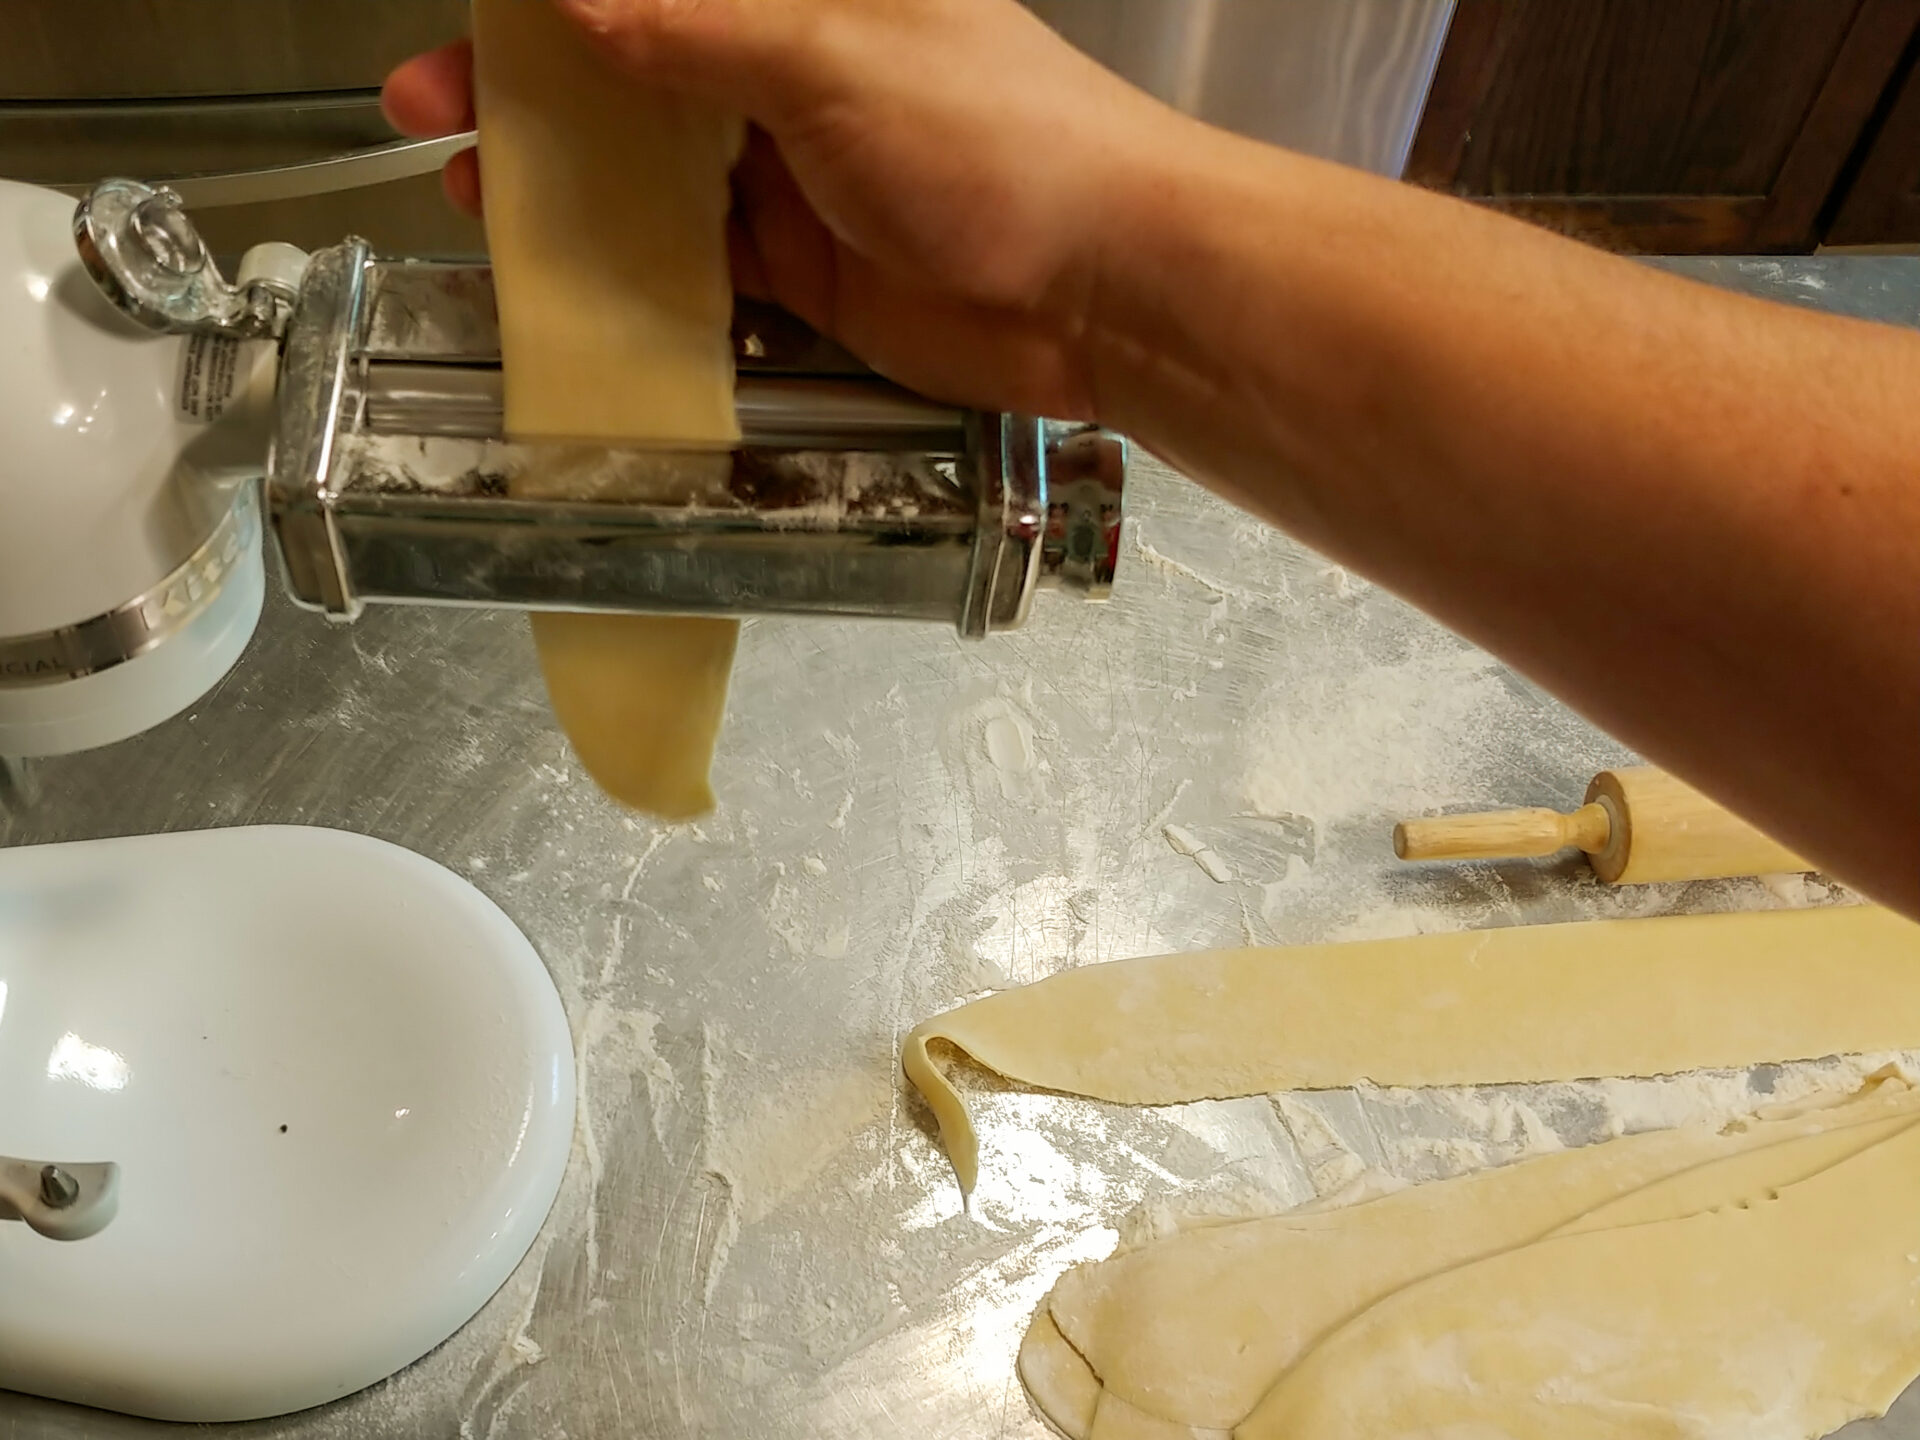
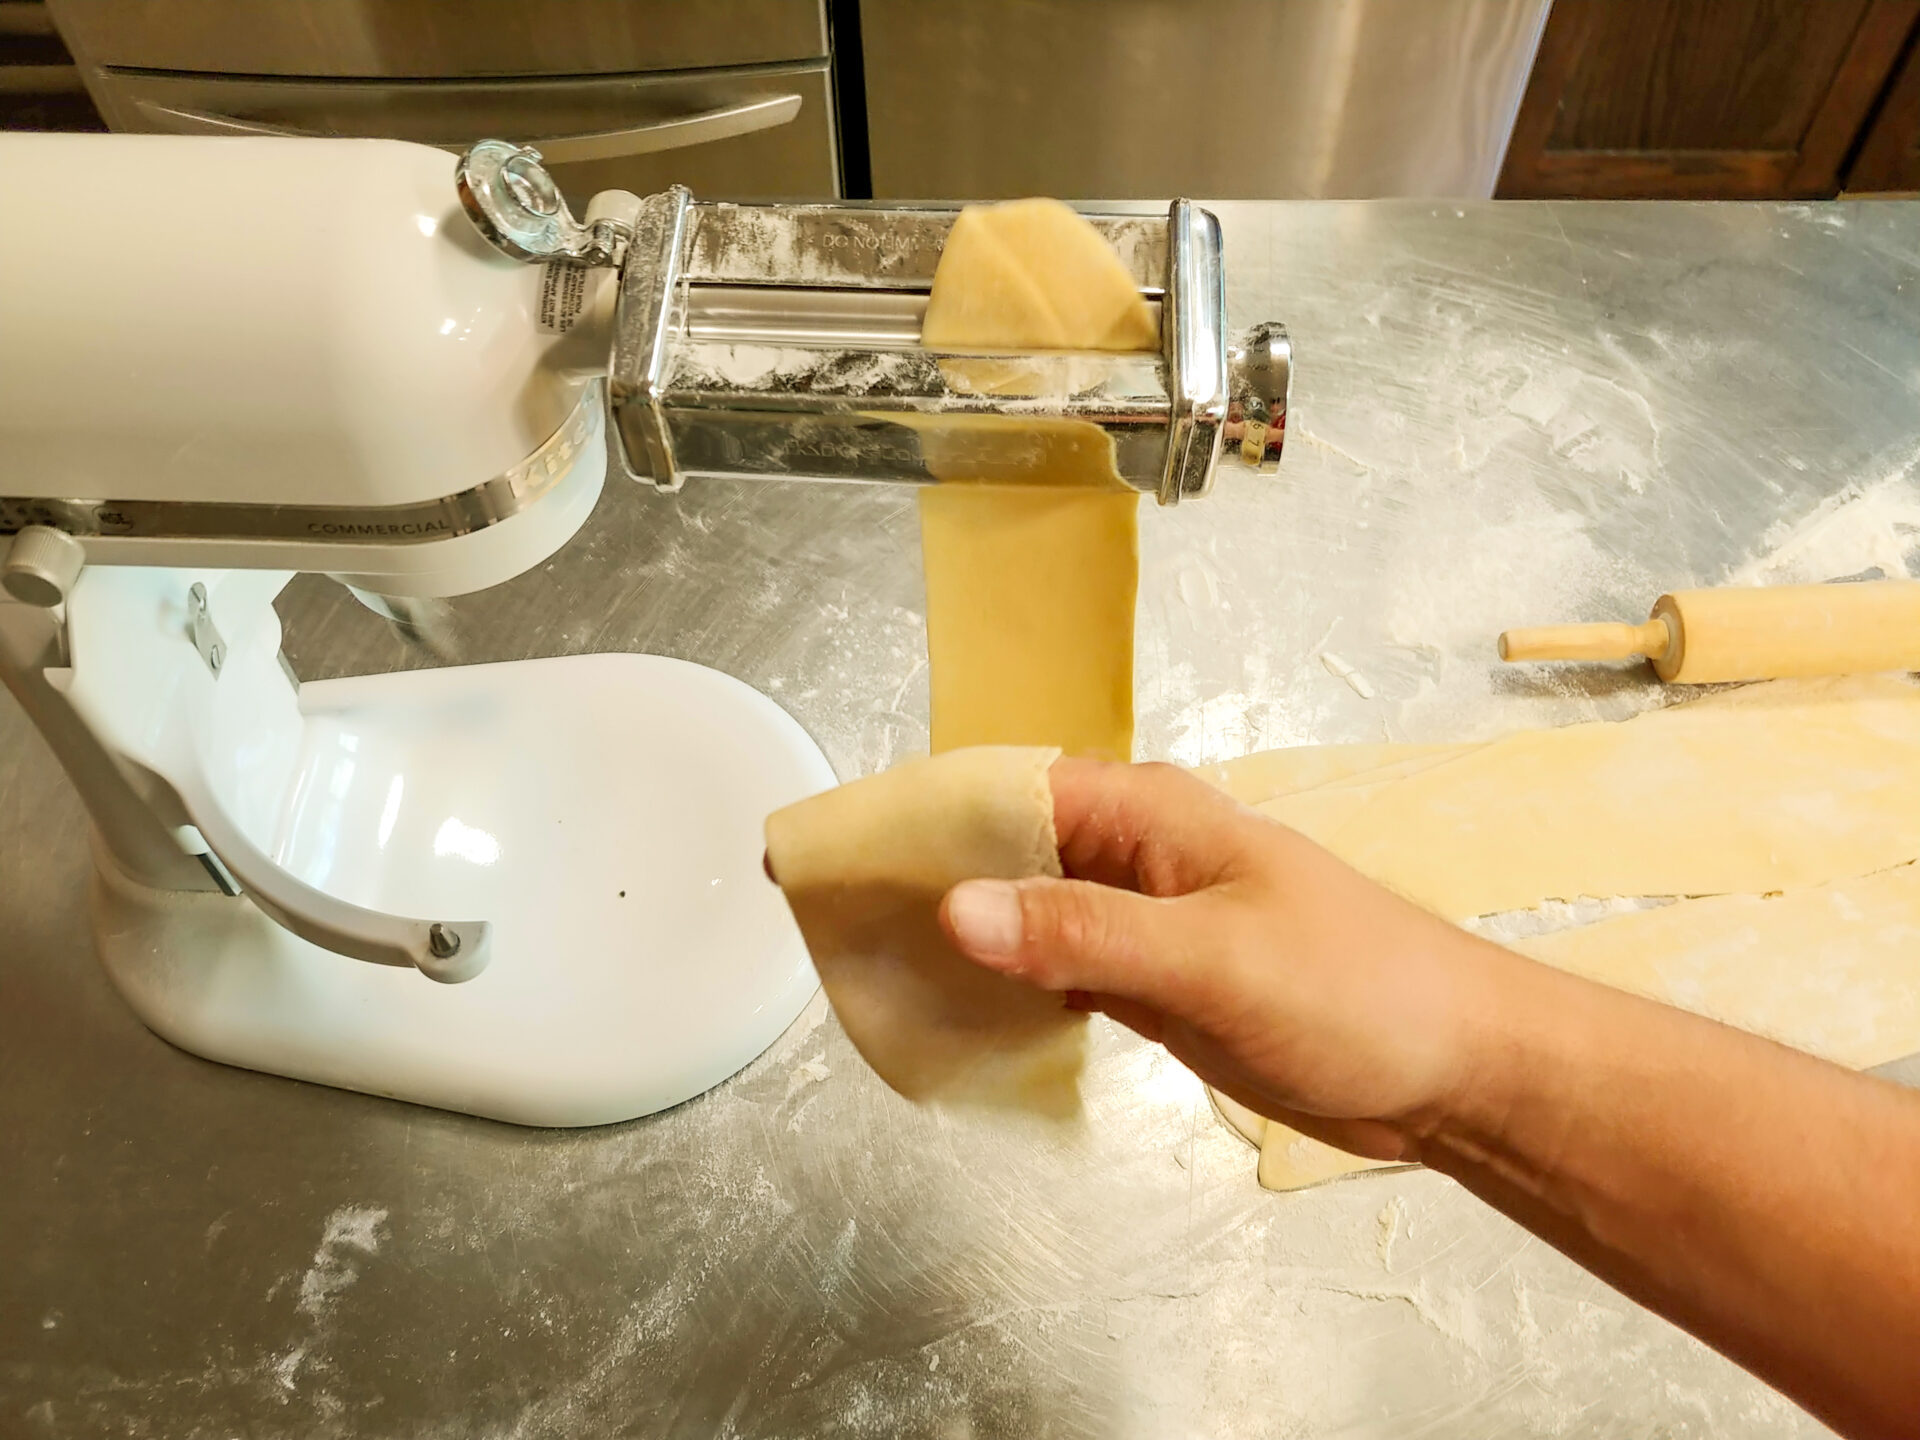
Process from a low number to a higher number until you reach the desired consistency. Starting with a thickness of 2, run each noodles sheet through the machine just once or twice and do not fold.
Dust each noodles sheet with flour after each roll (or at least after a few rolls).
When you reach the desired thickness, replace the sheet roller with the required cutter (the desired thickness depends on the kind of Lo Mein that you selected (more below).
The following explain two different versions of Lo Mein- (note that the cooking times in the following recipes apply for fresh, not dried, homemade noodles only).
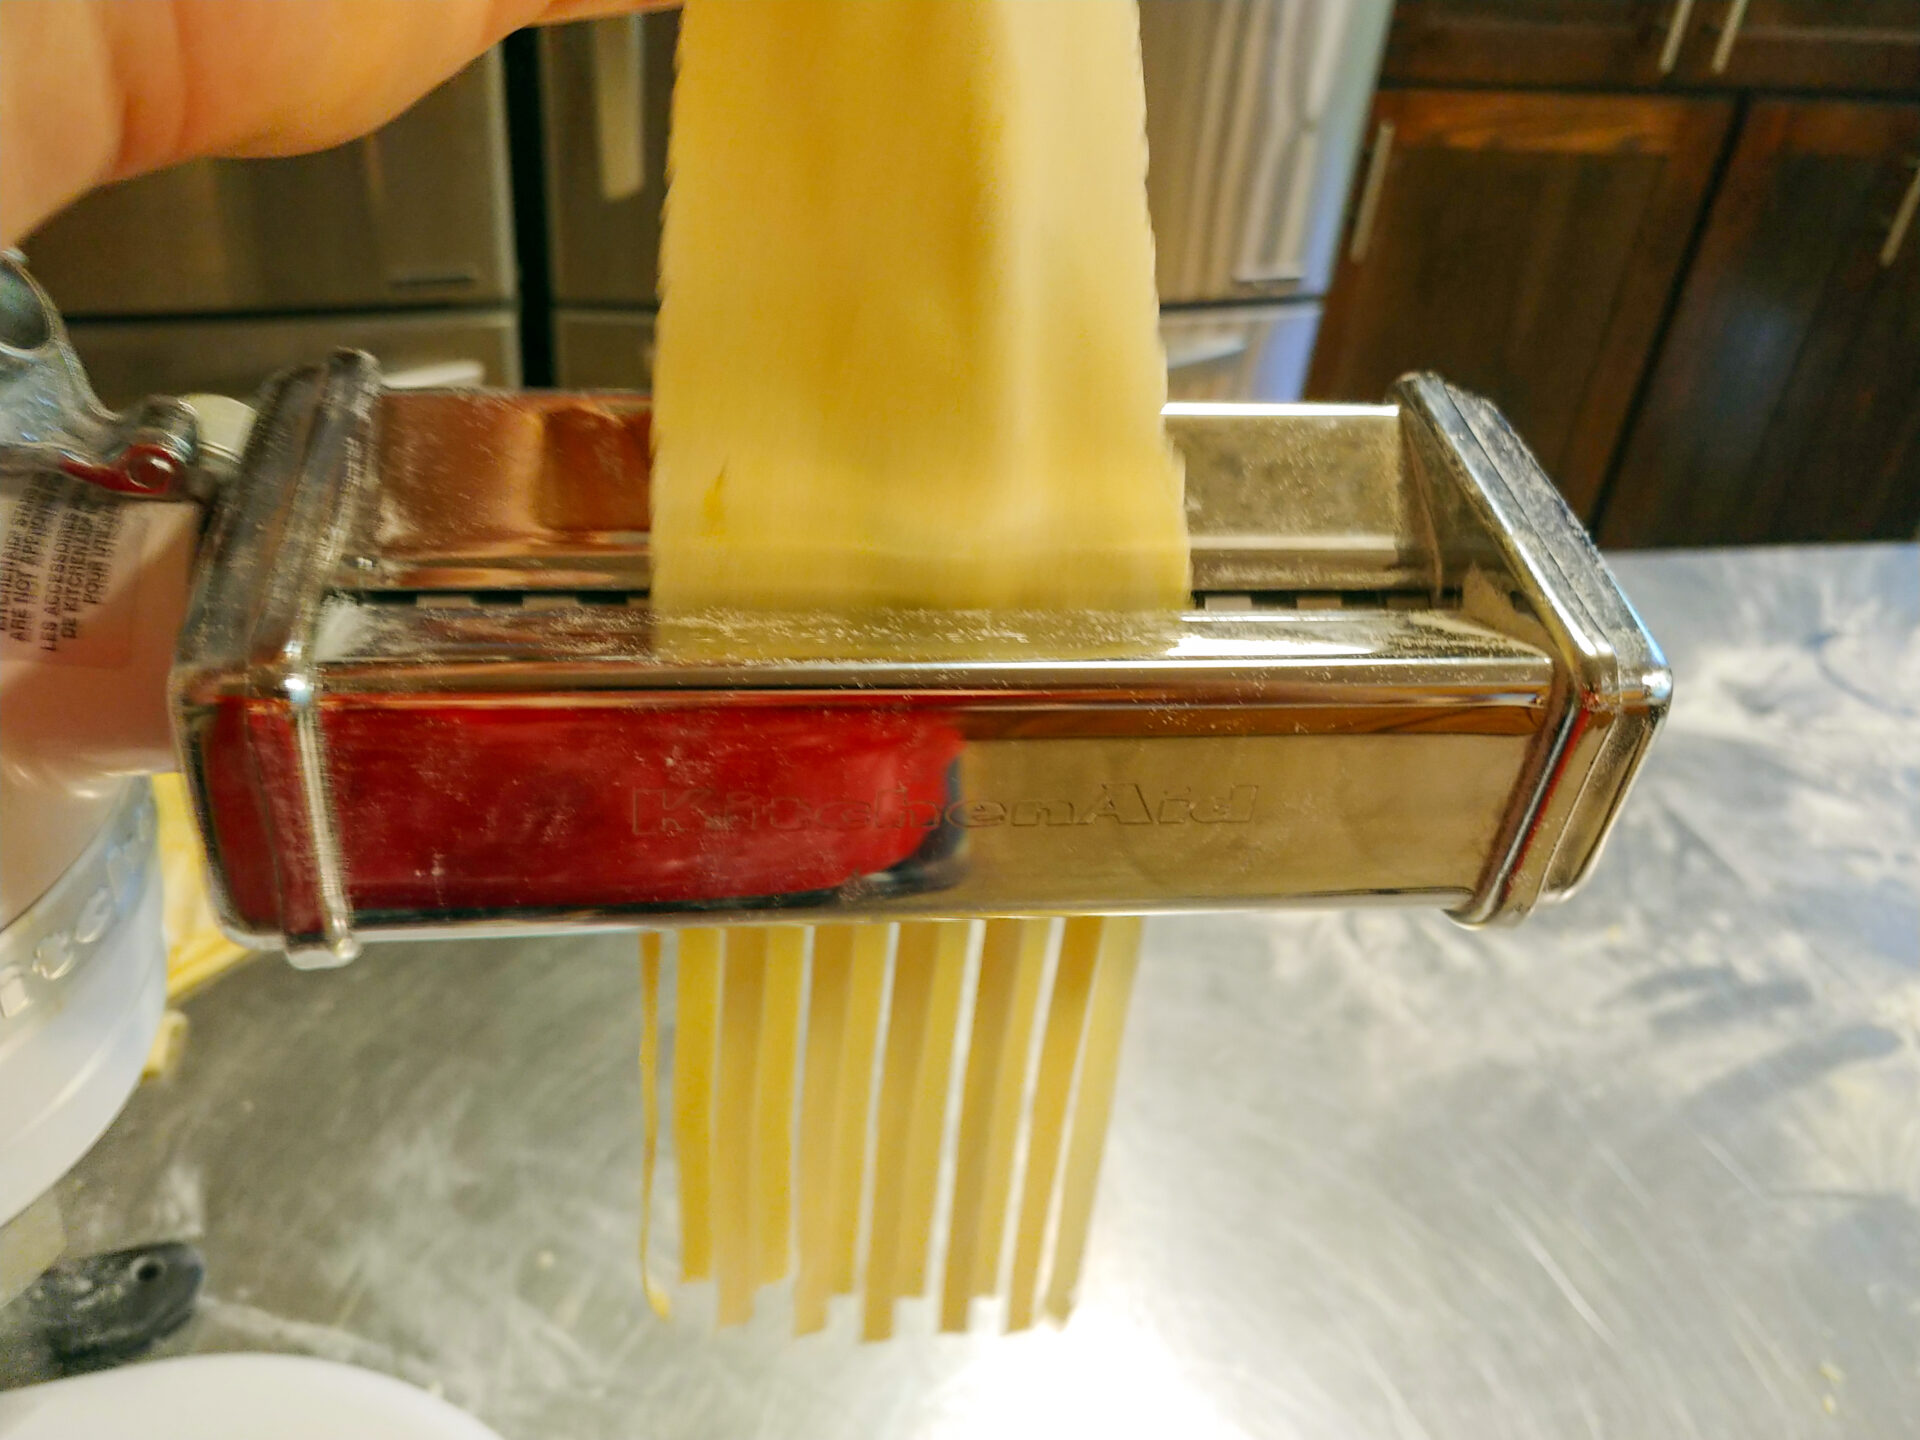
(spaghetti shape)
(linguine shape)
Make sure that the water is boiling on high heat. Noodles needs to be cooked in boiling water on high heat.
Then, create a whirlpool with tongs and place noodles into the boiling water.
Lift the noodles with tongs a few times to prevent them from sticking together.
Make sure you don’t overcook noodles. To be totally sure, you can take pieces or noodles out and taste them before you make the decision to finish cooking.
Important:
Do not leave the noodles to rest in the colander. It is still cooking (because of the hot temperature of the noodles), and you can end up with overcooked noodles. Use them immediately in the
Tom Founder Tom Founder Tom Founder Tom Founder Tom Founder Tom Founder Tom Founder Tom Founder Tom FounderIf you want to add your review, you must log in.
All content and information (including recipes, articles, and other materials) on CookingHub.com are the opinions of the authors and are not intended to provide dietary, medical, legal, or political advice. Consult with a professional before deciding to follow these opinions.
Authors and www.CookingHub.com (operated by CookingHub Foundation) are not responsible for any part of any possible outcome or its consequences, which include (but are not limited to):
All readers (users and visitors of www.CookingHub.com) are responsible for evaluating the recipes and articles and making their own decisions about whether to follow the steps and recommendations. They must ensure that the ingredients and steps fit with their dietary restrictions and avoid preparation methods that could pose a health risk due to an unsuitable diet.
Please note that “CookingHub Foundations” should be singular, “CookingHub Foundation.”
Share
Click on the icons below to share "Title of the item to share"