 Tom the Chef Founder
How to Separate Eggs
October 19, 2023Separating eggs isn’t as hard as many people think. Become a master of this important cooking technique with info from my article.
If you love somebody, there are many reasons to give a gift from the heart, and these Gingerbread Heart Cookies are the perfect choice. Especially popular for Valentine’s Day, this recipe combines aromatic spices with a sweet honey dough. They are fun to prepare, look beautiful when decorated, and taste...
Read more... delicious, making them a thoughtful and edible gesture for your loved ones.
Read less Tom the Chef Founder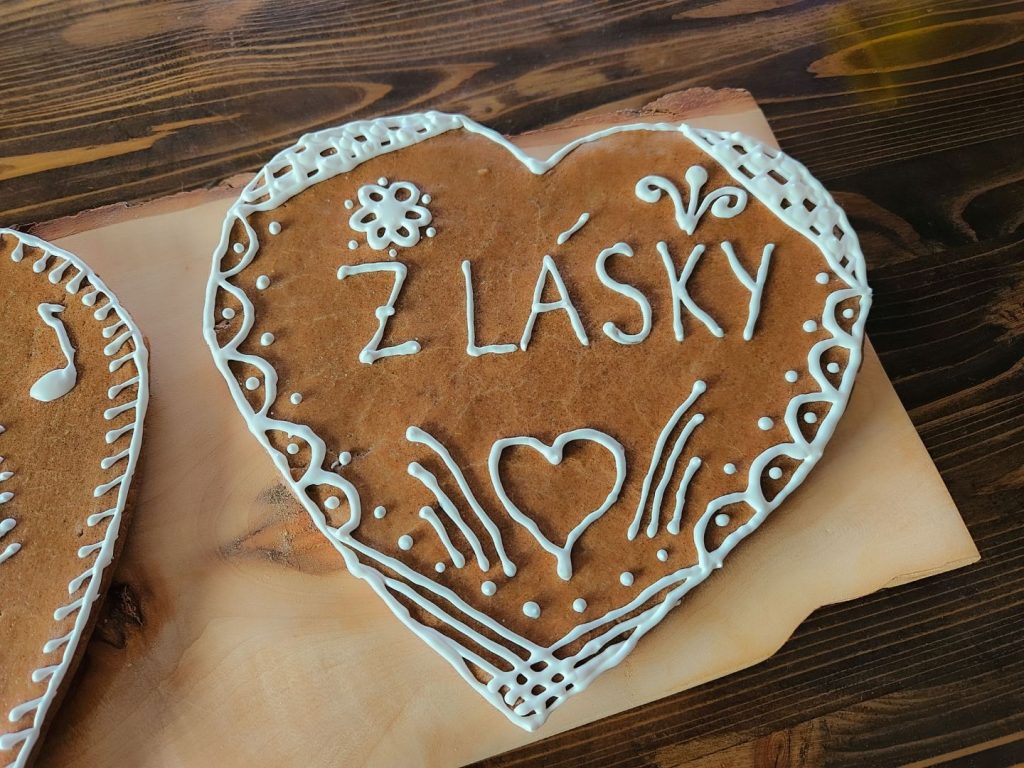
Let’s start the preparation of gingerbread heart cookies by preparing the gingerbread spice.
2 TSP of whole anise seeds
1 TSP of whole fennel seeds
1 TSP of whole cloves
2 TSP of ground cinnamon
1 TSP of ground Allspice
1 TSP of ground ginger
And process using a pestle until a fine texture is reached.
Note: If you don’t have a mortar and pestle, you can use a small food processor.
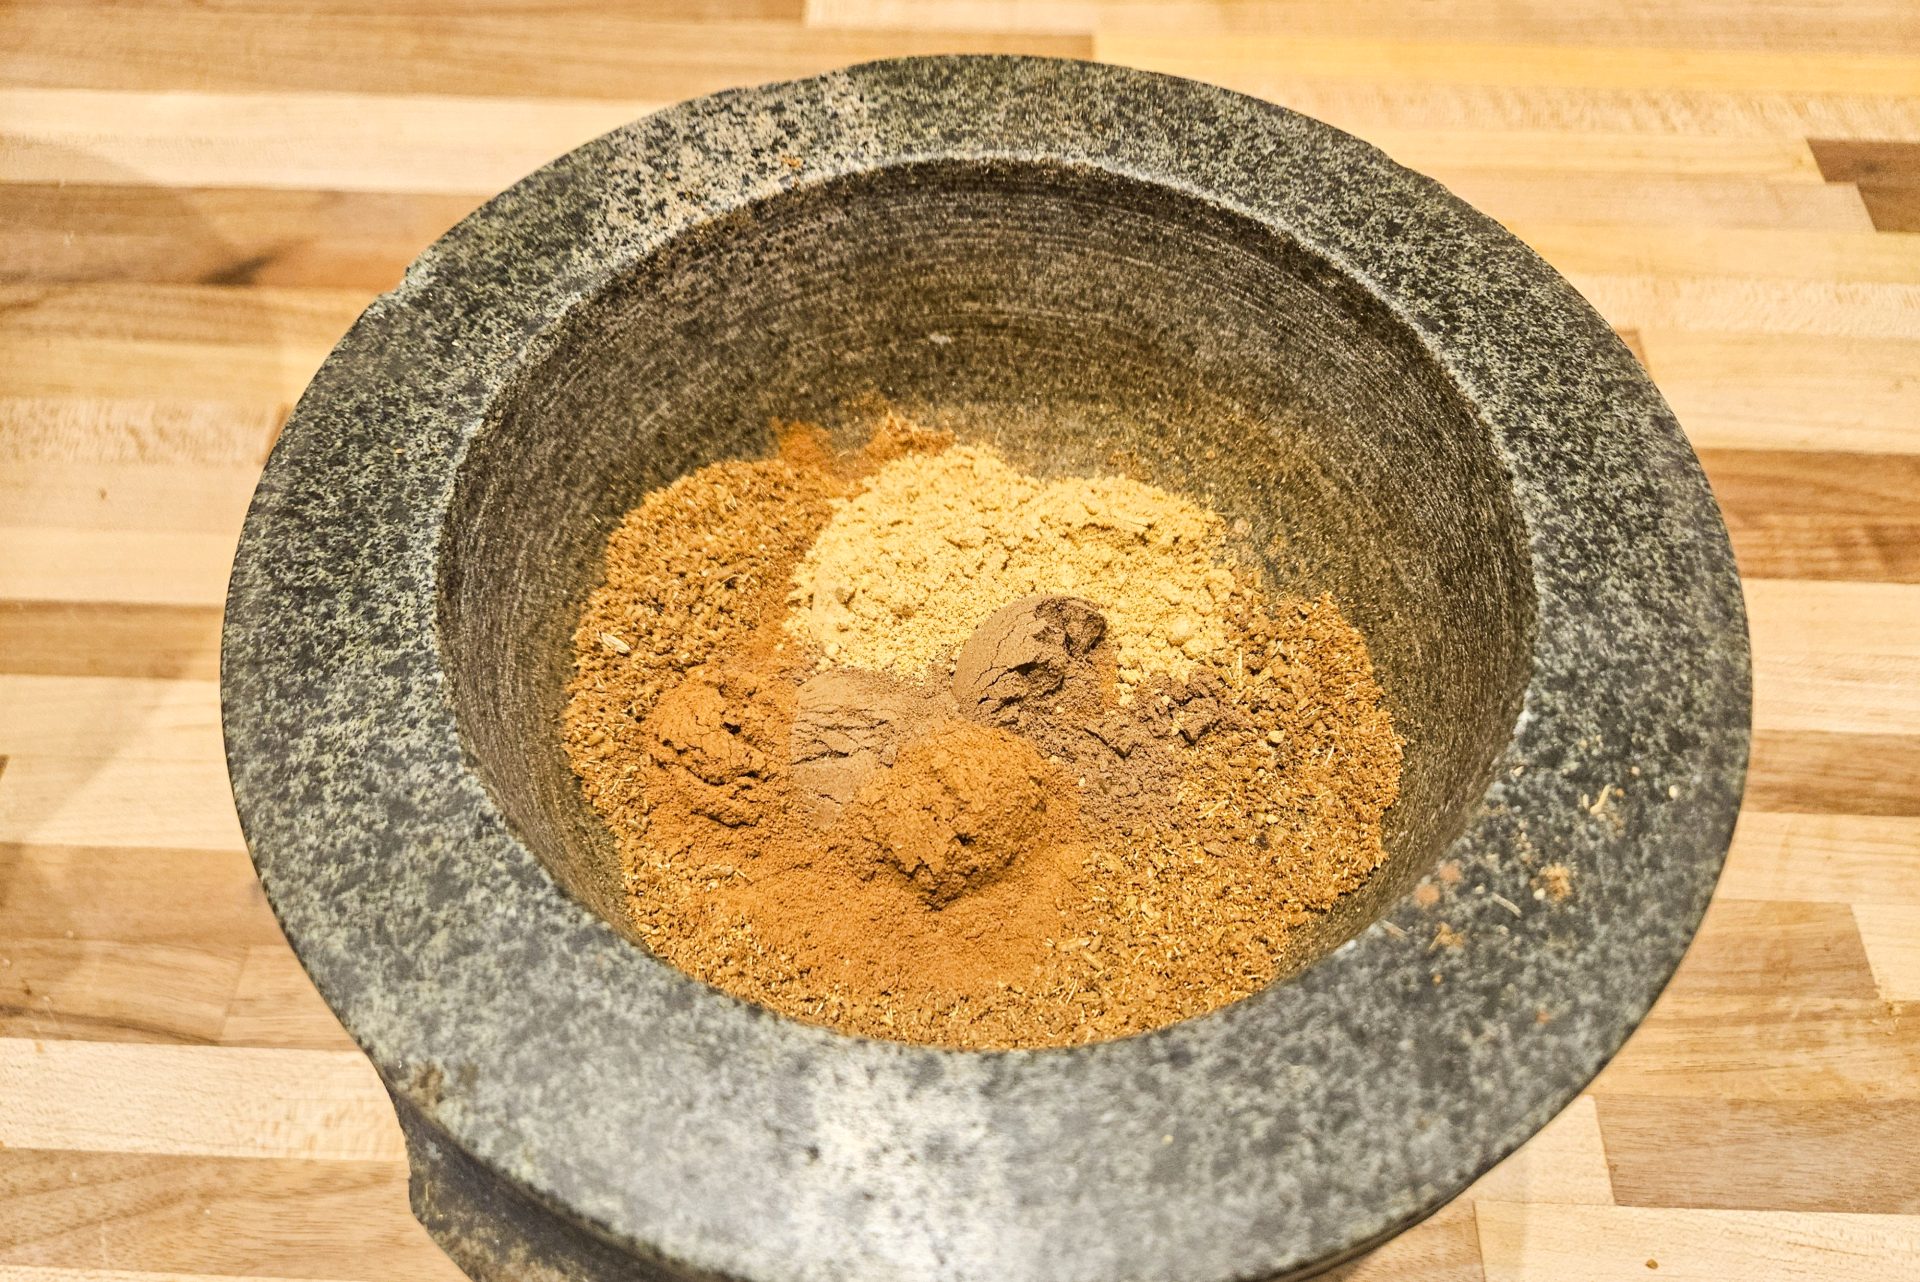
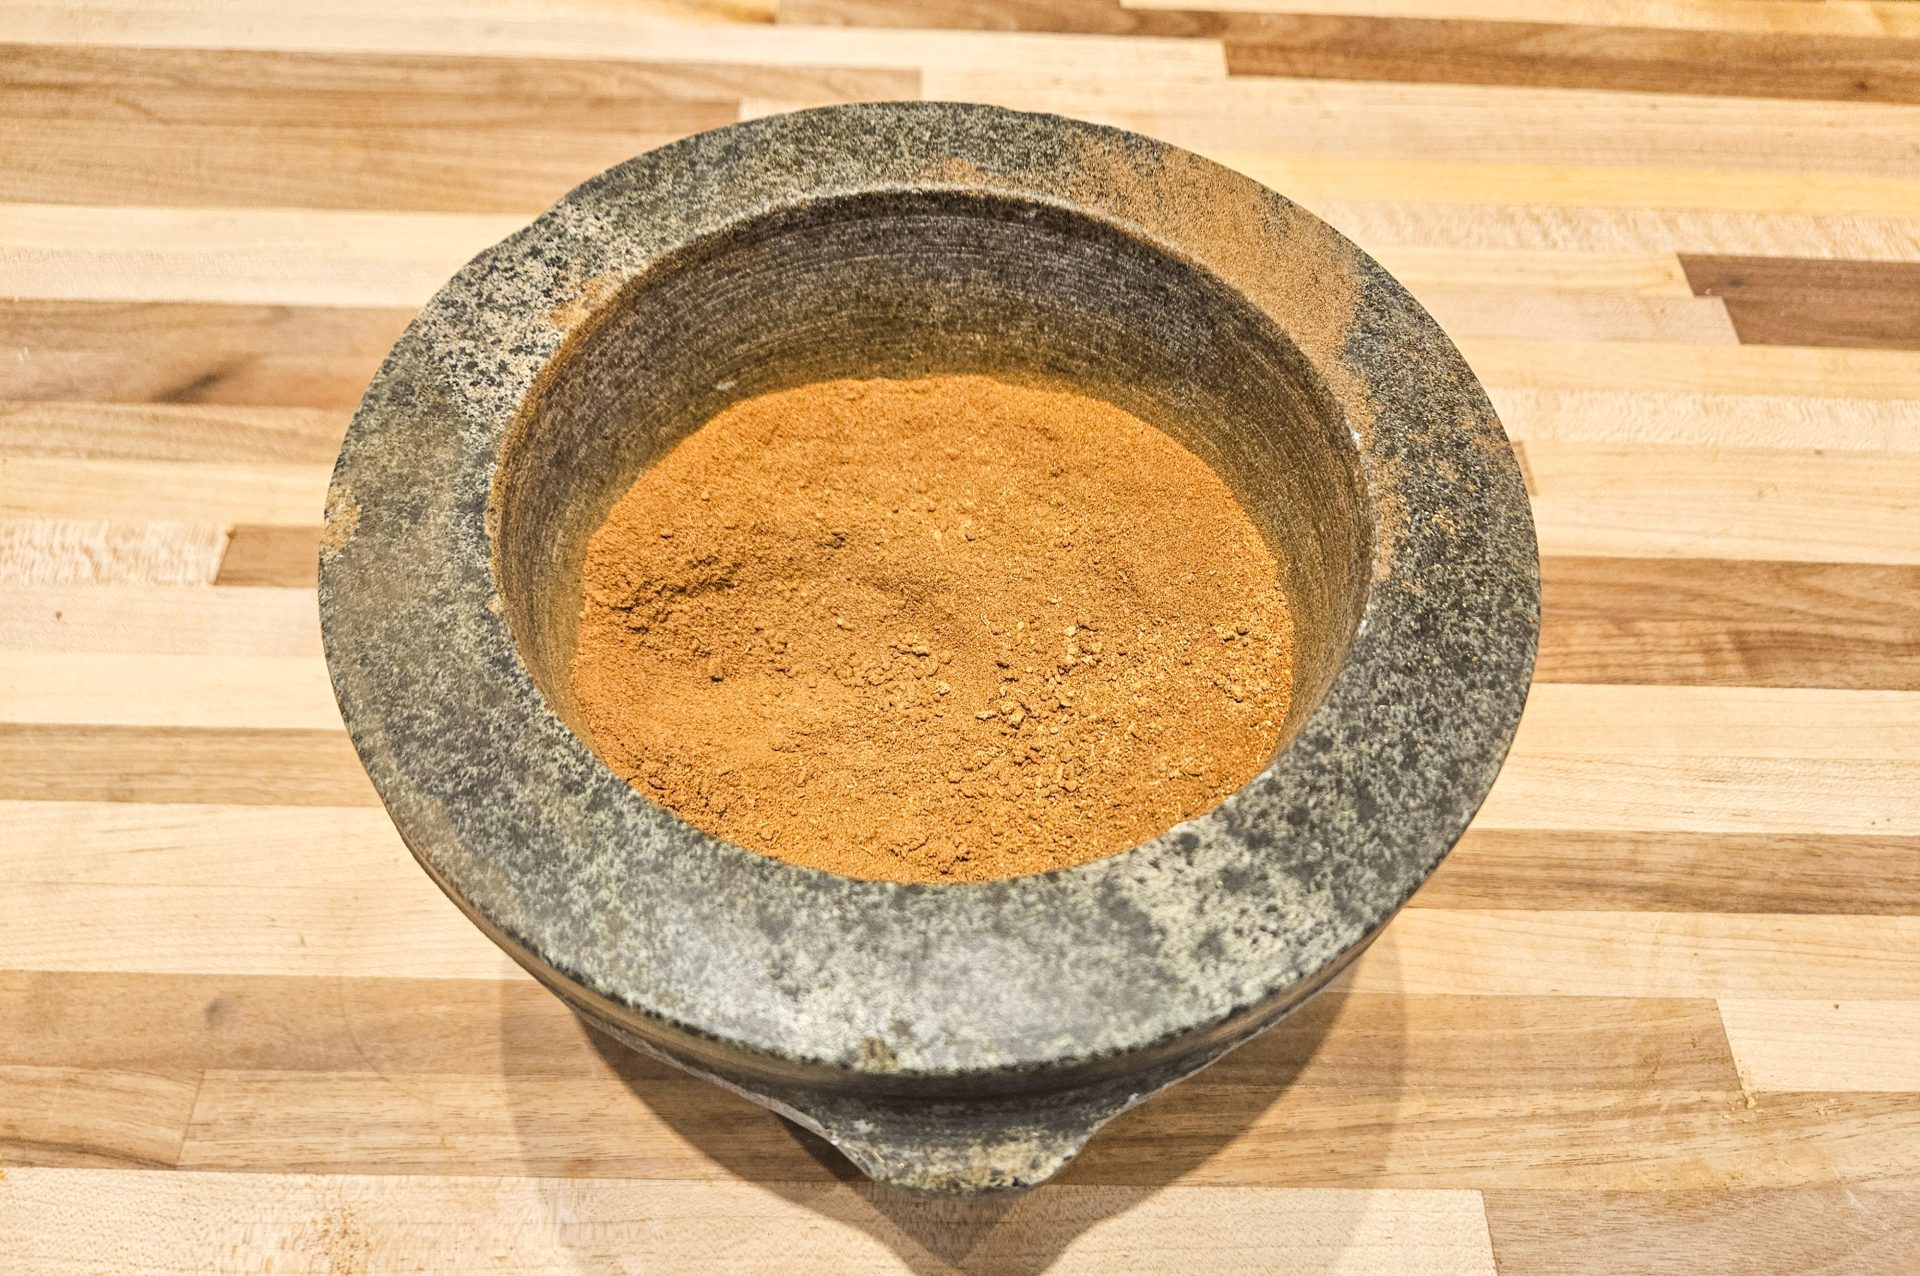
Gingerbread spice
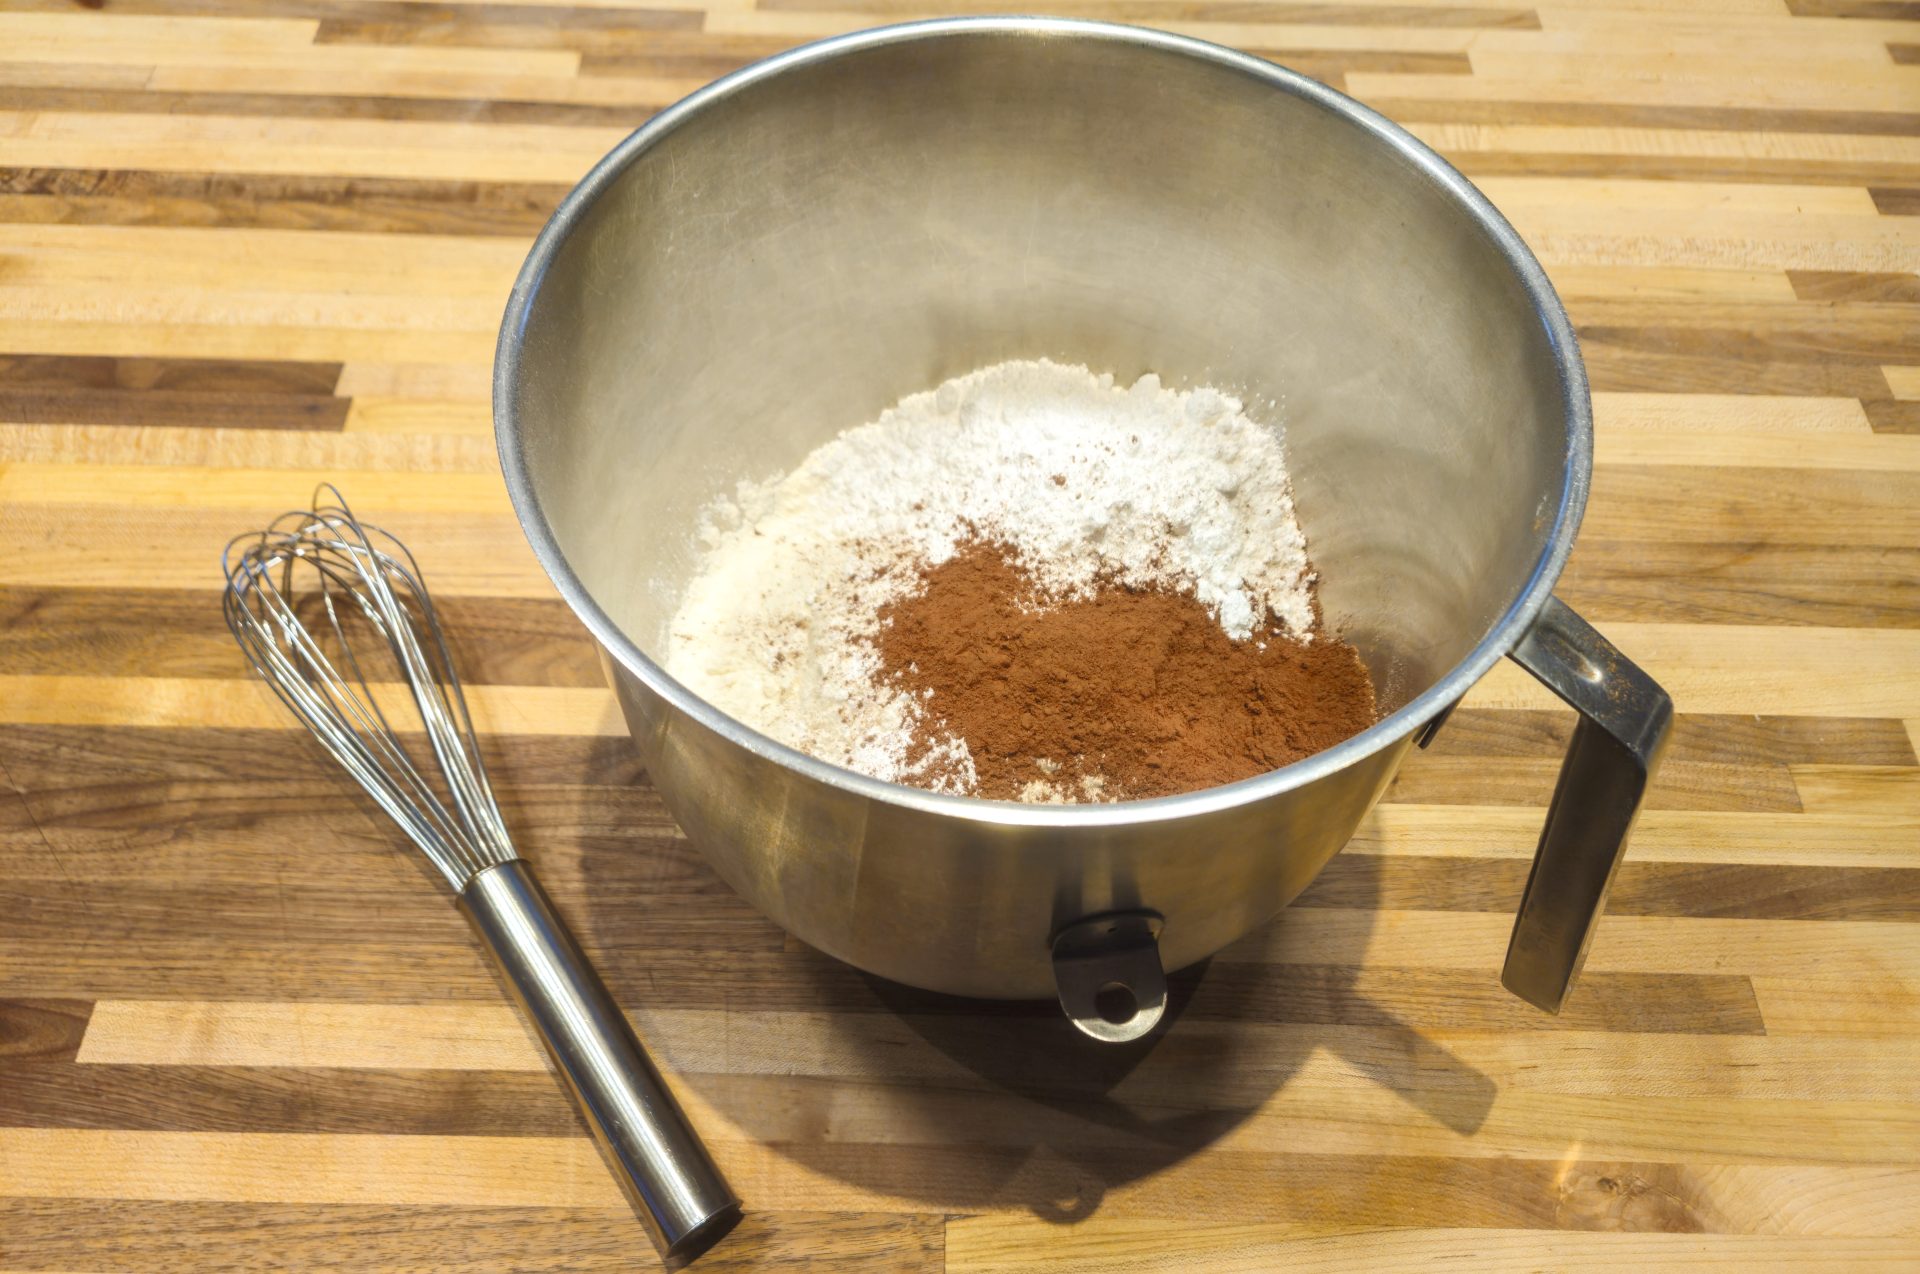
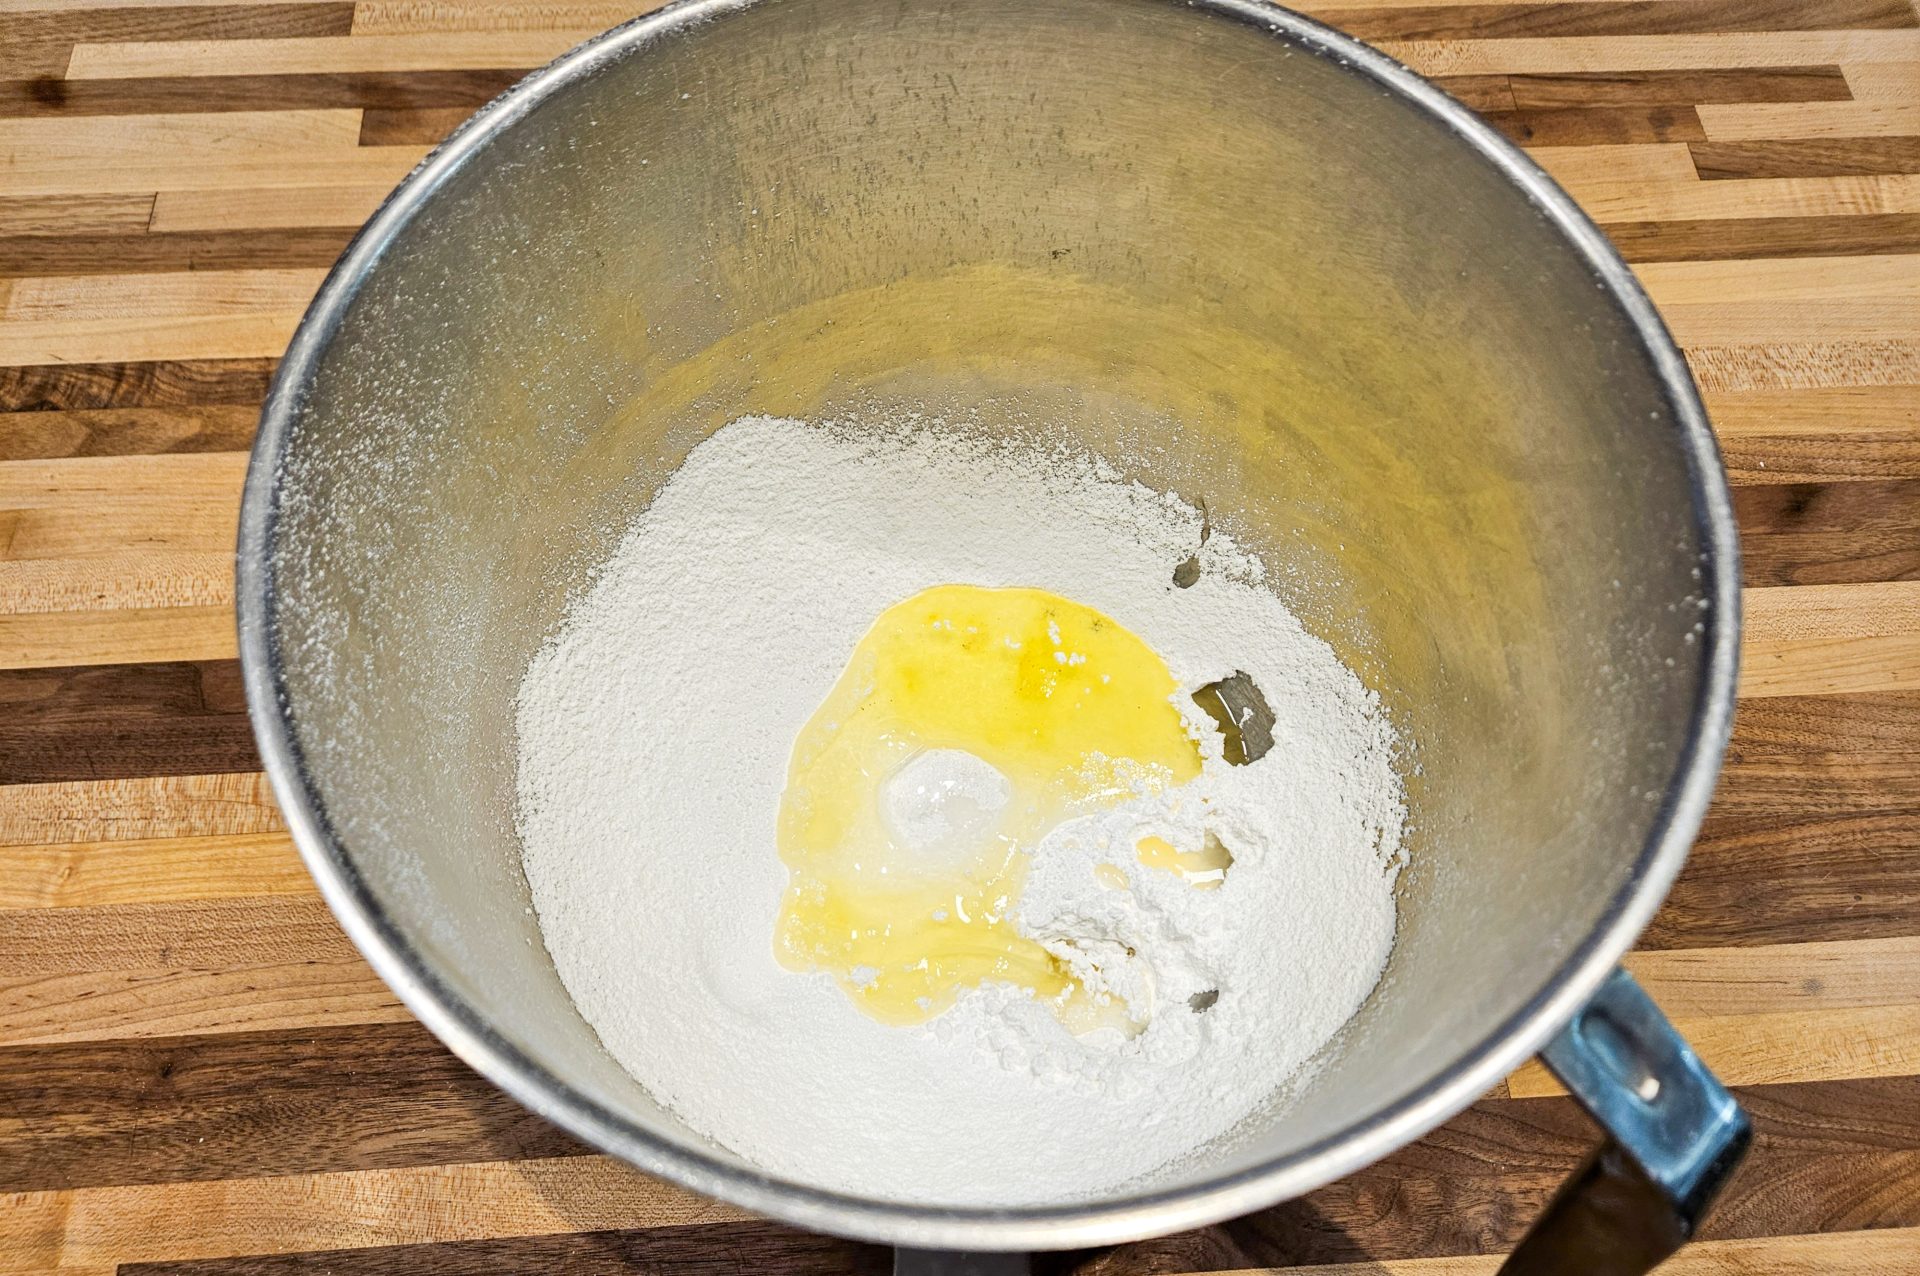
2 ½ cups of all-purpose flour
¾ cups of confectioners’ sugar
1 TSP of baking powder
2 TBSP of cocoa powder
Shortly stir together using a hand whisk until nicely combined (about 1 minute).

2 sticks (8 OZ) of butter – soft (room temperature)
¼ cup of honey
2 large eggs
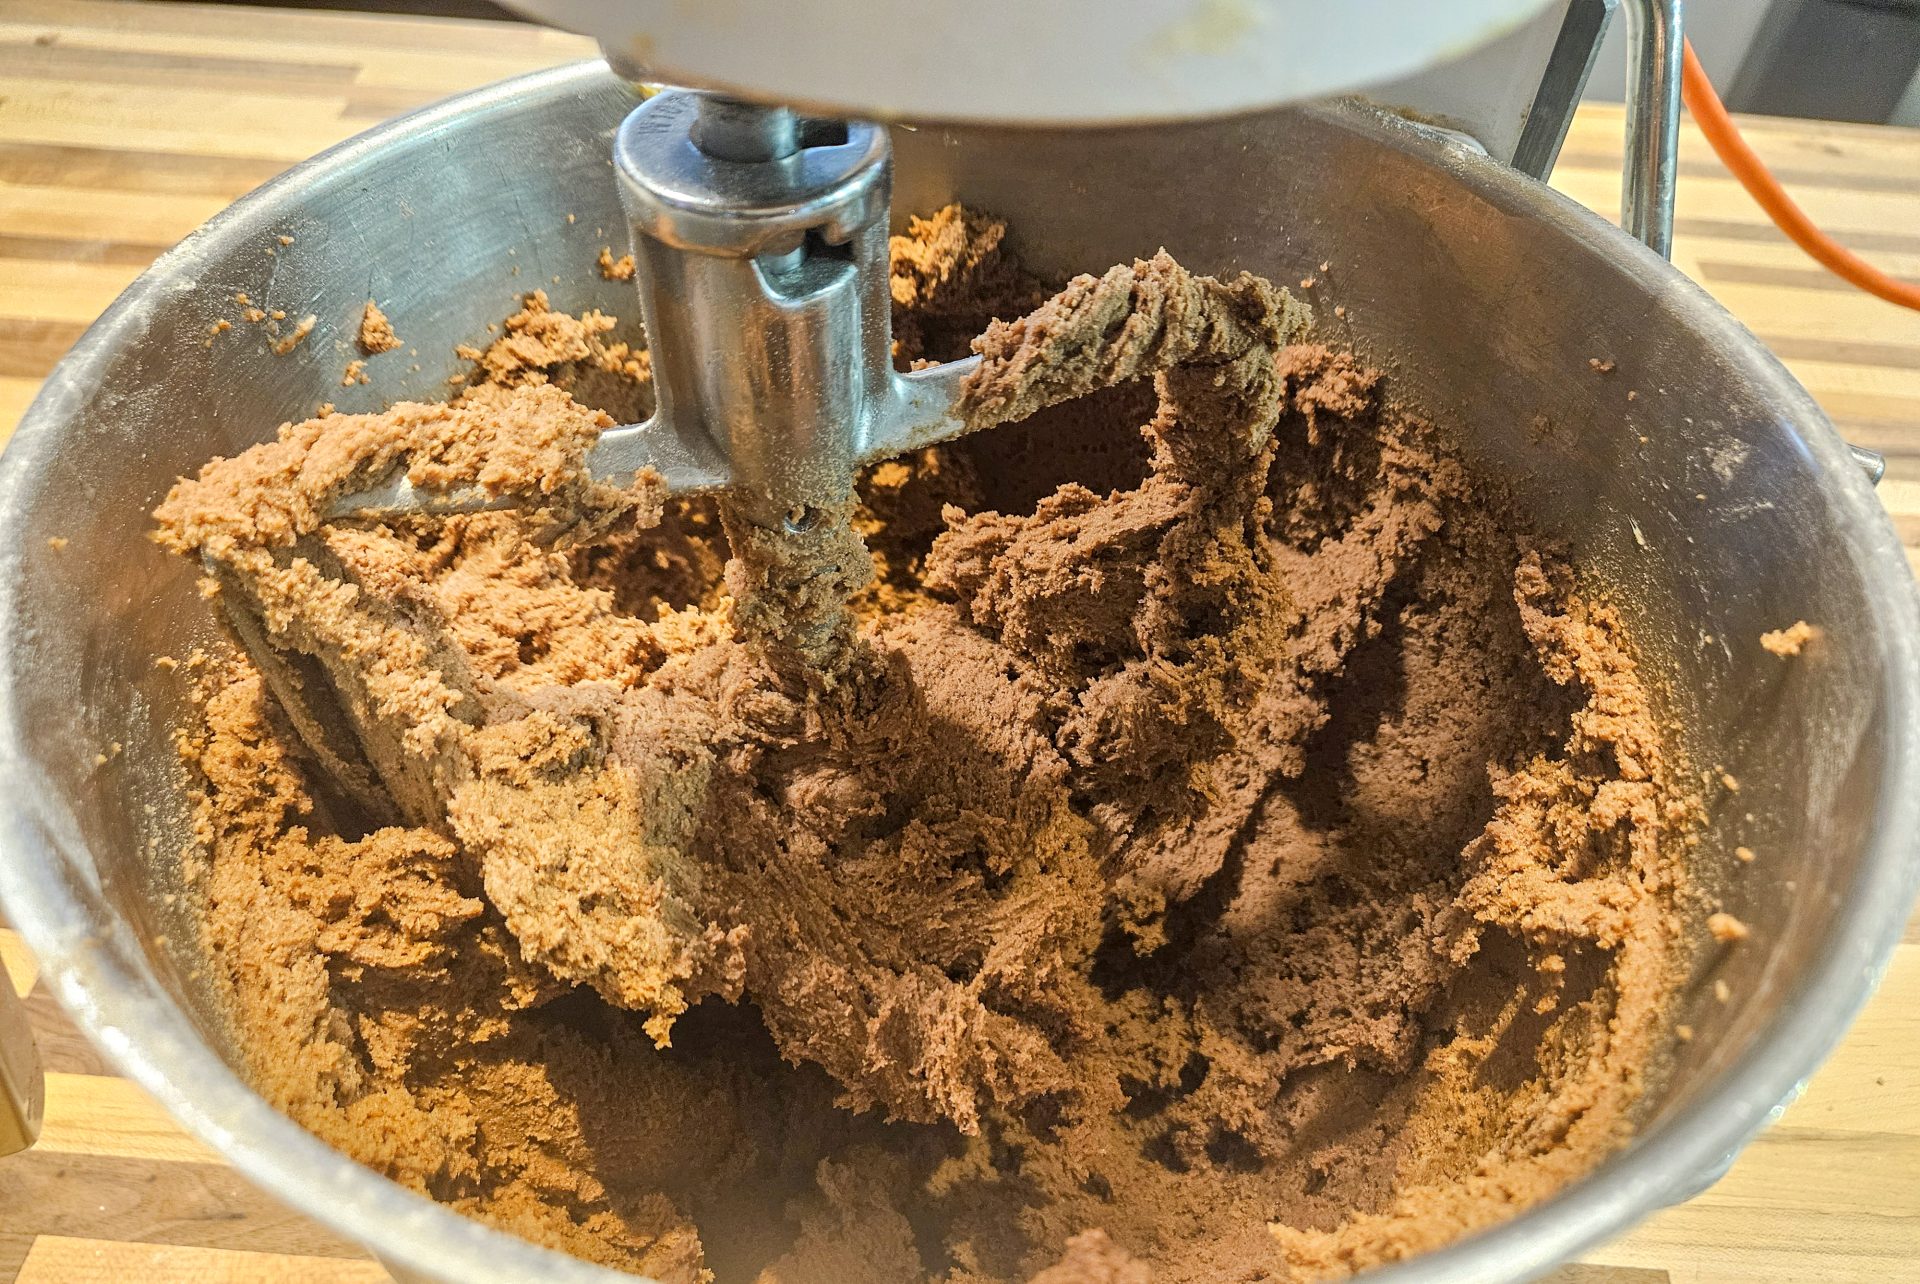
Process at a slow speed until all ingredients are partially combined.
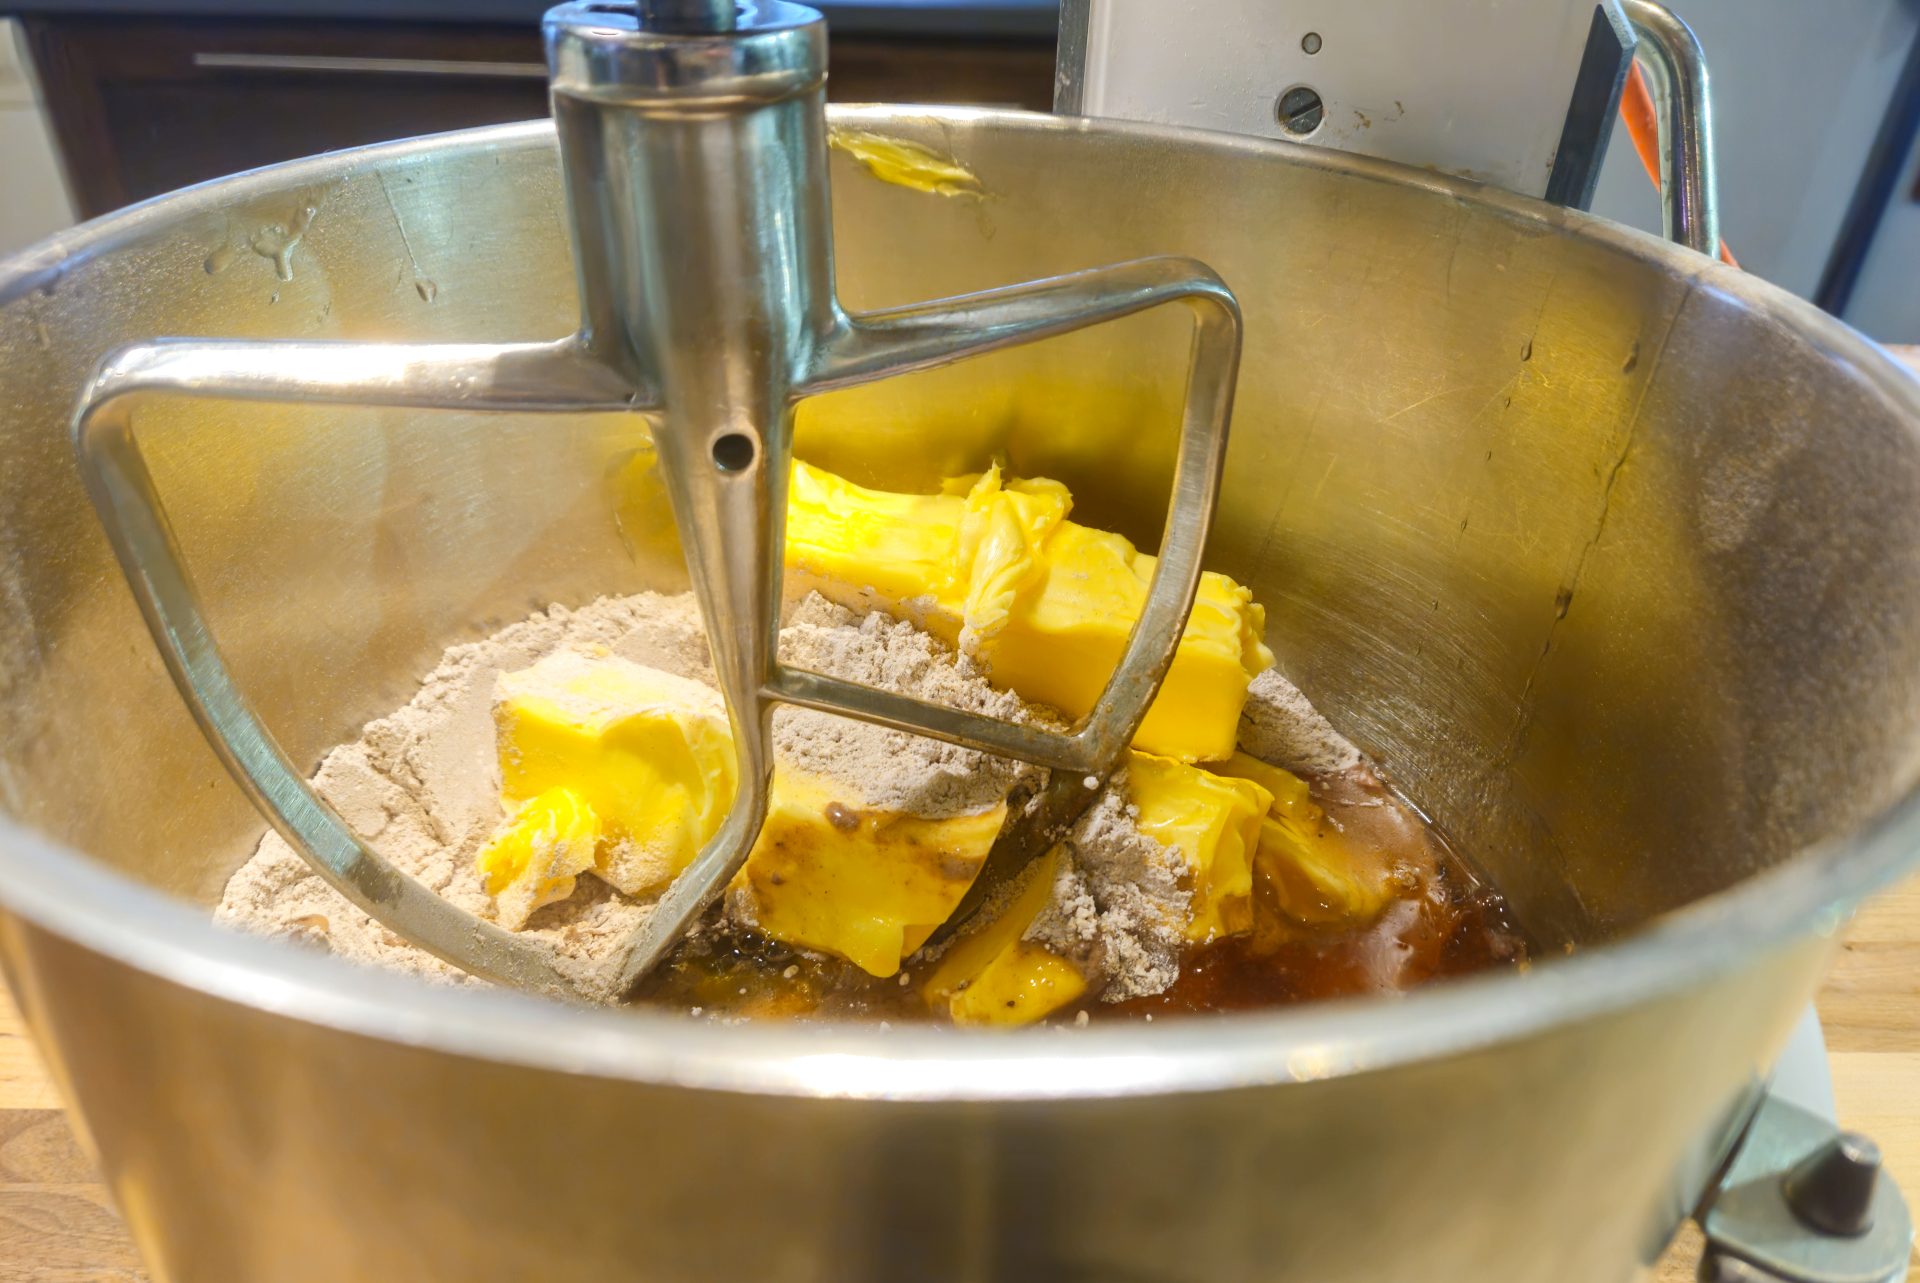
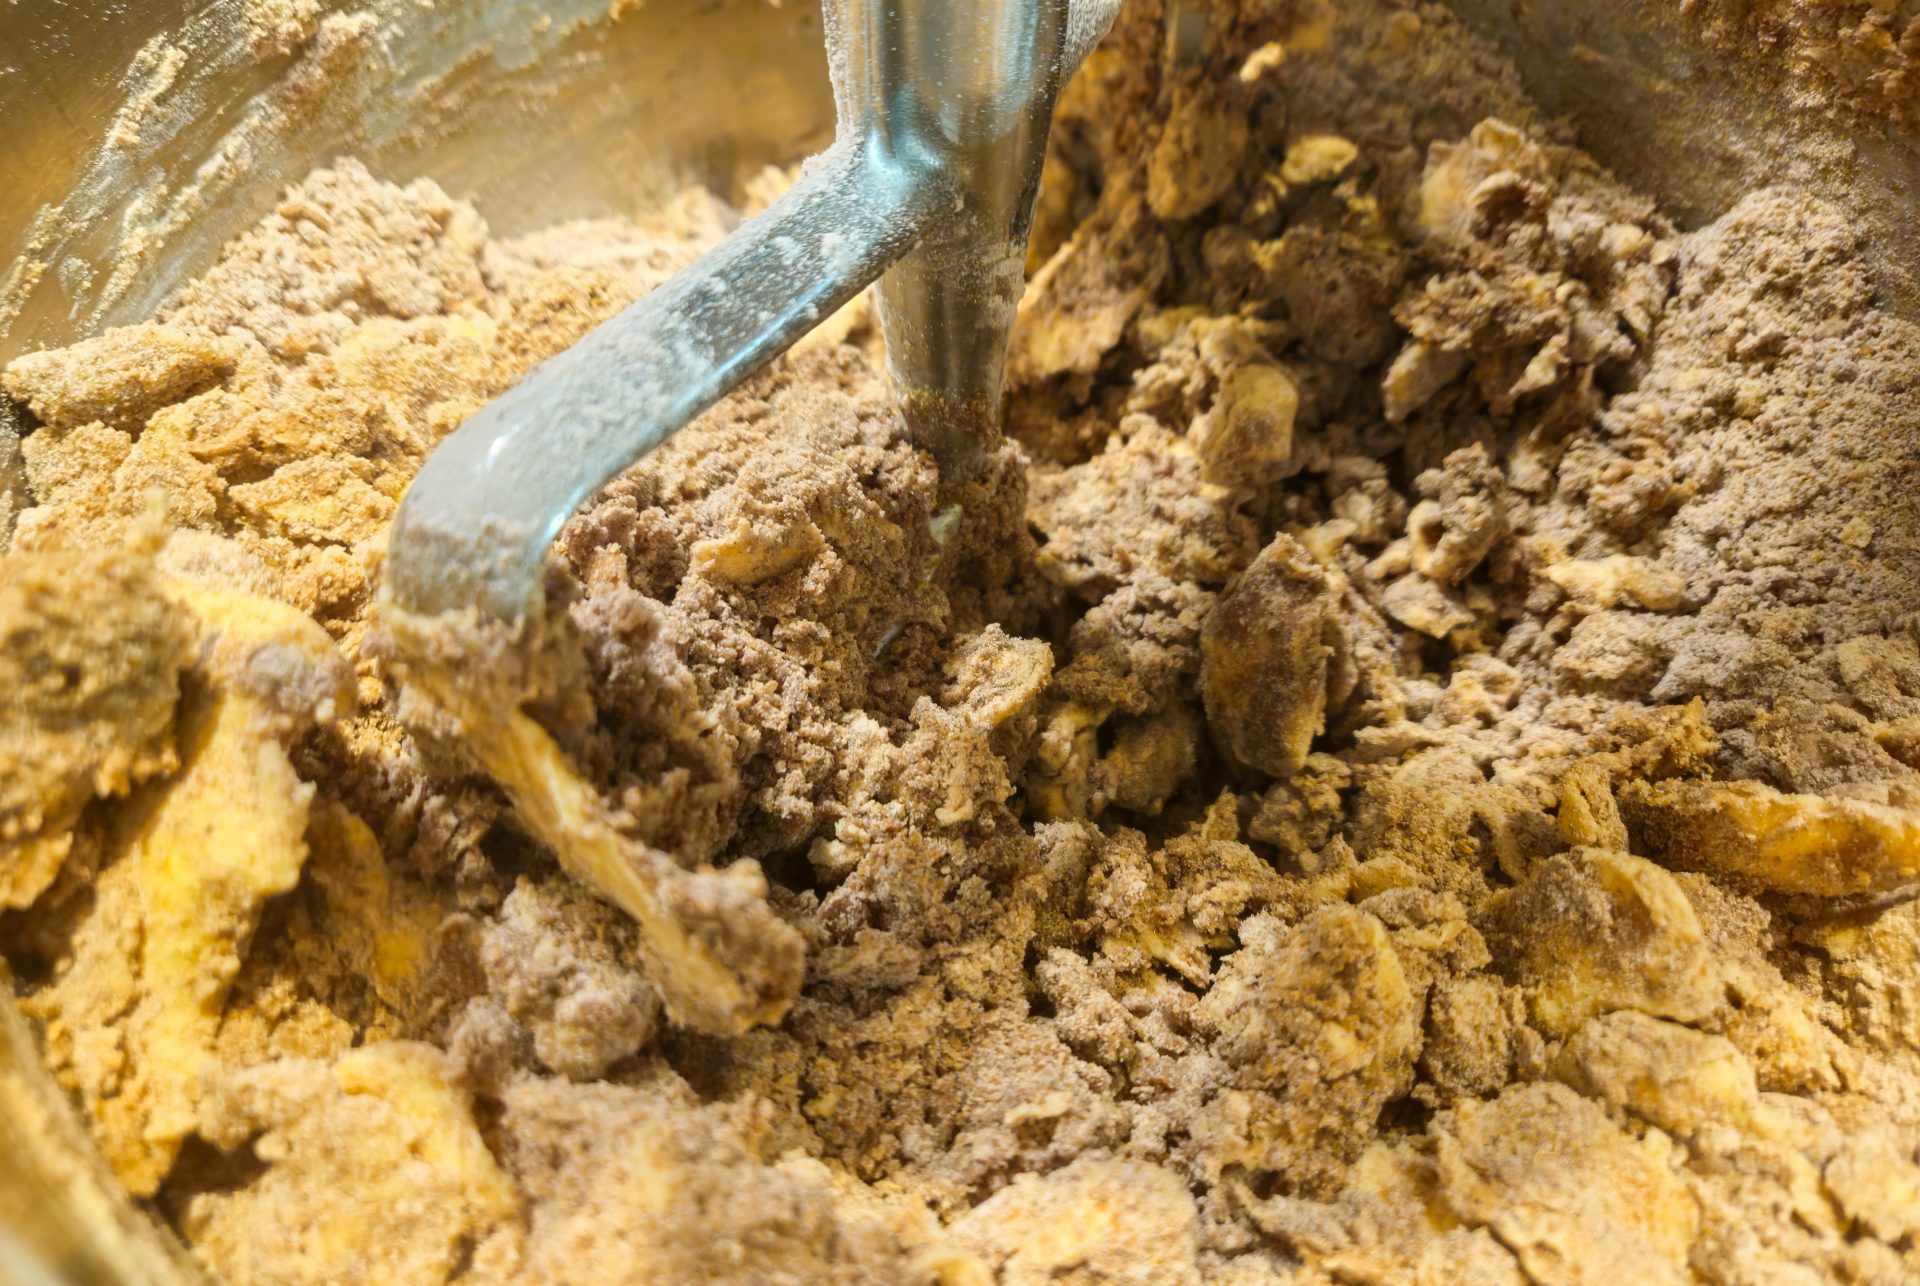
Note: The cookie dough will be sticky after processing. It will harden during the following resting time in the fridge
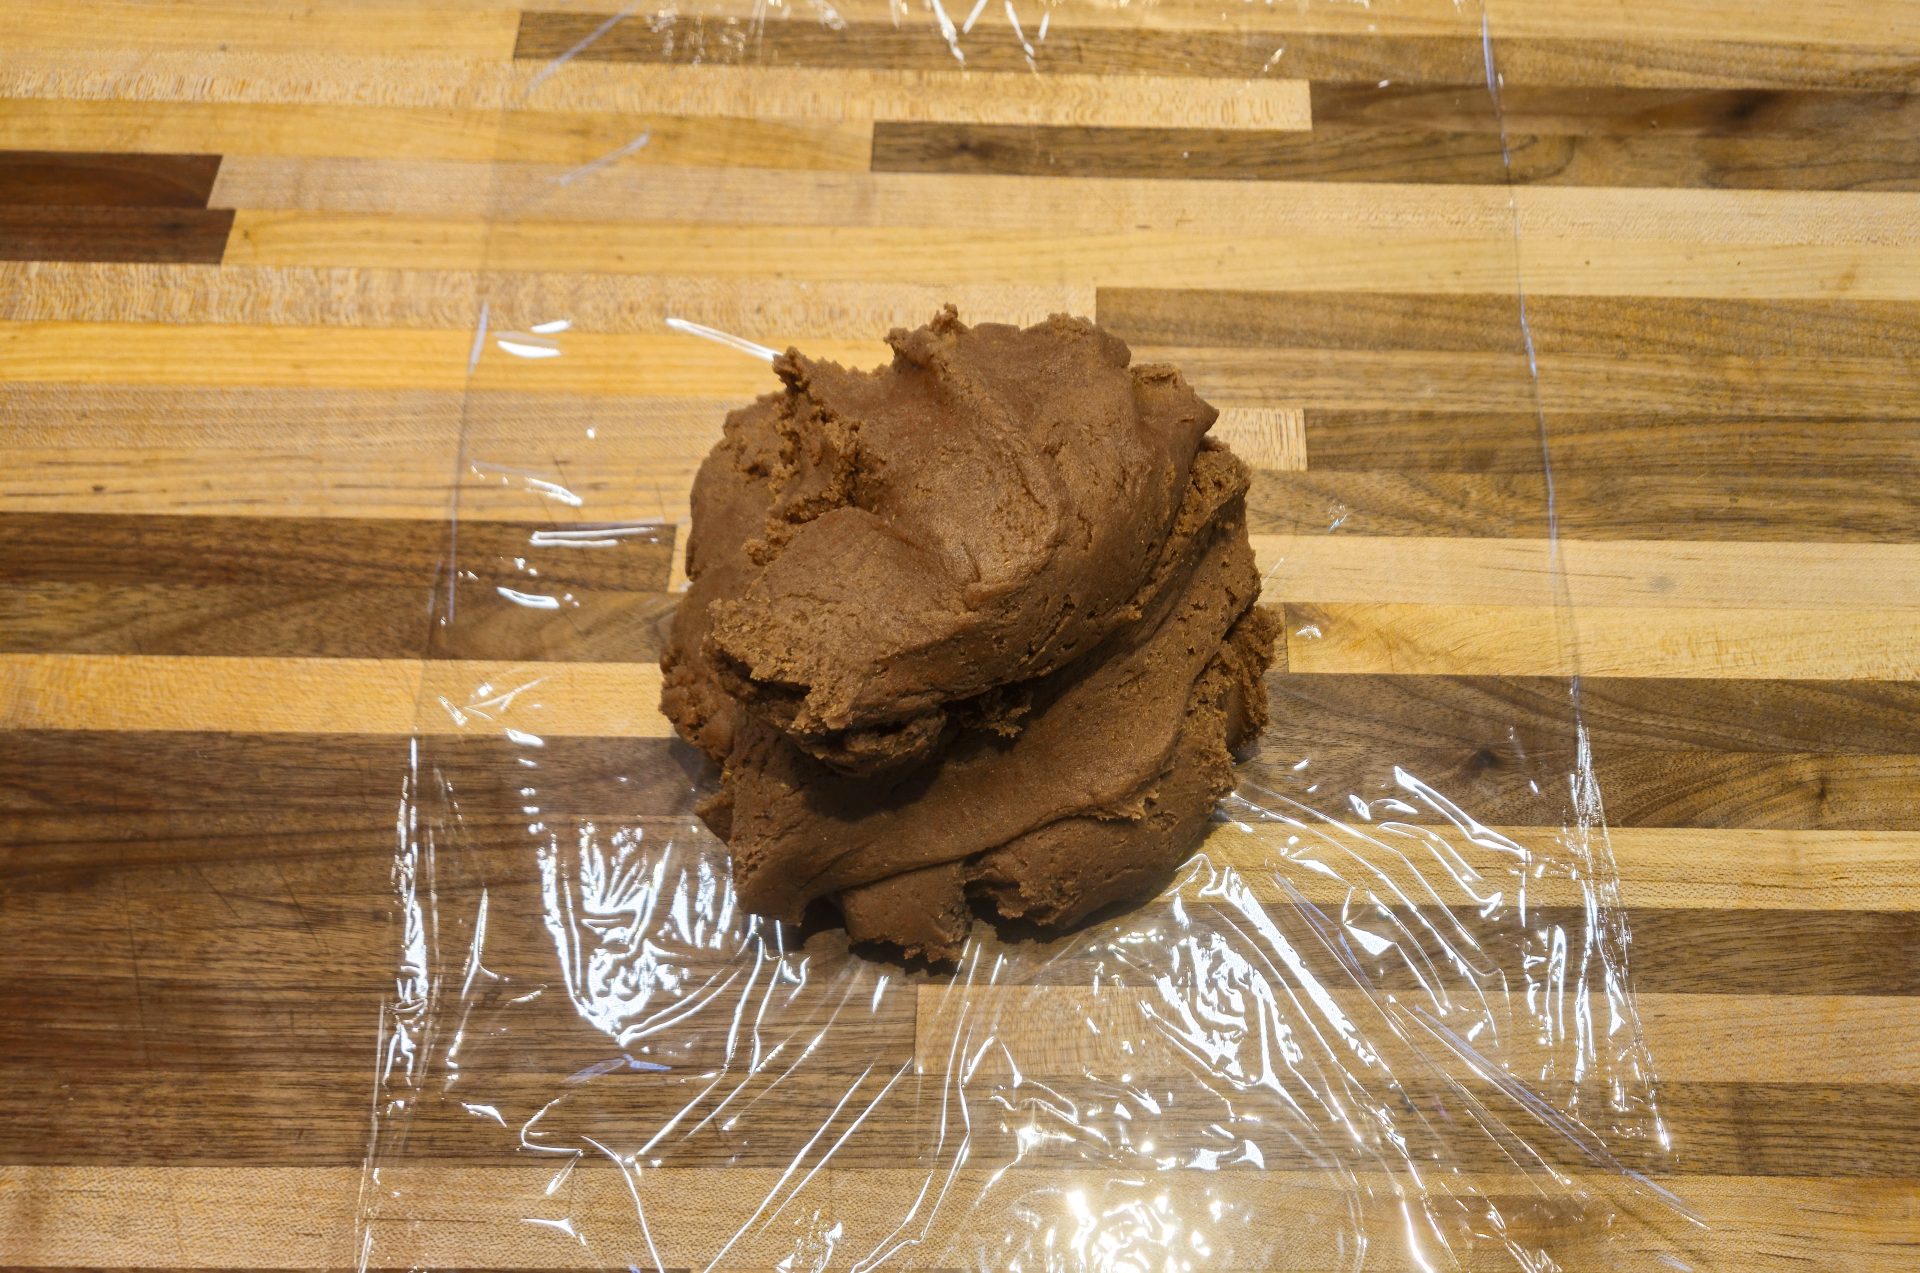
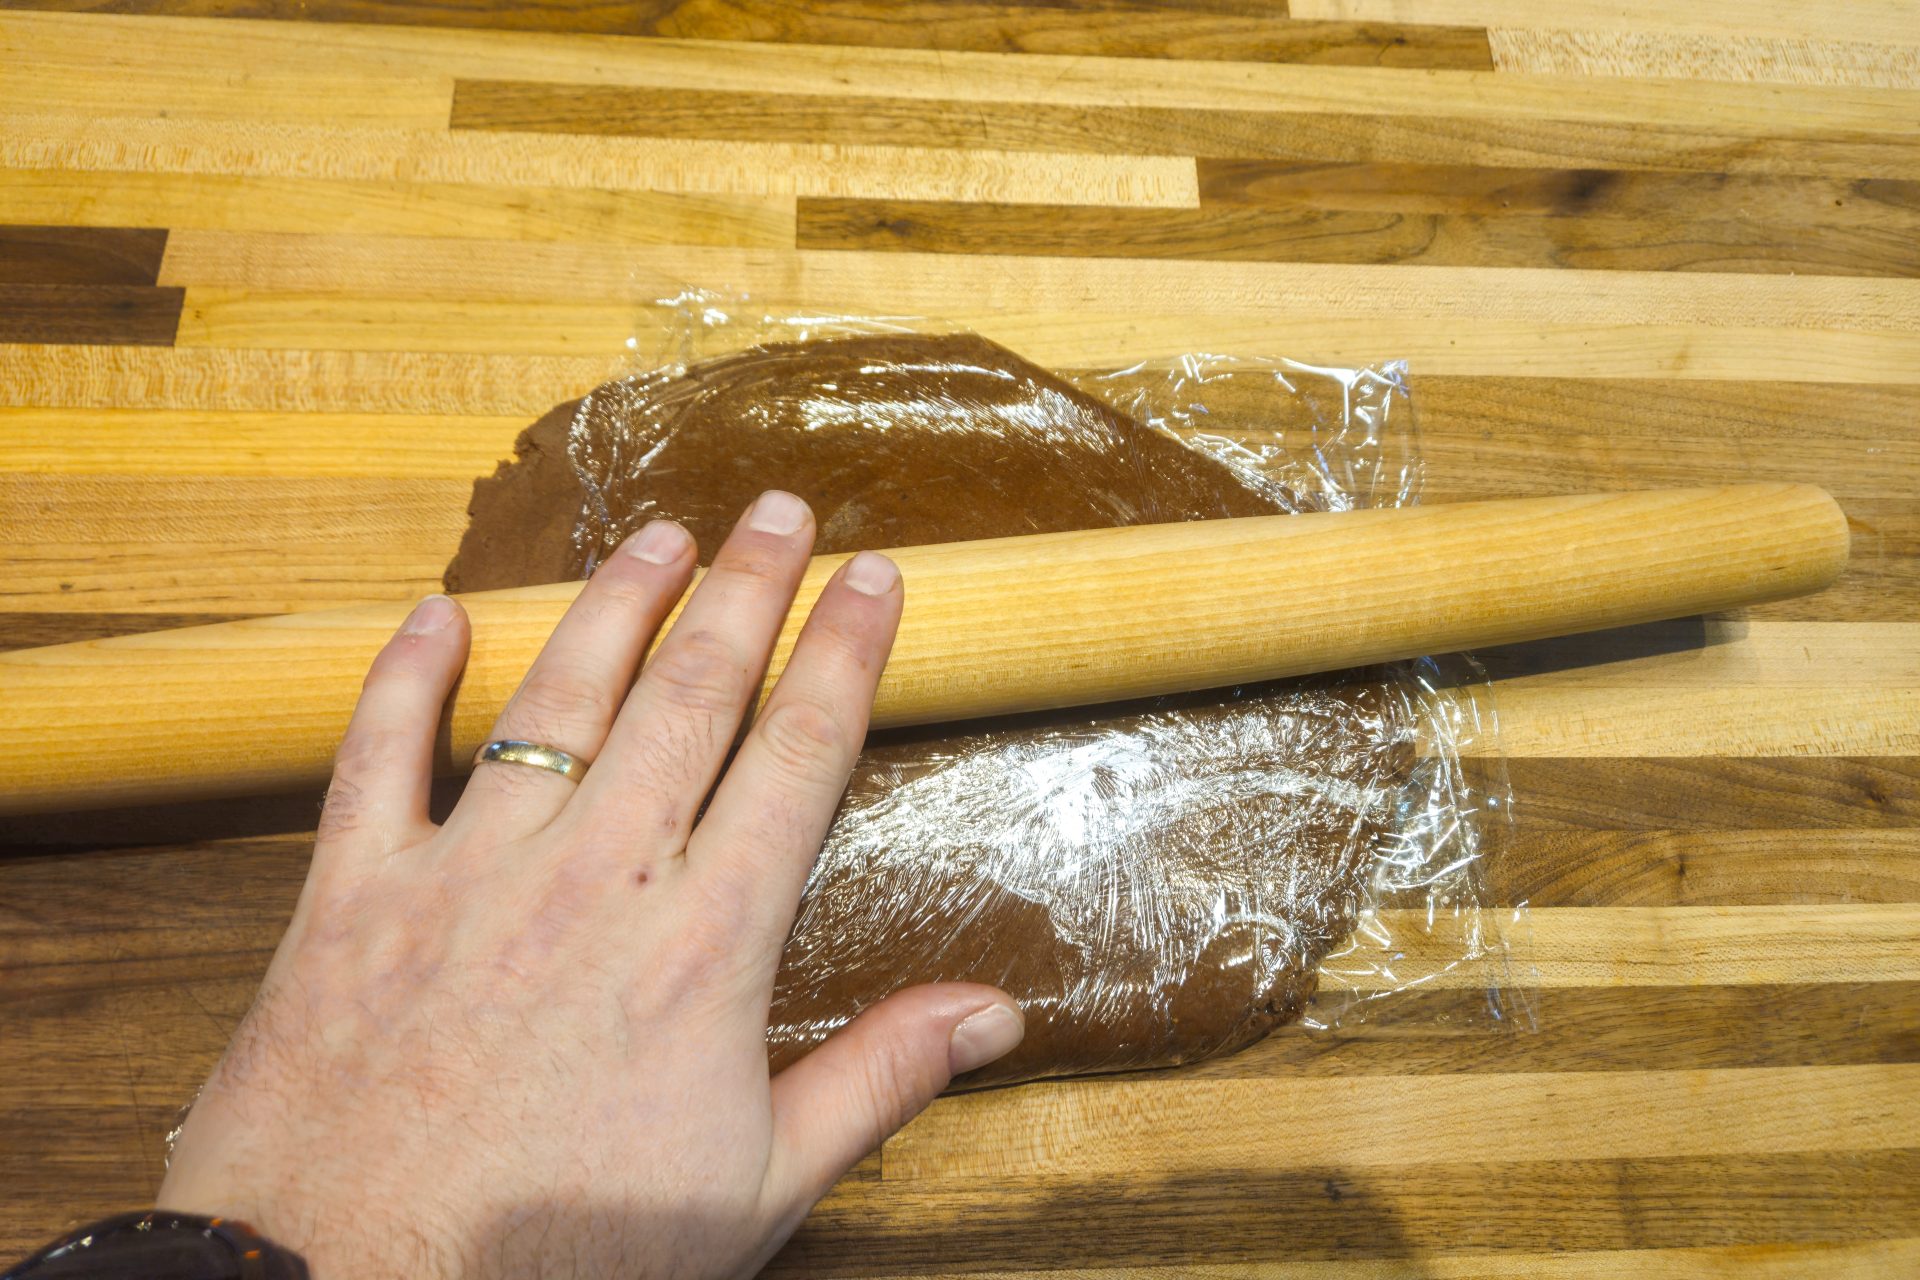
Wrap the dough with plastic wrap (scoop it on the wrap and then cover it with the wrap). If you want to work with the dough soon, form it into a disk, not into a roll shape).
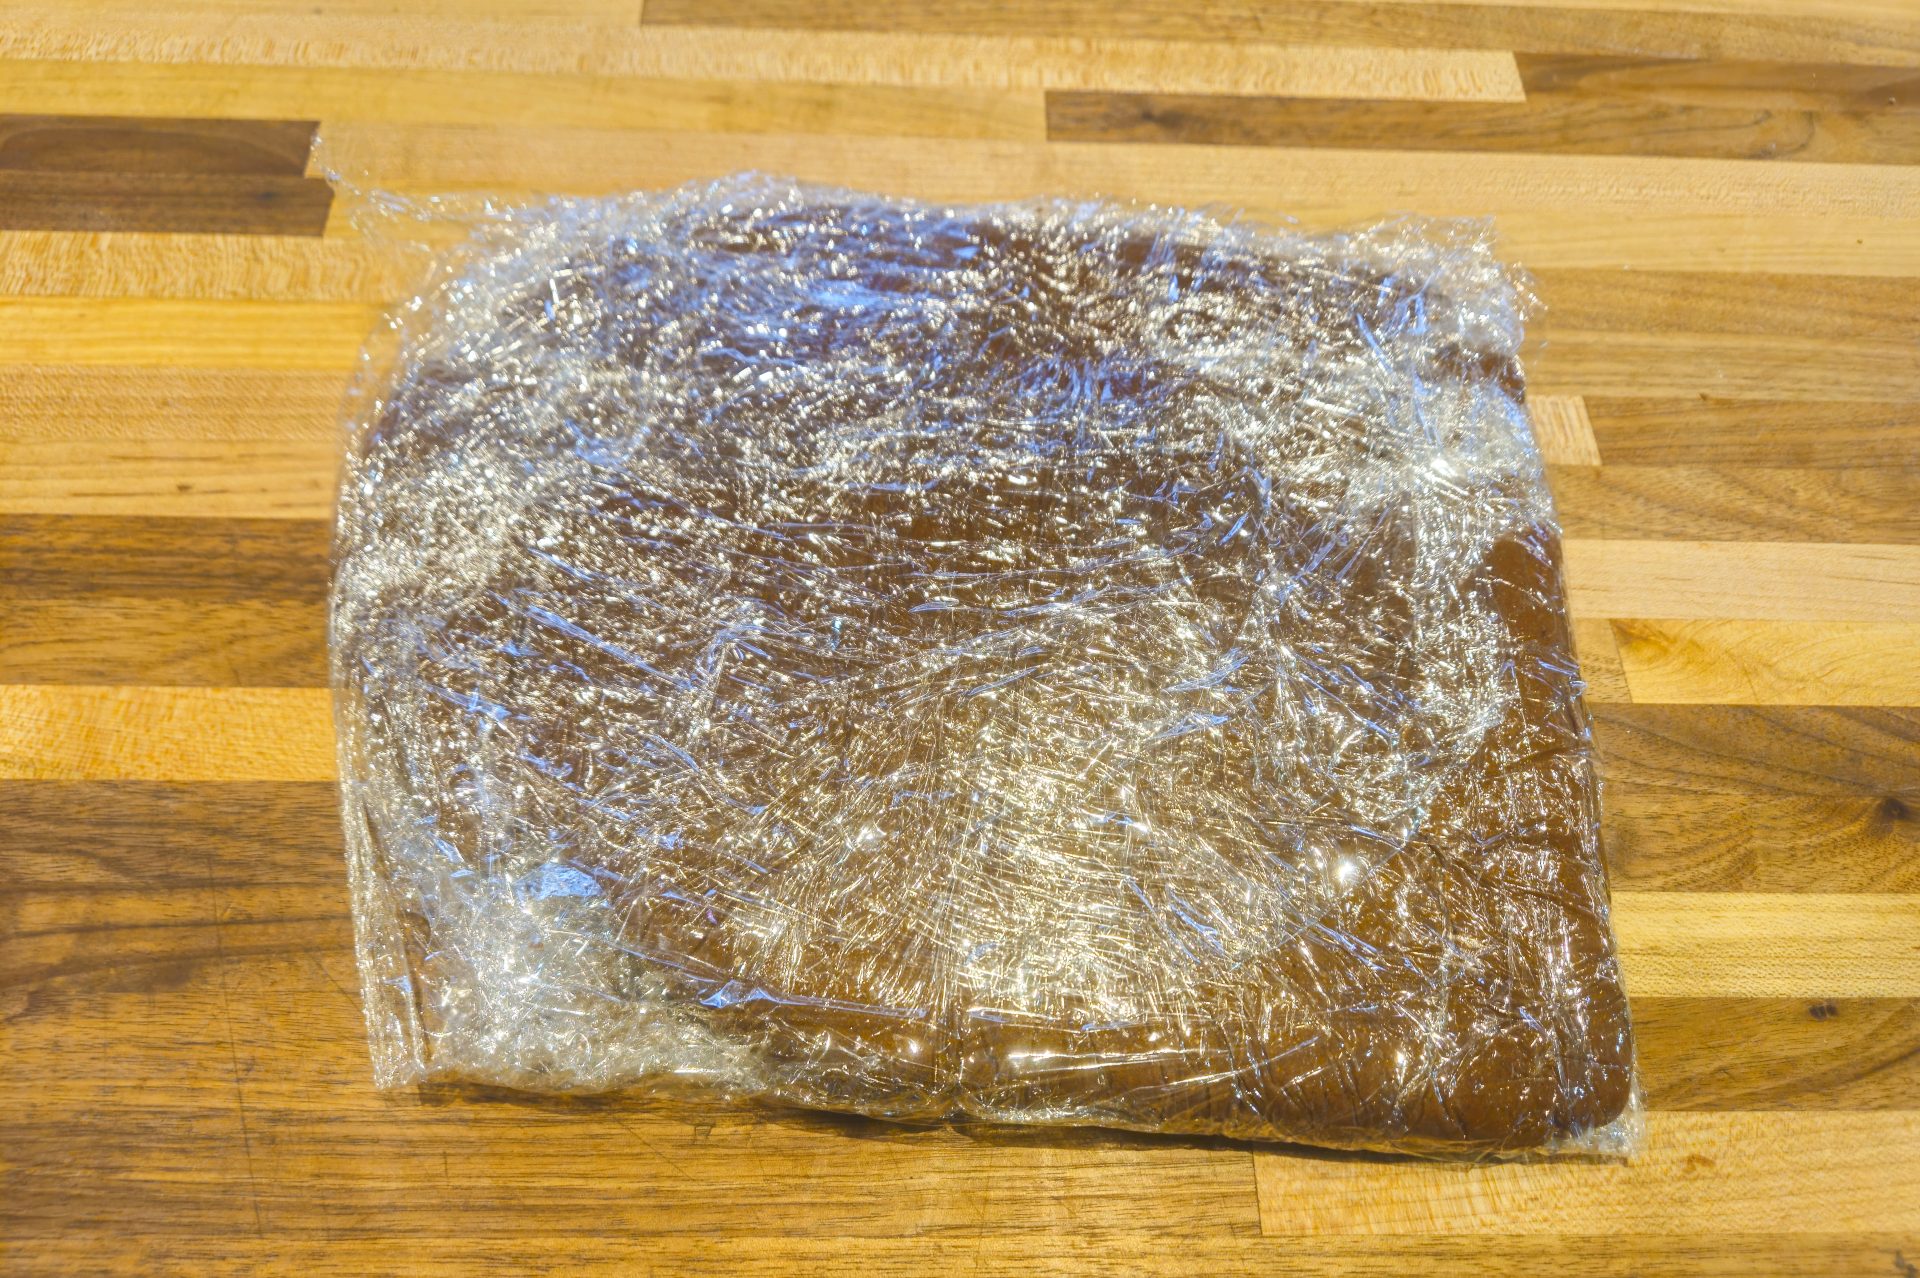
Important: If the dough in the refrigerator fully hardens (if left for a longer time, for example, overnight), remove from the refrigerator about half an hour before cutting to hearts.
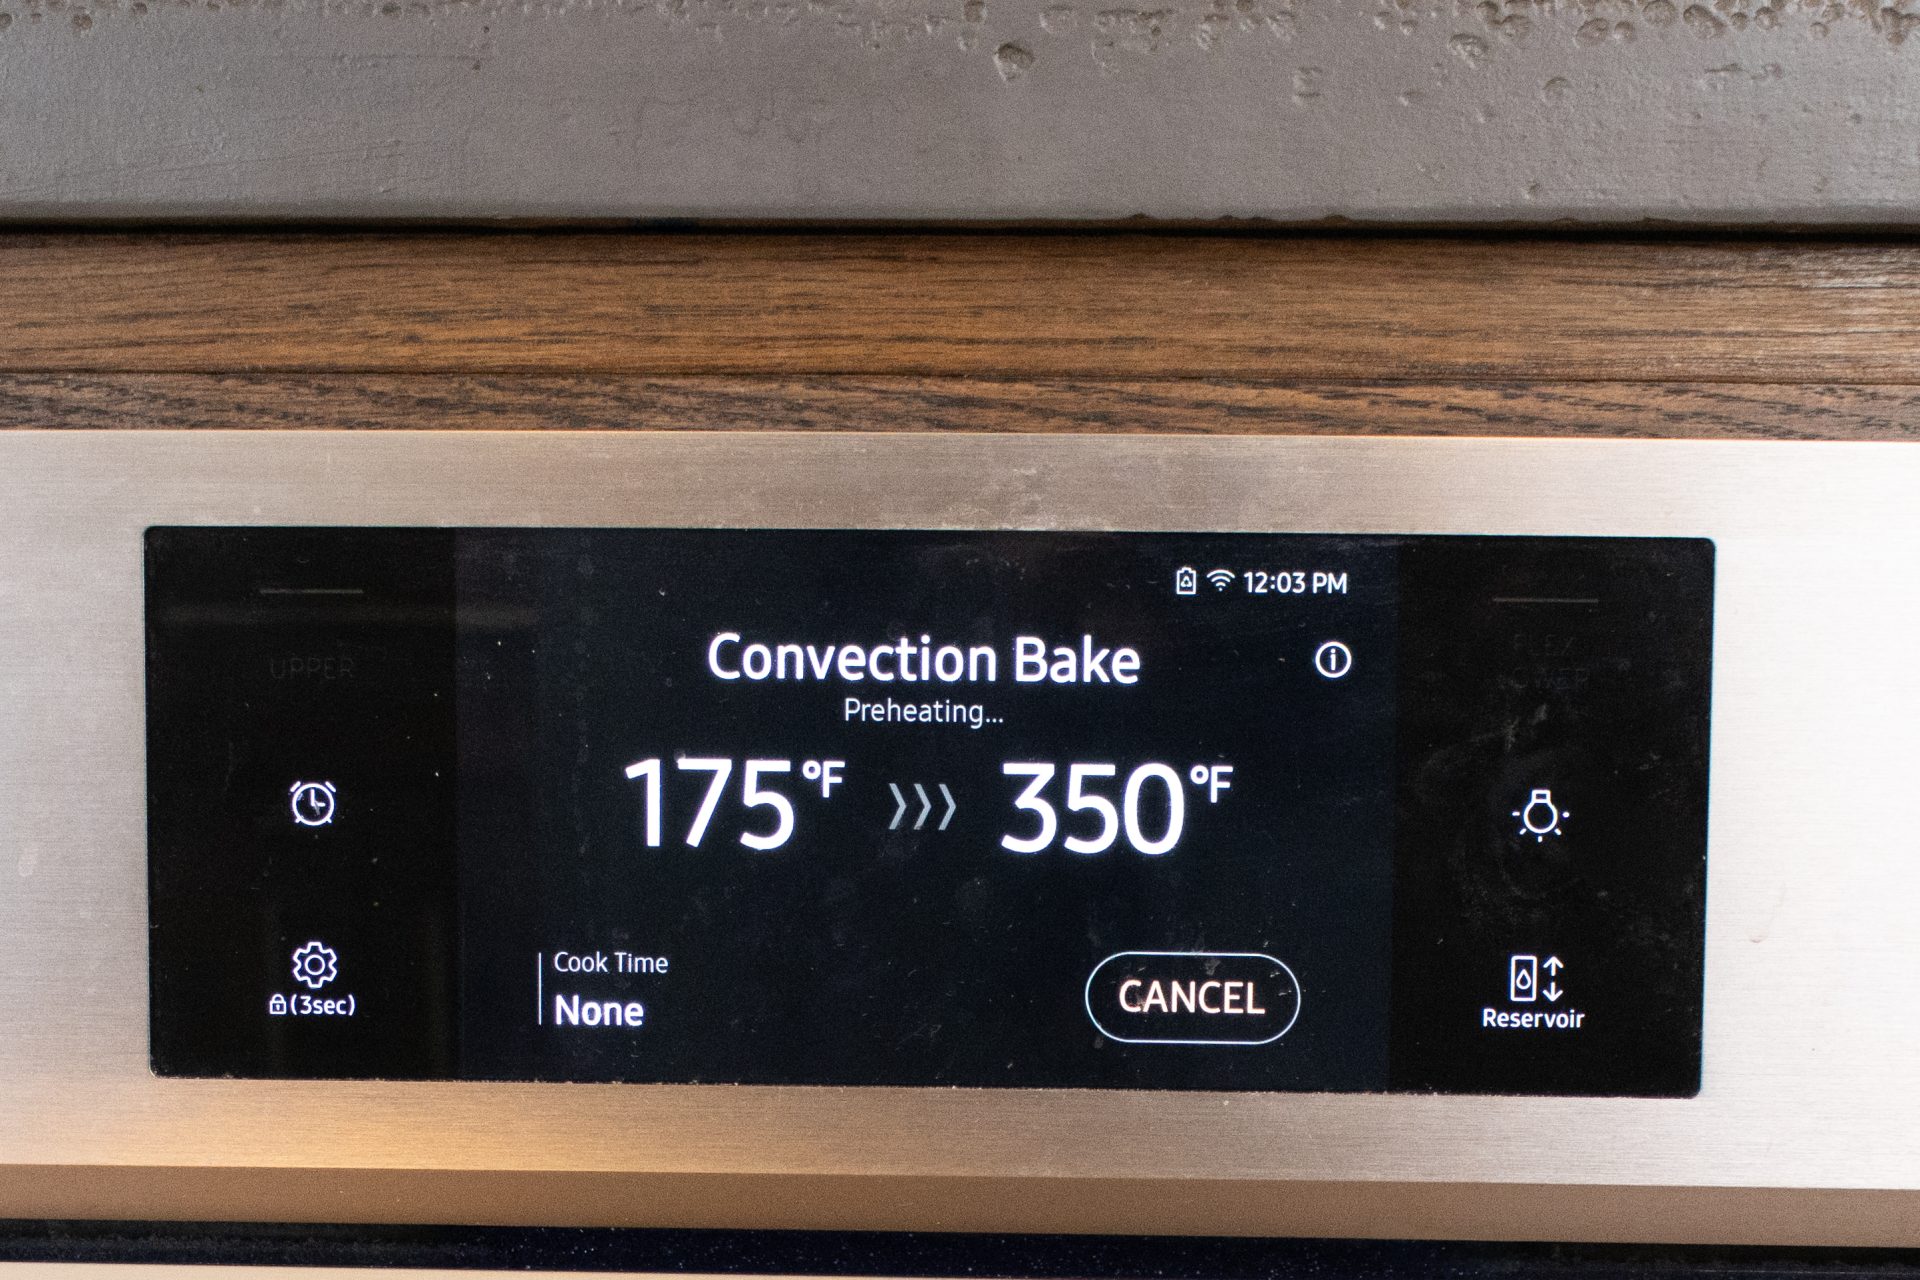
Preheat the oven to 350°F.
Download it by clicking below.
Notes:
Place the dough on a floured surface and lightly flour the top of the dough.
Using a rolling pin, flatten the dough into about ¼” – 3/8” thickness (based on your preference). If the dough starts sticking, add flour.
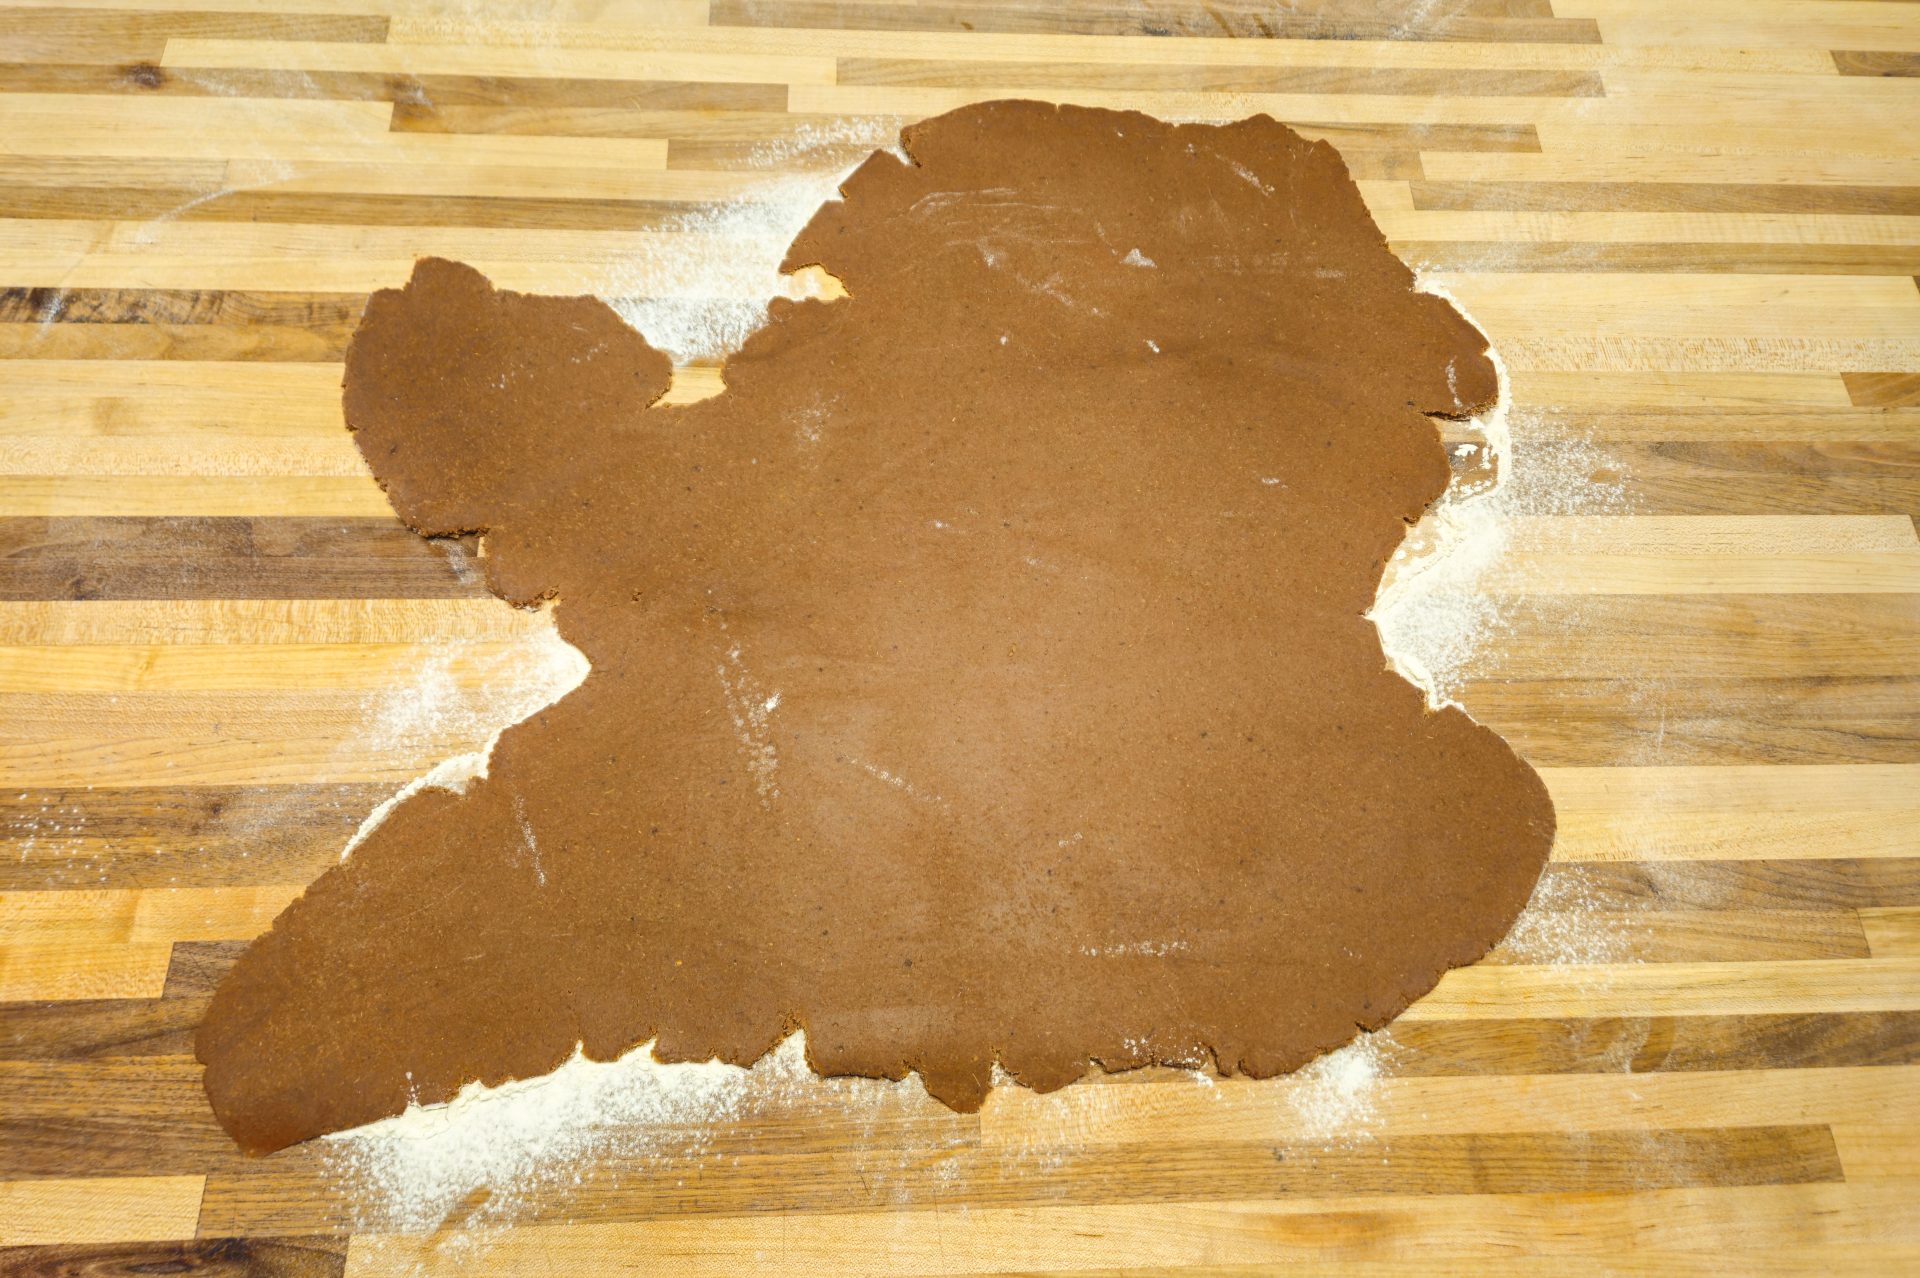
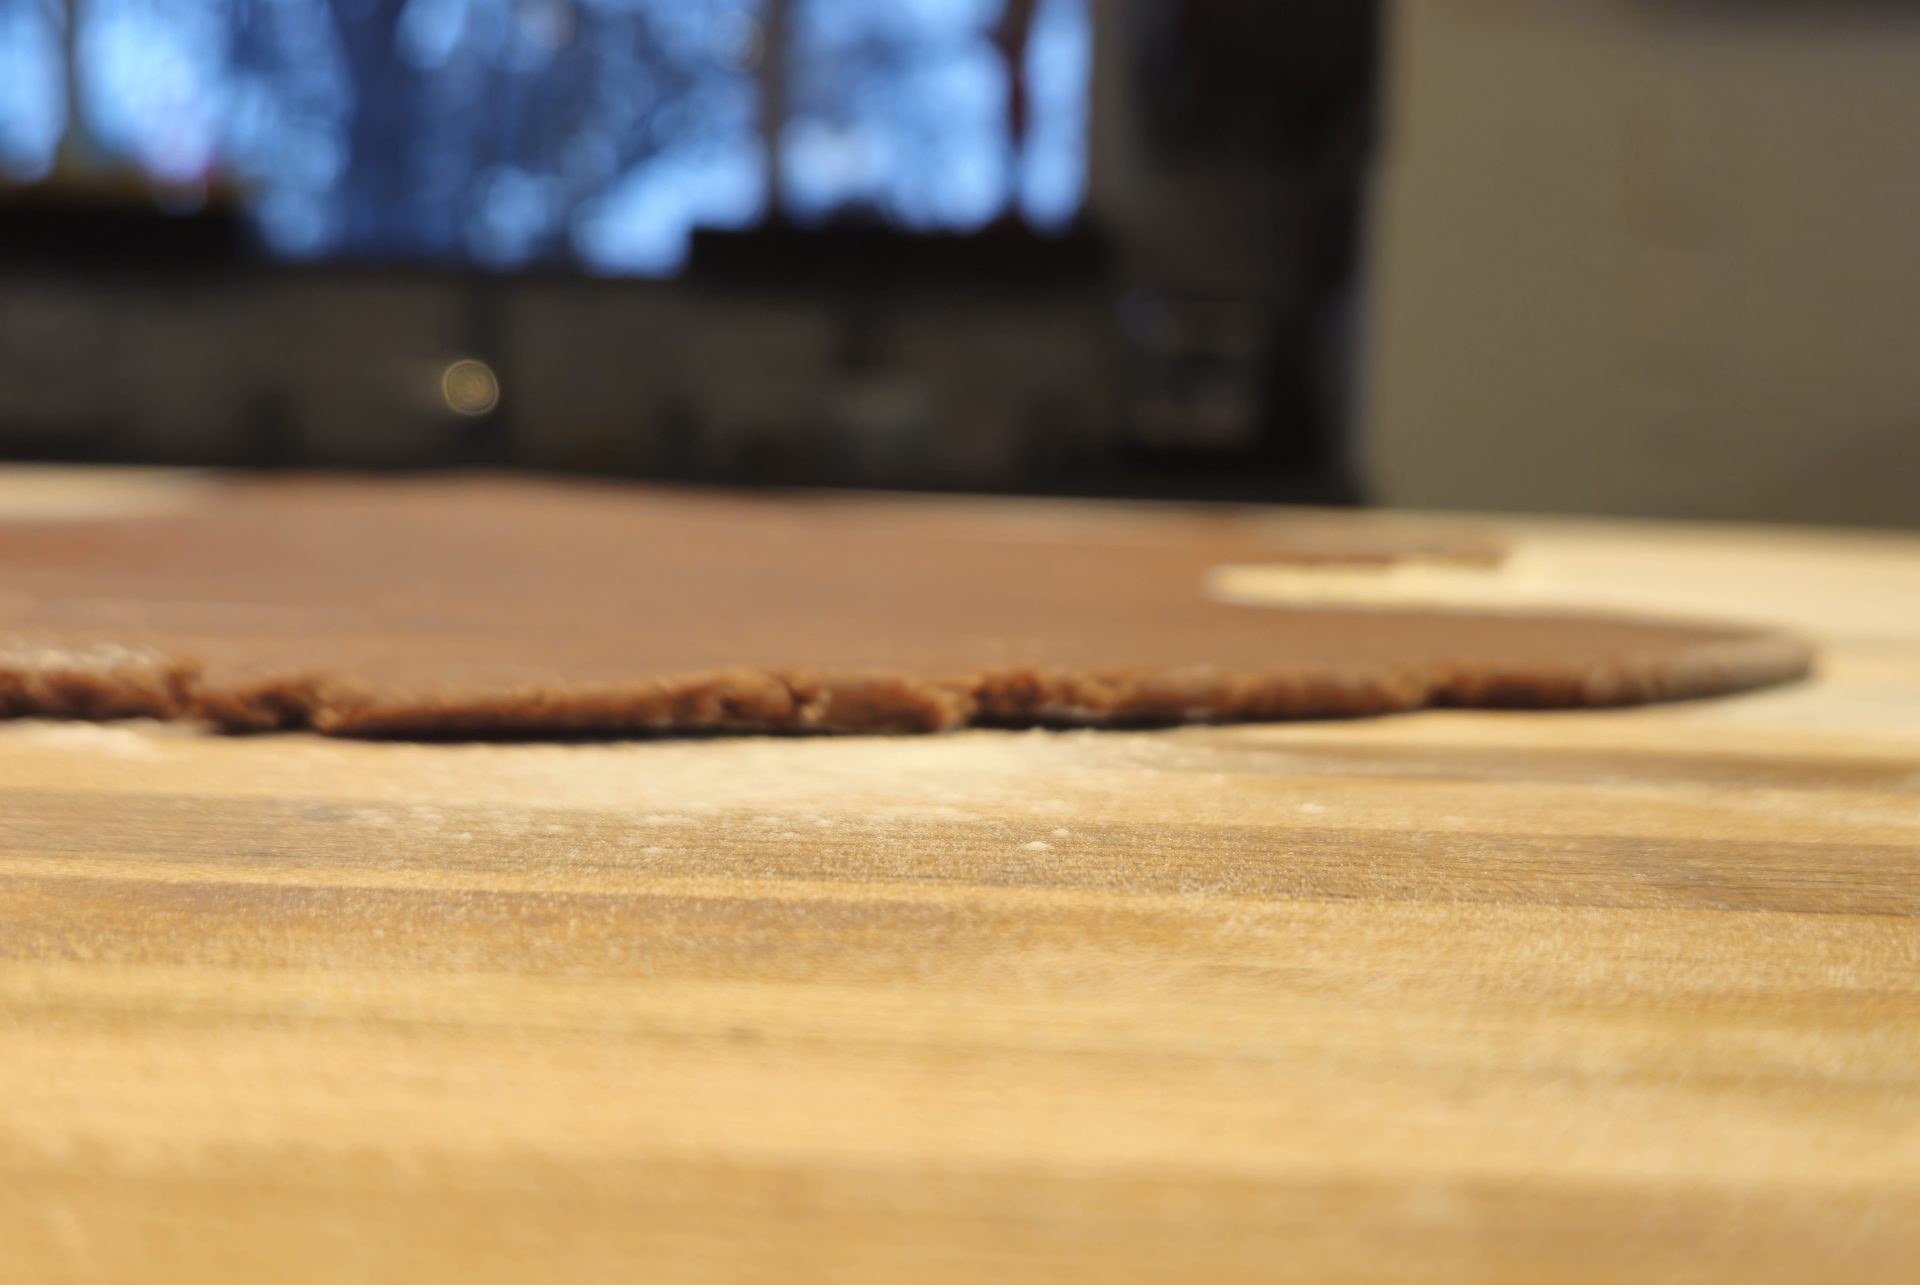
Cut the dough into heart shapes using the template abovethe recipe or your templates.


Important:
Make sure they are not touching each other.
Tip:
From the dough leftovers, cut a few bonus cookies for the baker 😊. Or, to make it even easier, place the leftover dough on the baking sheet and bake it along with the hearts (they will not look as pretty, but they will taste just the same).
Bake in a preheated oven until fully baked. The surface turns from a doughy texture to a solid but slightly fluffy (about 15 – 20 minutes) texture.
Important:
If the dough is flattened unevenly (even just slightly), each cookie can have a slightly different baking time, so closely watch when you get close to the end of baking and remove each, one by one, if necessary.
1 egg
3 TSBP of milk
And thoroughly whisk.
Note:
The oven’s heat will cook the egg and give each cookie a shiny surface.
Note:
The heart shapes are very large, which makes them more fragile than smaller cookies. Not moving them before they are fully cooled will prevent cracking.
Tom the Chef FounderSeparating eggs isn’t as hard as many people think. Become a master of this important cooking technique with info from my article.
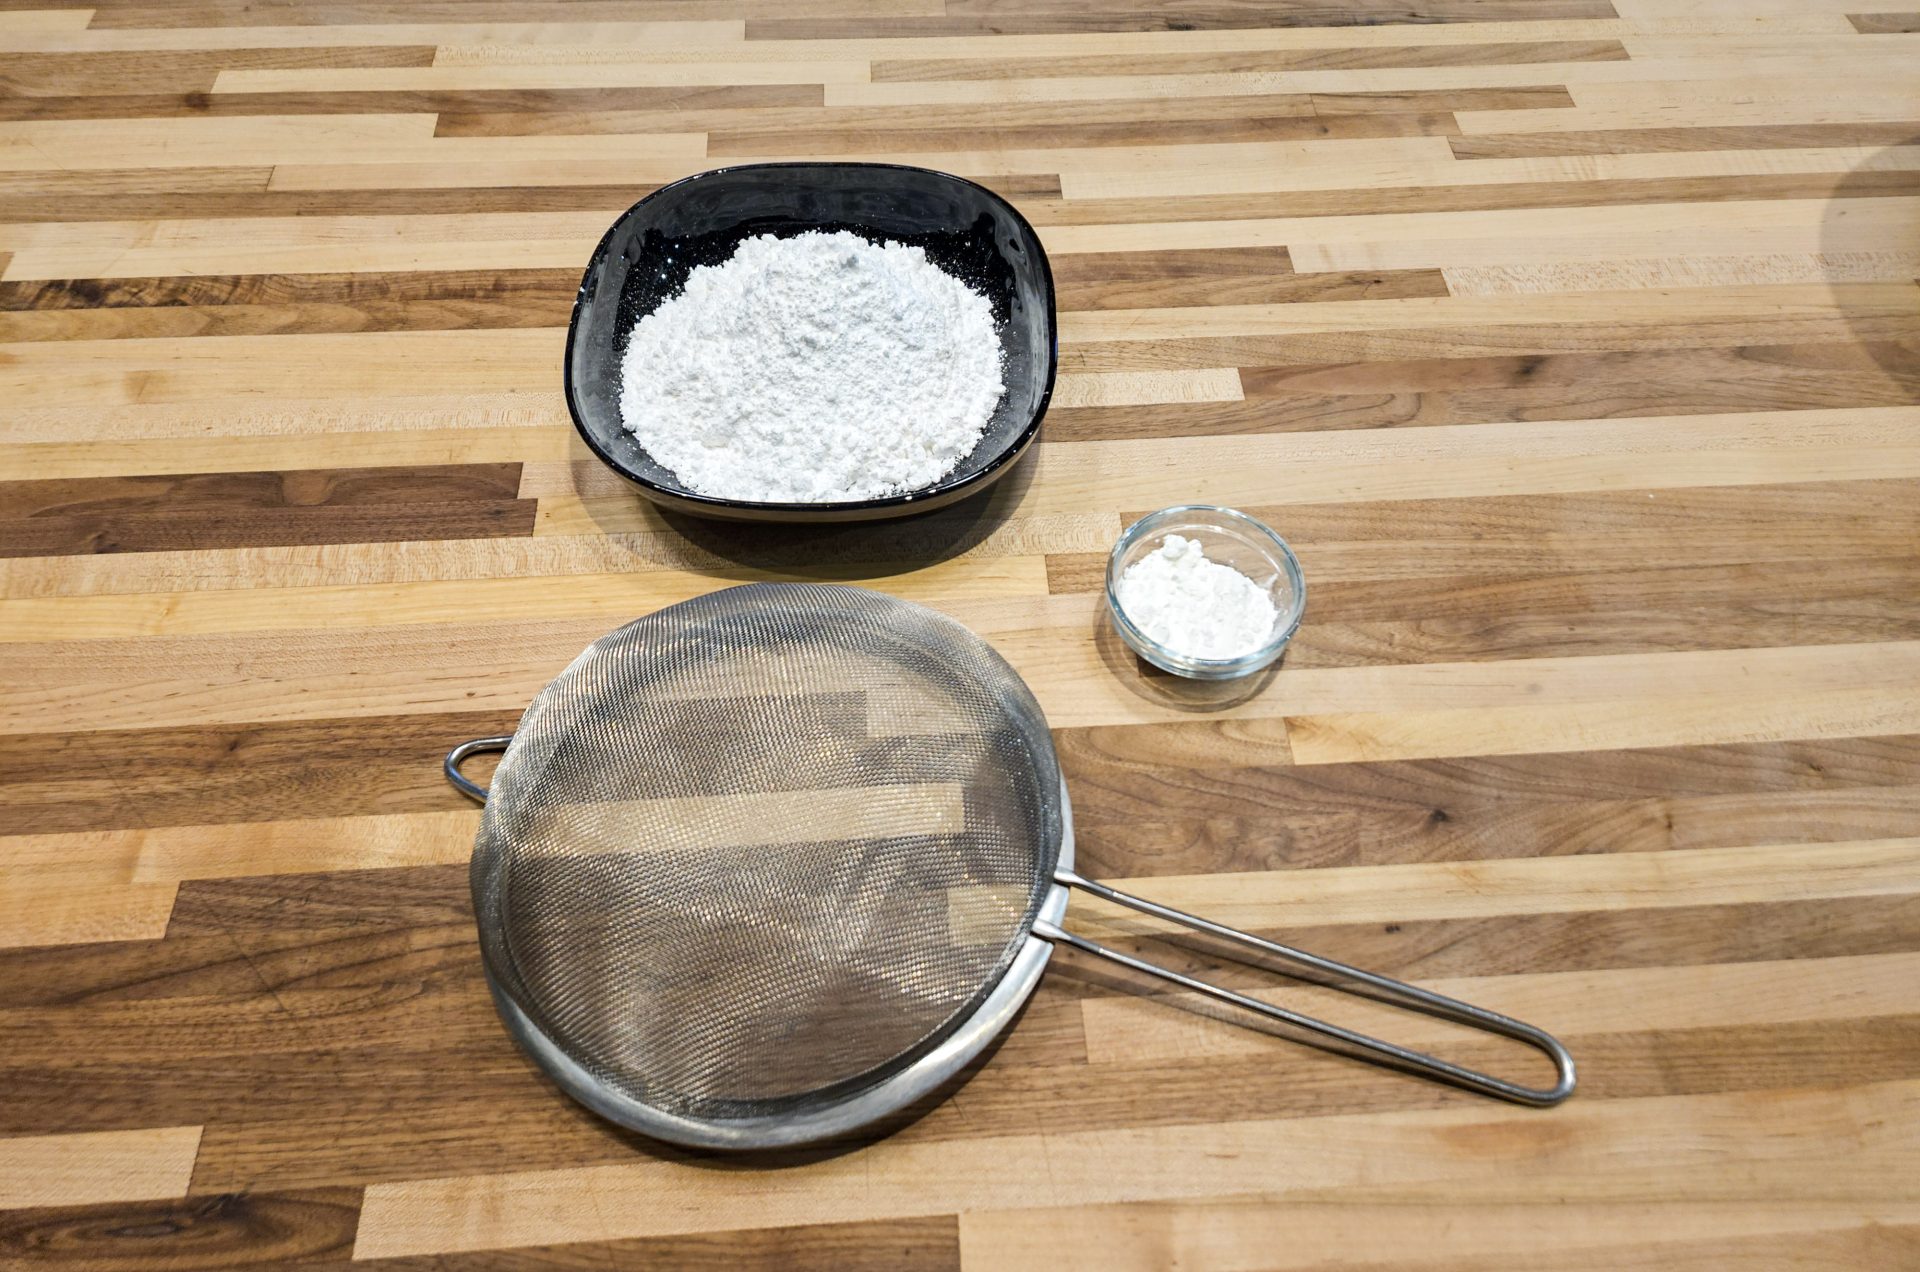
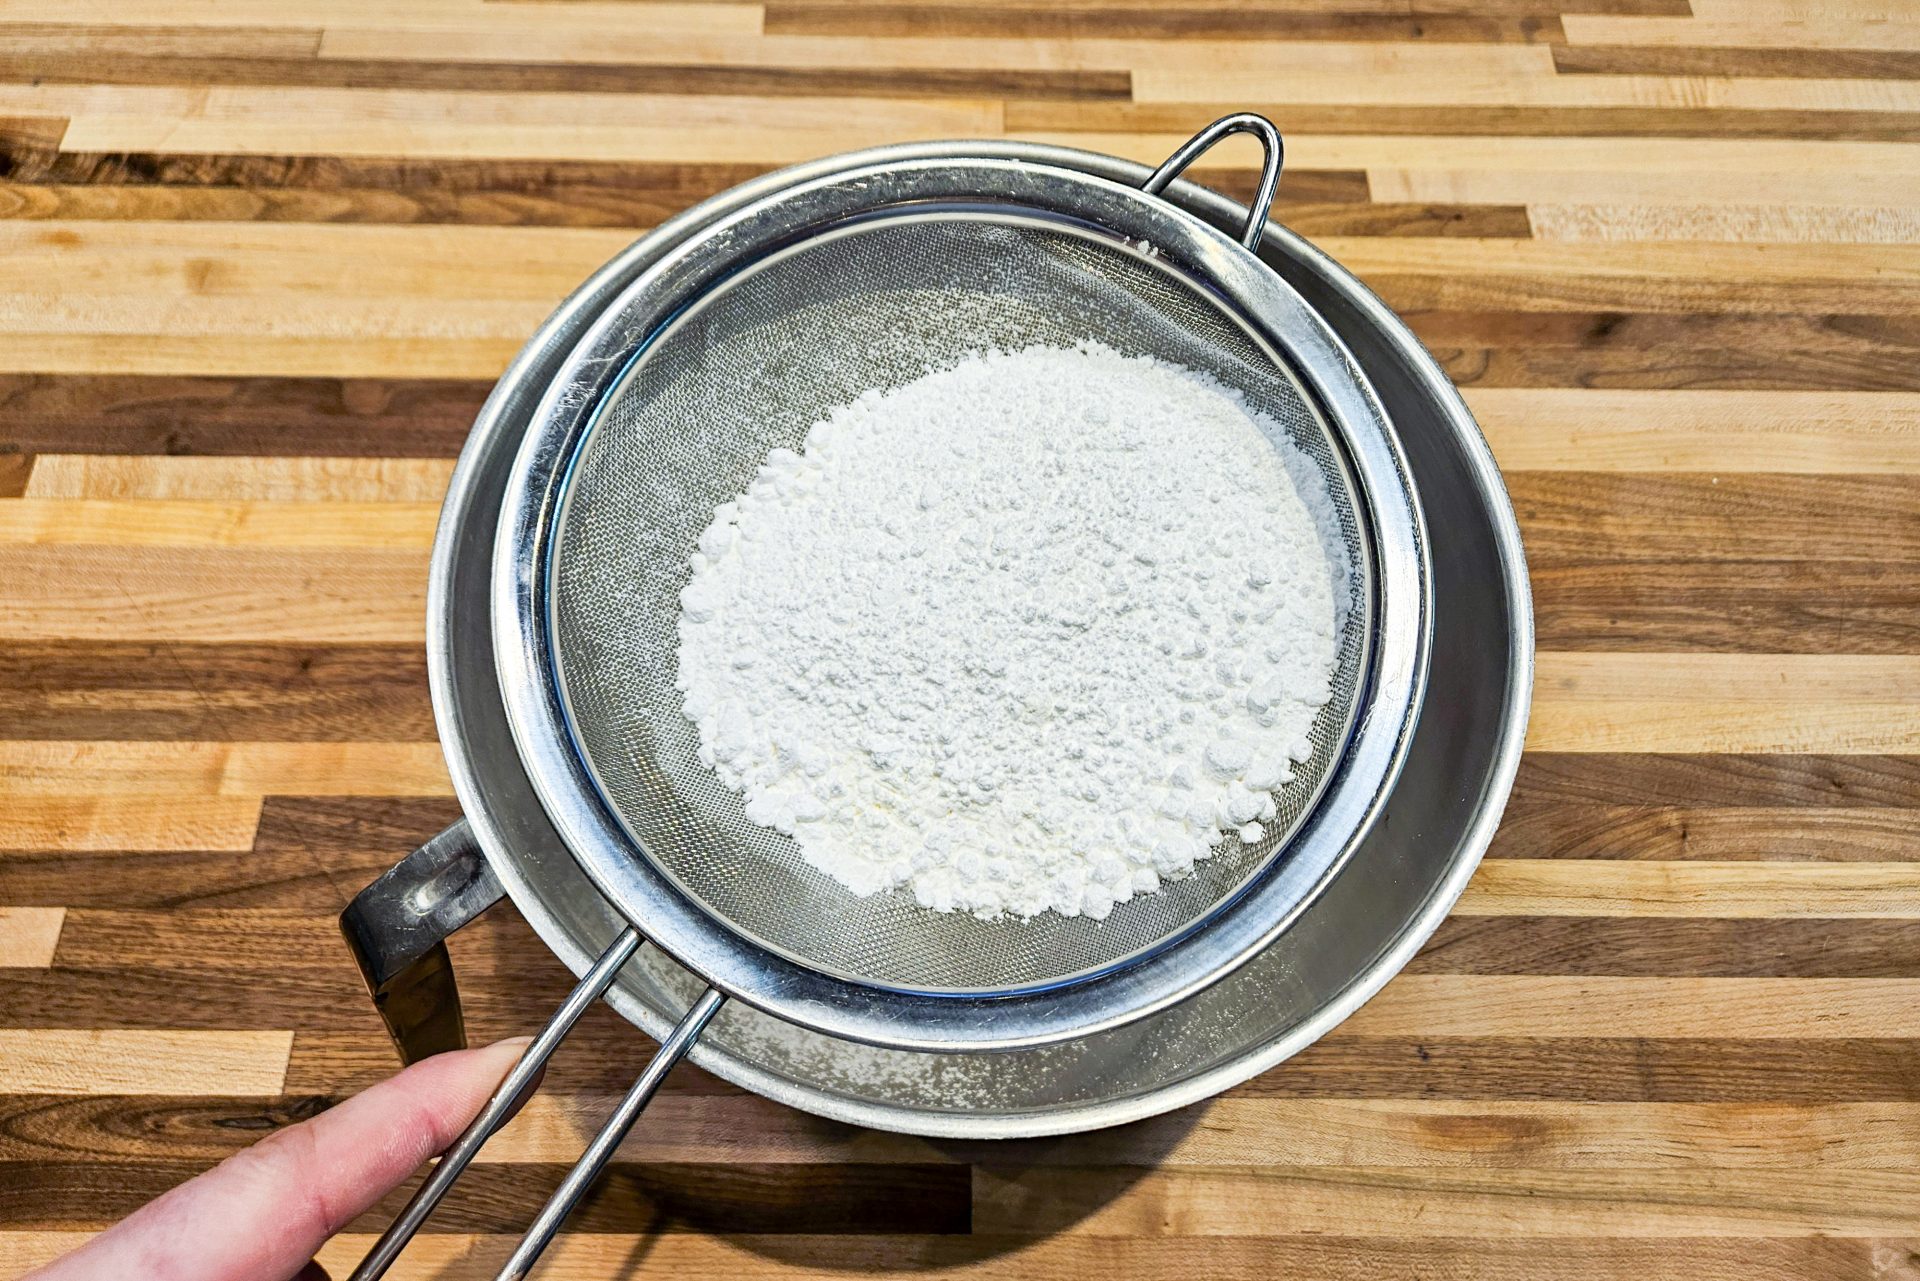
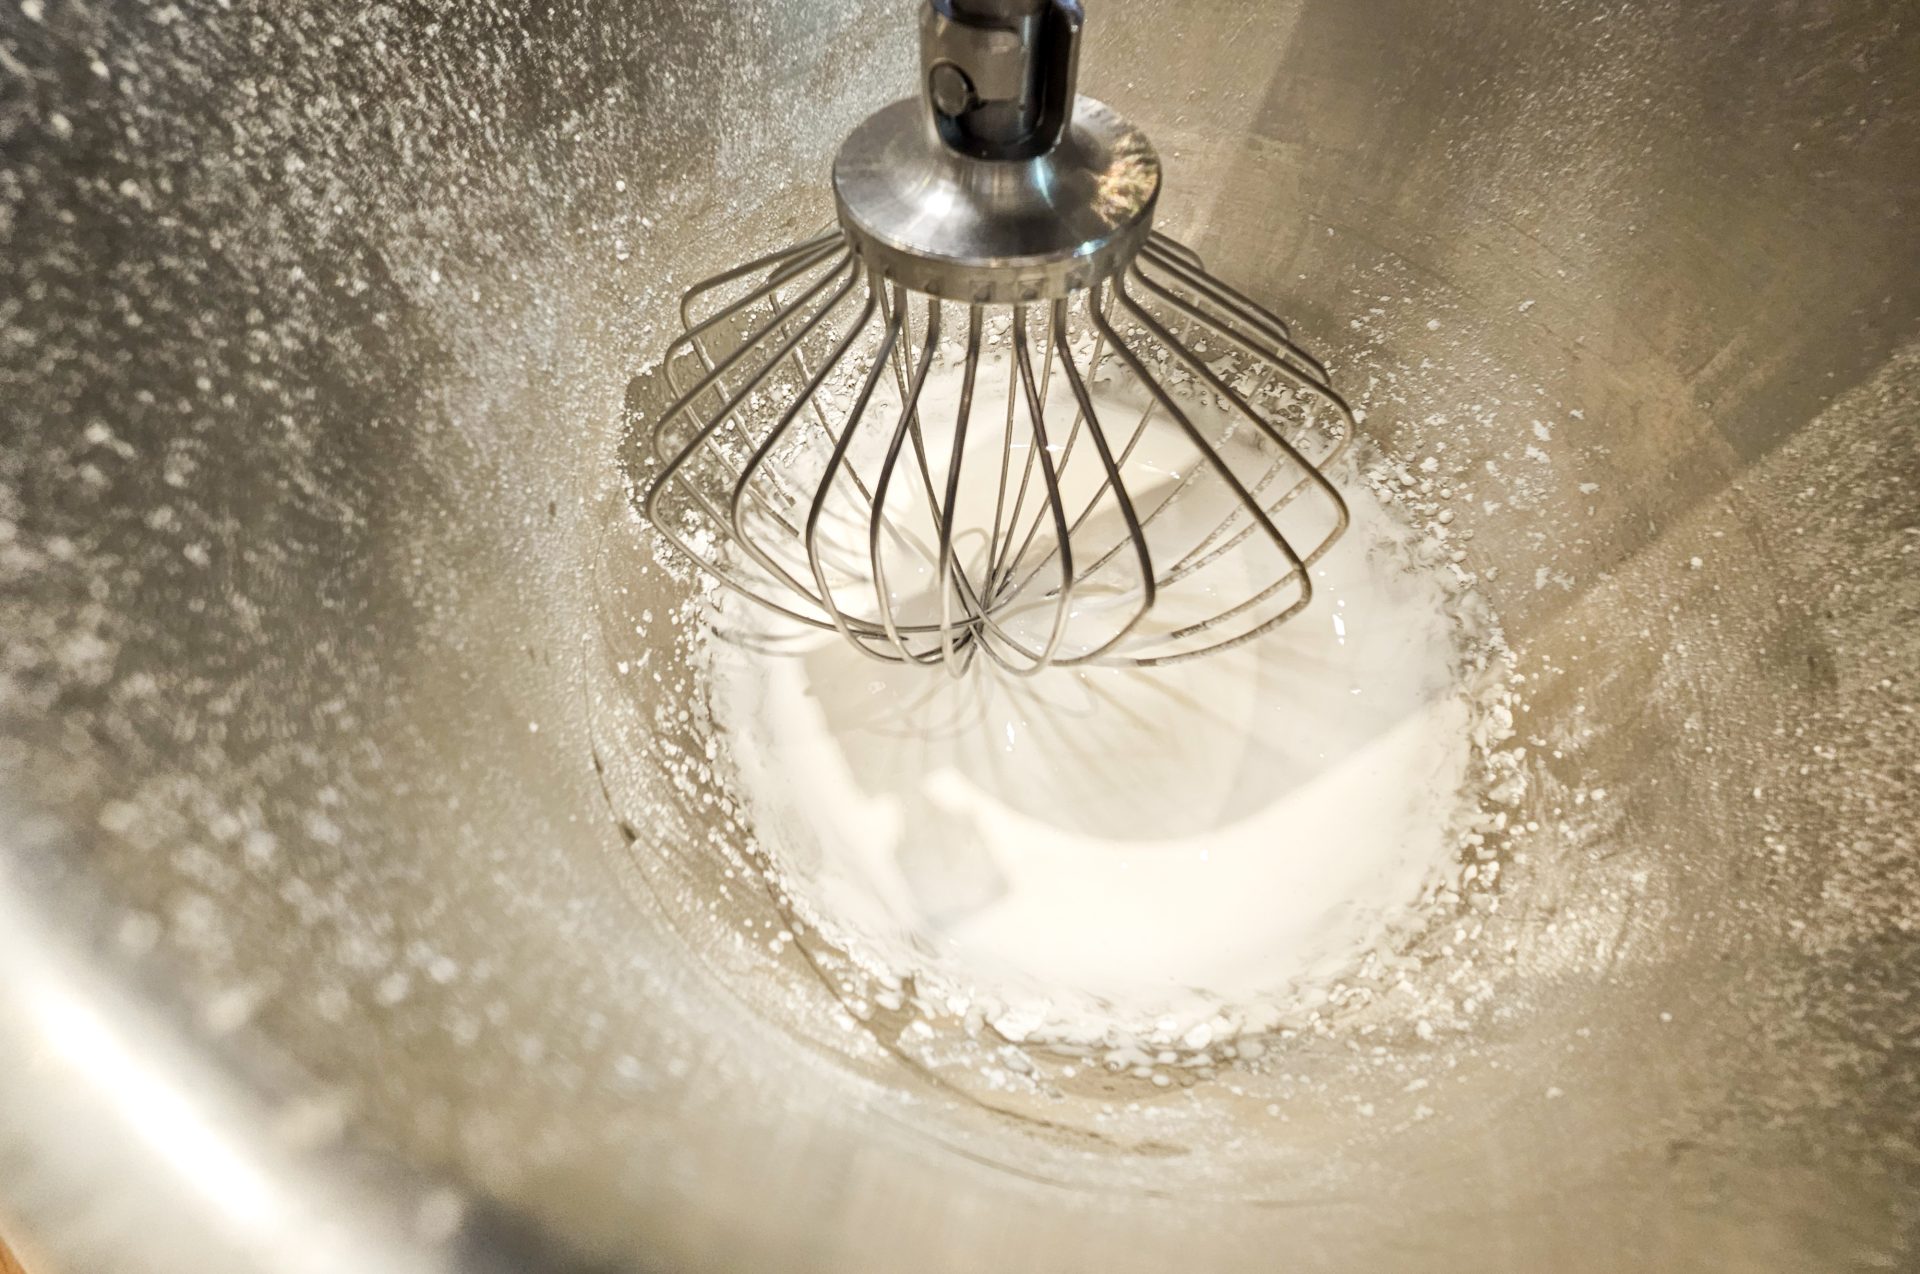
1 ½ cups of confectioners’ sugar
2 TBSP of cornstarch
Note: Sifting will help to make sure that no lumps are present. This is important to have an easy piping time later (the tip will not get clogged).
2 egg whites – room temperature
1 TBSP of lemon juice with no pulp
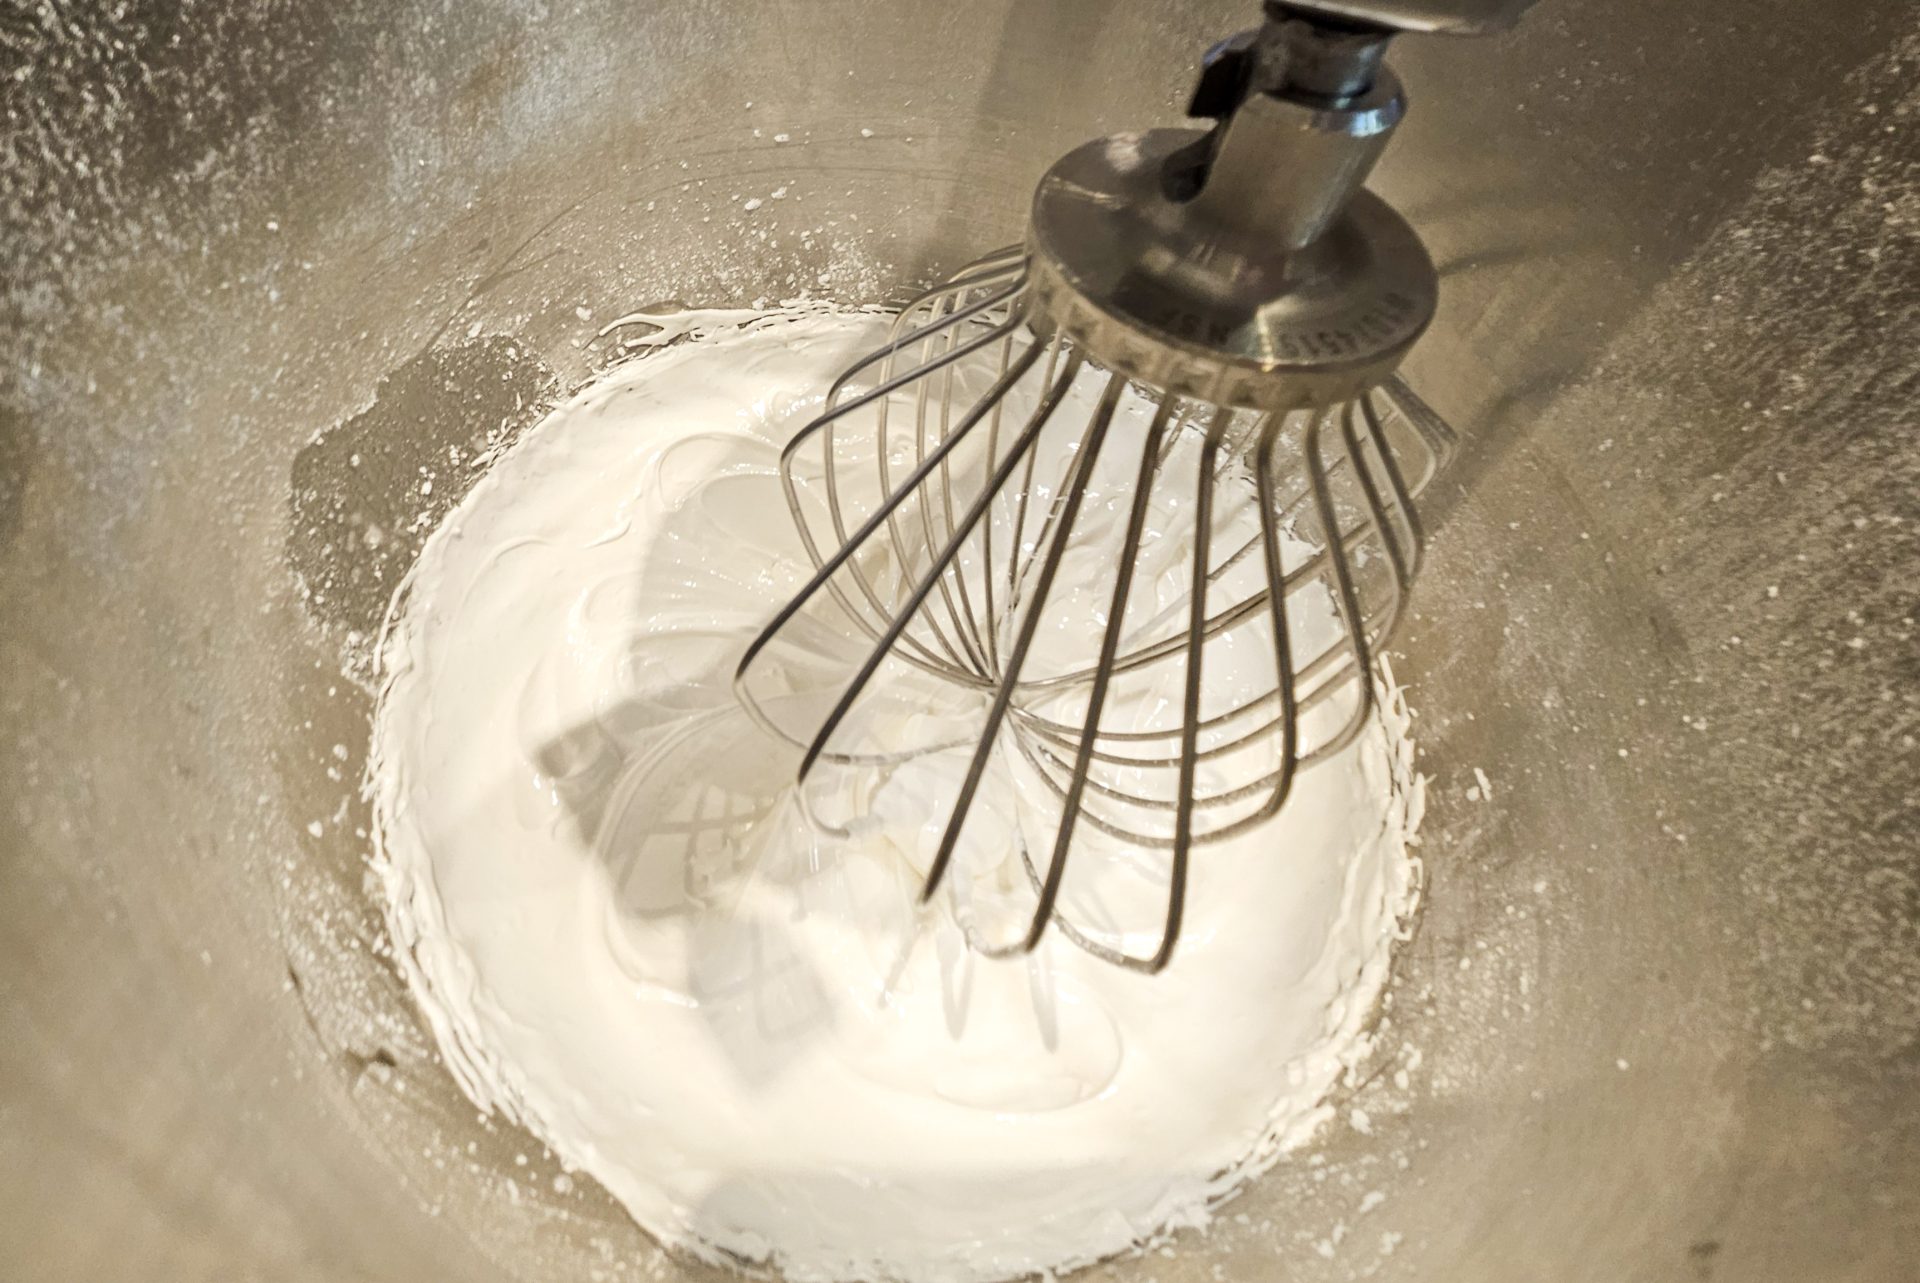
And process at a slow speed until partially combined.
Tip: If you accidentally make the mixture too thick, consider diluting it with some extra lemon juice.
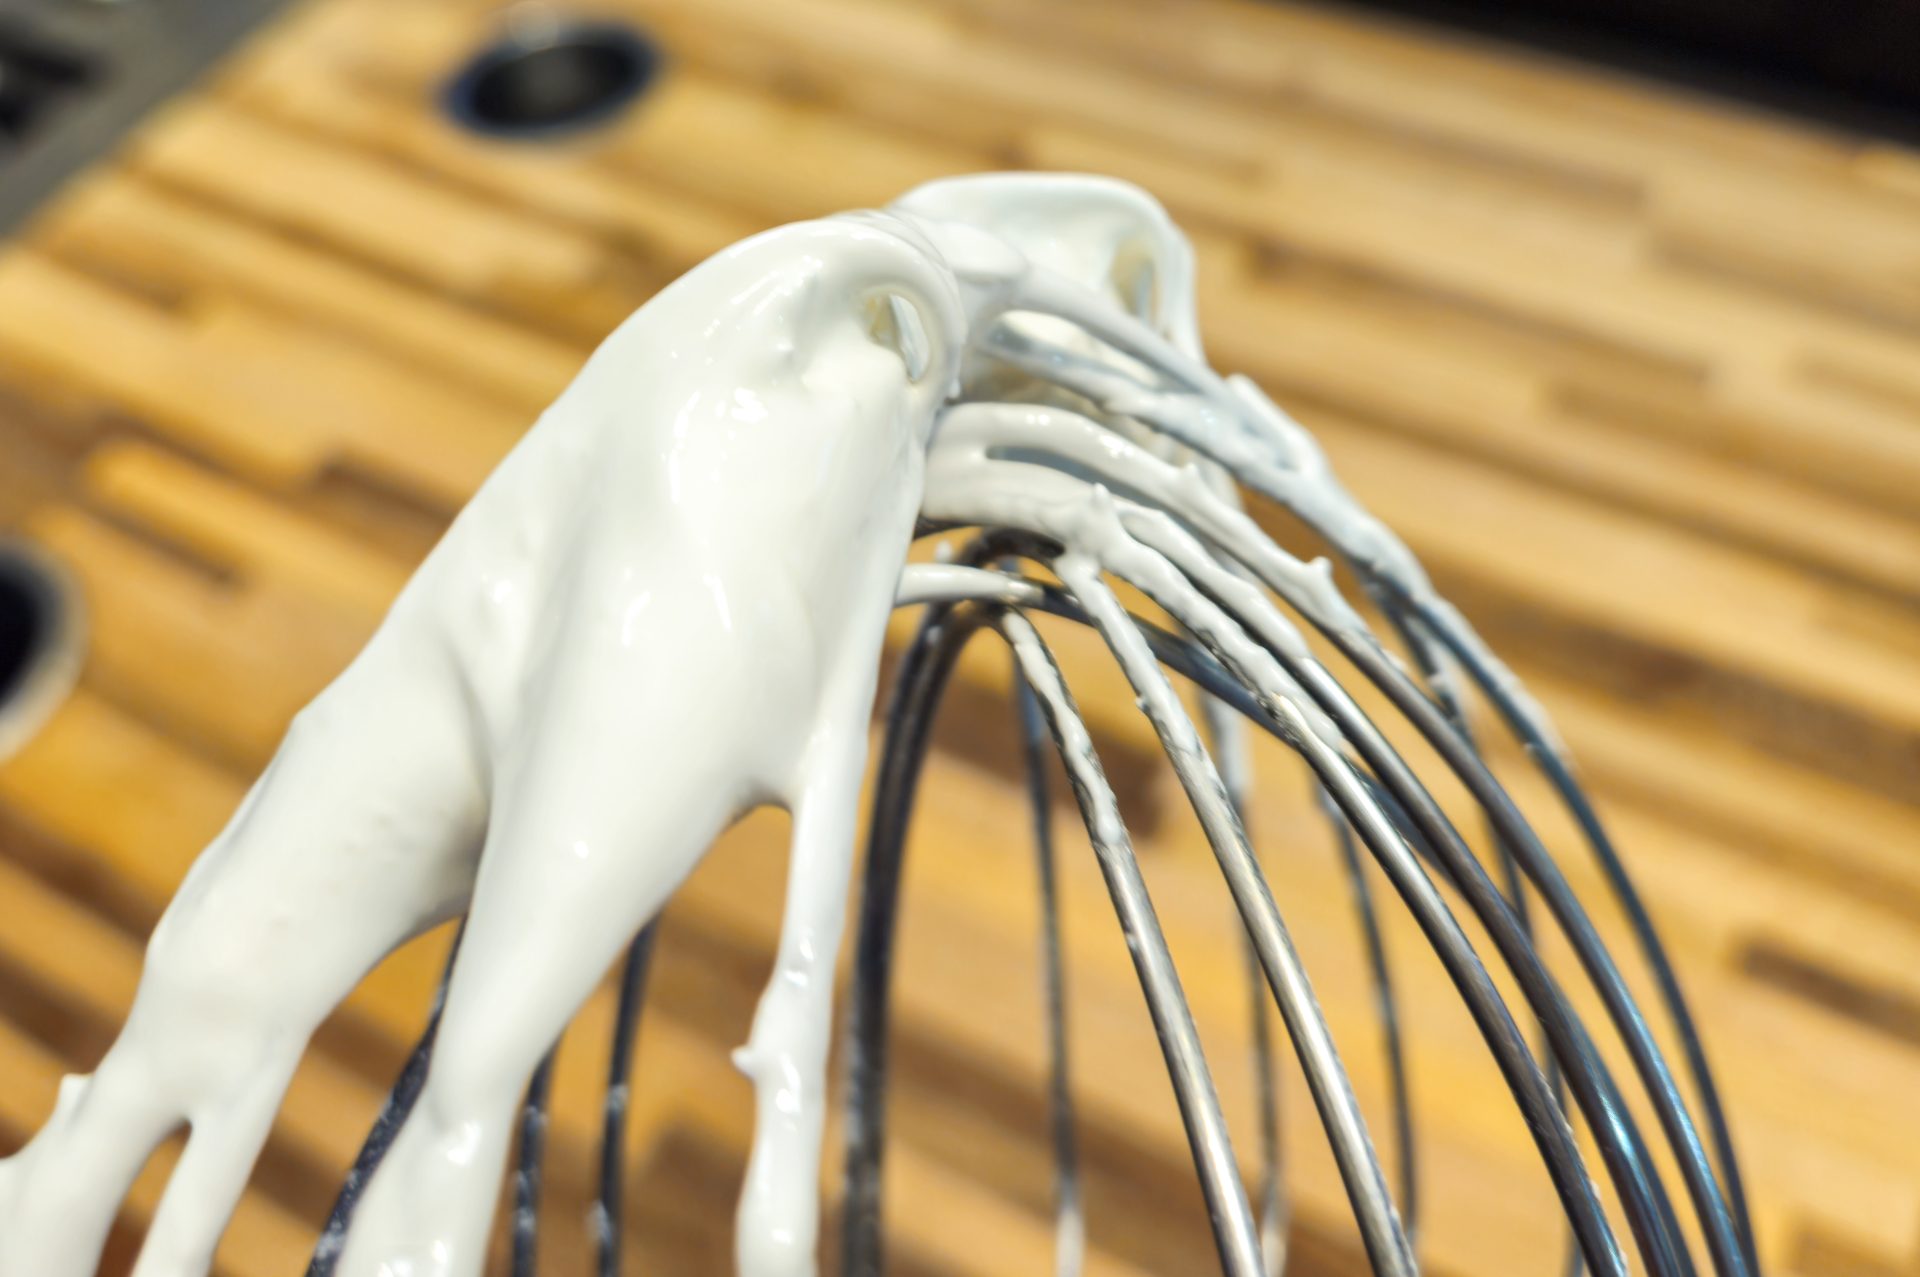
Important: Do not overfill the bag to work with the contents more easily during decorating (rather, refill the bag a few times during decorating).
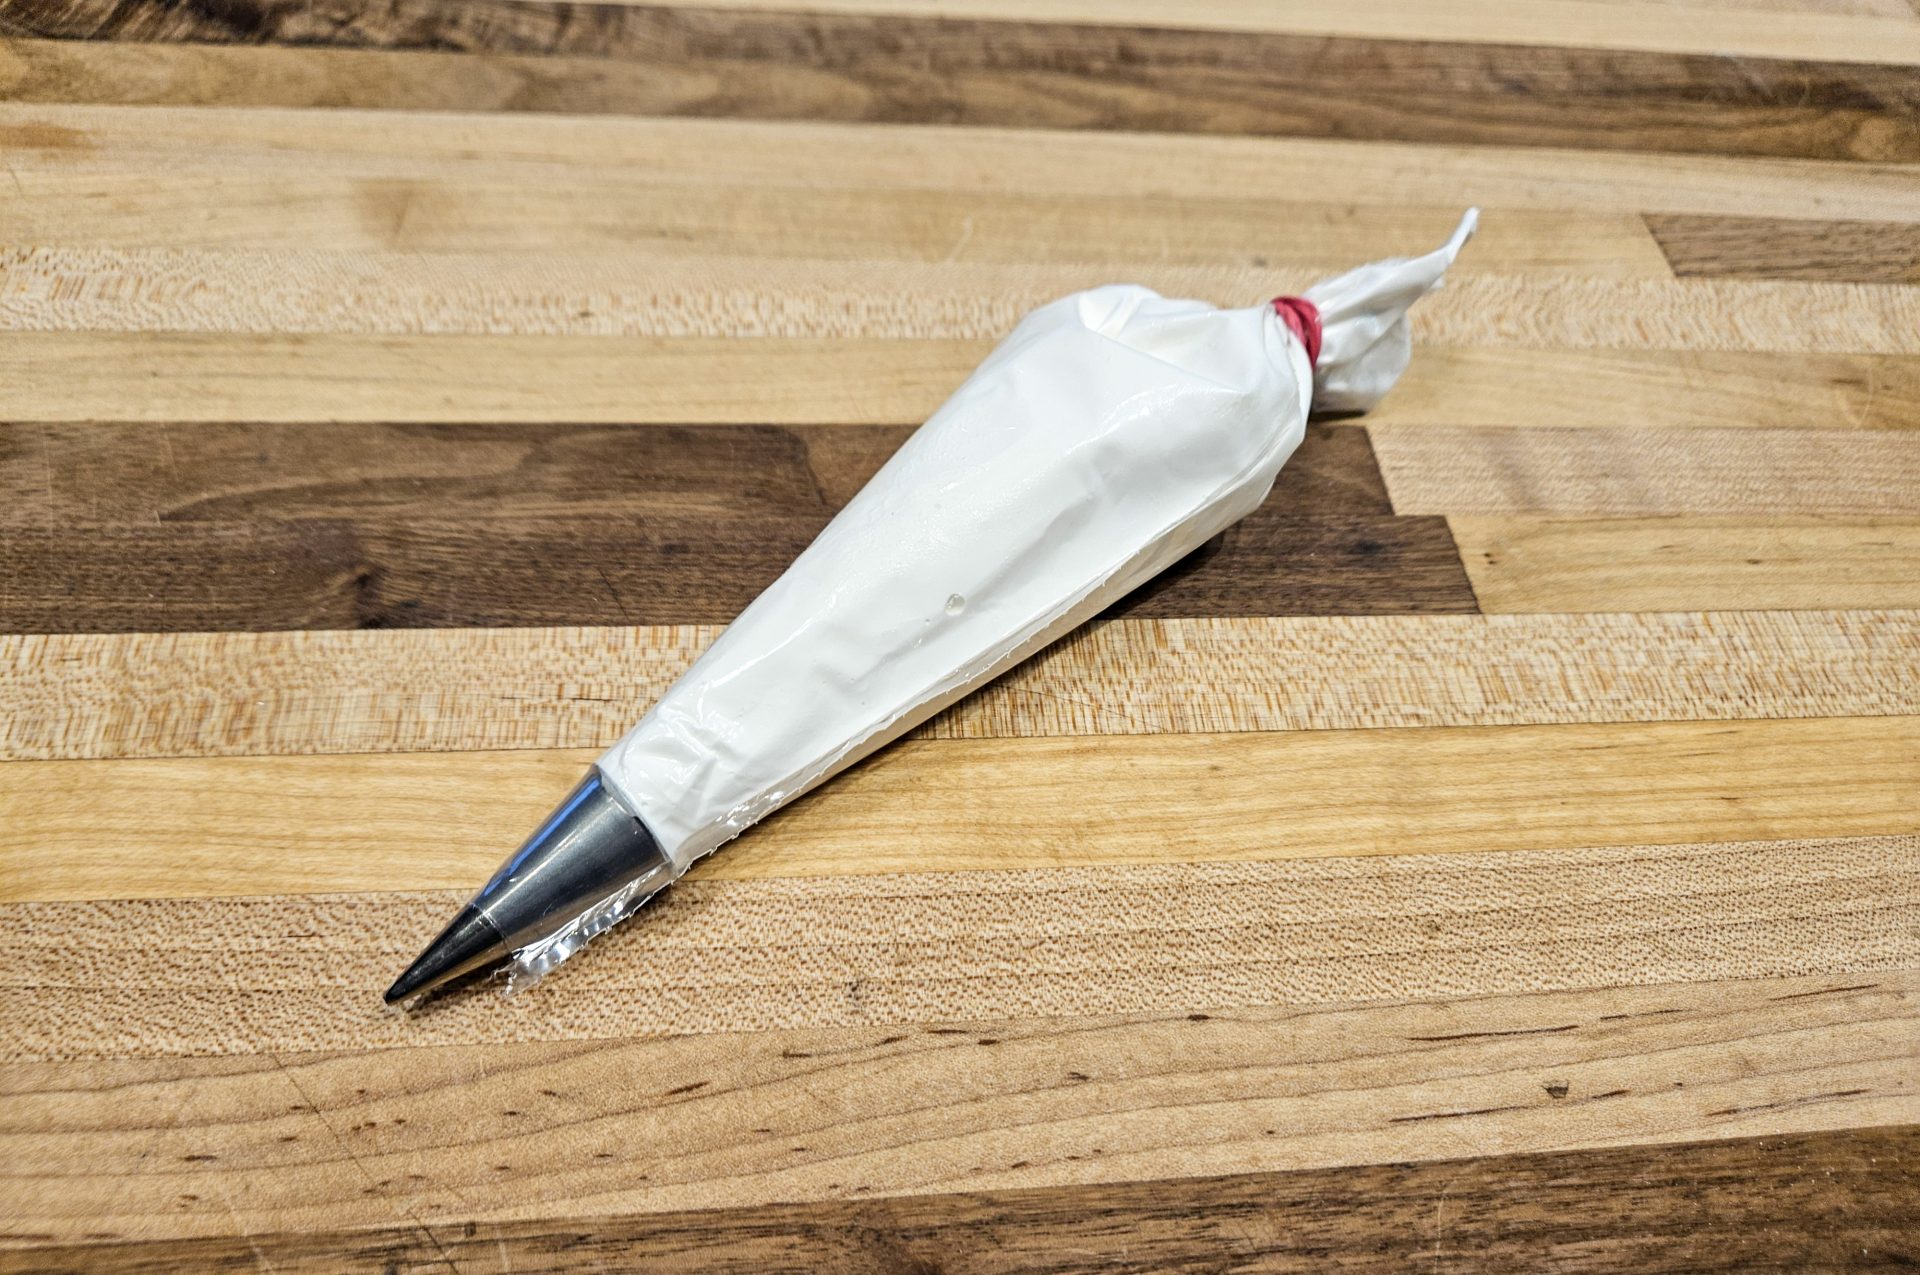
Important: Use the mixture only during the decorating cycle; do not prepare it ahead. The mixture will harden even in a sealed container, making it harder to work with.
Important: Manipulate hearts very gently because even after they cooled, they still didn’t fully harden. They will harden more after fully decorated and the decoration mixture is fully dry.
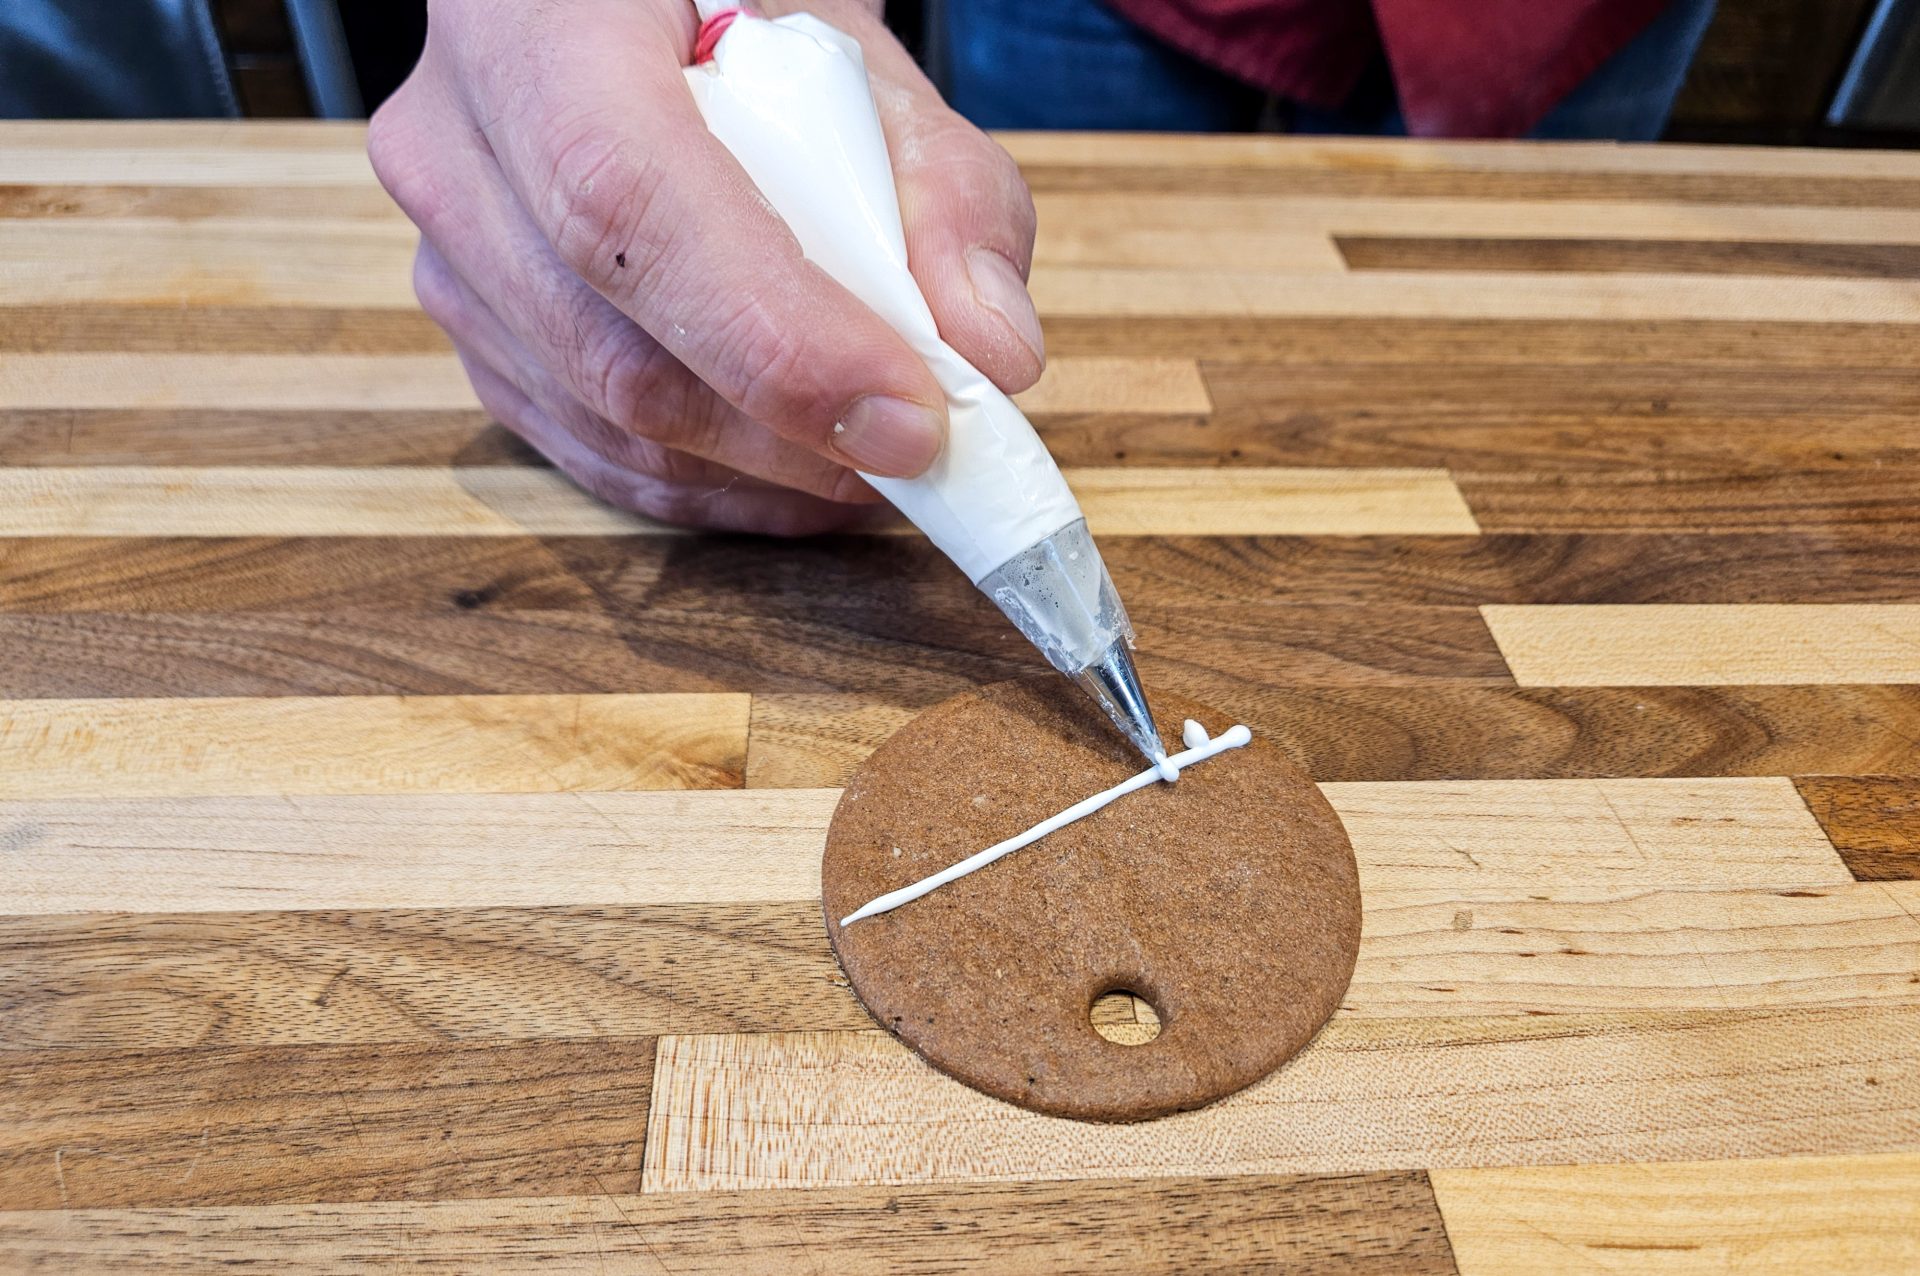 Demonstration of how to decorate gingerbread cookies as round ornaments.
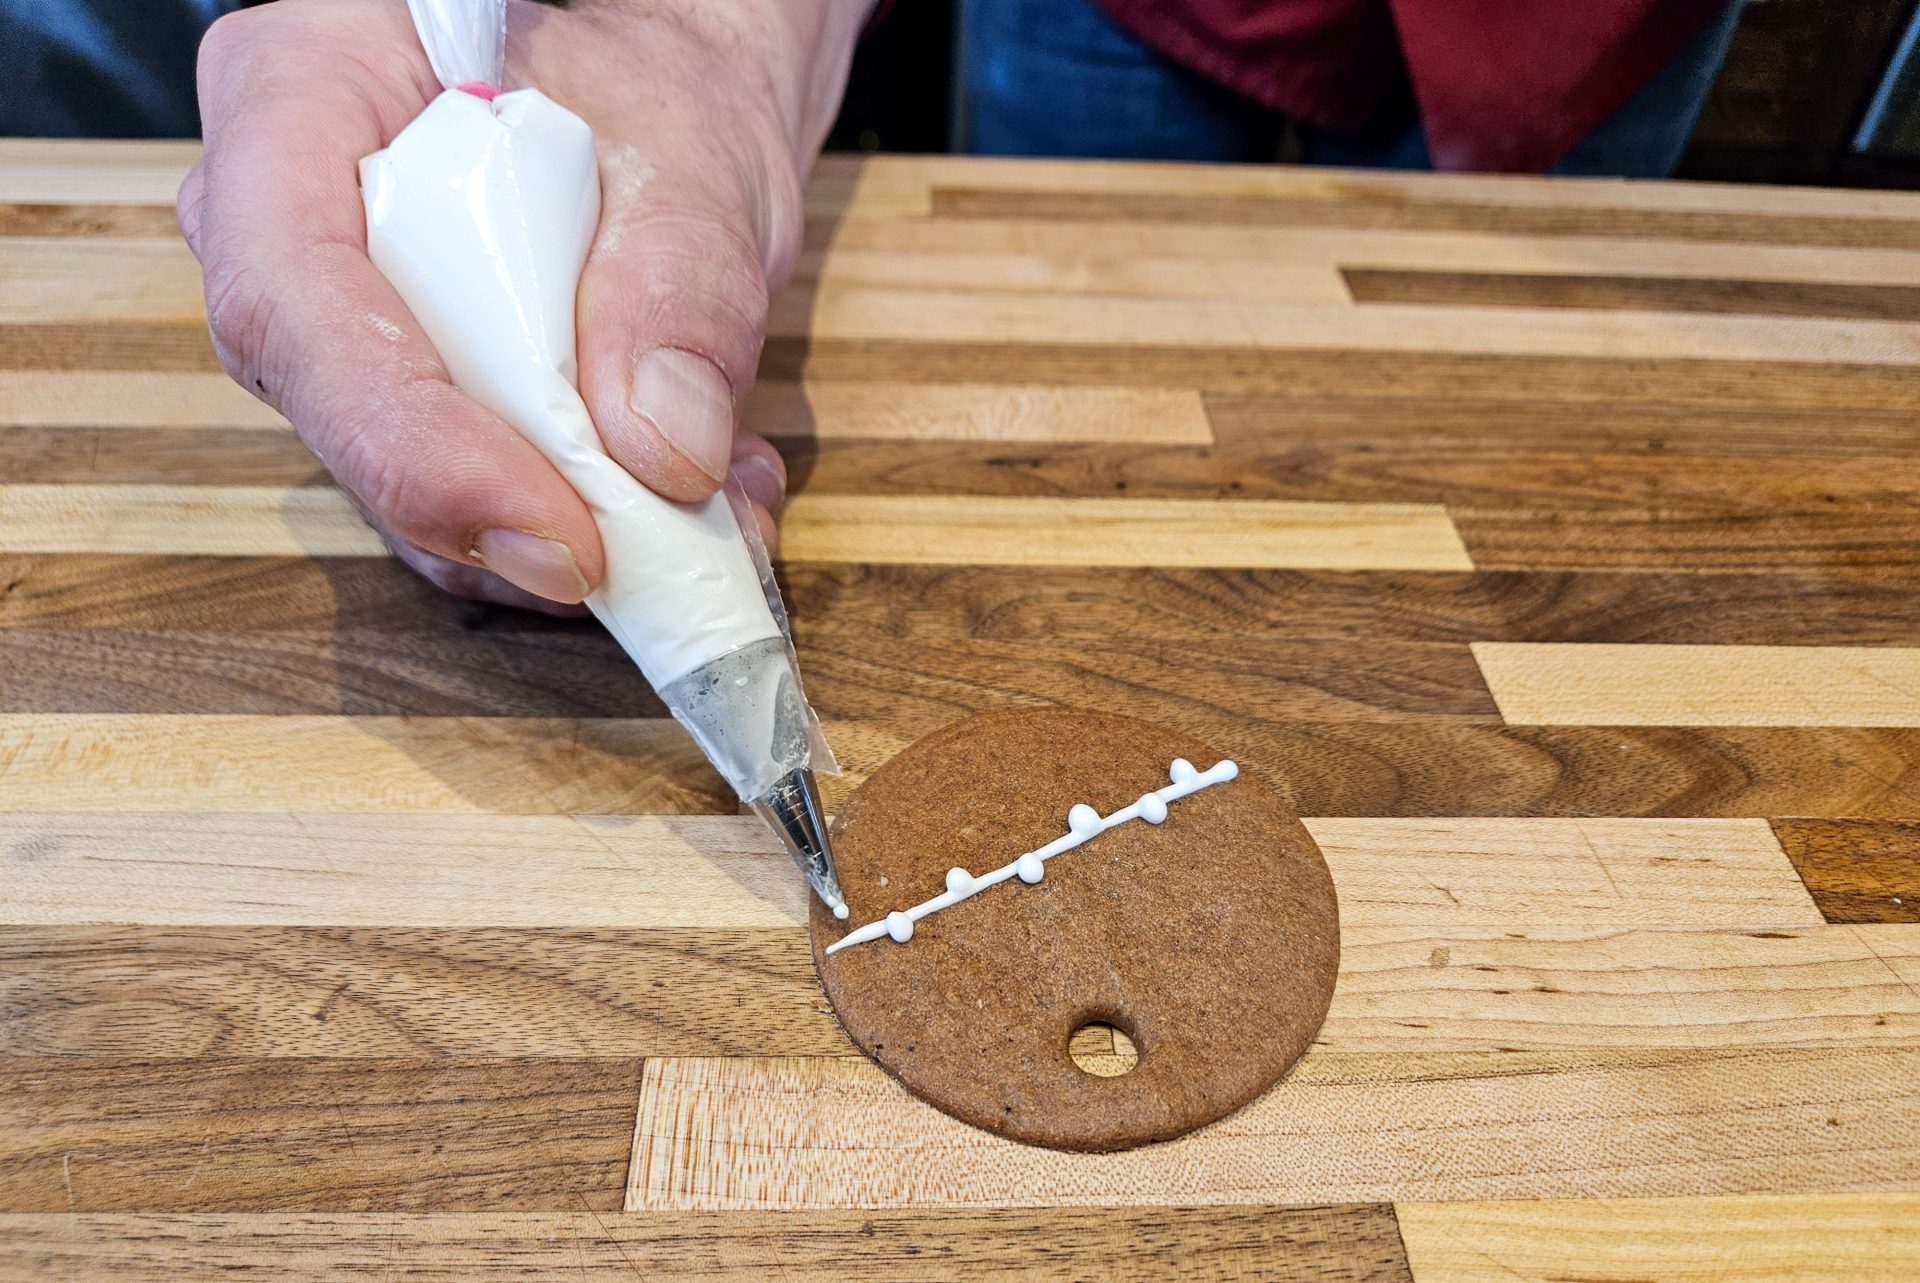 Demonstration of how to decorate gingerbread cookies as round ornaments.
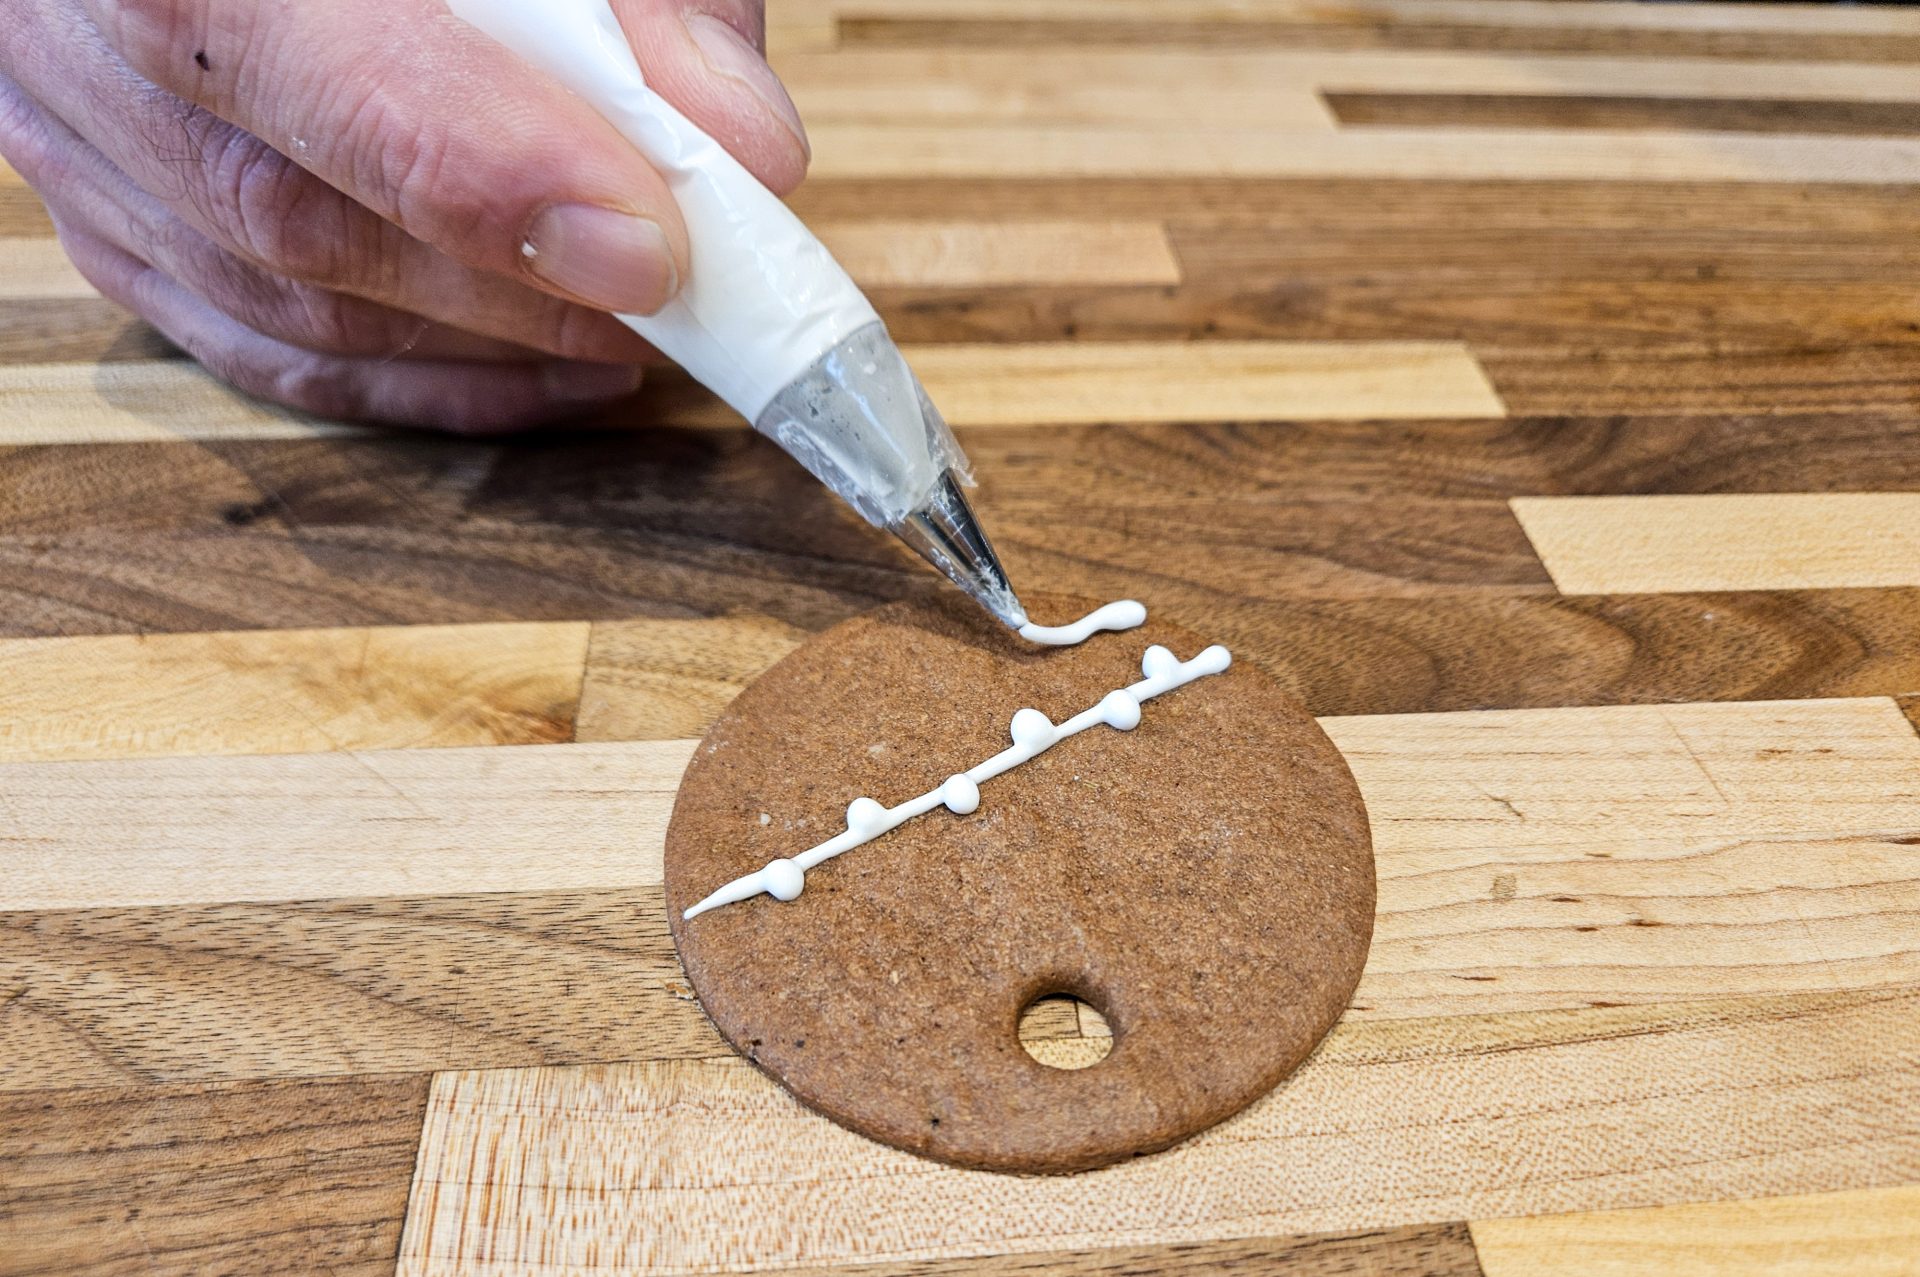 Demonstration of how to decorate gingerbread cookies as round ornaments.
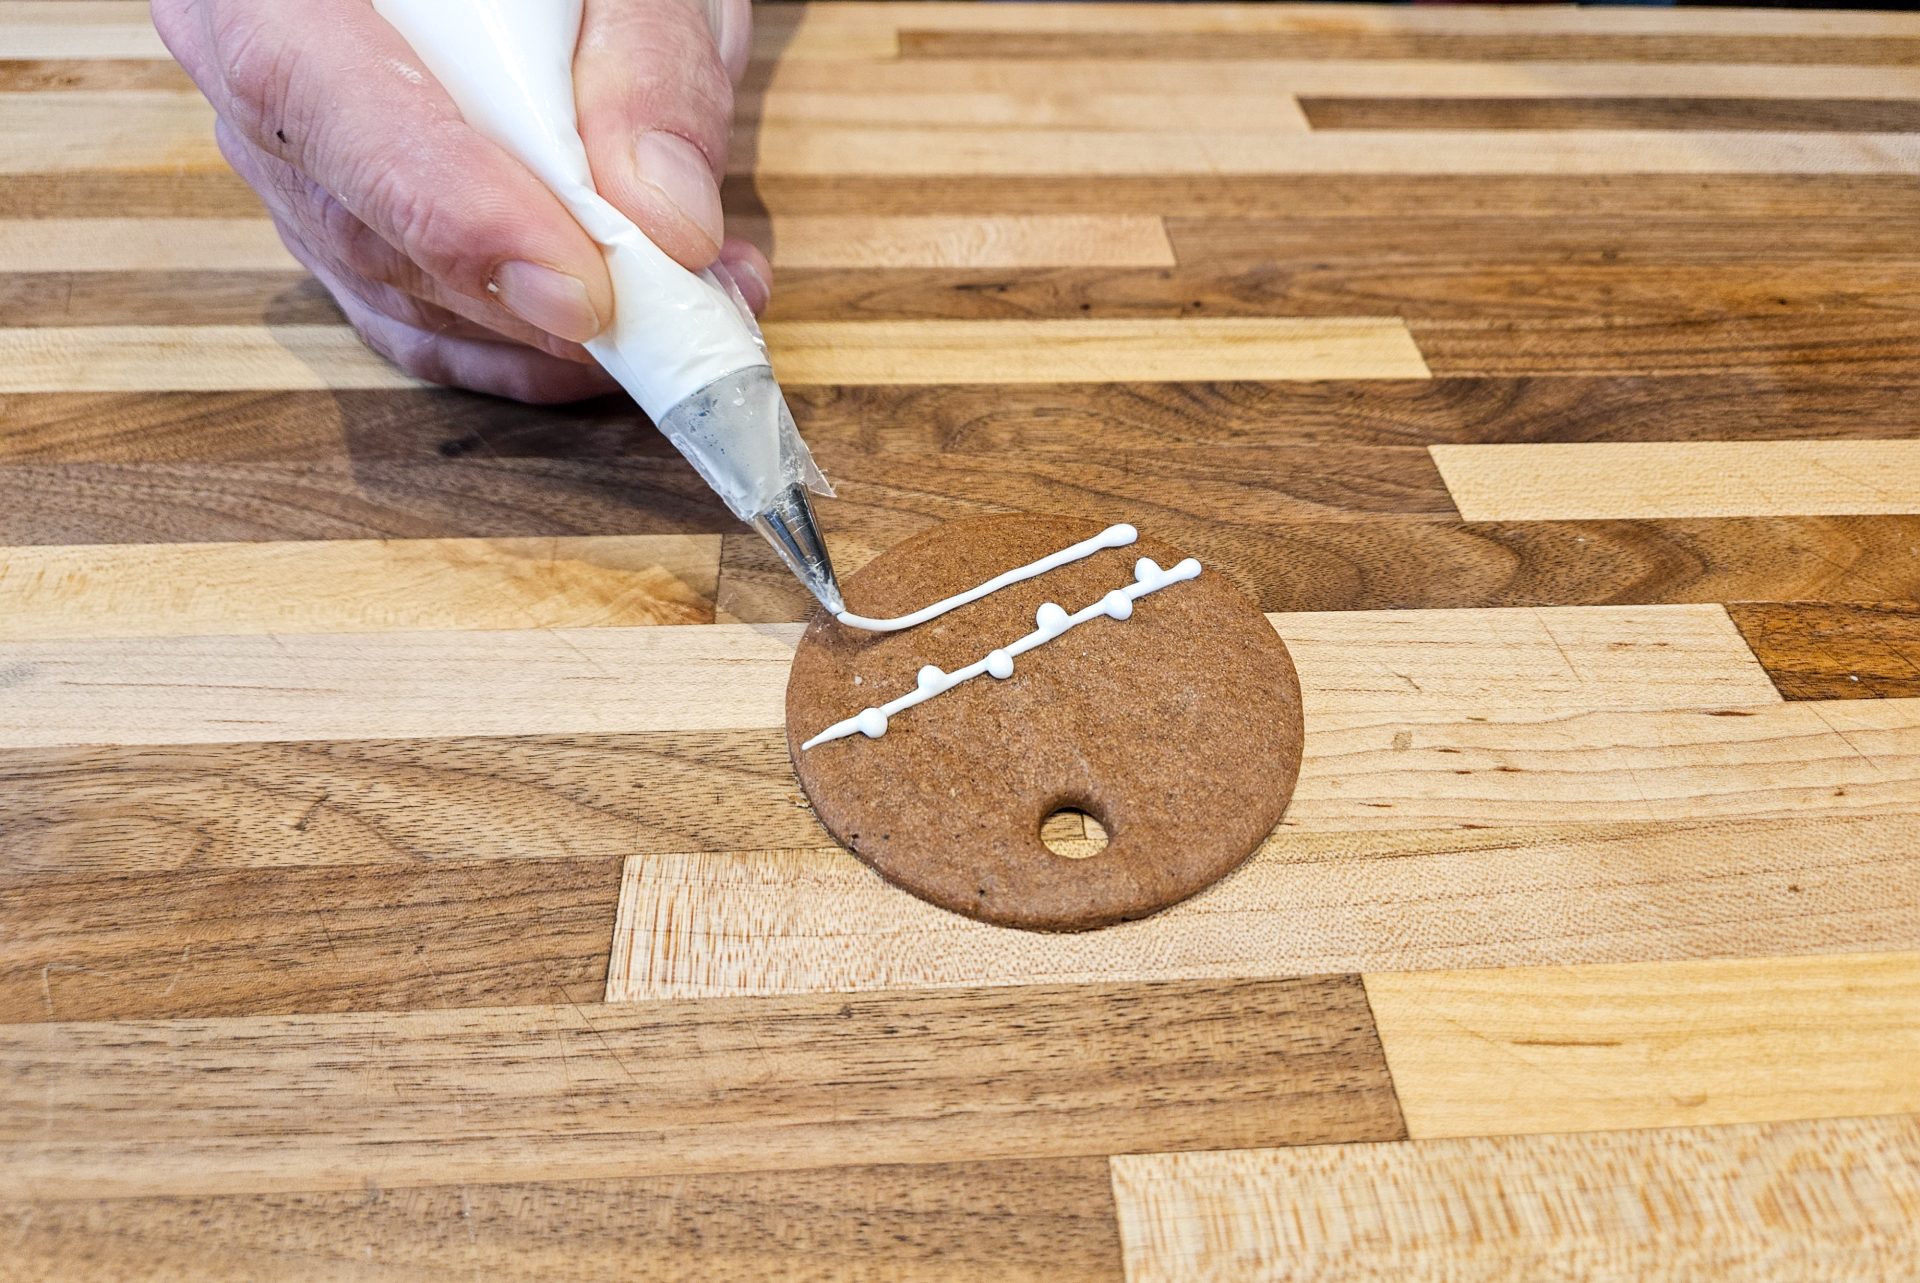 Demonstration of how to decorate gingerbread cookies as round ornaments.
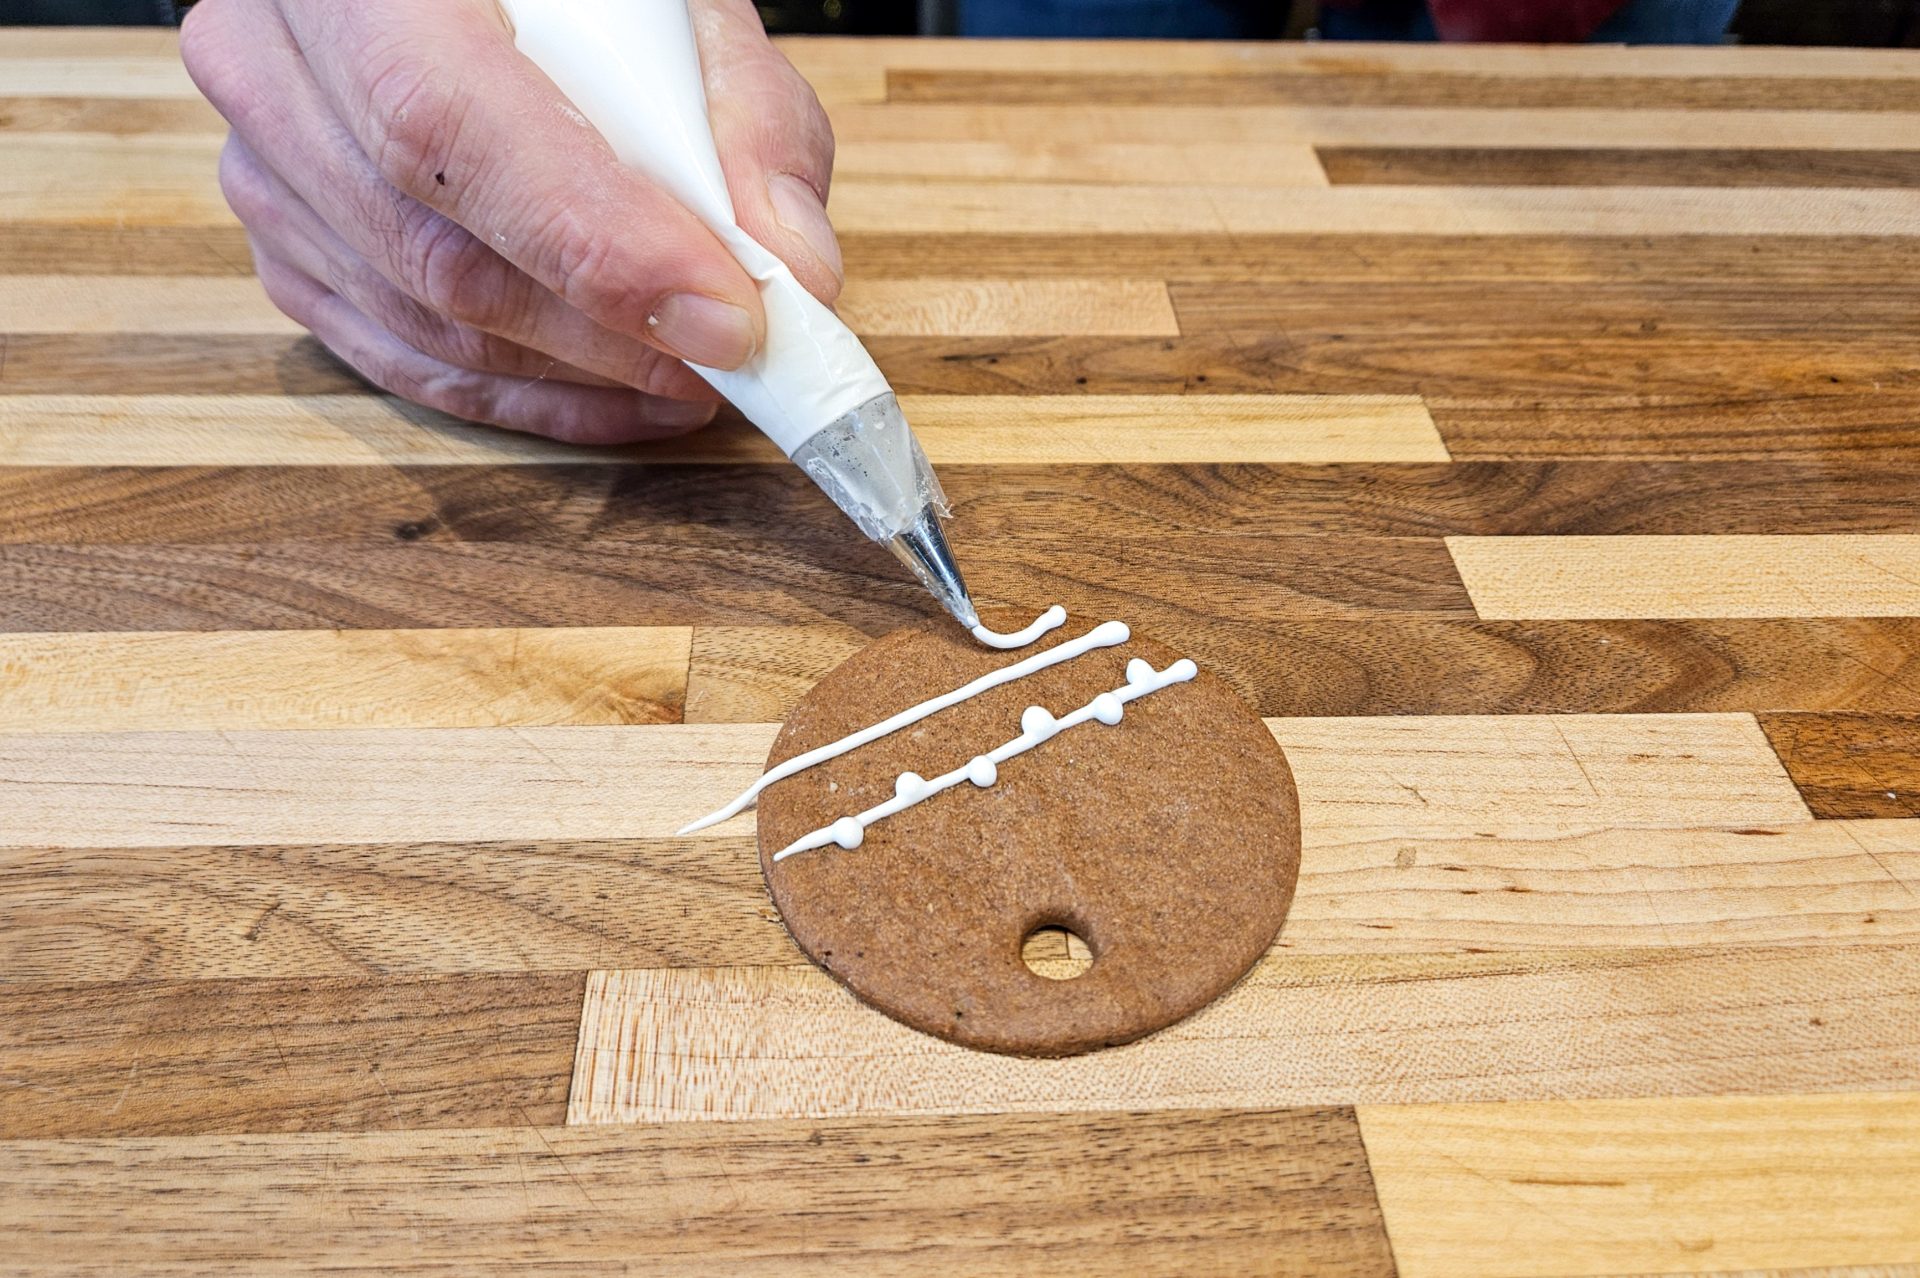 Demonstration of how to decorate gingerbread cookies as round ornaments.
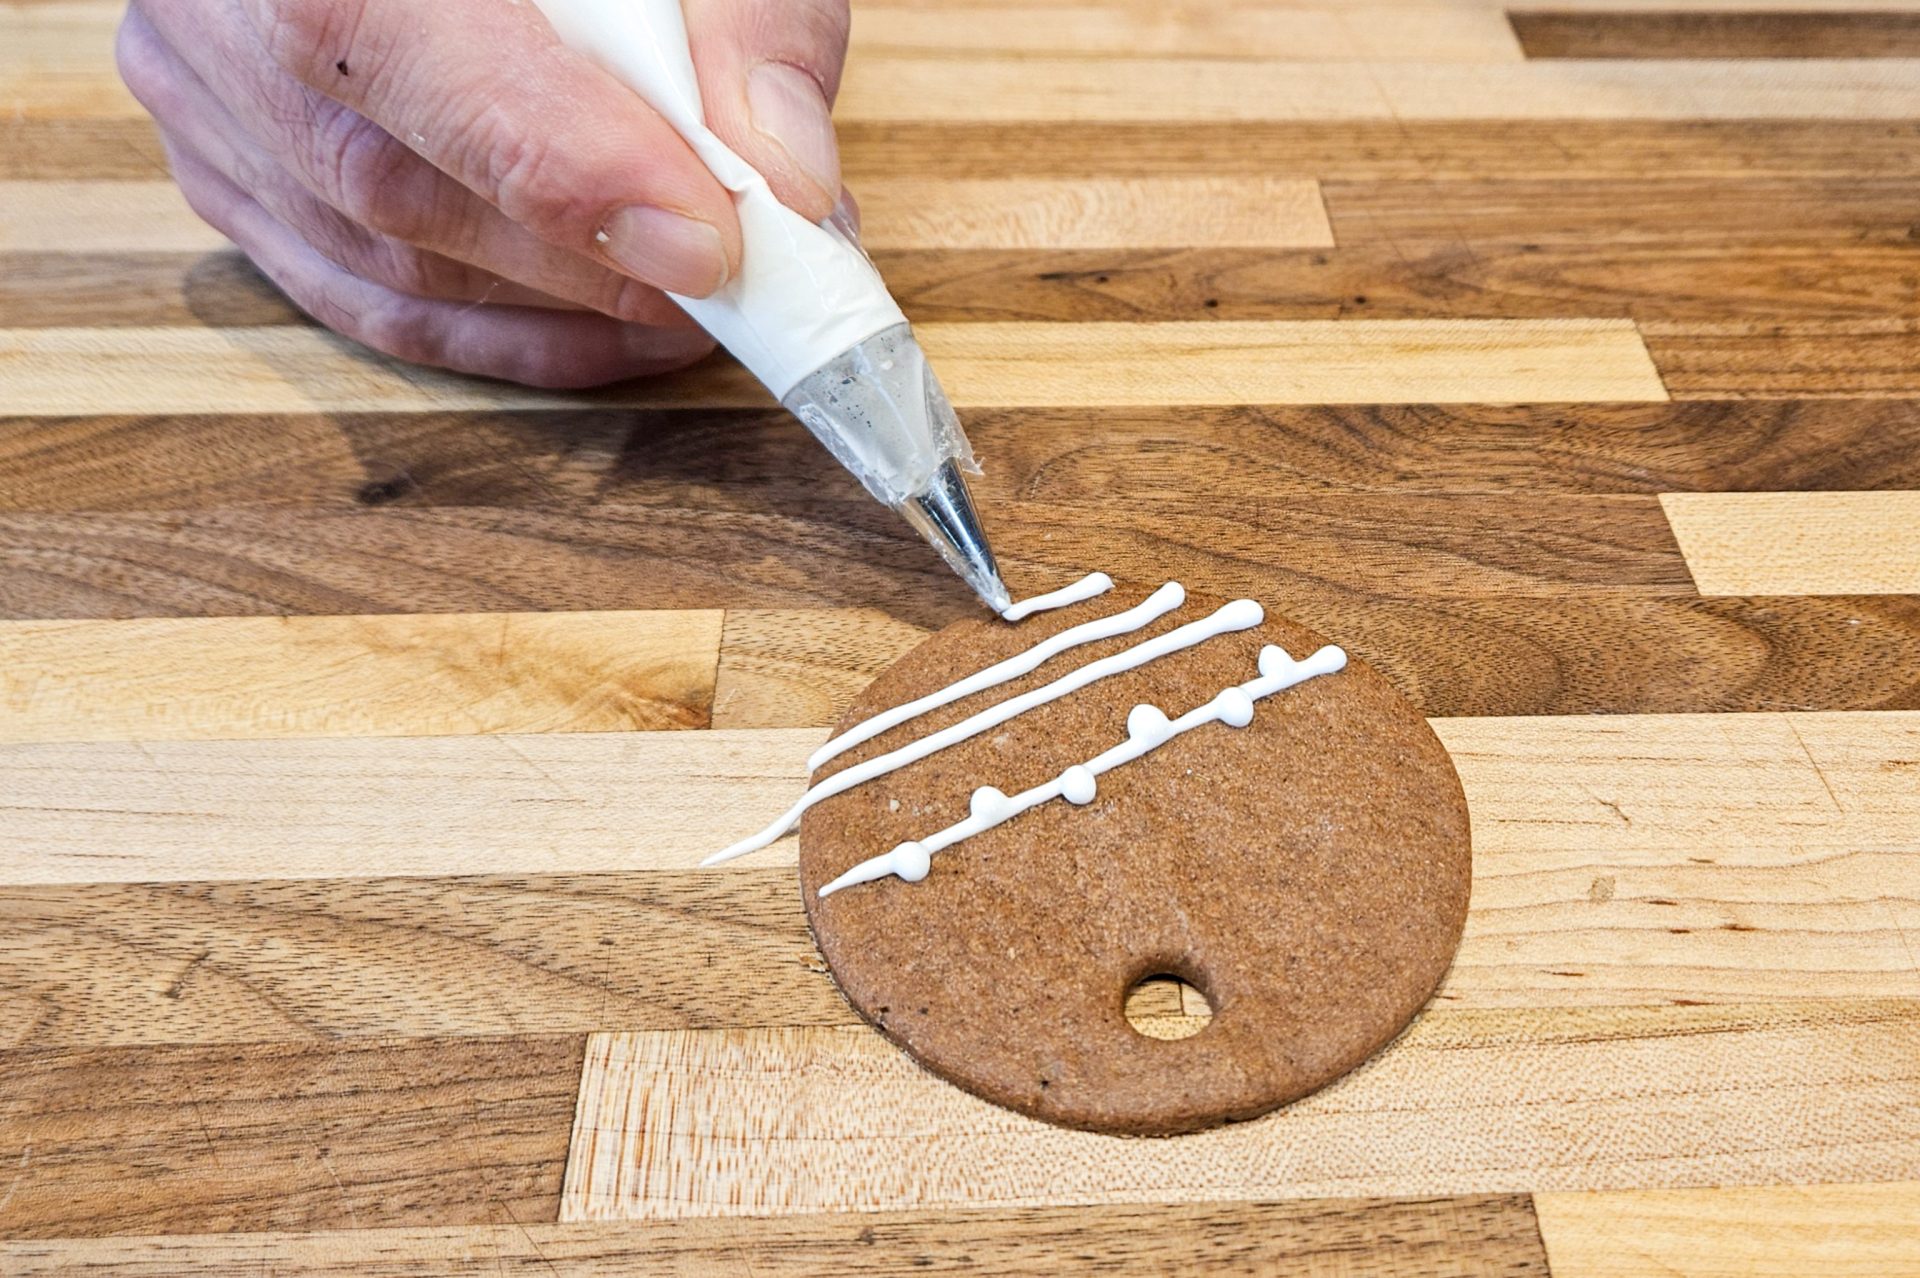 Demonstration of how to decorate gingerbread cookies as round ornaments.
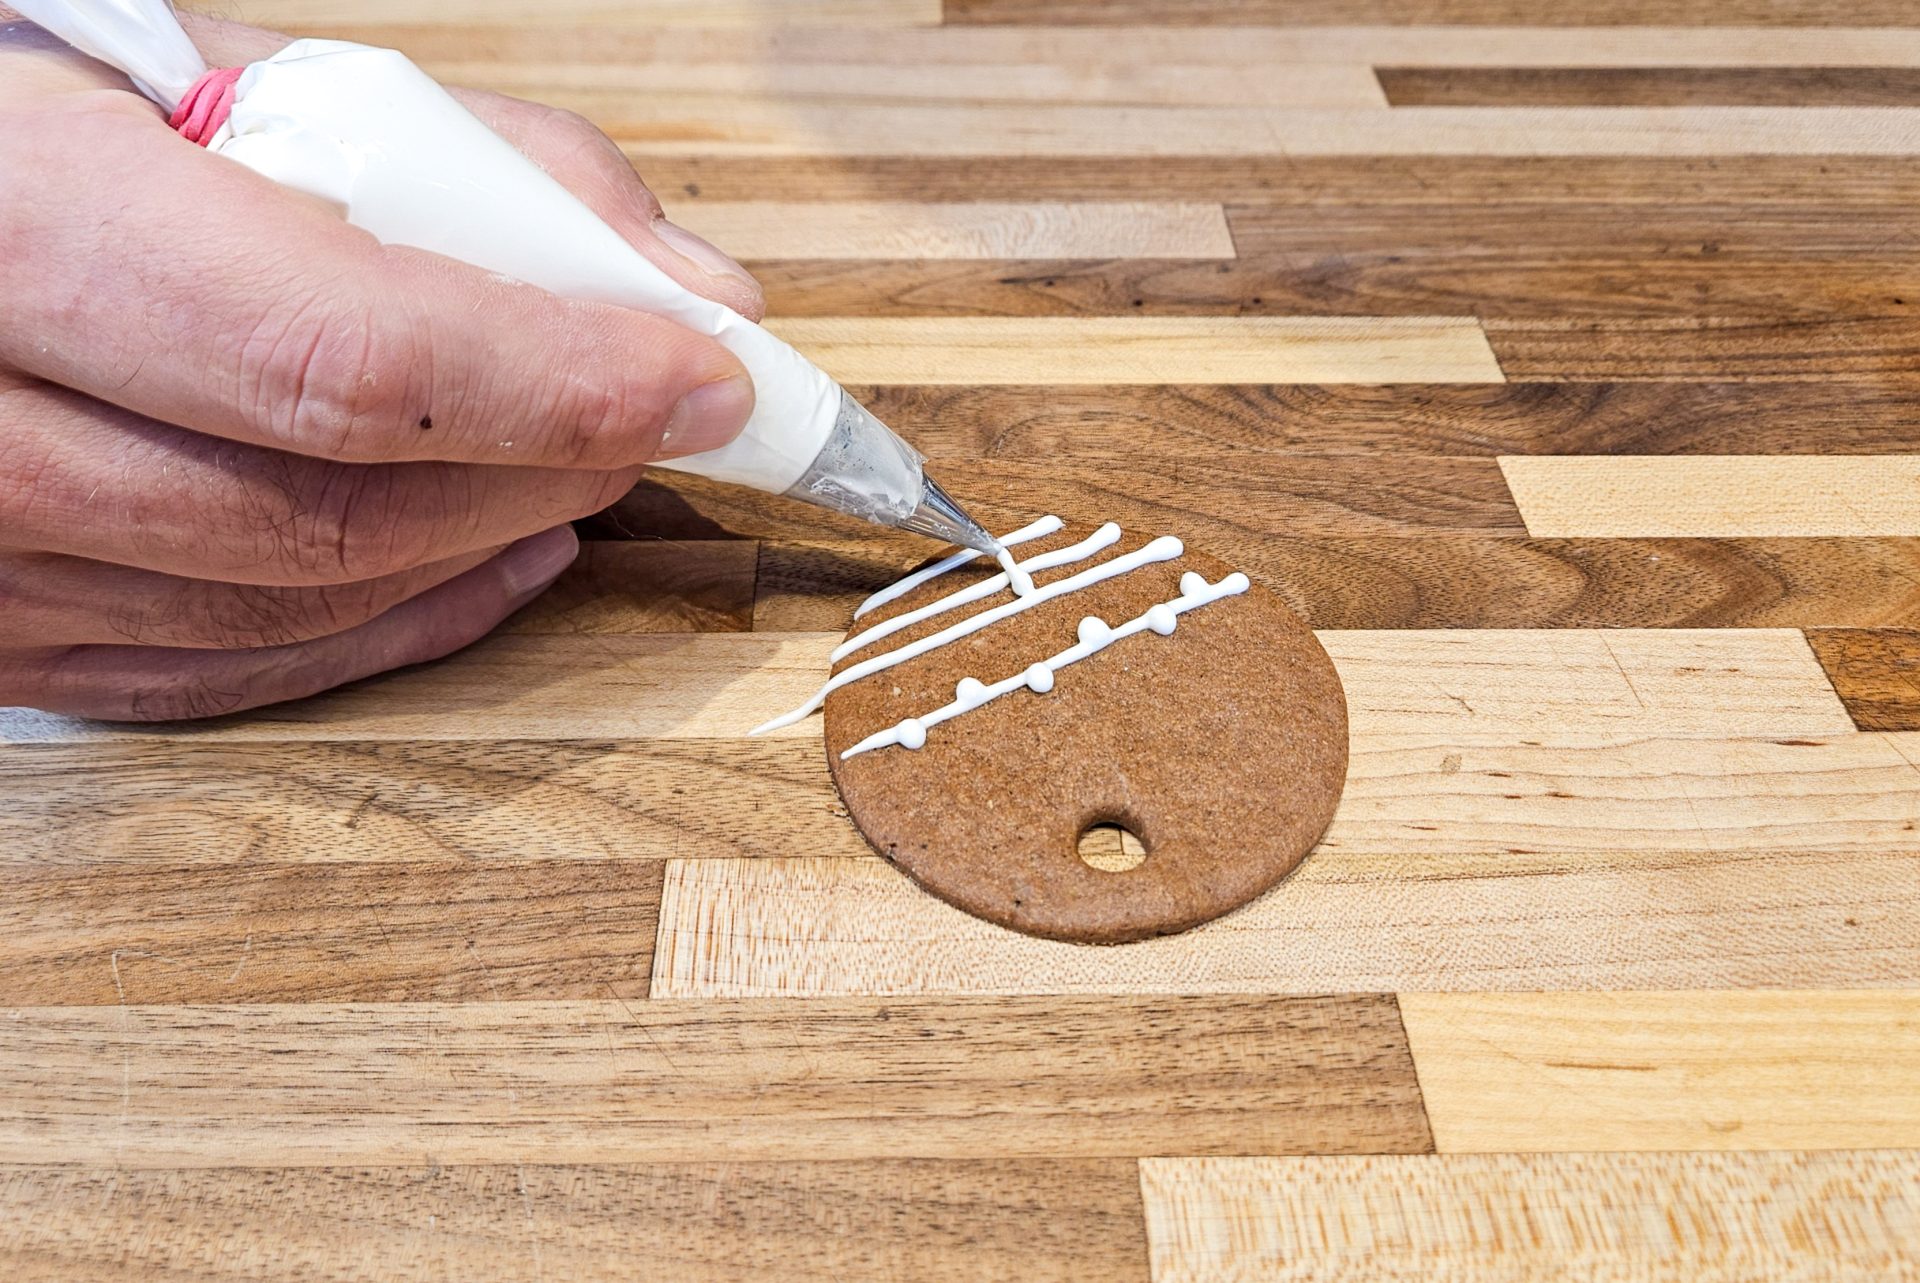 Demonstration of how to decorate gingerbread cookies as round ornaments.
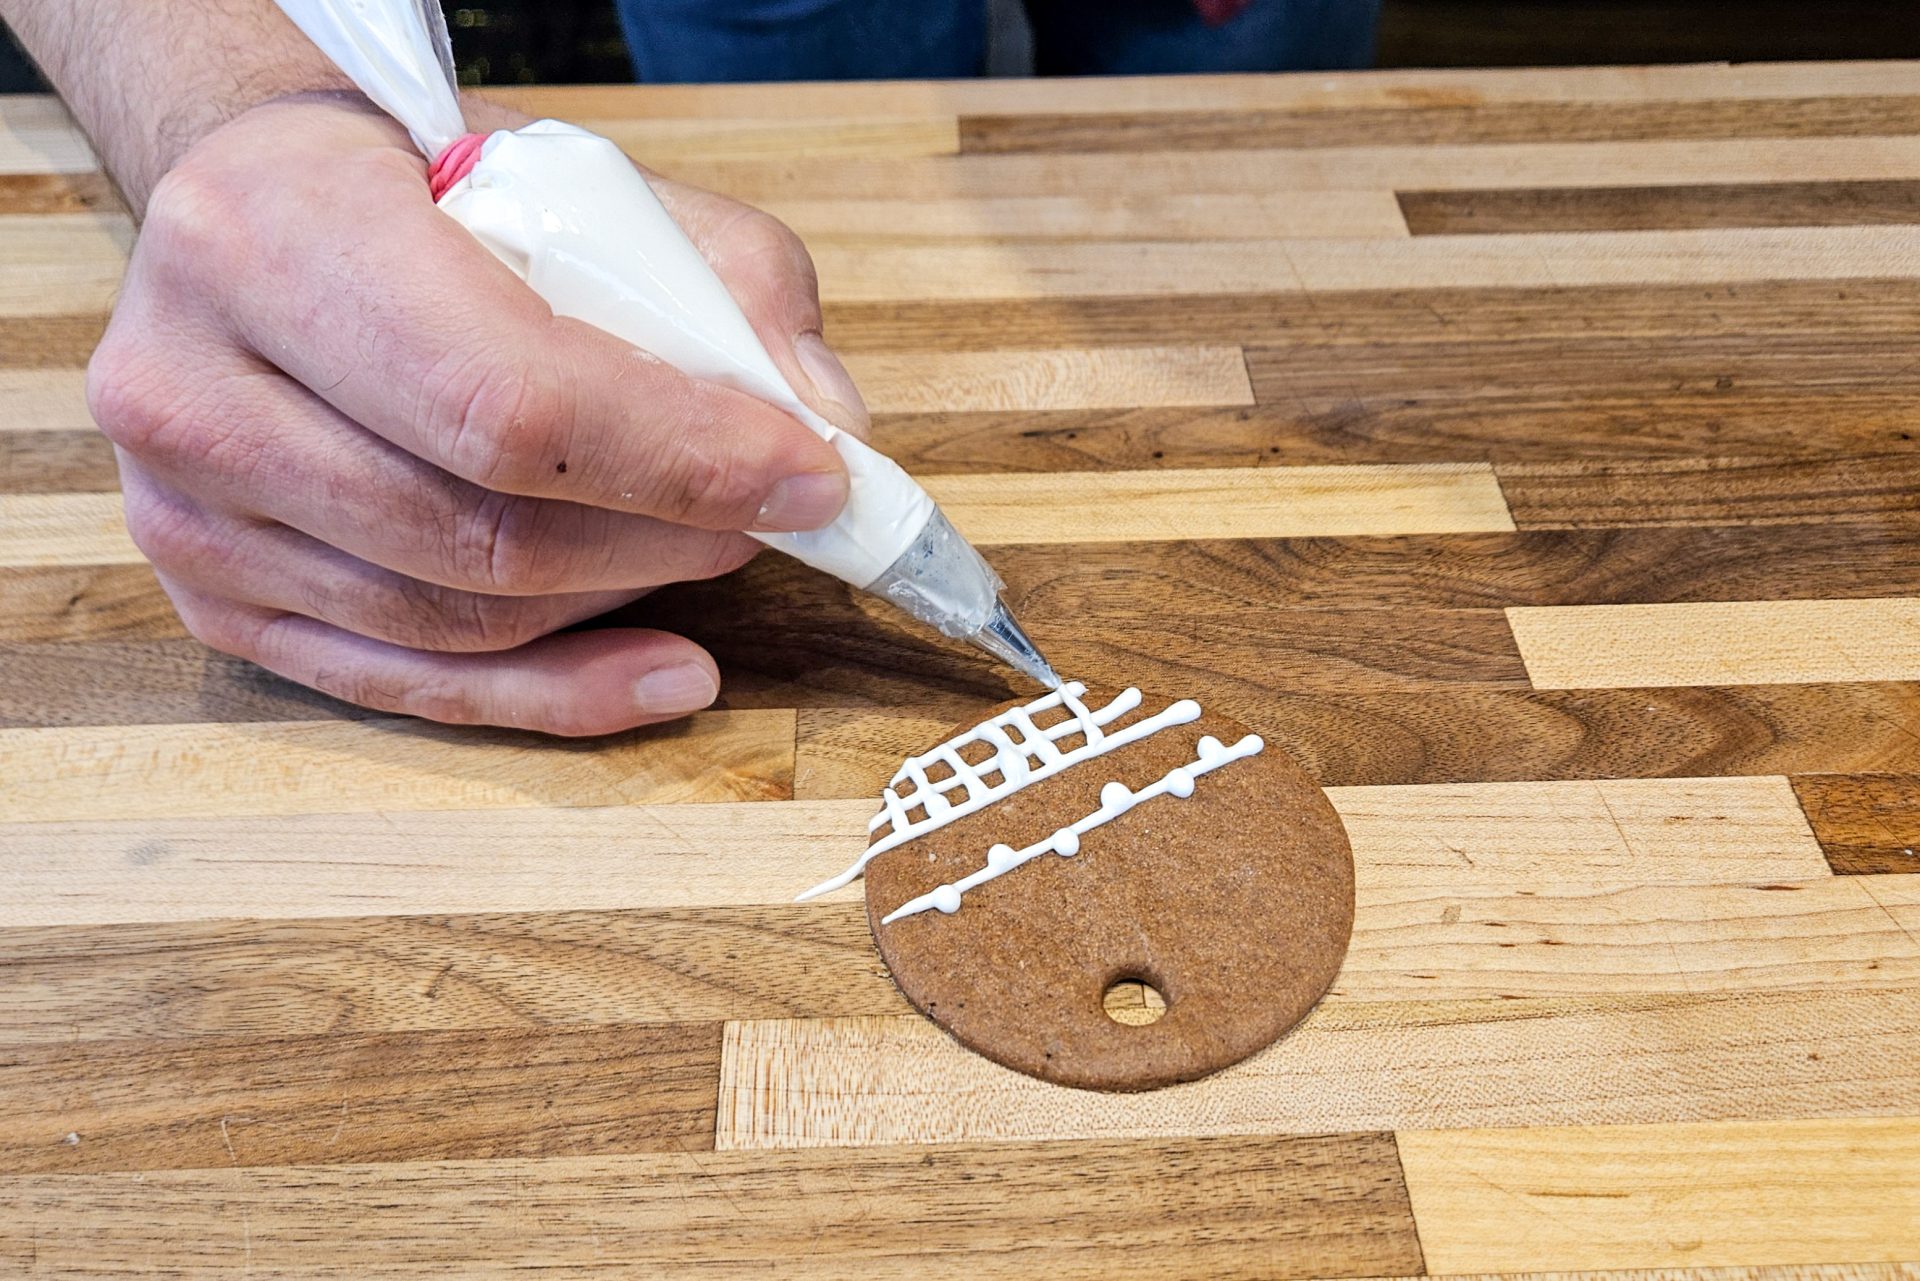 Demonstration of how to decorate gingerbread cookies as round ornaments.
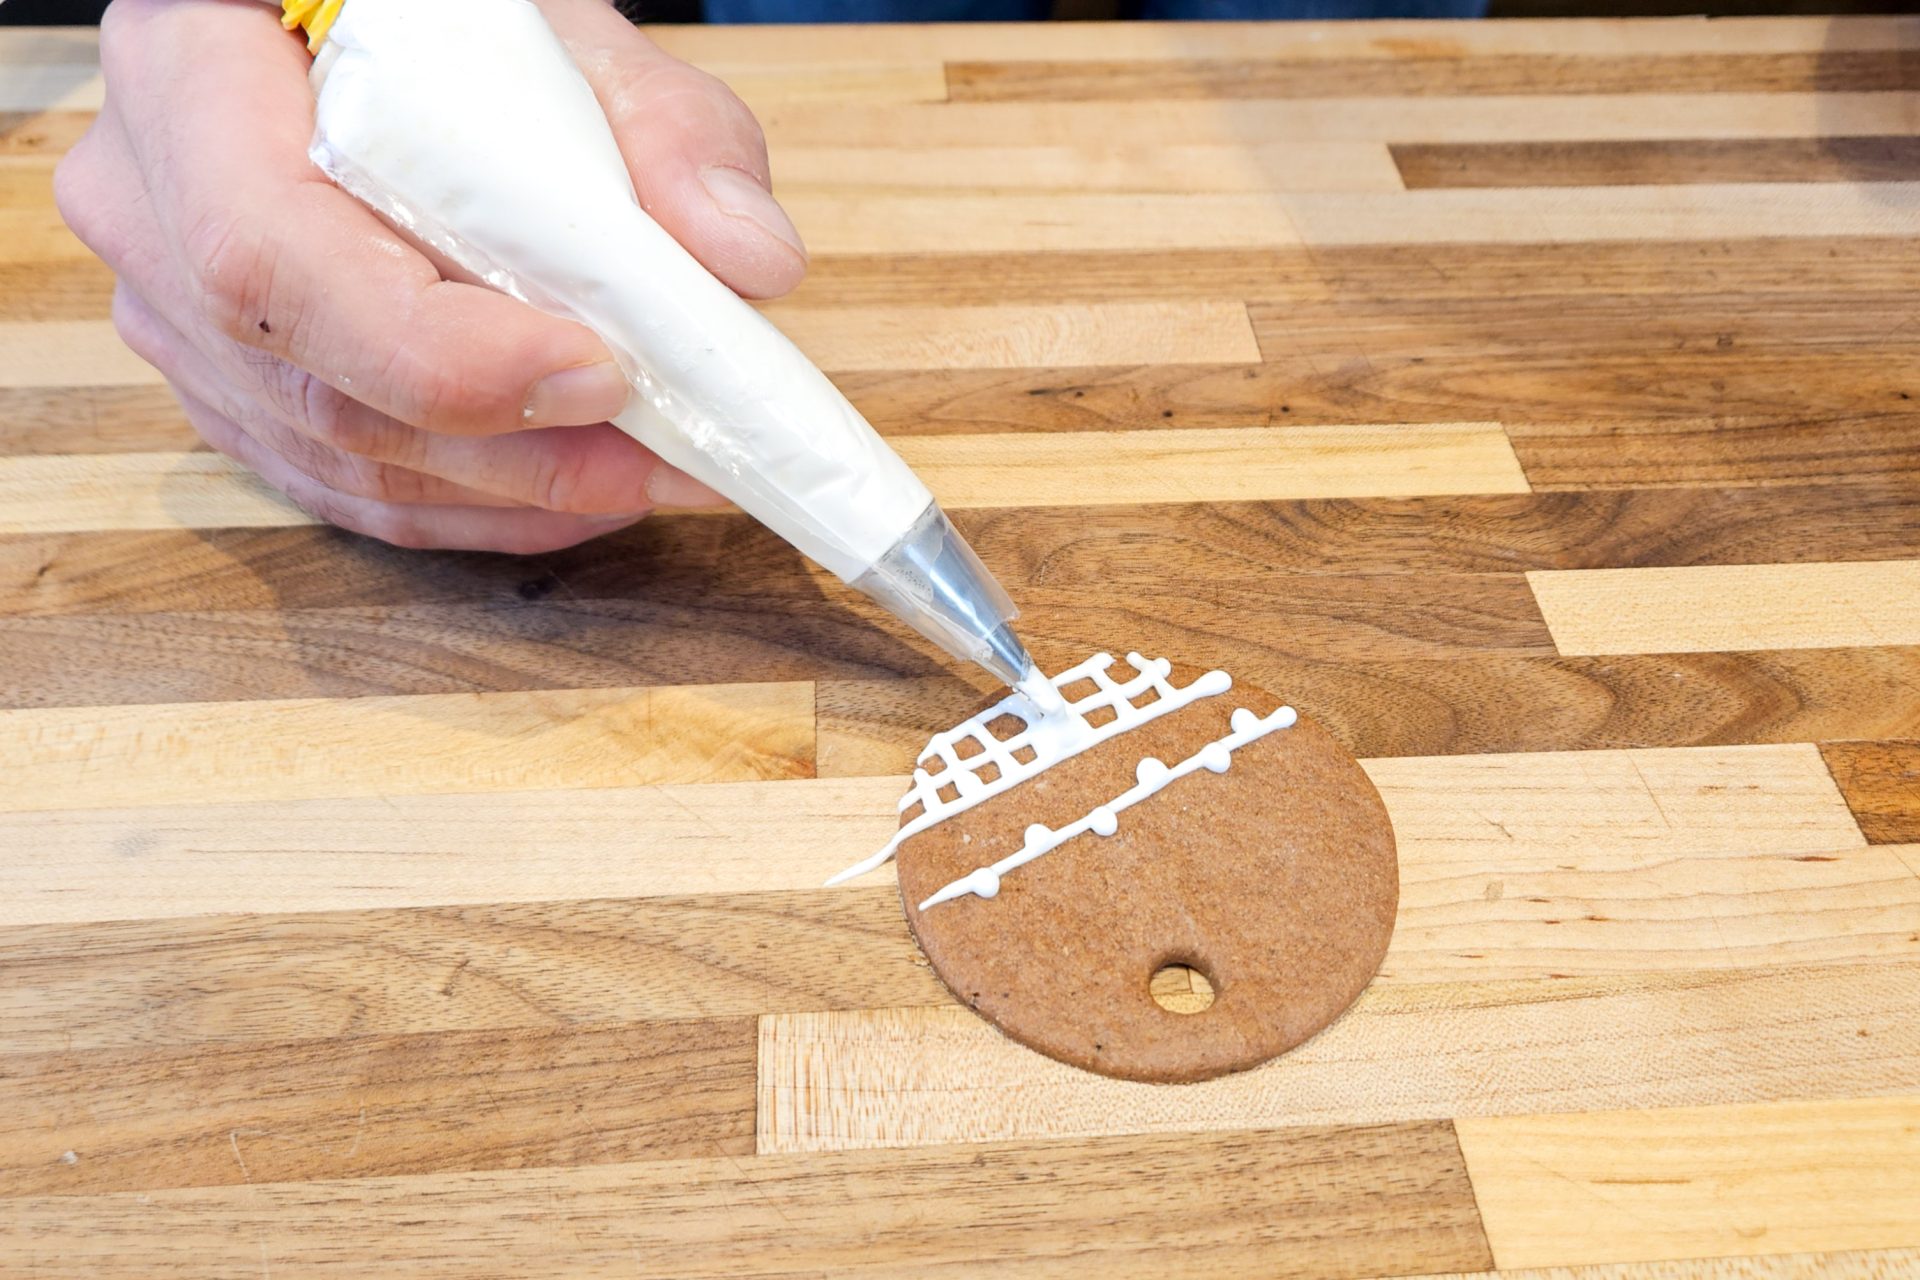 Demonstration of how to decorate gingerbread cookies as round ornaments.
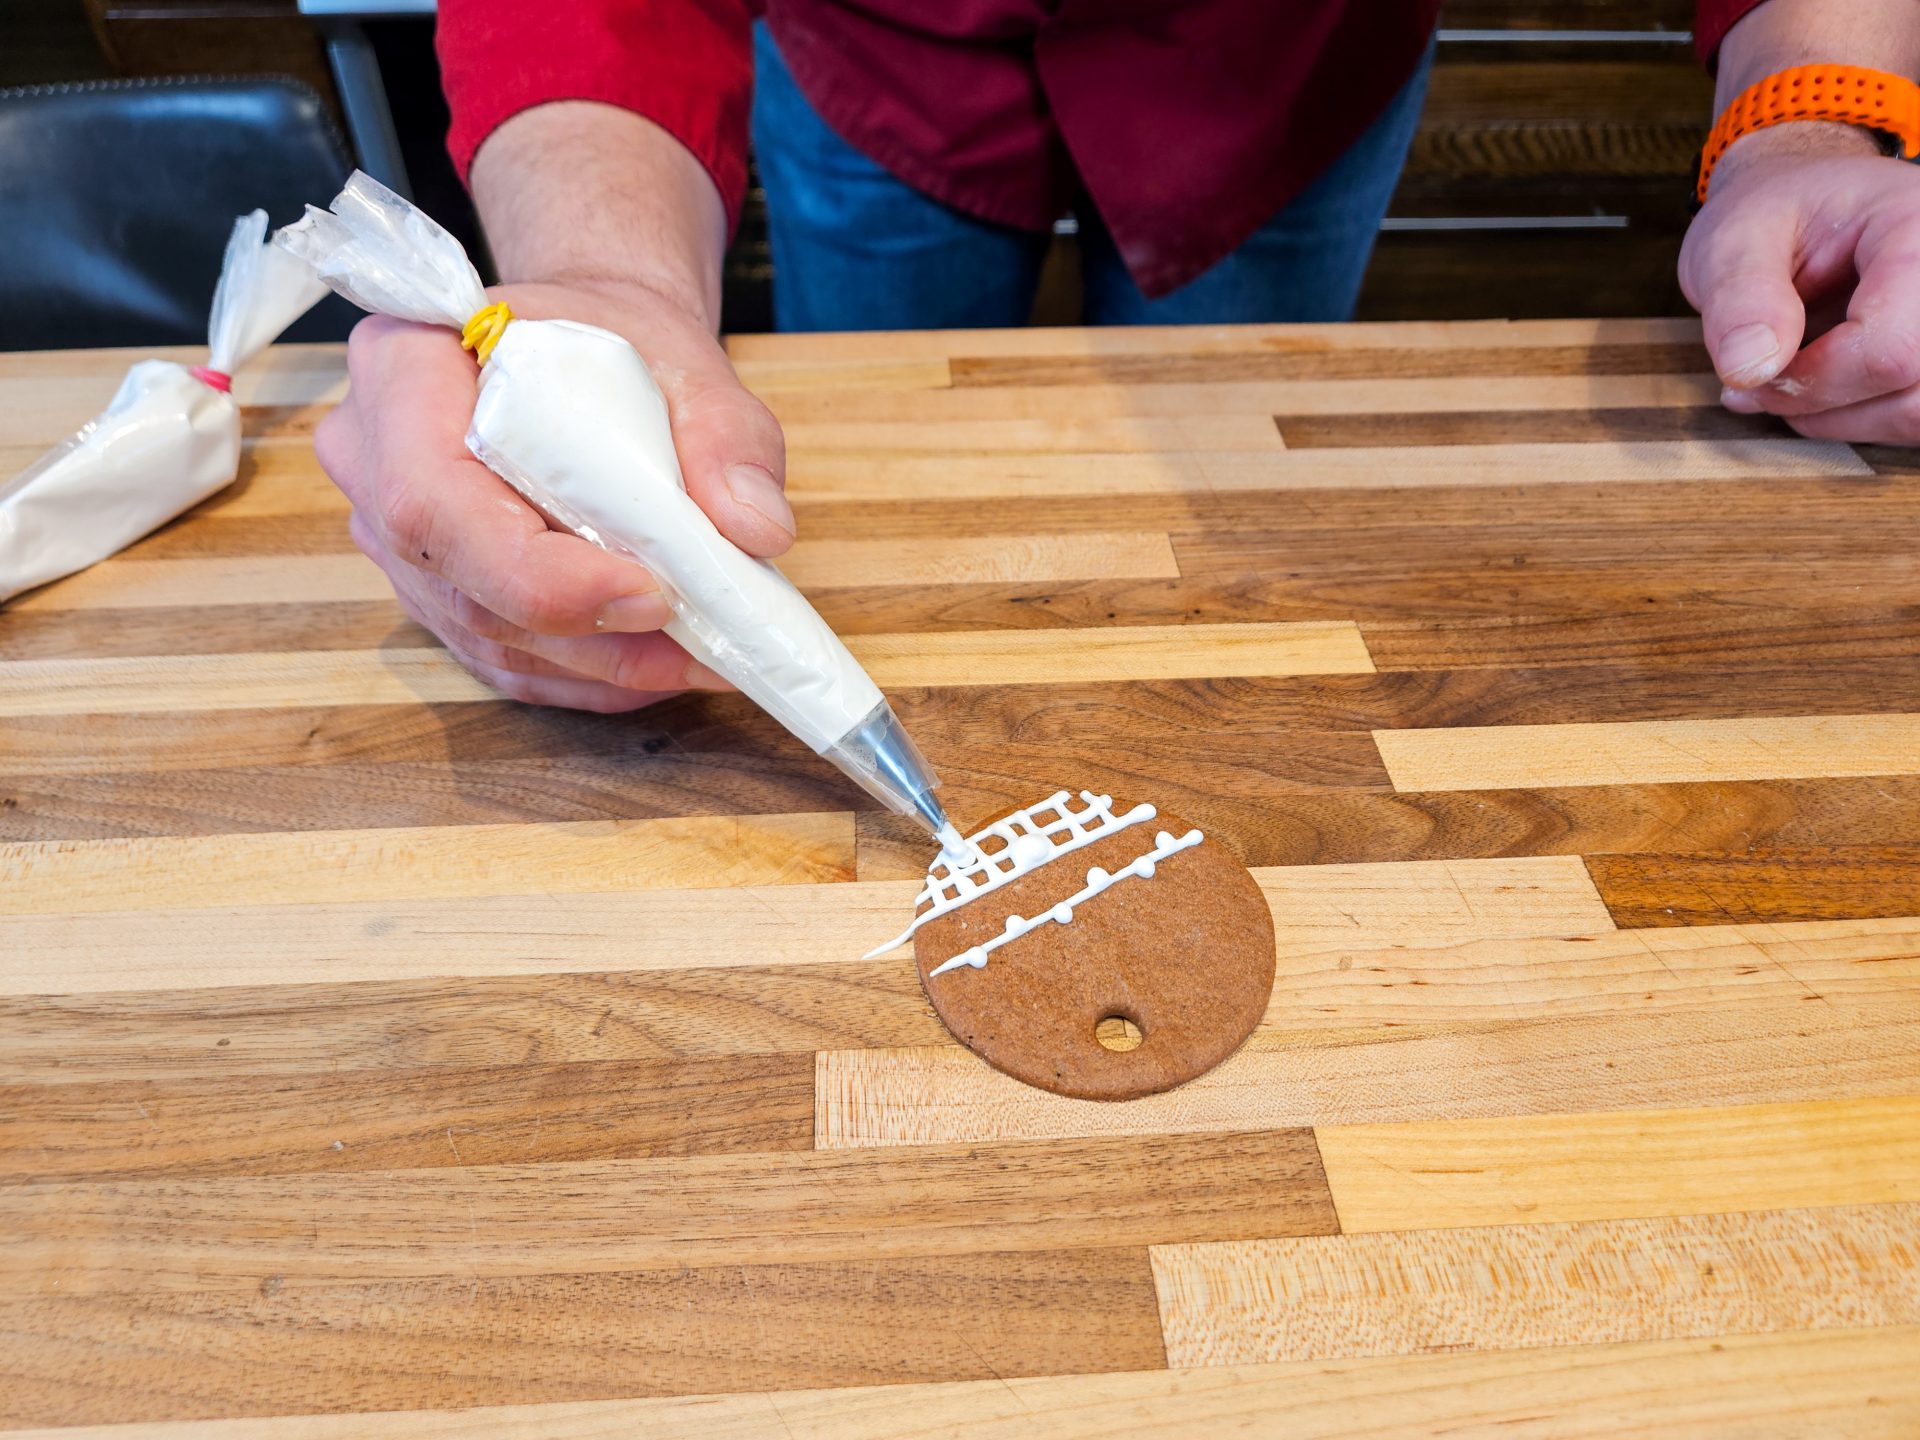 Demonstration of how to decorate gingerbread cookies as round ornaments.
 Demonstration of how to decorate gingerbread cookies as round ornaments.
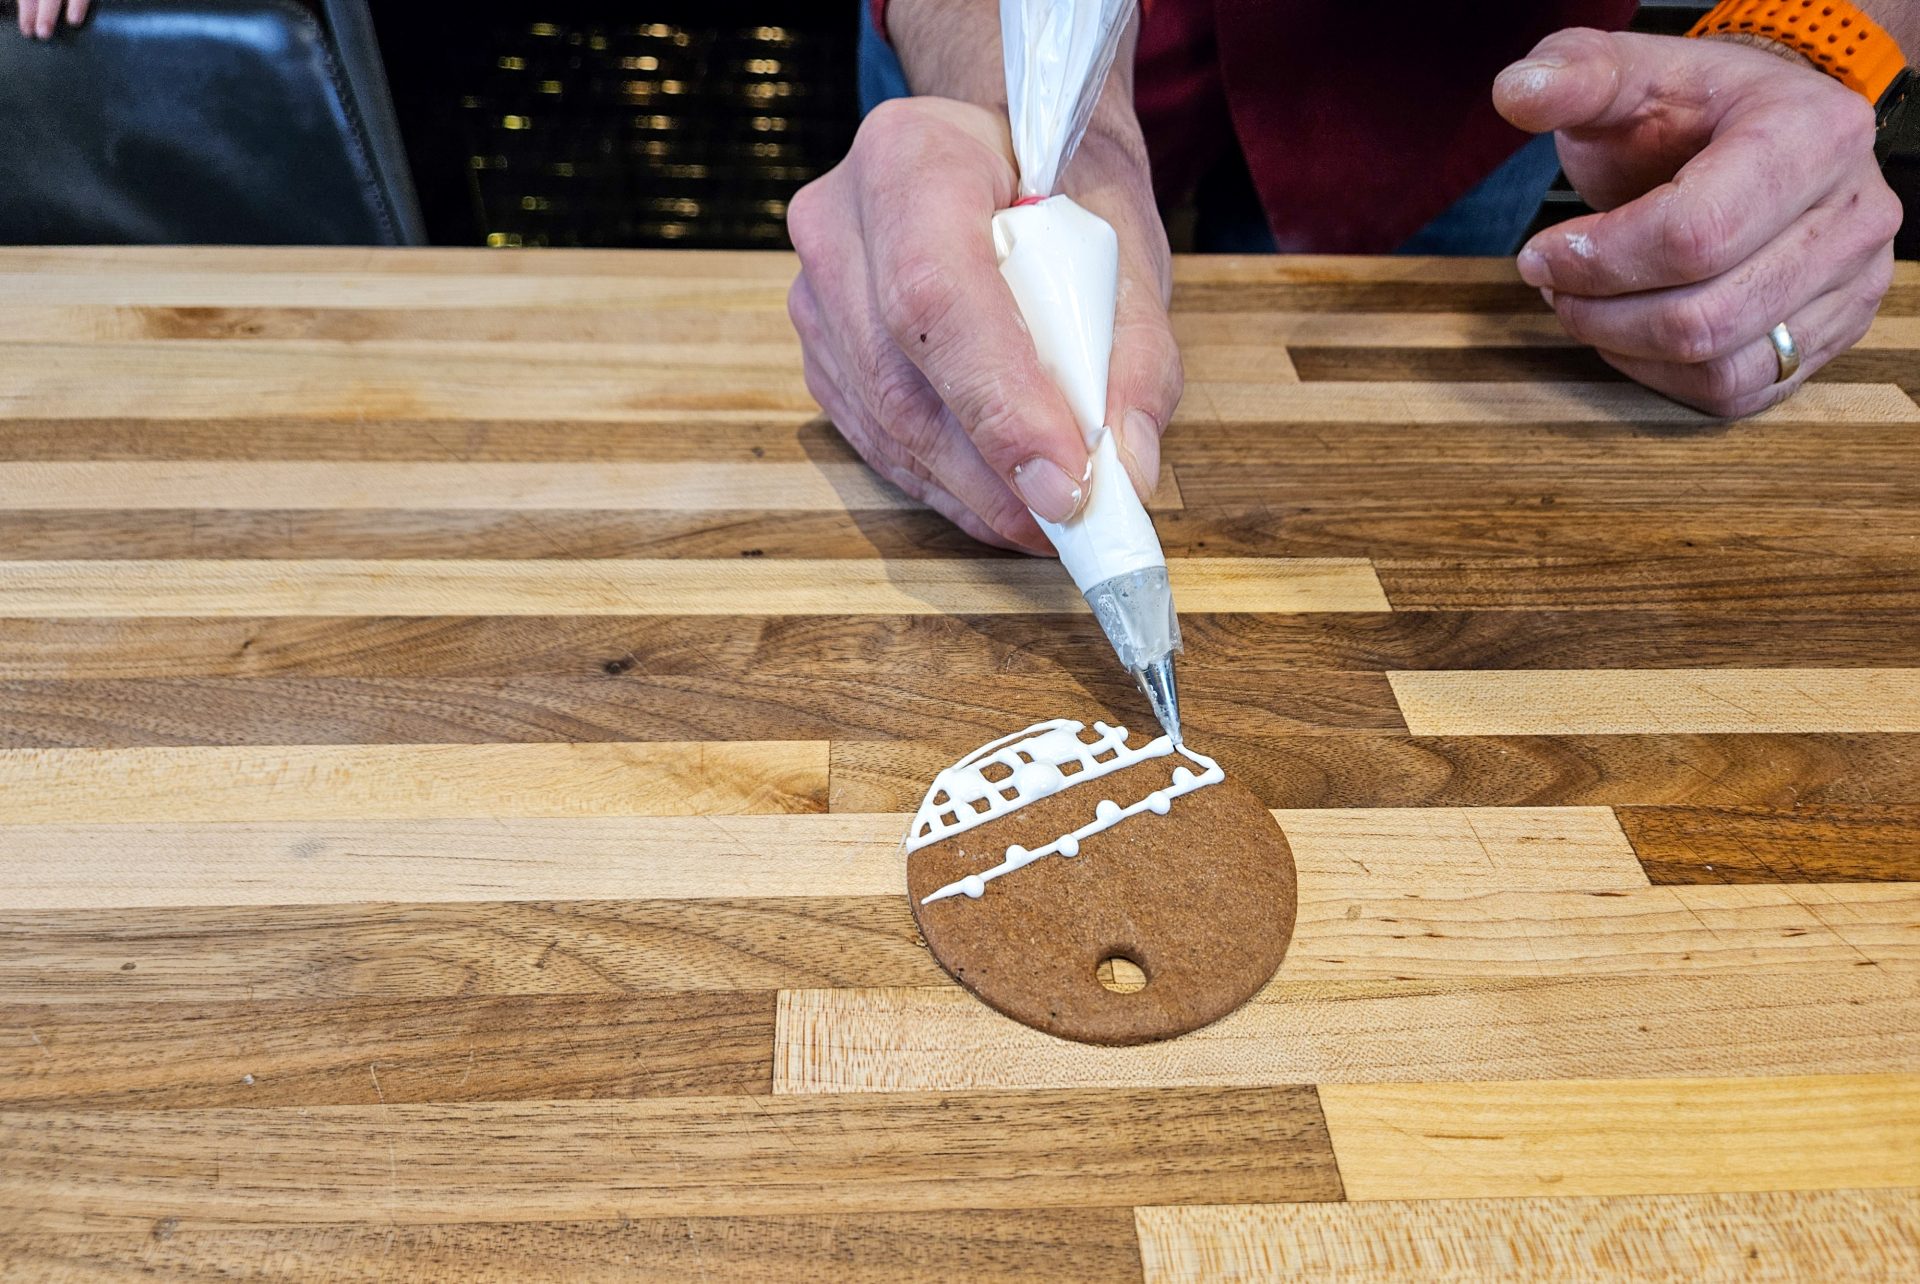 Demonstration of how to decorate gingerbread cookies as round ornaments.
Z lásky = From love.
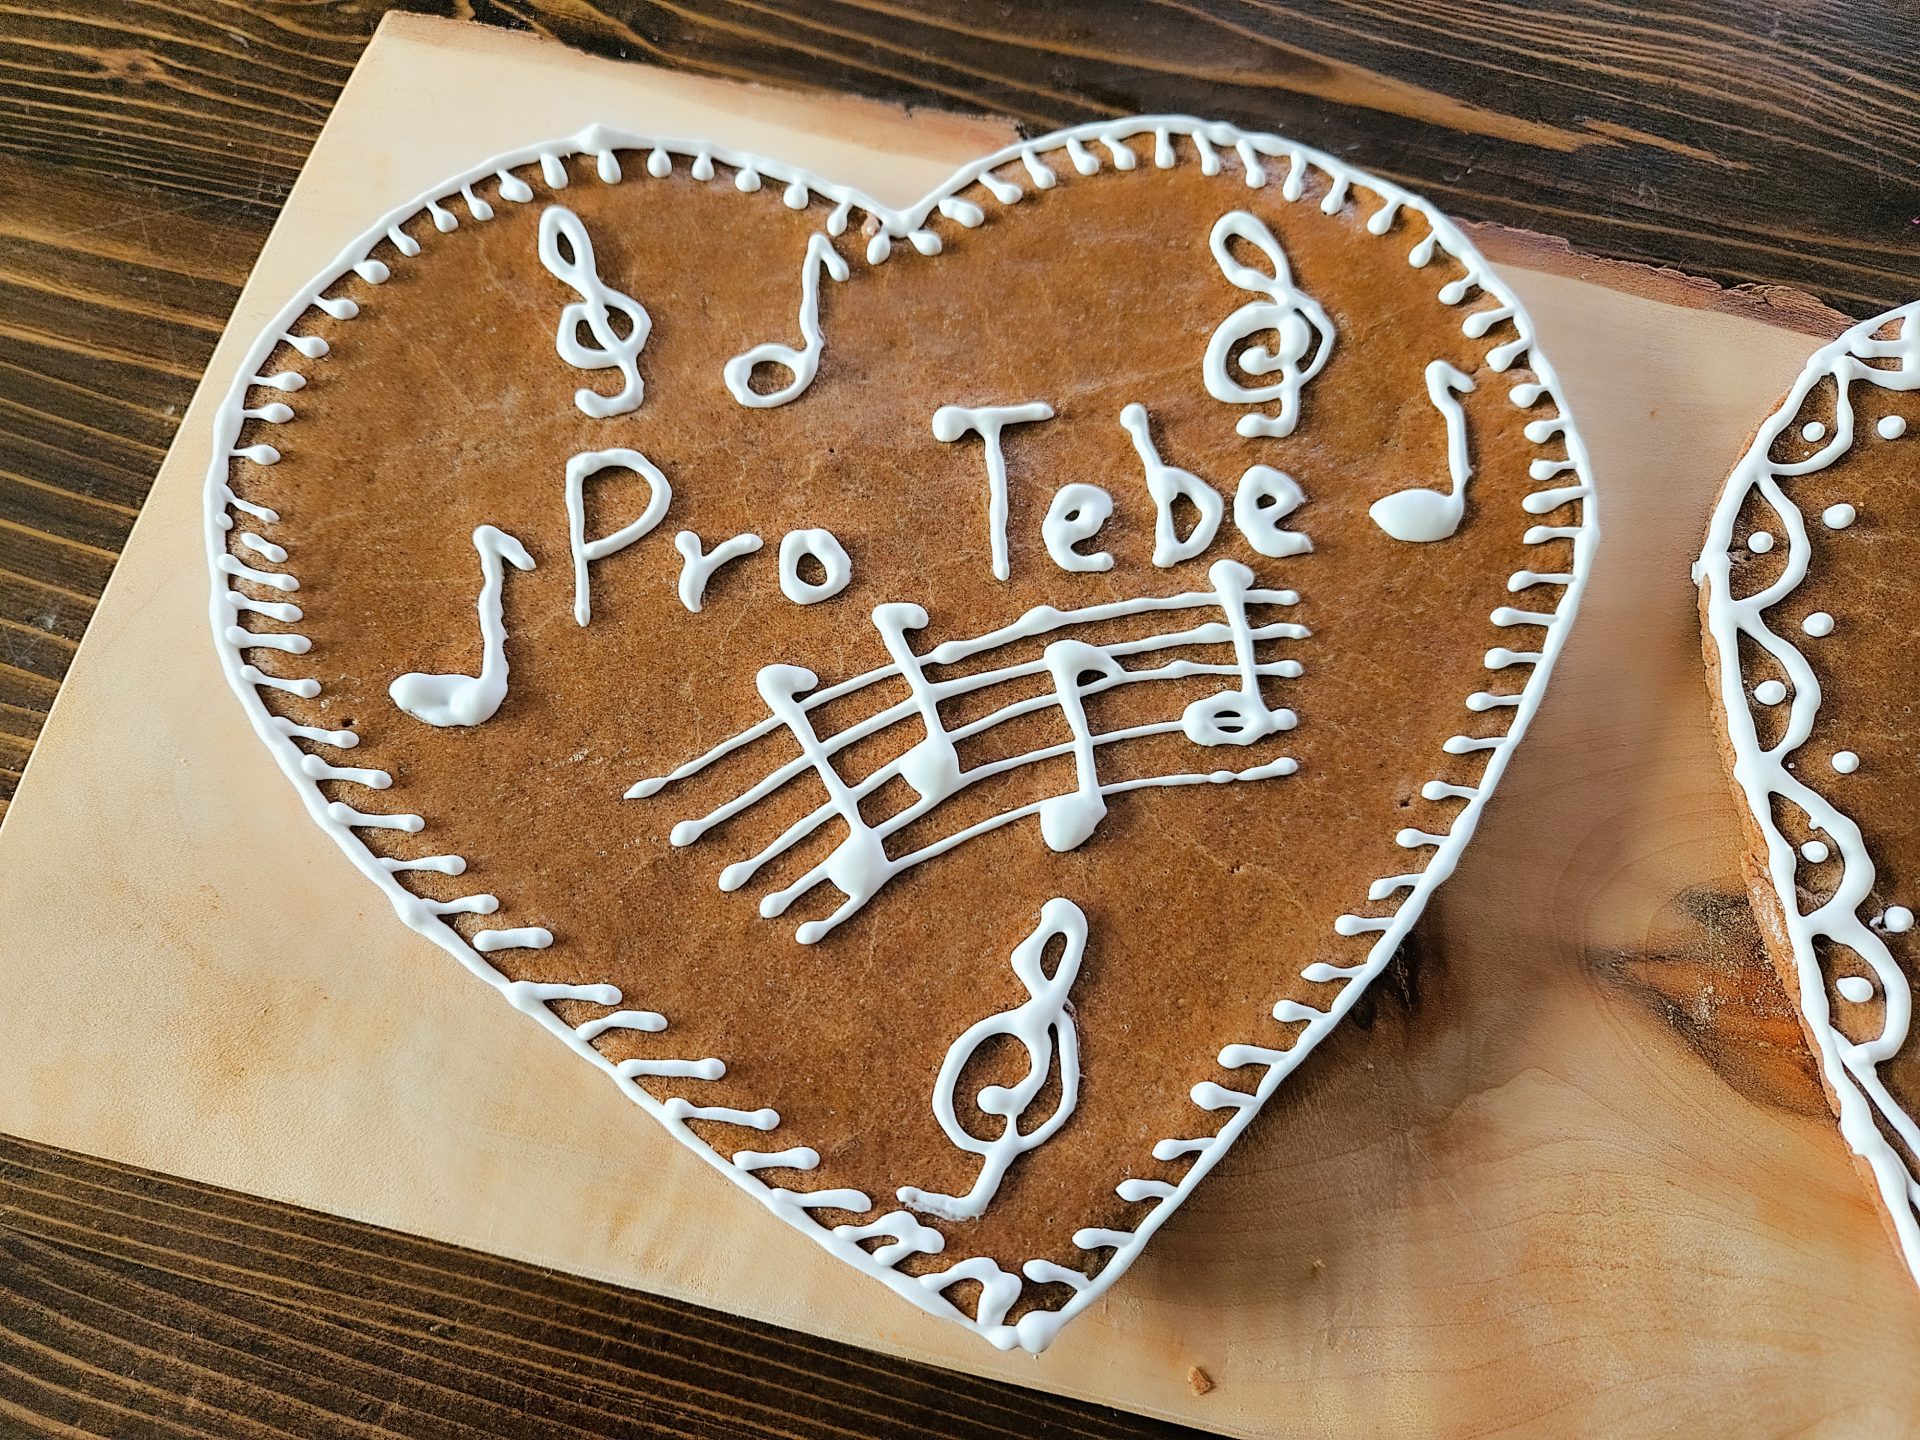
Pro Tebe = For you
Pro (name) = For (name)
Všechno nejlepší! = All the best! (more suitable for birthdays)
Miluji Tě! = I love you.
Mám Tě rád! / Mám Tě ráda! = I like you! (First option for gentleman expressing feeling, second option for lady expressing feelings.

Tip: If creating lines, it is best to keep part of the decorating mixture in the air while piping out (let the decorating mixture gradually sit on the top of the cookie). This will give you straight lines with less effort.
Let the decorating mixture air dry until fully dried (sometimes just an hour, but usually overnight or up to 24 hours) before serving or packaging.
Optionally wrap up with a see-through plastic film to give these heads as a gift.
Do not refrigerate.
 themaverickflavor Cool Cook Tom the Chef Founder Tom the Chef Founder Tom the Chef Founder Tom the Chef Founder Tom the Chef Founder Tom the Chef Founder Tom the Chef Founder Tom the Chef Founder
Comments