Alpha Version
  • 30 min.
  • 2+ h.
  • 2/5

Ingredients:

Pretzels:

Brushing mixture:

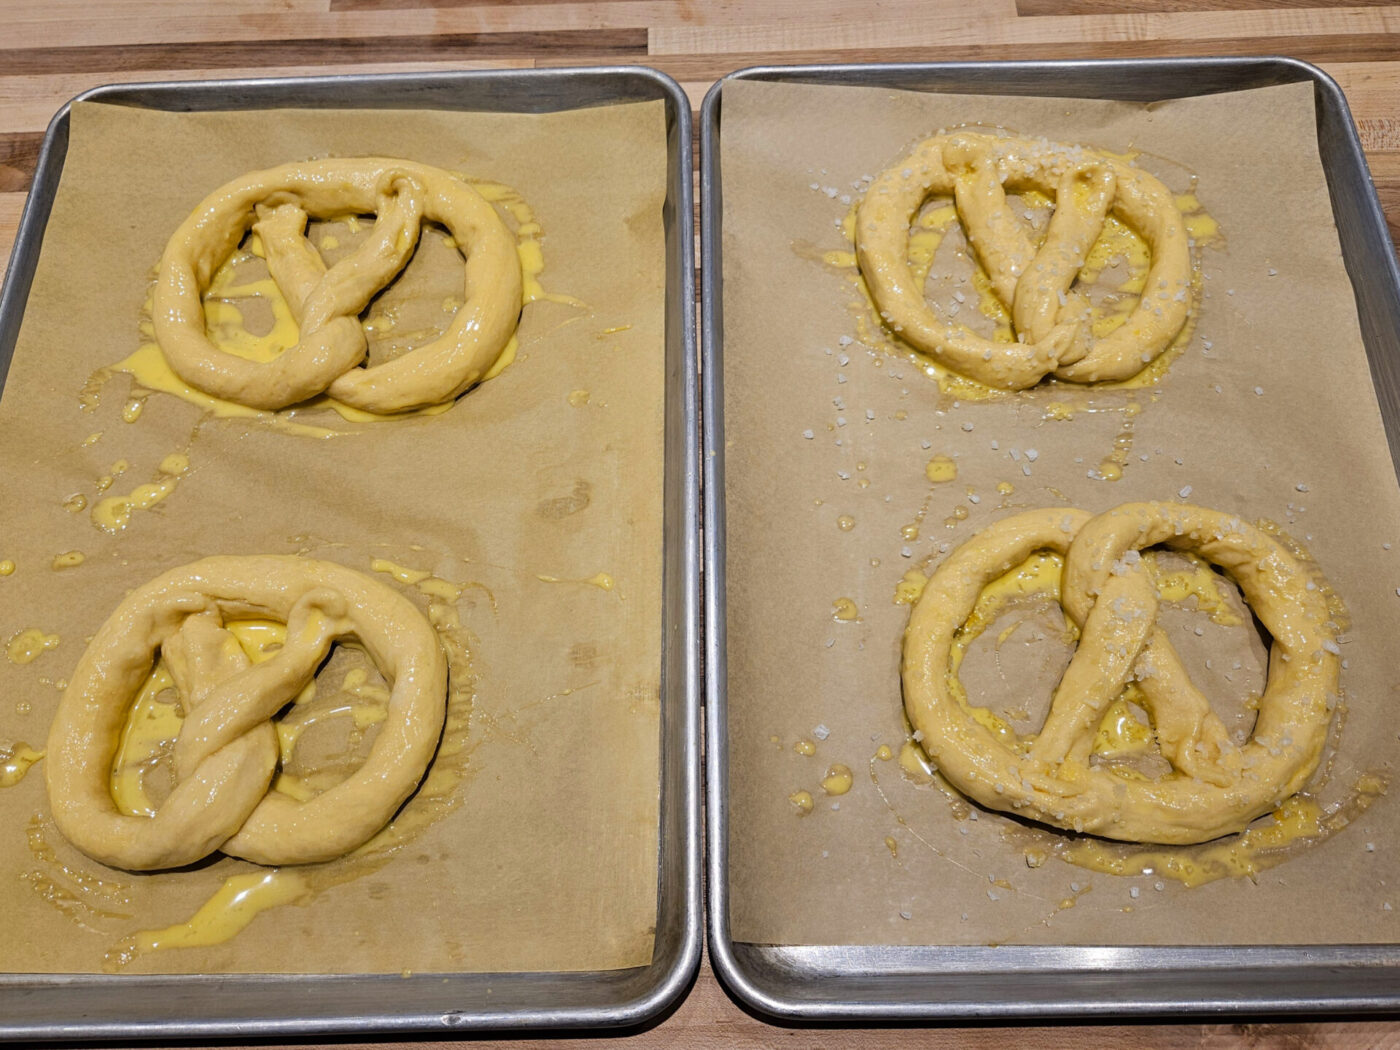
Sprinkle with (select one or combination, I mostly use salt crystals):

Recipes

Best served with:

Directions:

1. Dough:

1.1. Place into a kitchen mixer with a hook attachment:

3 cups of bread flour
1 TBSP of confectioners’ sugar
1 TSP of active dry yeasts
½ TSP of salt

Shortly stir with a hand whisk just enough to combine all ingredients.

1.2. Add:

4 TBSP (½ stick) of butter – soft, cut into small pieces
1 egg
1 cup of lukewarm milk – about 90 to 100°F *

Knead on low speed until all ingredients are partially incorporated (about 1 – 2 minutes).

1.3.

Then increase the speed to medium-high and knead until all ingredients are fully combined and the dough is formed (about 3 – 4 minutes).

2. Rising the dough:

2.1.

Remove the bowl from the kitchen mixer and cover with plastic wrap.

2.2.

Let rise in a warm place until it has about doubled in size (about 1 – 2 ½ hours). *

3. Pre-shape the dough into compact balls:

3.1. Place the dough on a surface without flour and separate into 4 even pieces using a bowl scraper, about 7.5 OZ each

Notes:

  • Using the scale is optional.
  • Total weight of the dough is about 30 OZ

3.2.

Form each piece of dough into compact dough balls with your hands.

3.3.

Cover the balls with a dish towel and let them rest for about 10 minutes before the next step.

4. Shape the pretzels:

Before you proceed:

  • Shape pretzels one by one on a surface that does NOT have
  • Make sure that the surface is perfectly clean (no residue of food, ingredients, etc.).
  • Since the dough includes butter, it will not stick to the surface. If it occasionally does, use your bowl scraper to release the dough.

4.1.

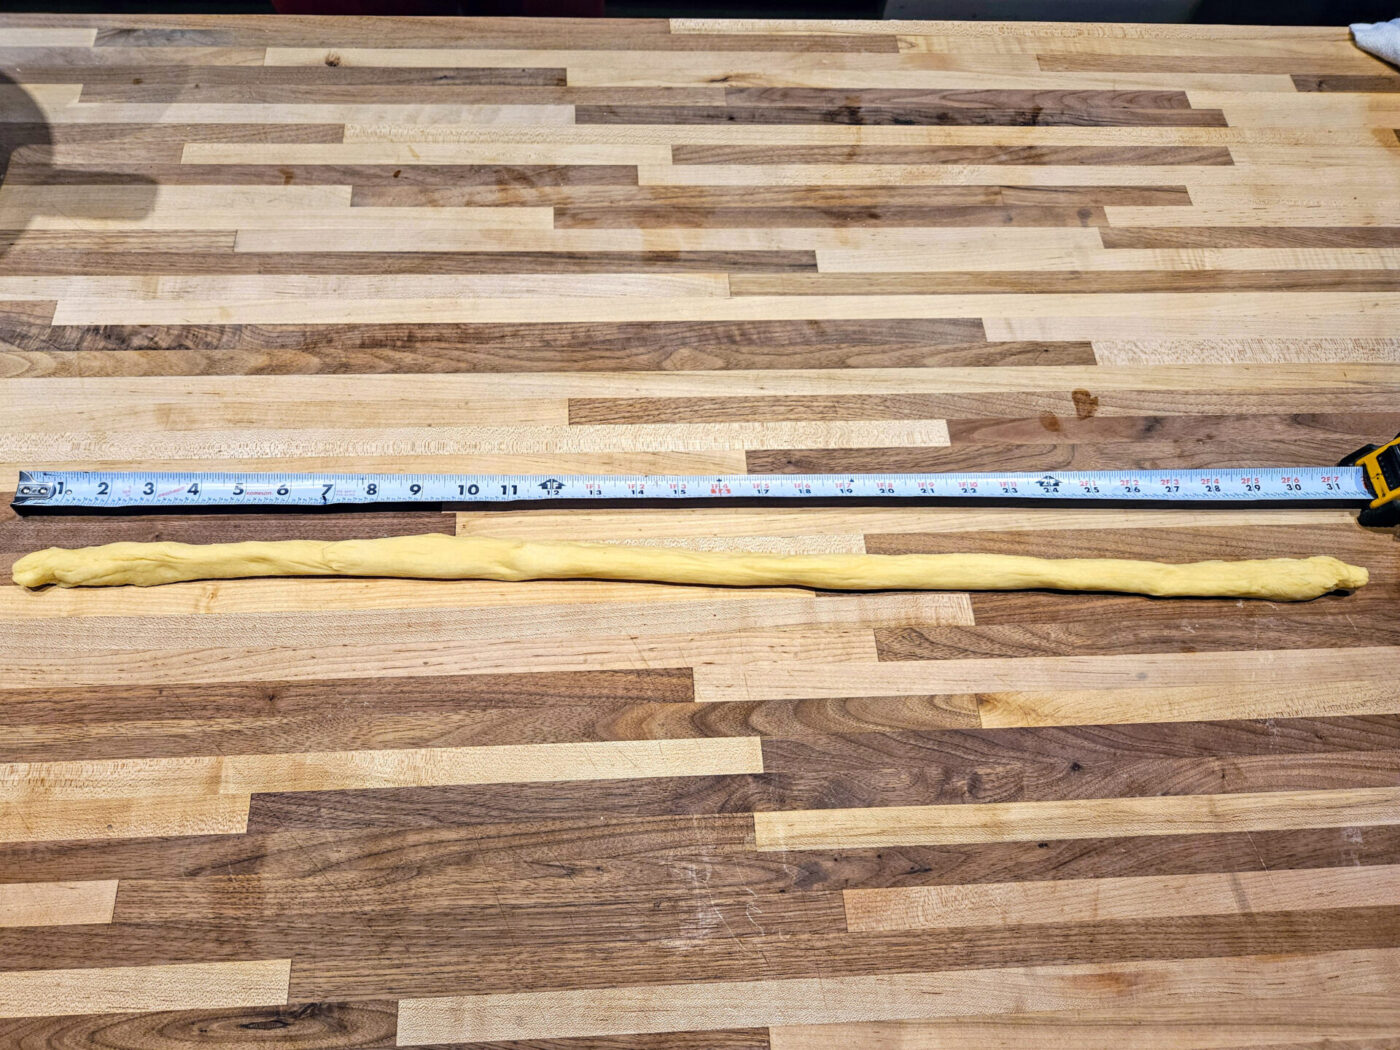
Roll each piece into a strand – a long rope shape with a thickness of about ¾ – 1” and a length of at least 30”.

Czech Soft Pretzels - steps-01

4.2.

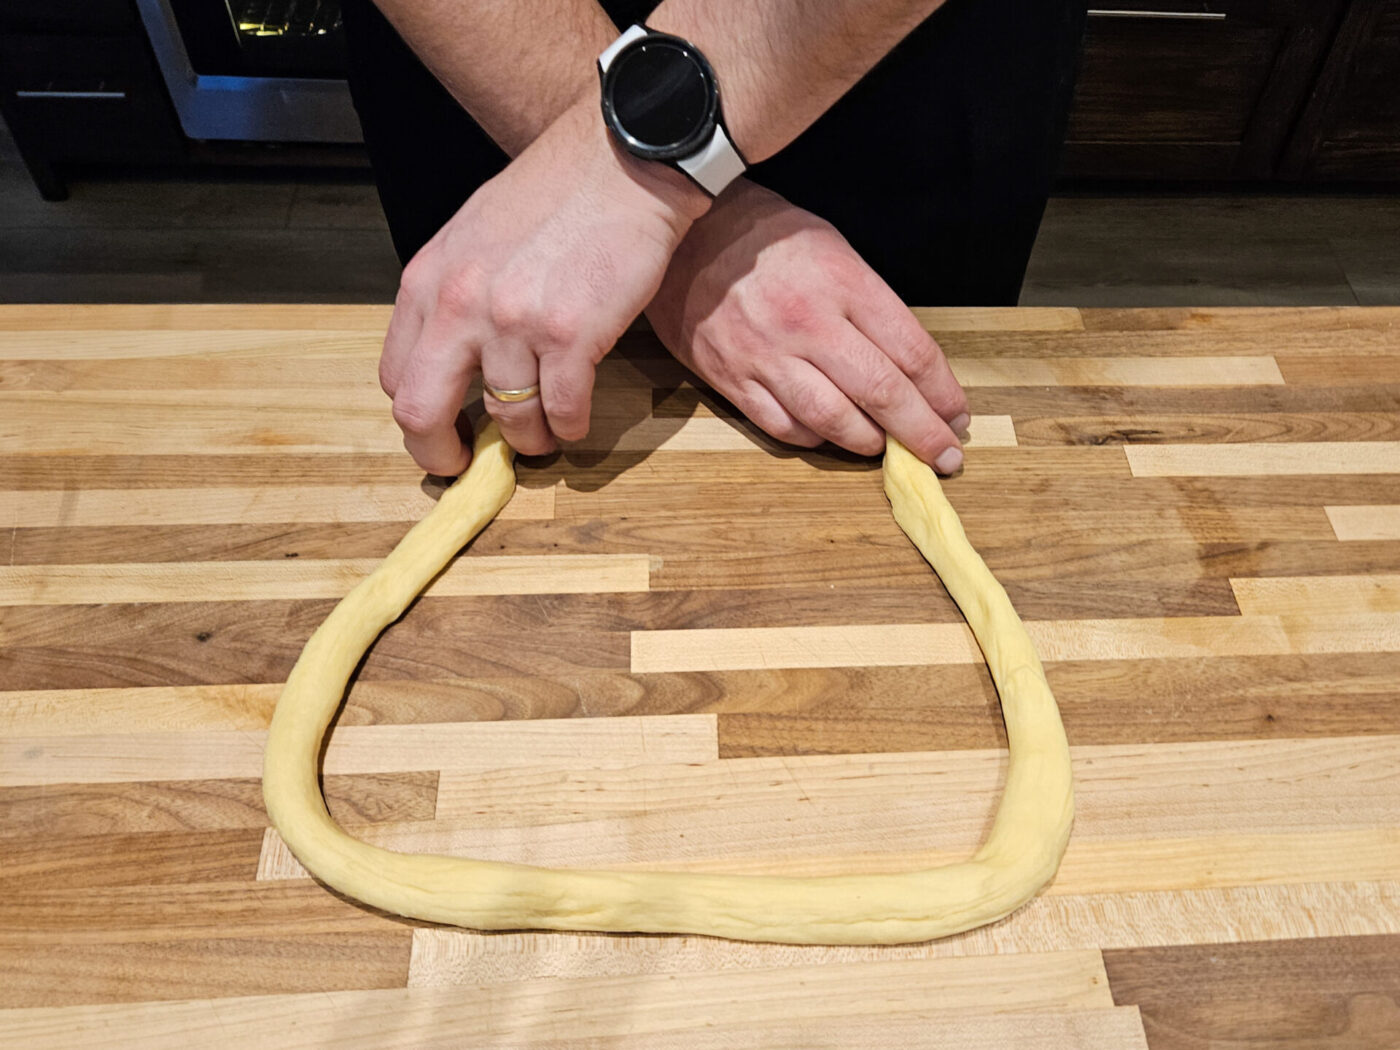
Take both ends of the strands and bring them close to yourself while creating the round shape.

Czech Soft Pretzels - steps-02

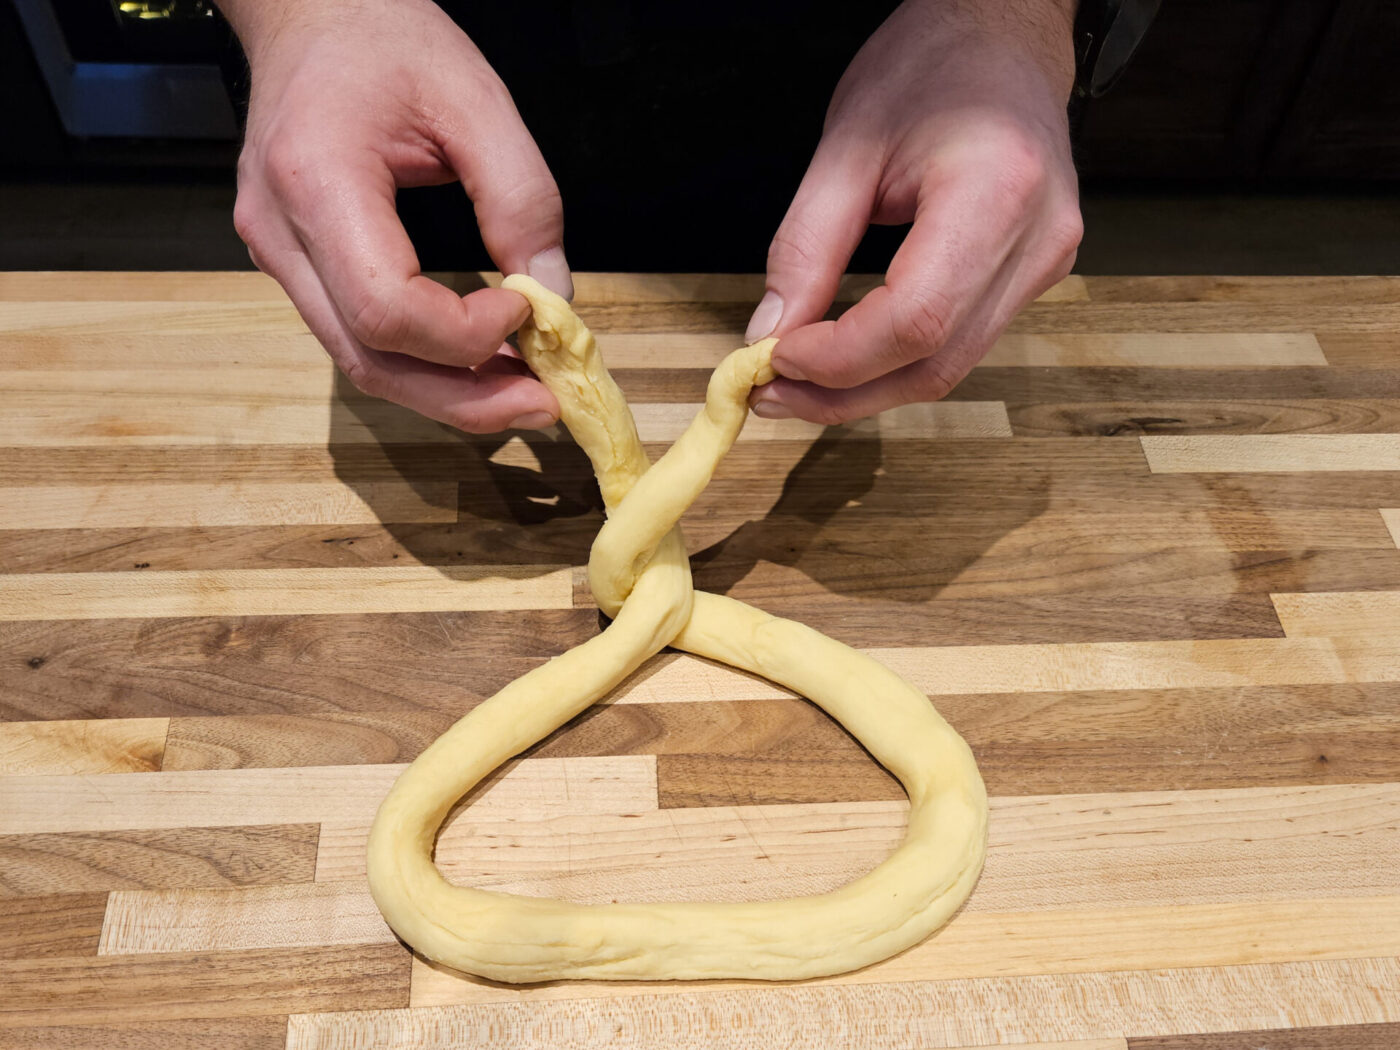
4.3.

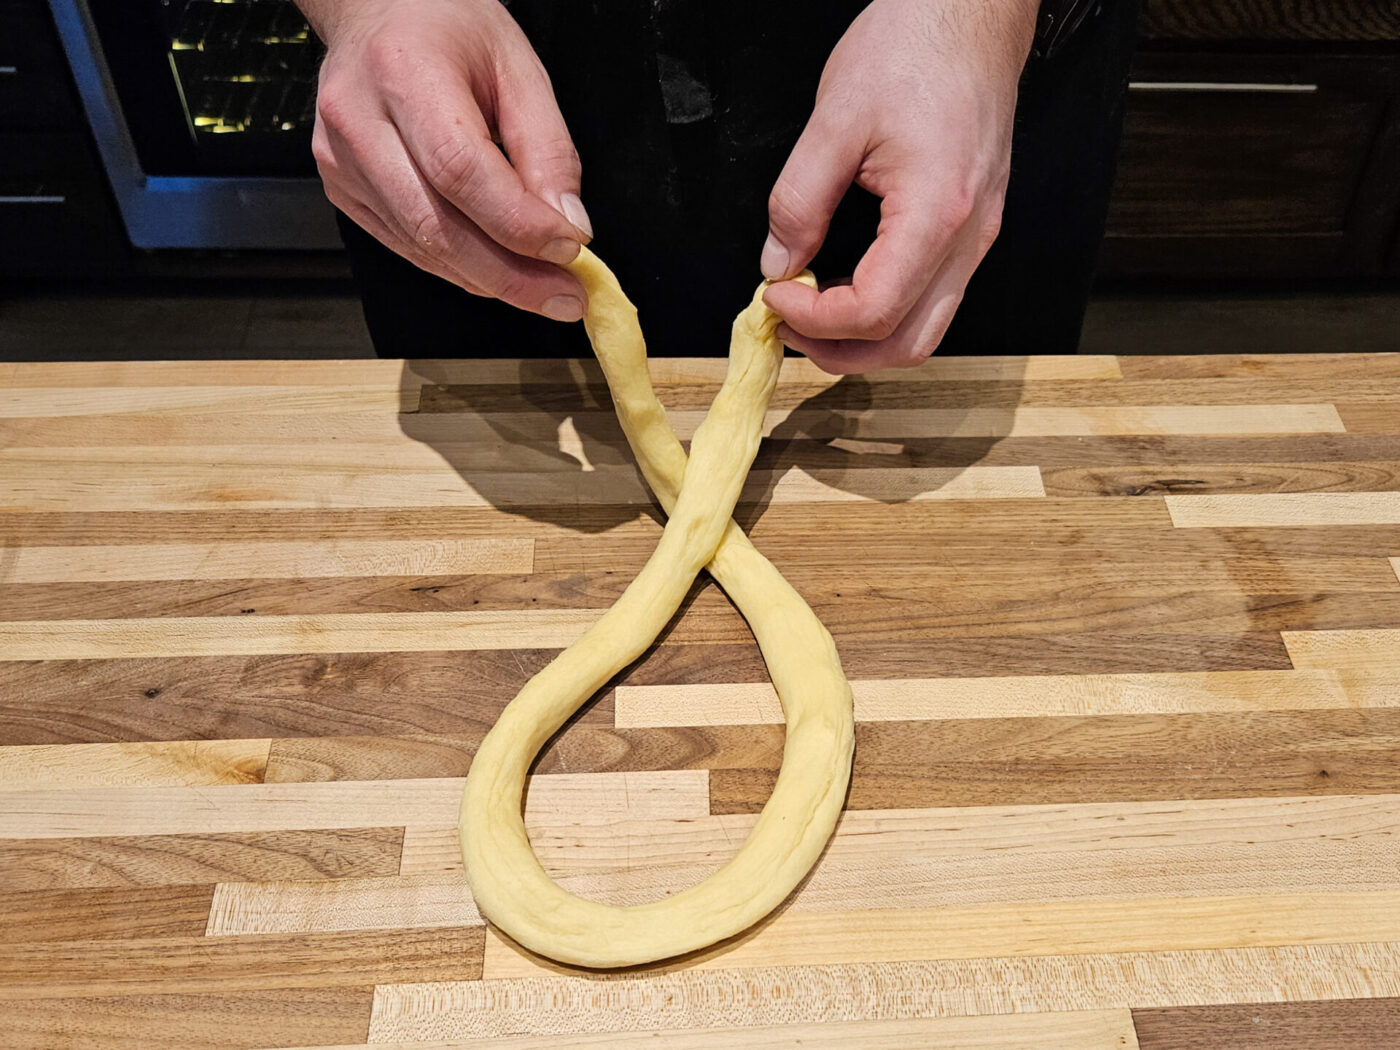
Then twist both ends (in 1/6 length from both sides).

Czech Soft Pretzels - steps-03Czech Soft Pretzels - steps-04

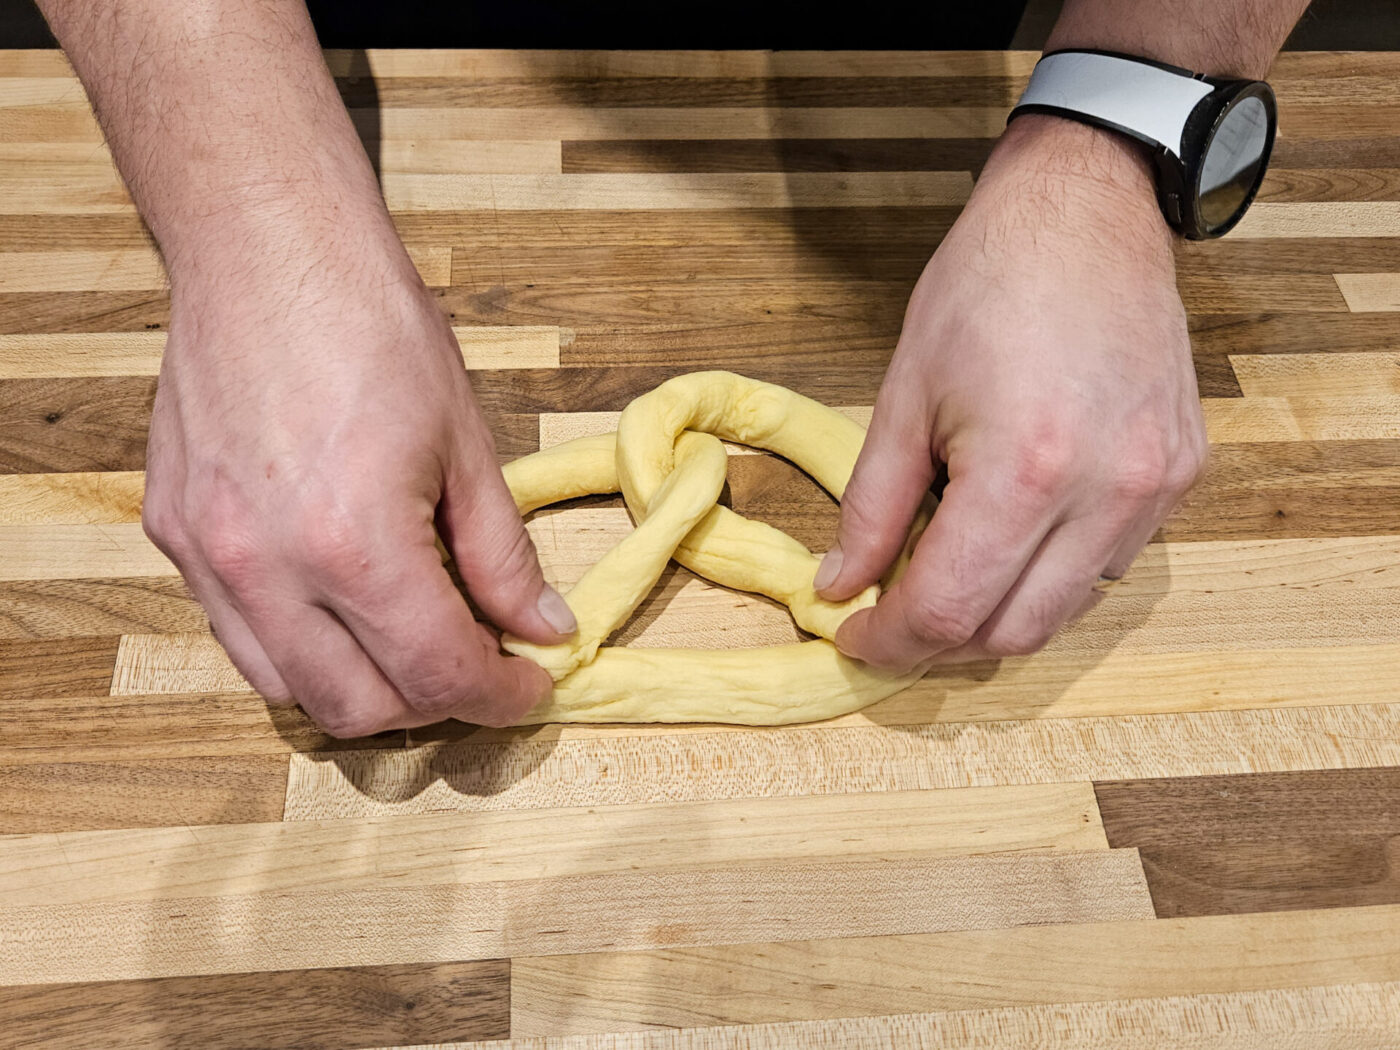
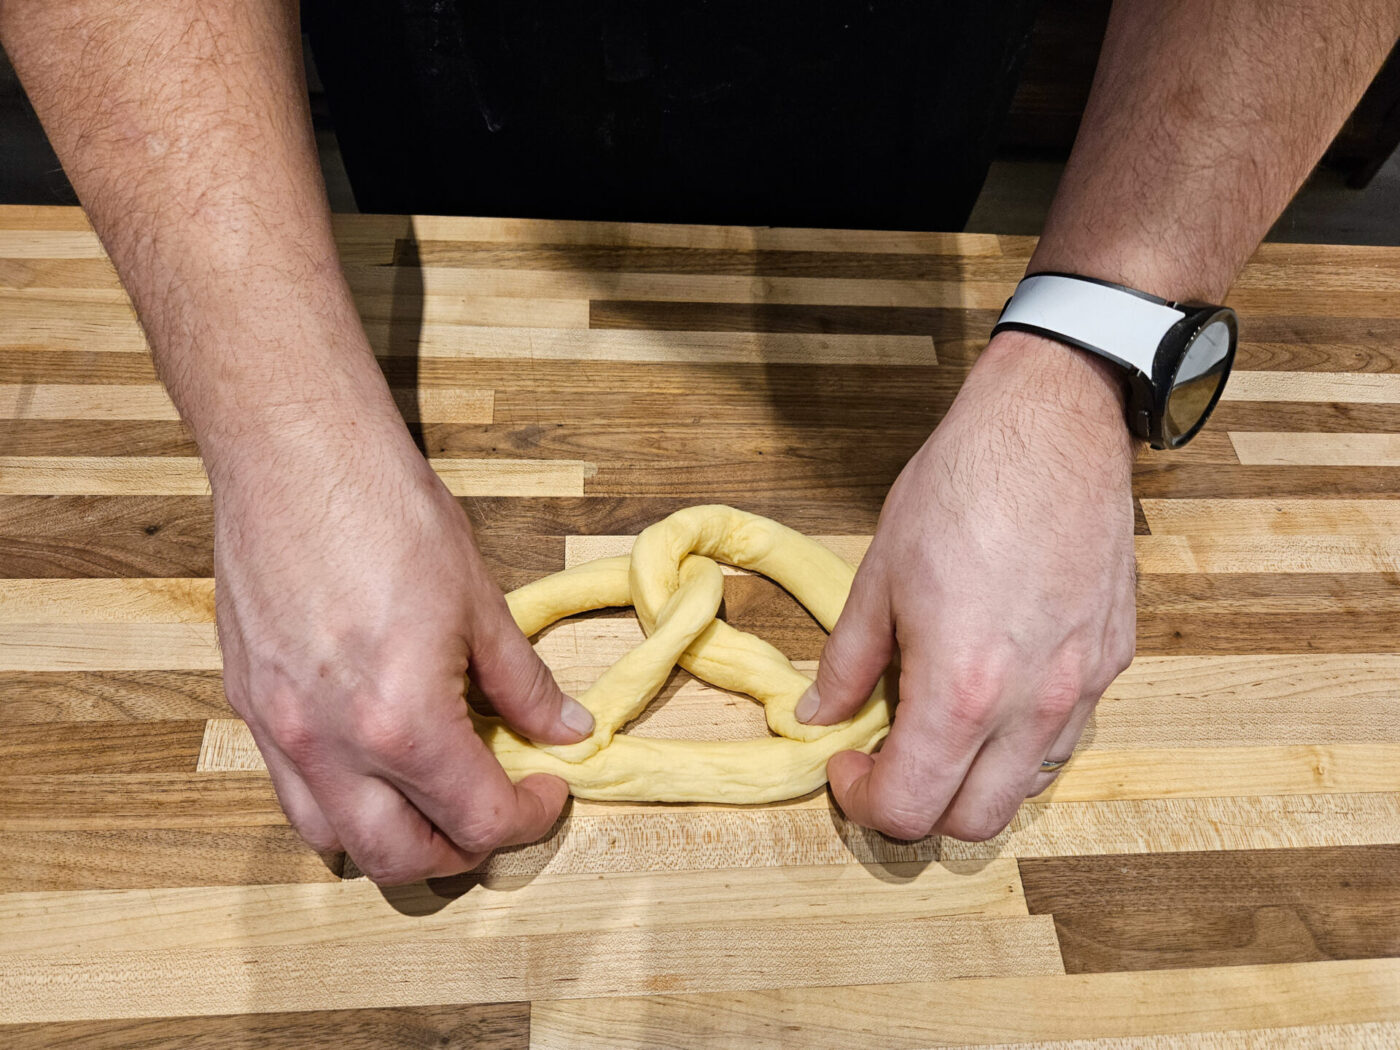
4.4.

Then pinch both ends of the strands close to the center of the strand (but leave at least 1 ½” space between) to create the famous pretzel shape.

Czech Soft Pretzels - steps-05Czech Soft Pretzels - steps-06Czech Soft Pretzels - steps-07

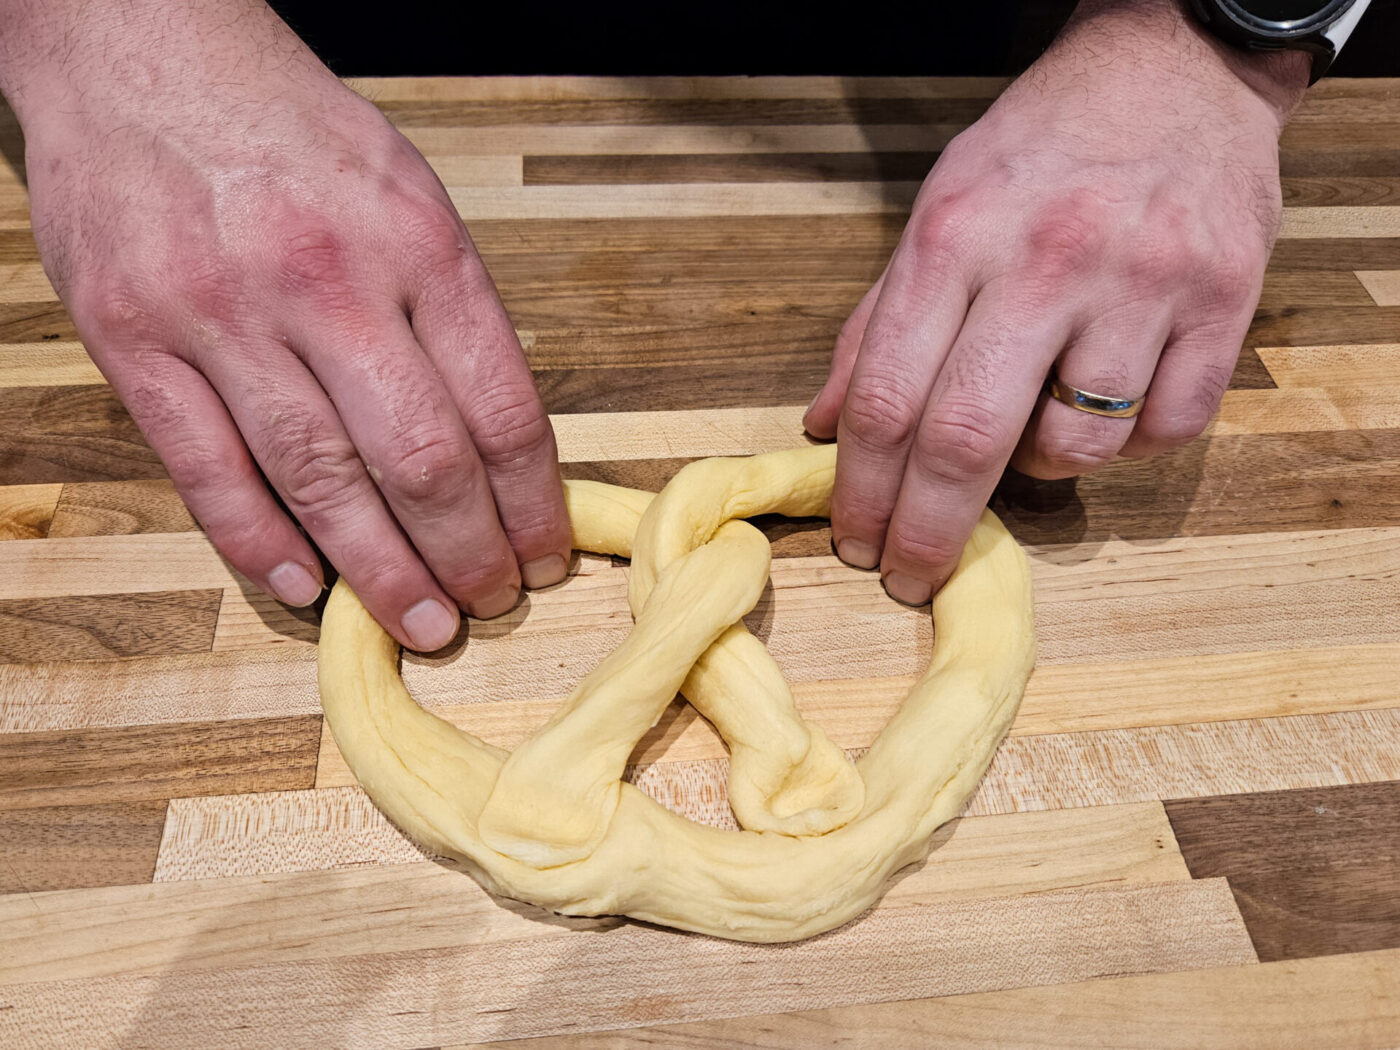
4.5.

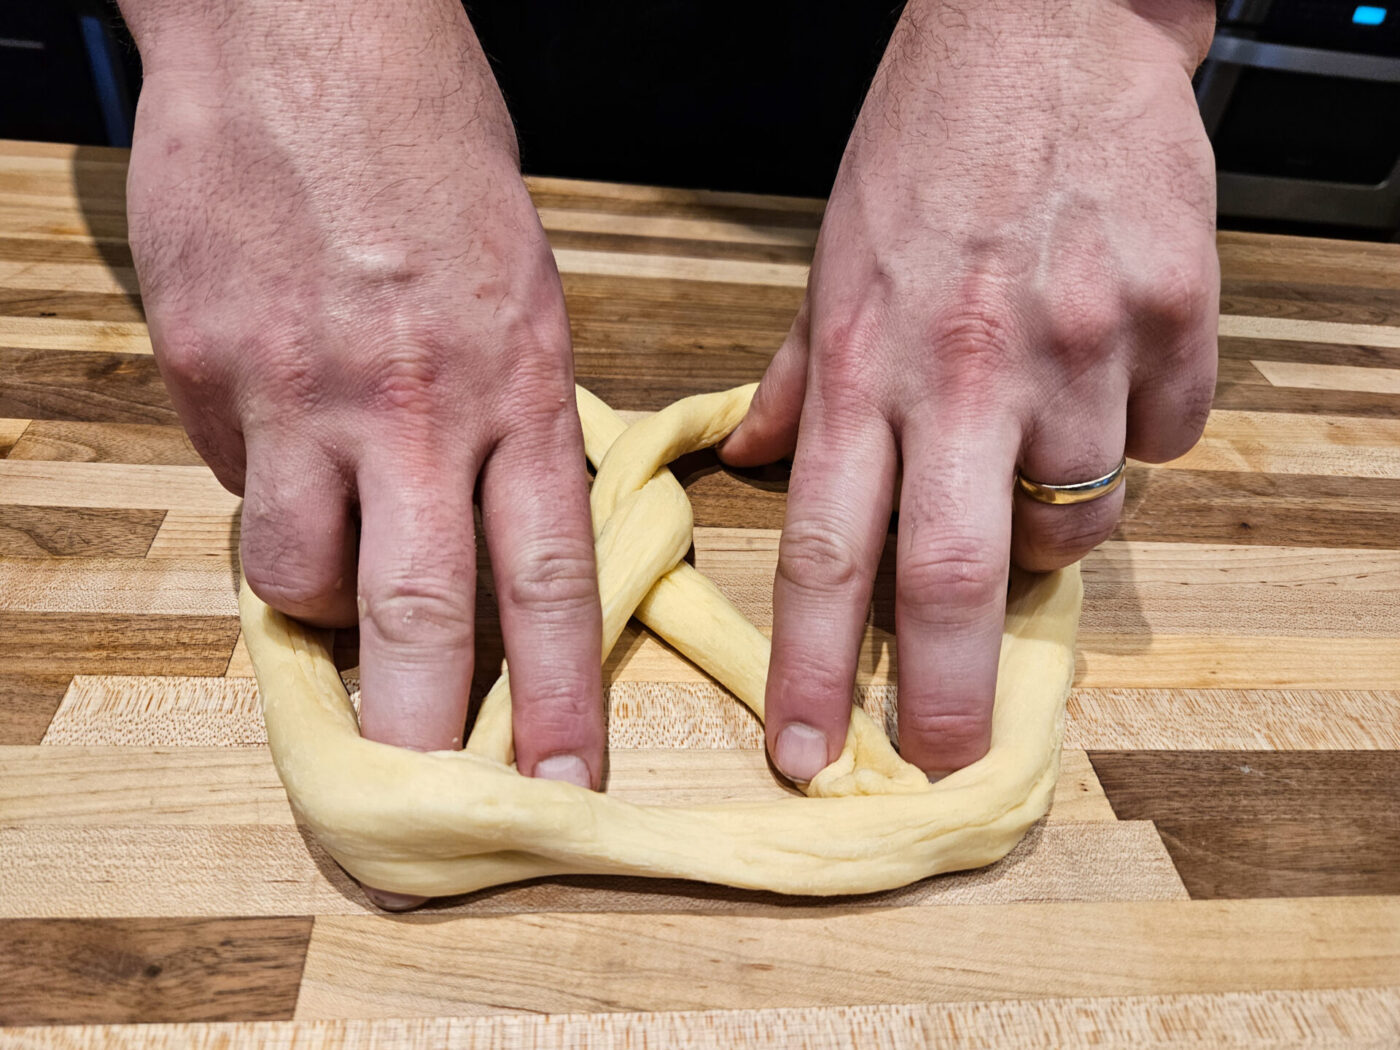
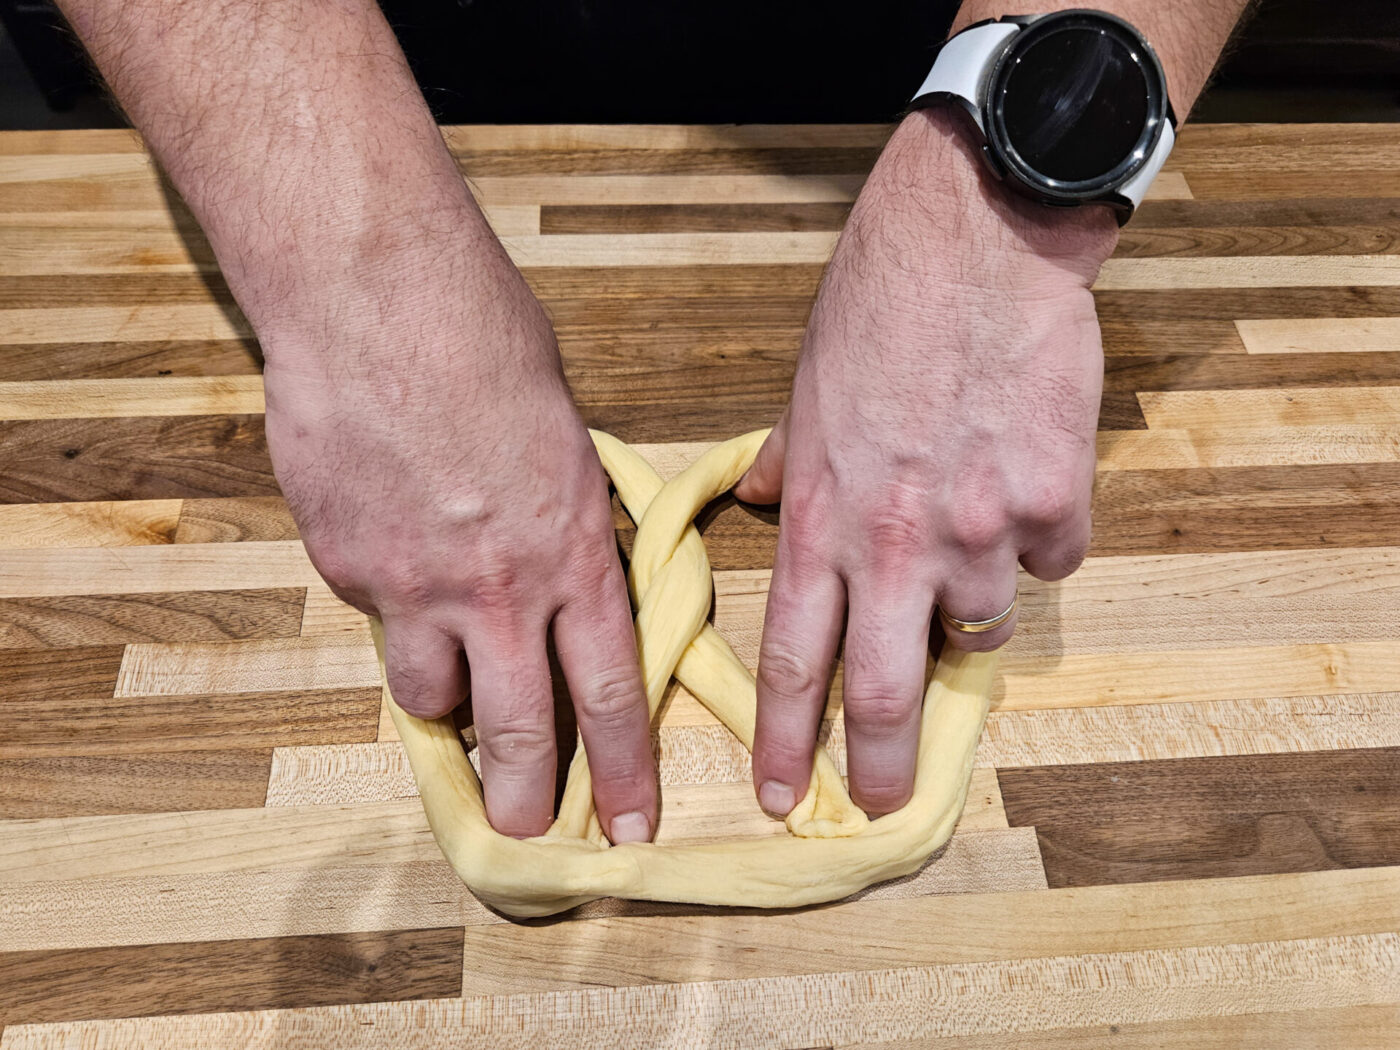
Then, place fingers from both hands in the pretzel and gently stretch in all directions.

Czech Soft Pretzels - steps-08Czech Soft Pretzels - steps-09

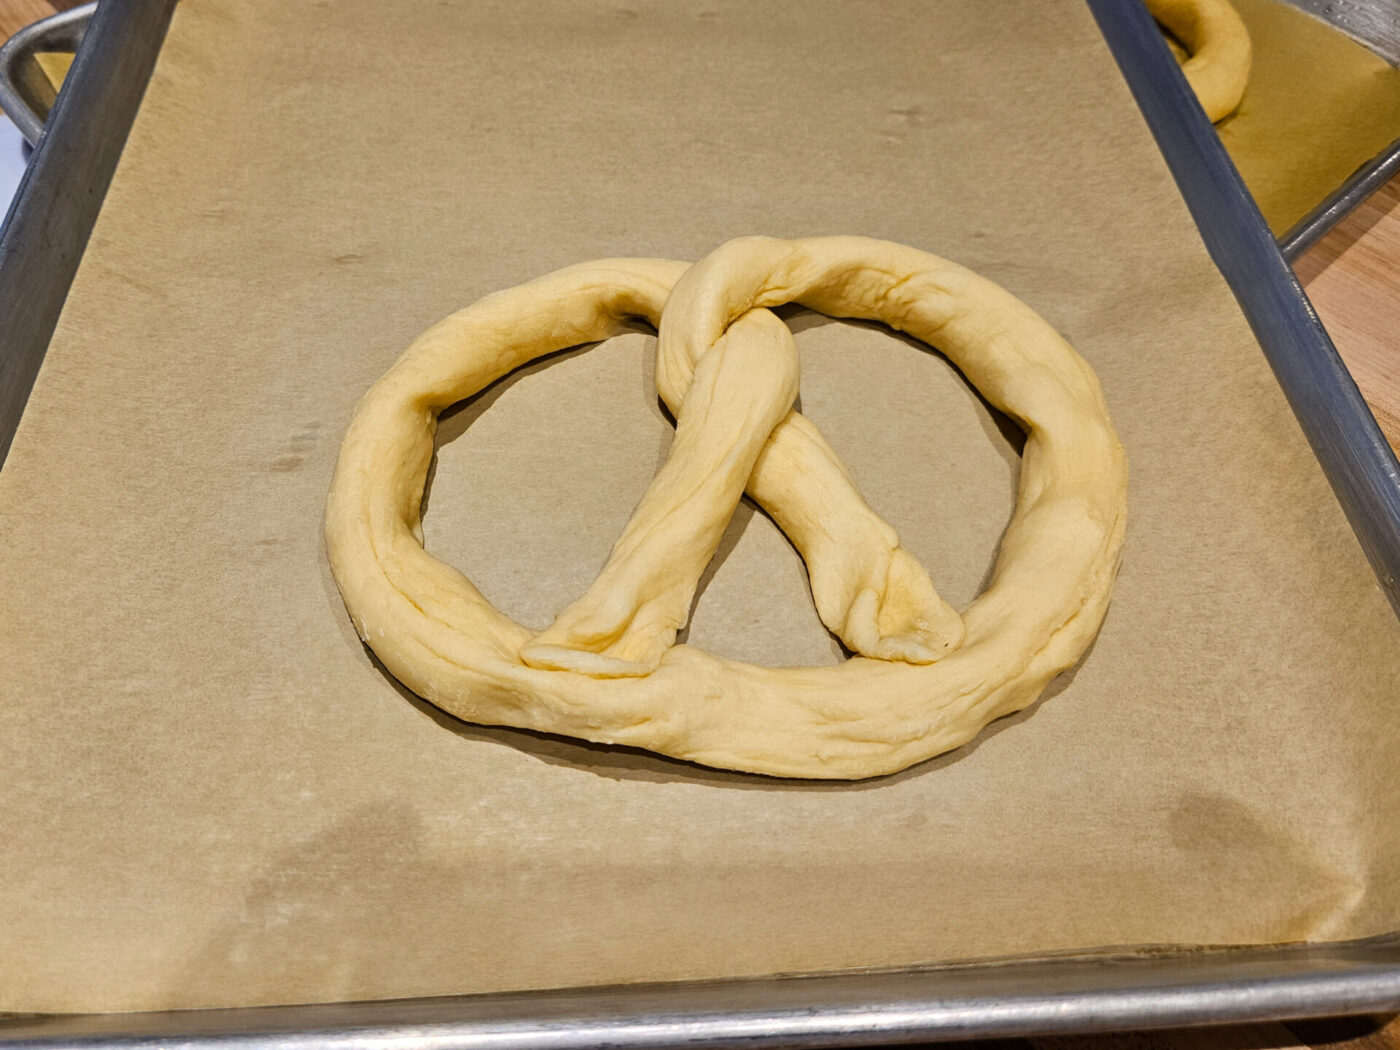
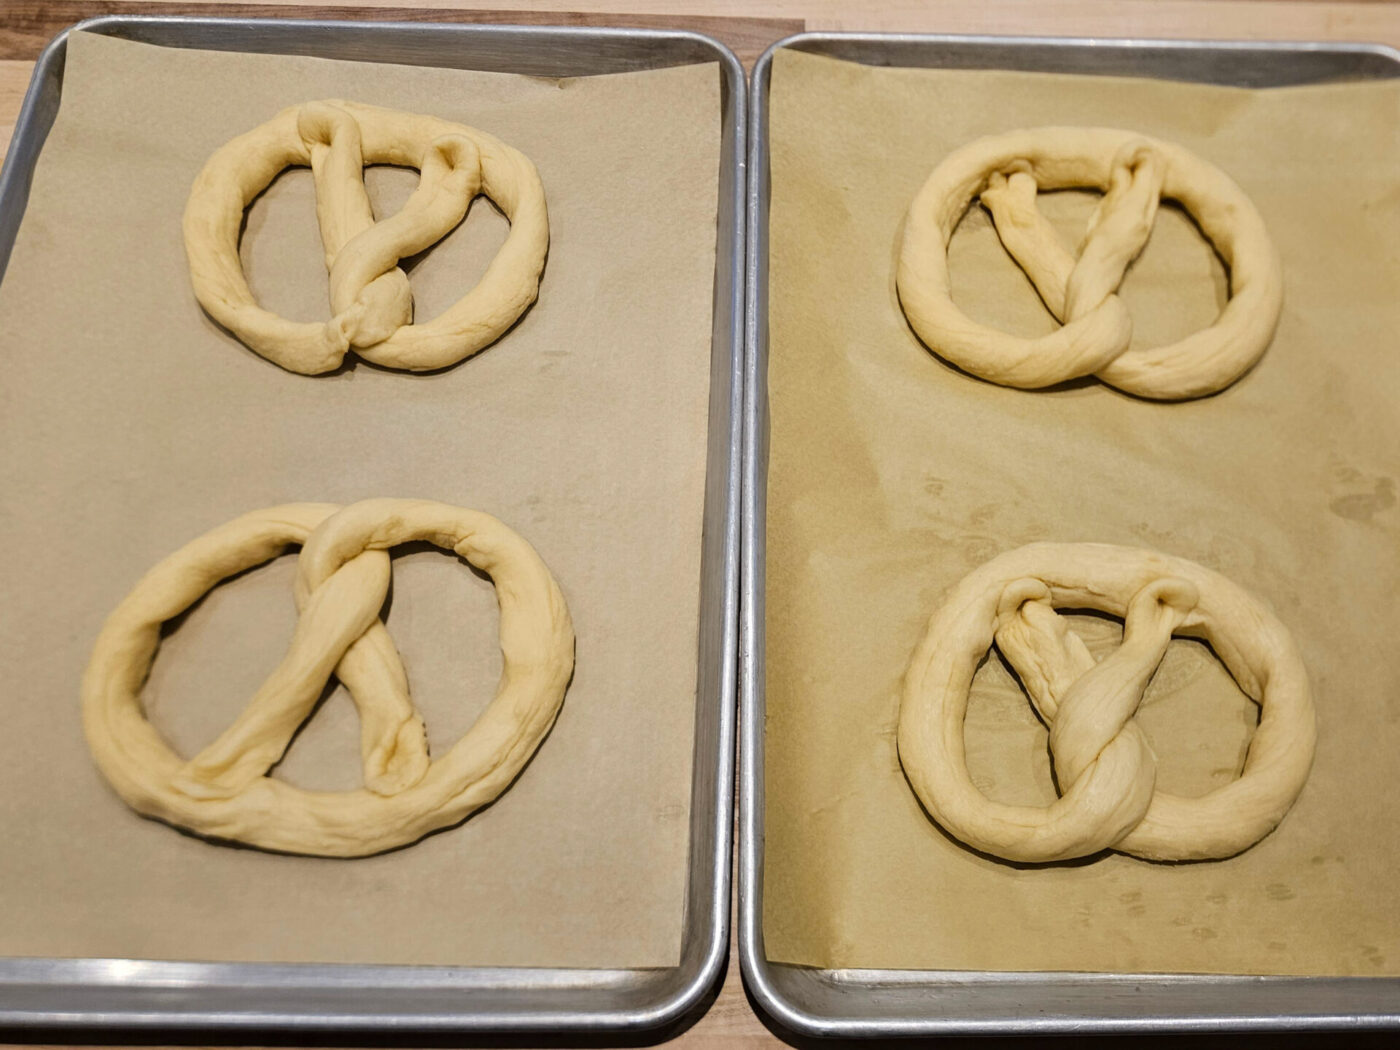
4.6.

Place the pretzels on a baking sheet and form the remaining pretzels.

Czech Soft Pretzels - steps-10Czech Soft Pretzels - steps-11

5. Set oven to preheat at 380°F.

6. Proofing:

6.1.

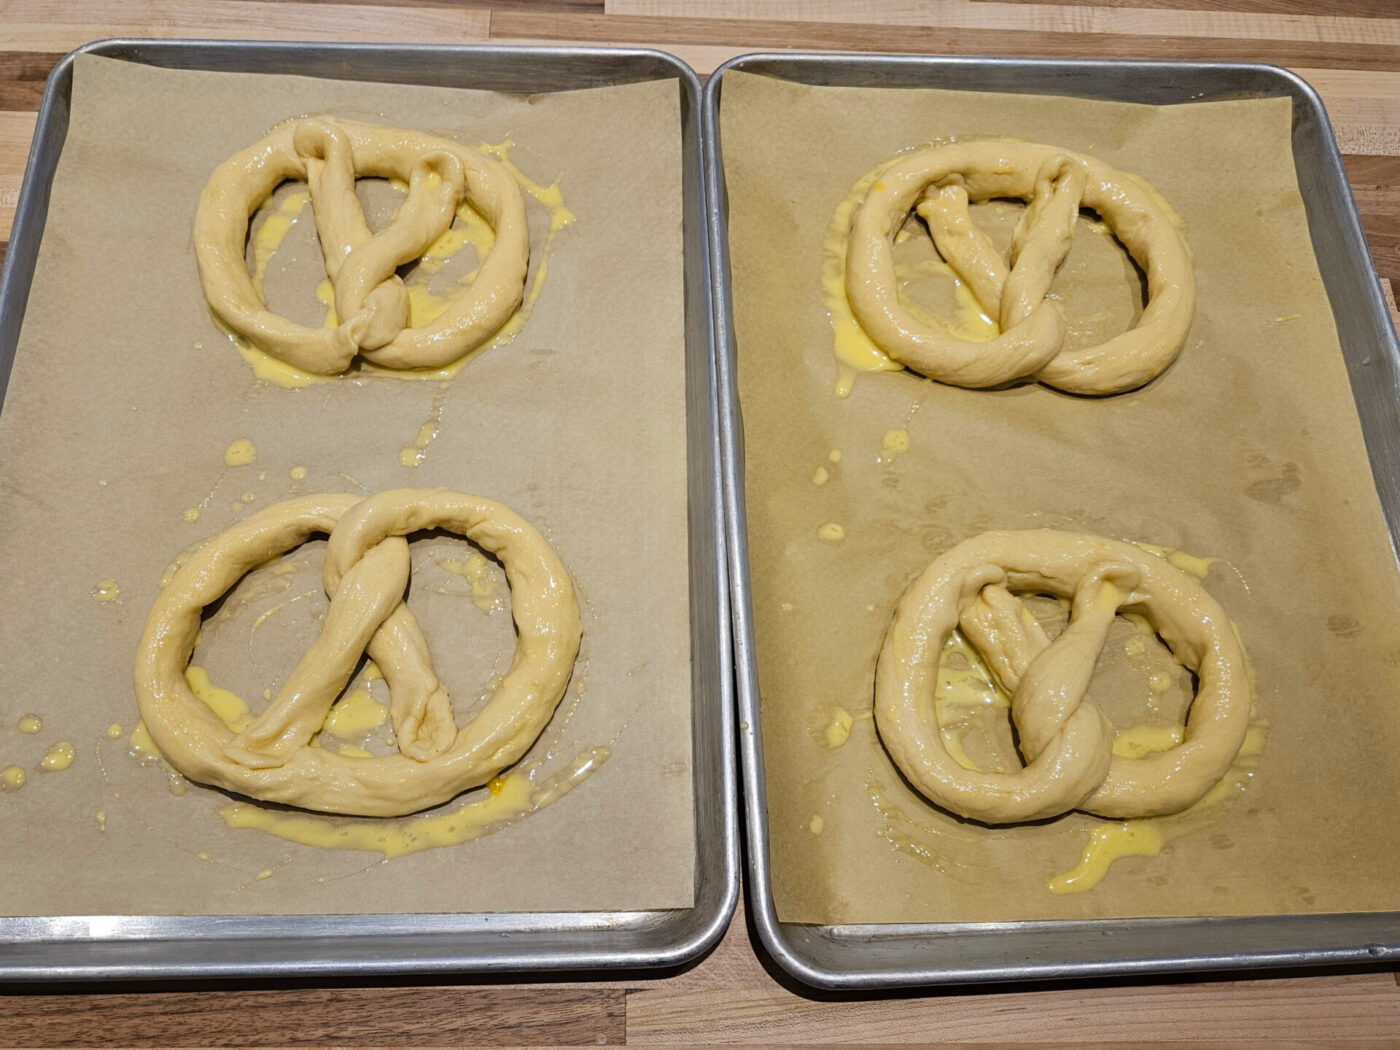
Prepare a brushing mixture by briefly hand-whisking 1 egg with 3 TBSP of milk in a measuring pitcher (for whisking, you can also use a silicone brush) to create a brushing mixture, and then brush all pretzels (keep the rest for the second brushing).

Czech Soft Pretzels - steps-12

6.2.

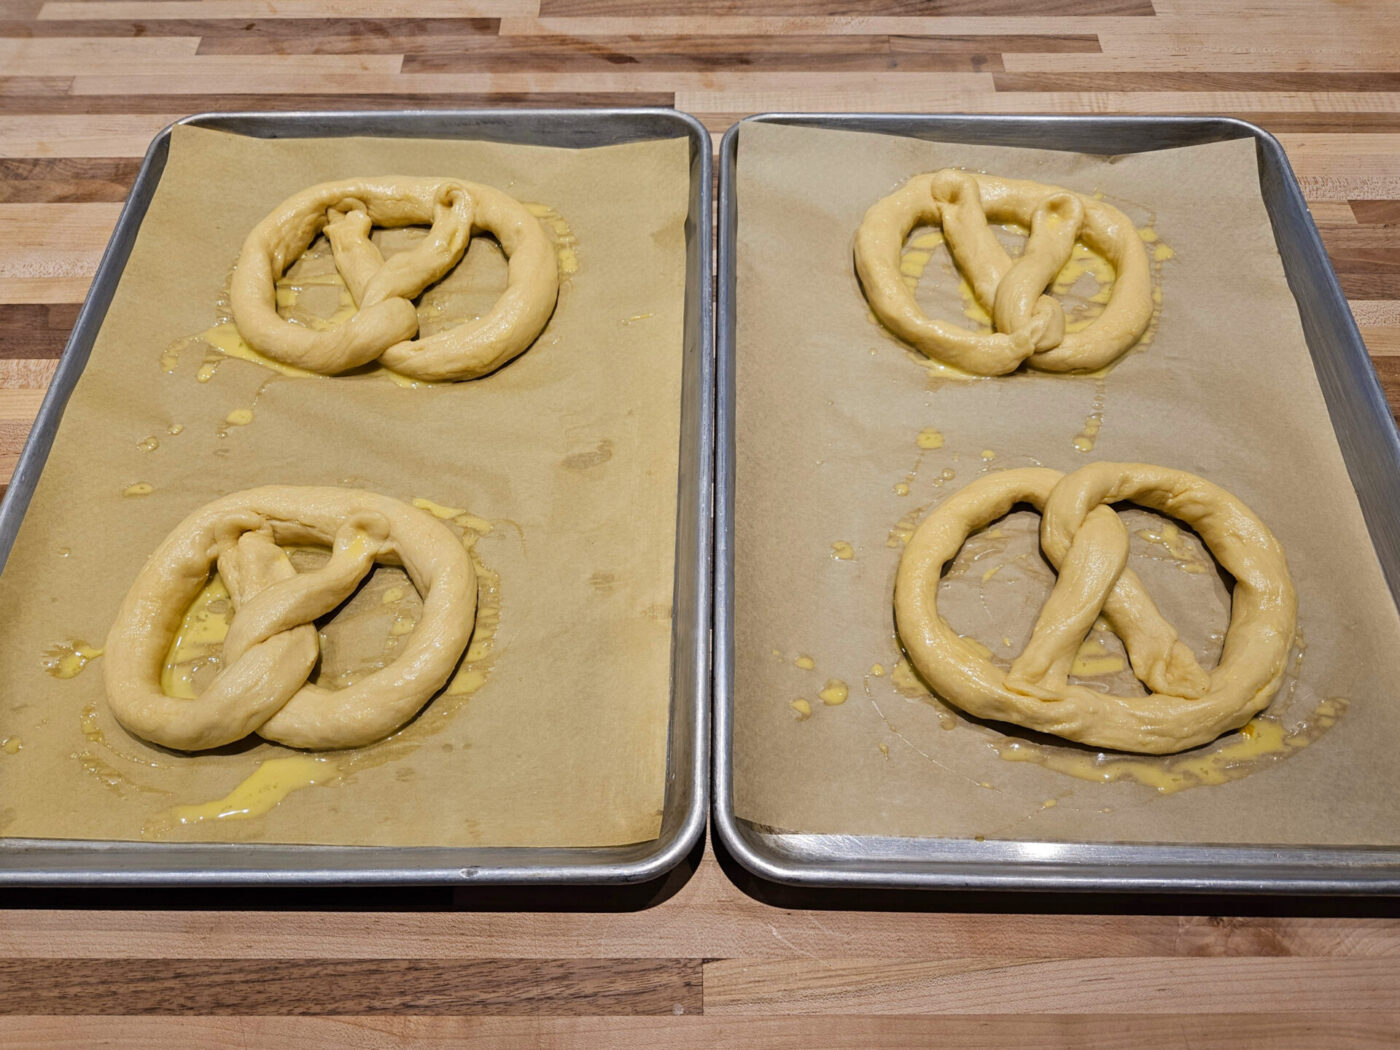
Let it proof on a countertop for about 15 minutes.

7. Final preparation:

Czech Soft Pretzels - steps-13Czech Soft Pretzels - steps-14

7.1.

Gently brush all pretzels again with the remaining brushing mixture right before baking.

8. Baking:

8.1.

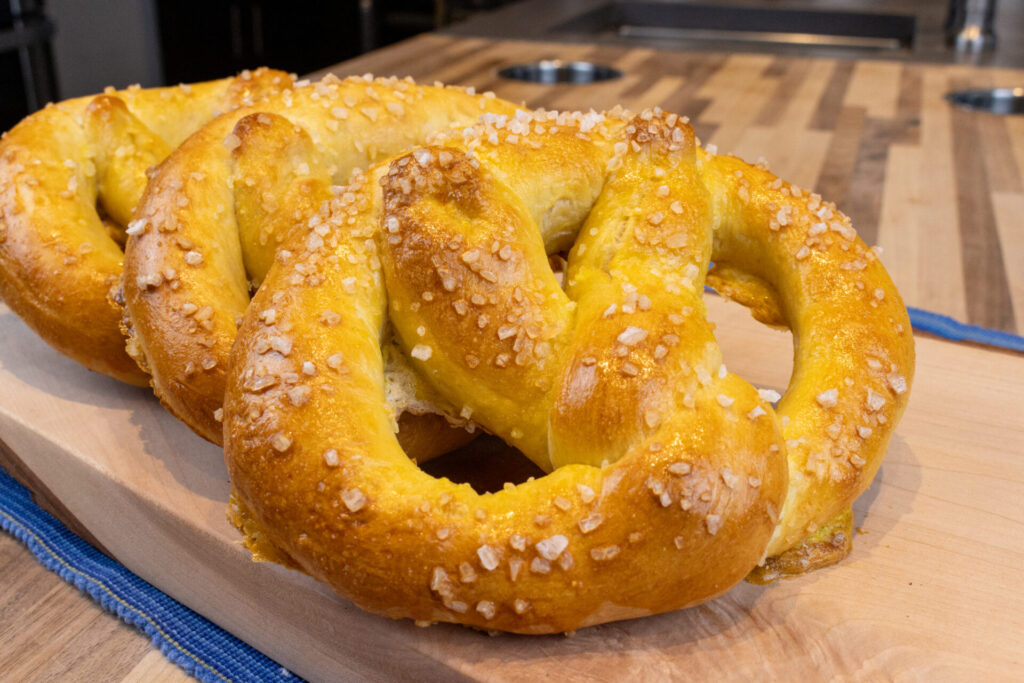
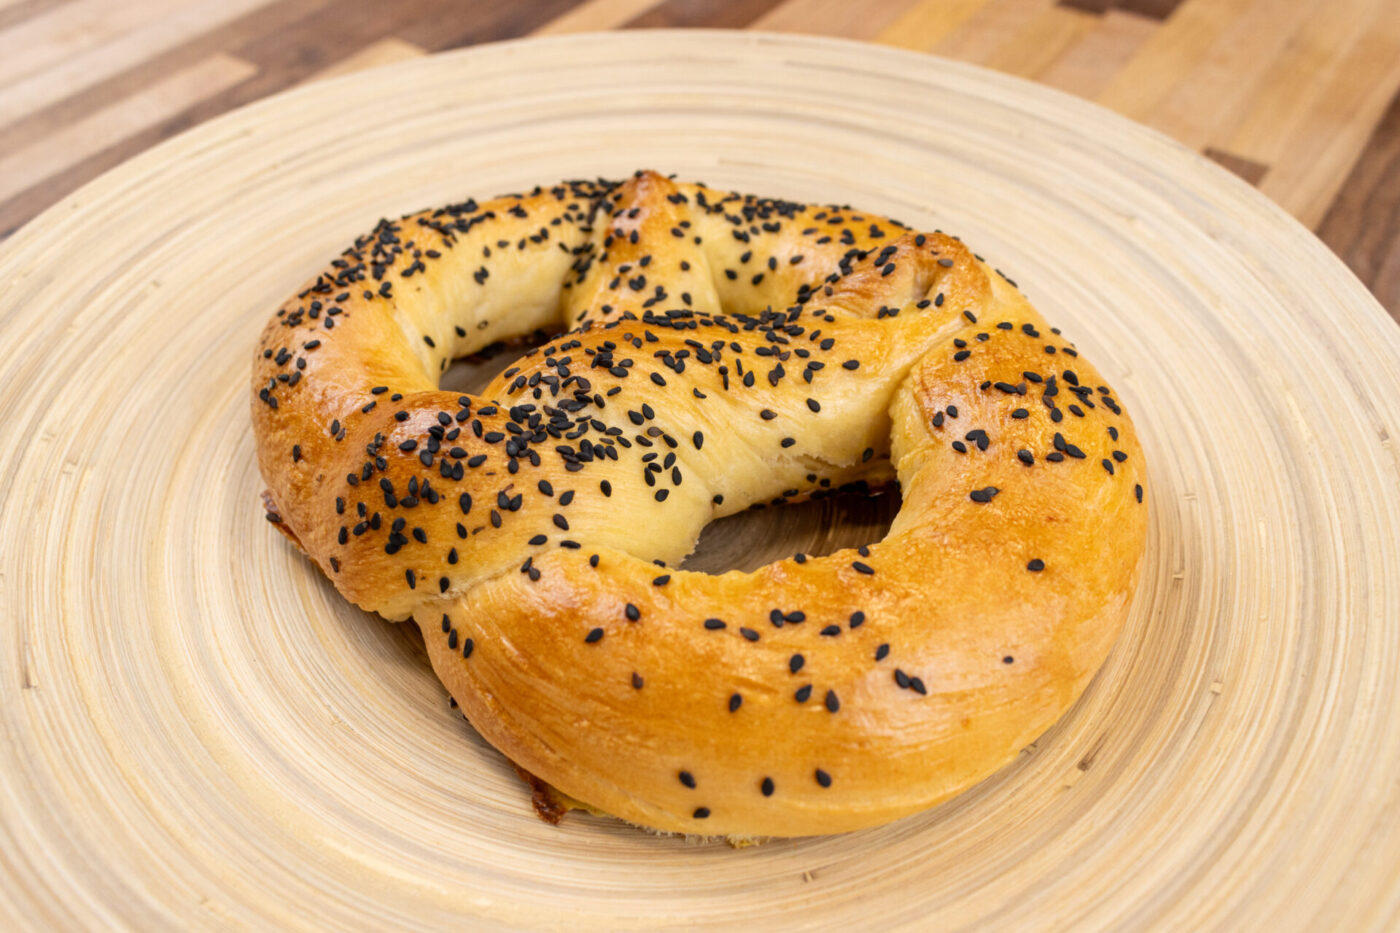
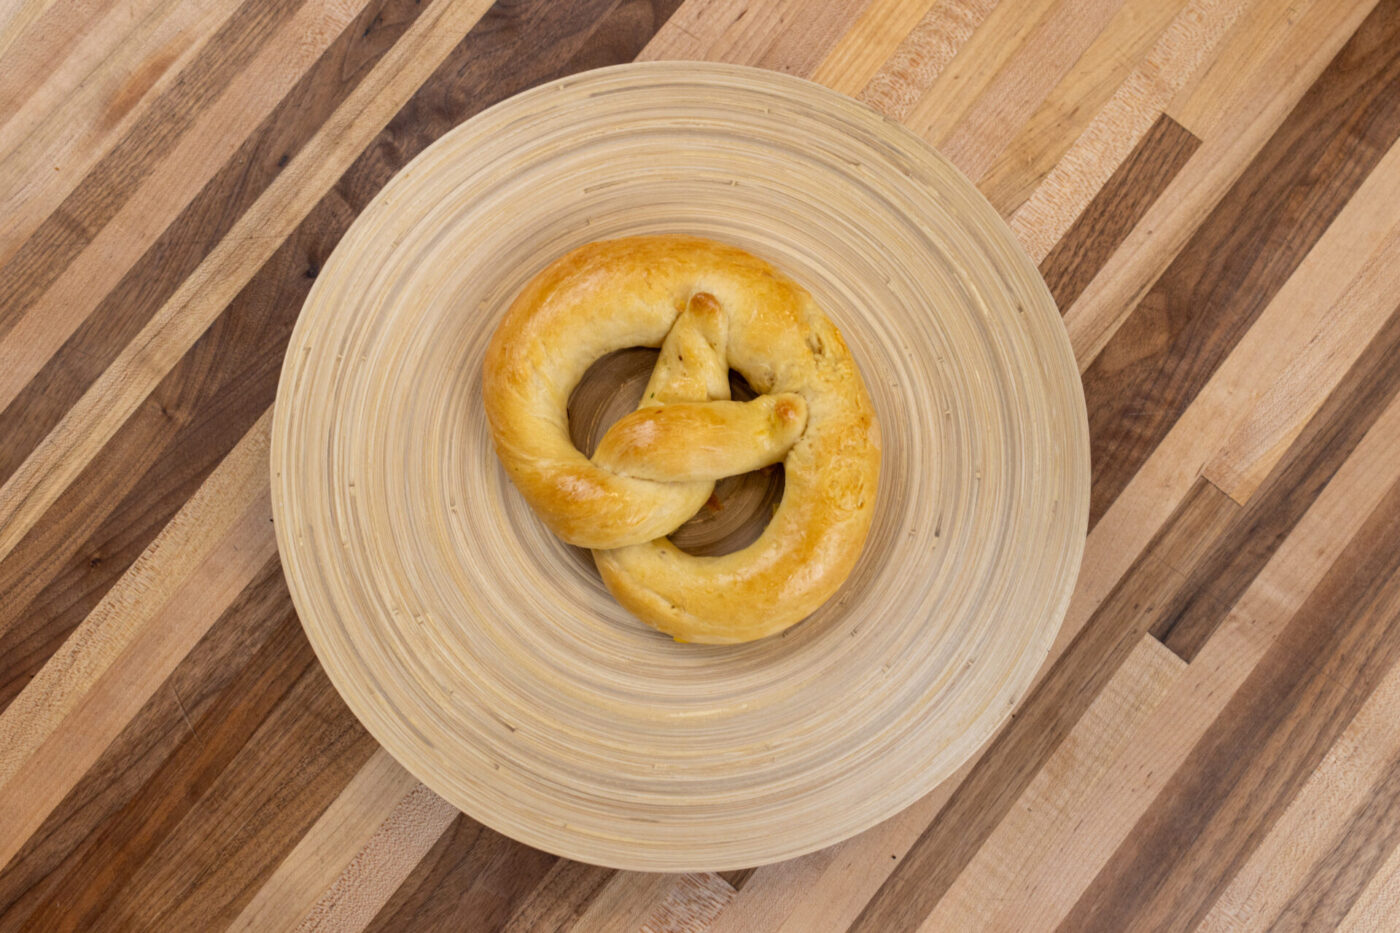
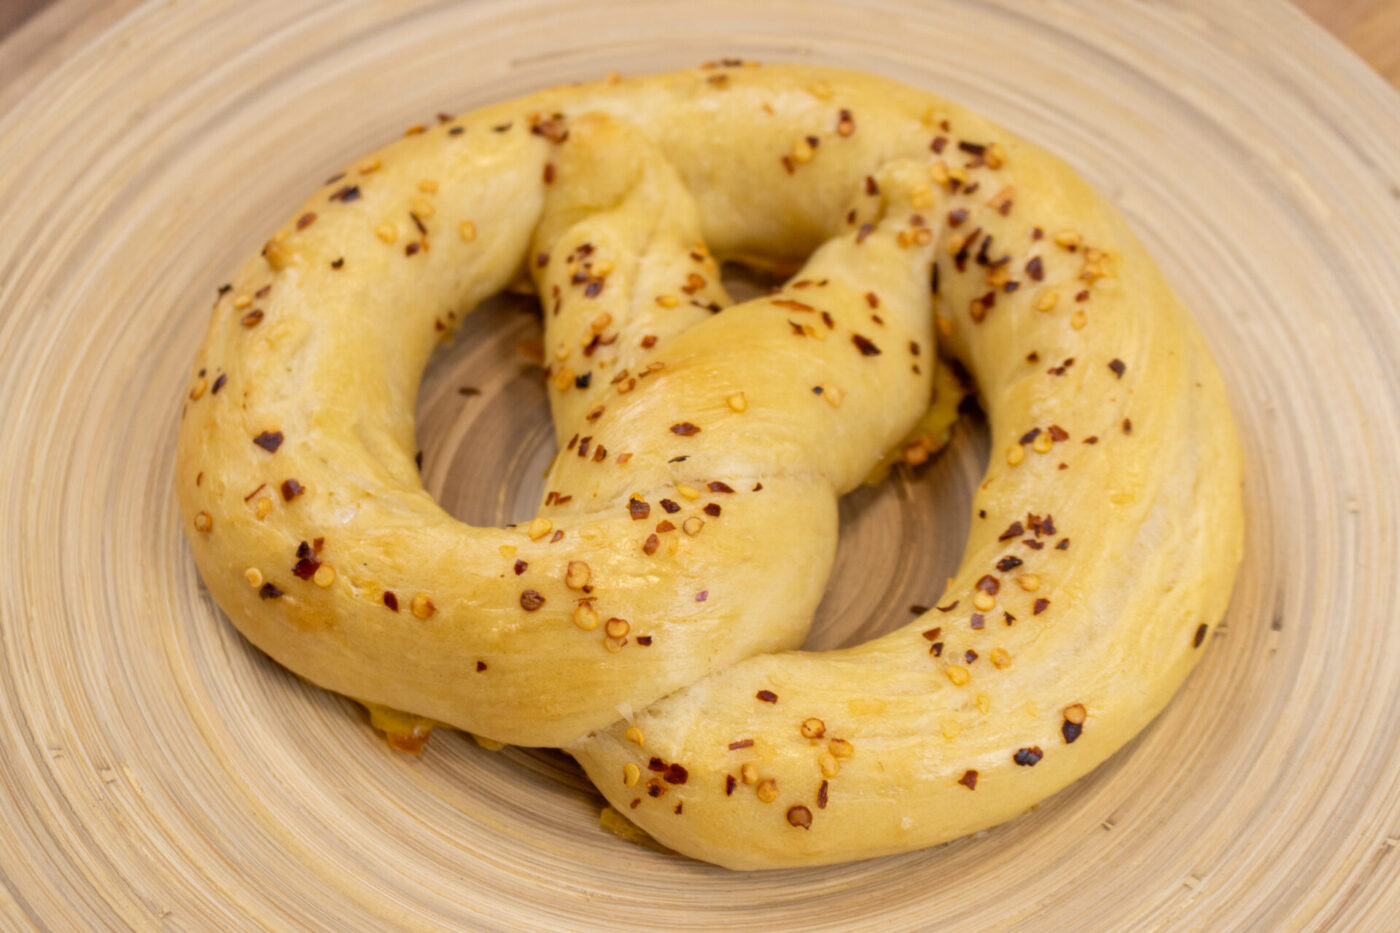
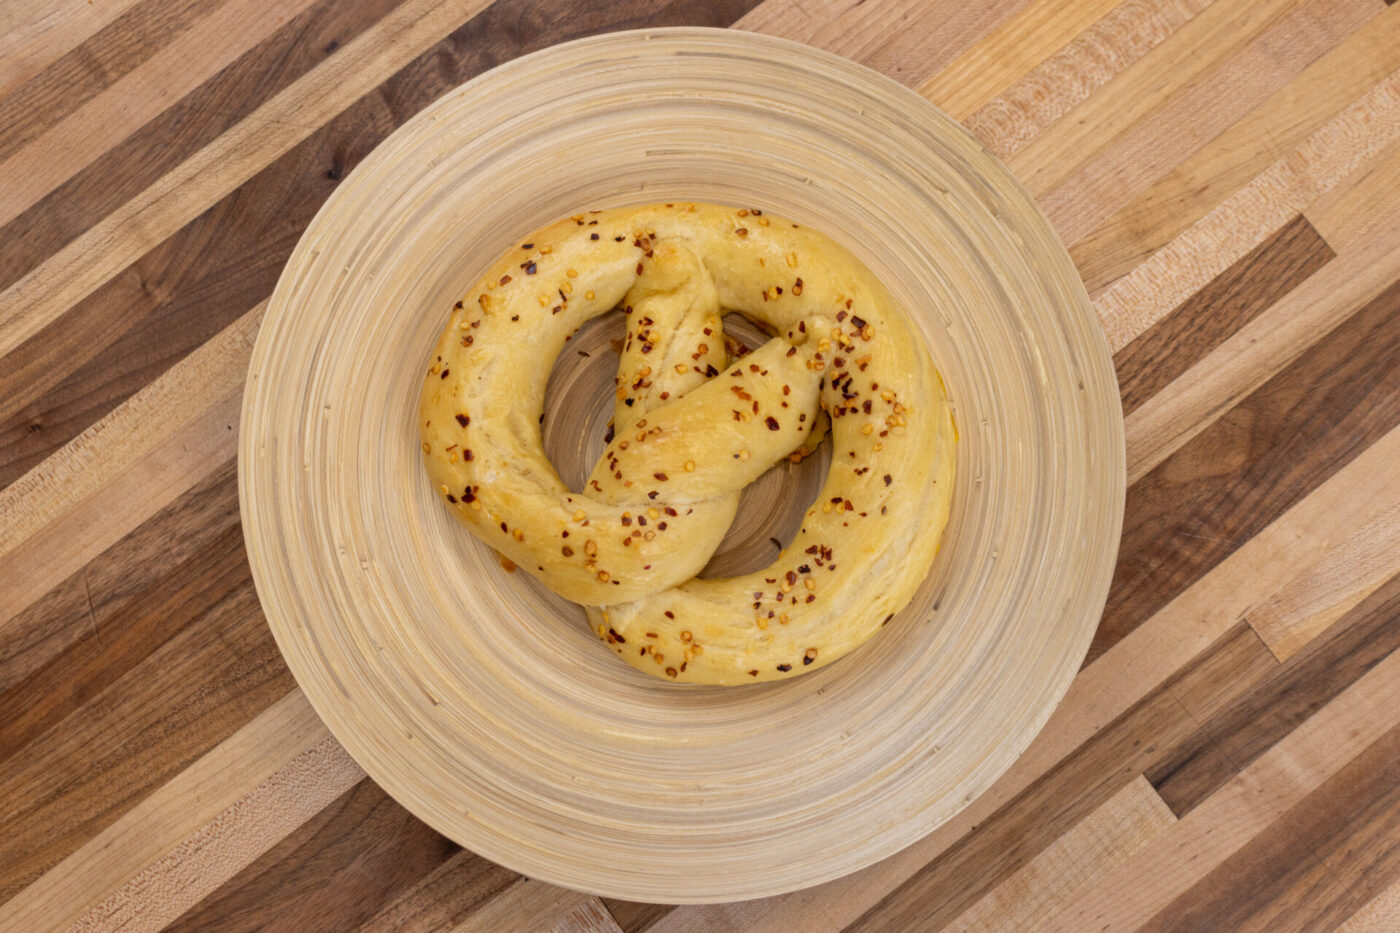
Bake in a preheated oven until a nice golden color is reached, which means the pretzels are done (usually about 15 -20 minutes).

Czech Soft Pretzels - steps-15

8.2.

Rotate the baking sheets in the middle of baking.

9. Serving & storing:

9.1.

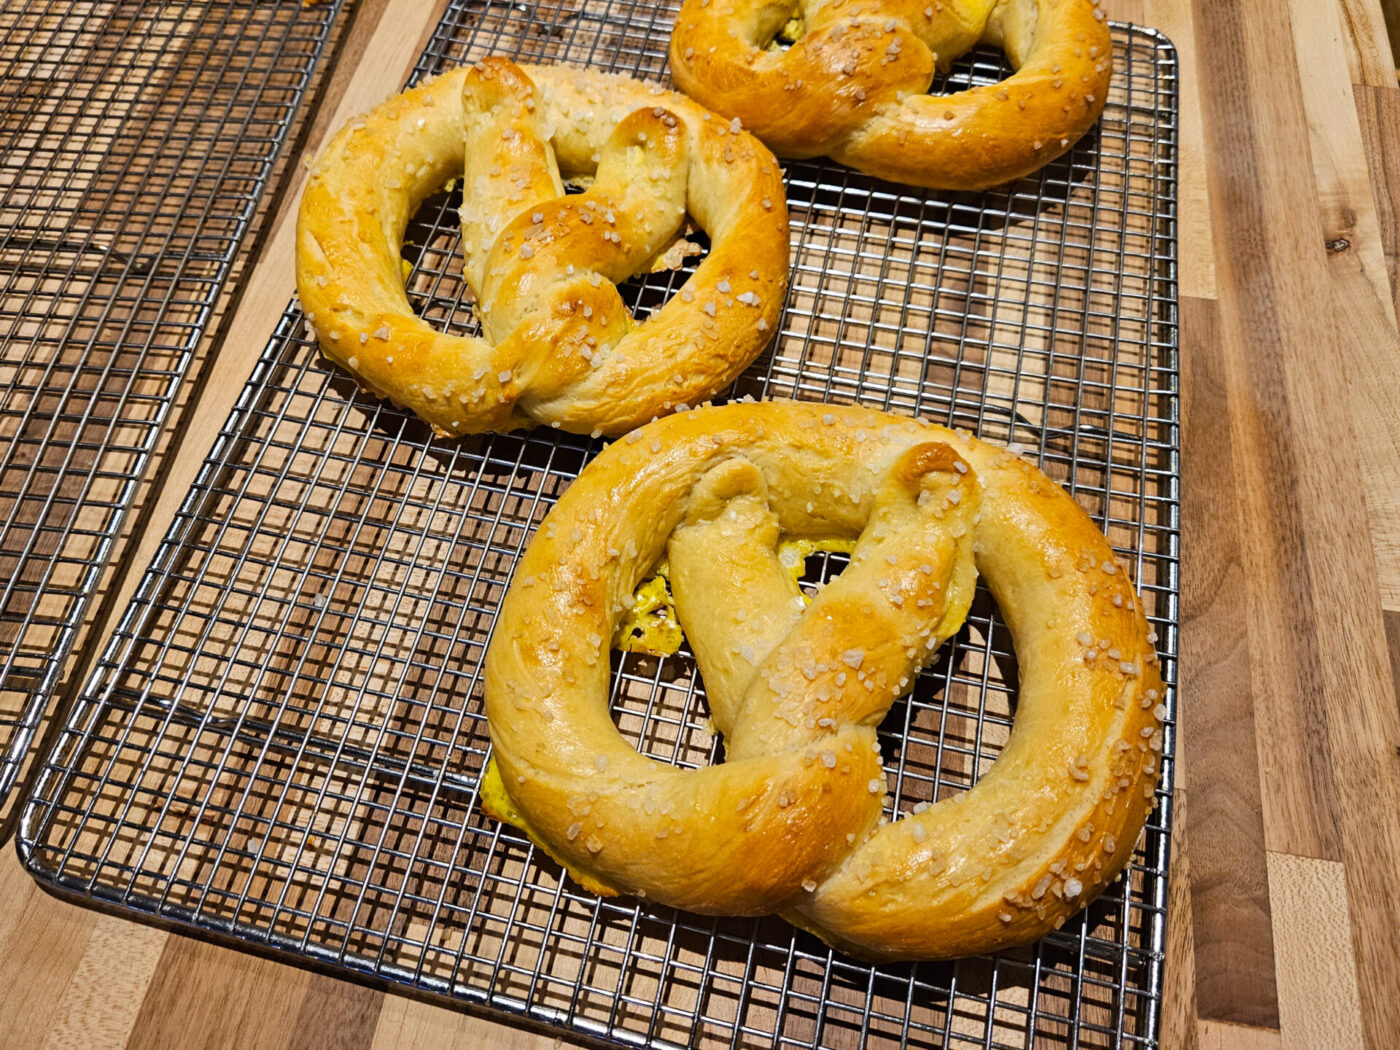
Let cool on a cooling grate (at least partially) before serving.

9.2.

If you use salt crystals for sprinkling, try to eat the pretzels sooner as the crystals will tend to melt in just a couple of days.

9.3.

An older pretzel can be heated in the microwave right before serving – it will give you a sense of freshness.

* Optionally, you can prepare the dough in the morning to bake it in the evening. To do this, use cold milk straight from the refrigerator and allow the dough to rise on the countertop instead of in a warm place. This will slow down the entire process, and your dough should be ready by the evening for the next step.

About the Author:
TomFounder
# 1
  • Published Recipes: 194
  • Av. Recipe Evaluation:
  • Location: Iowa, USA
  • Member since: 2023-02-02

Add My Review

If you want to add your review, you must log in.

Disclaimer:

All steps in this recipe are just suggestions, and the author and/or publisher of this recipe is not responsible for the following:

  • outcome of preparation
  • any health risk related to the incorrect handling of food and/or not following USDA recommendations, such as but not limited to, following the minimum safe serving temperatures
  • provide health and dietary advice to readers
  • safety during preparation, including incorrect handling of equipment and the equipment’s suitability for food preparation, improper cooking techniques, sourcing of ingredients, and anything related to the preparation and consumption of the products of this recipe

All readers are responsible for evaluating if the recipe and its’ ingredients and steps fit with their dietary restrictions and can adjust accordingly.