There’s something truly magical about the aroma of freshly baked bread wafting through the air. It speaks of comfort, warmth, and a connection to time-honored traditions. Today, we’re going beyond simply enjoying that aroma; we’re diving headfirst into the world of bread baking, crafting a rustic loaf and classic French baguettes that will rival any artisan bakery.
This recipe isn’t just about following instructions; it’s about unlocking your inner baker, understanding the nuances of dough, and experiencing the sheer satisfaction of transforming simple ingredients into edible masterpieces. Whether you’re a seasoned baker or a curious novice, this journey promises to be both rewarding and delicious.
Rustic Bread or Baguettes: Four Ingredients and a World of Possibilities
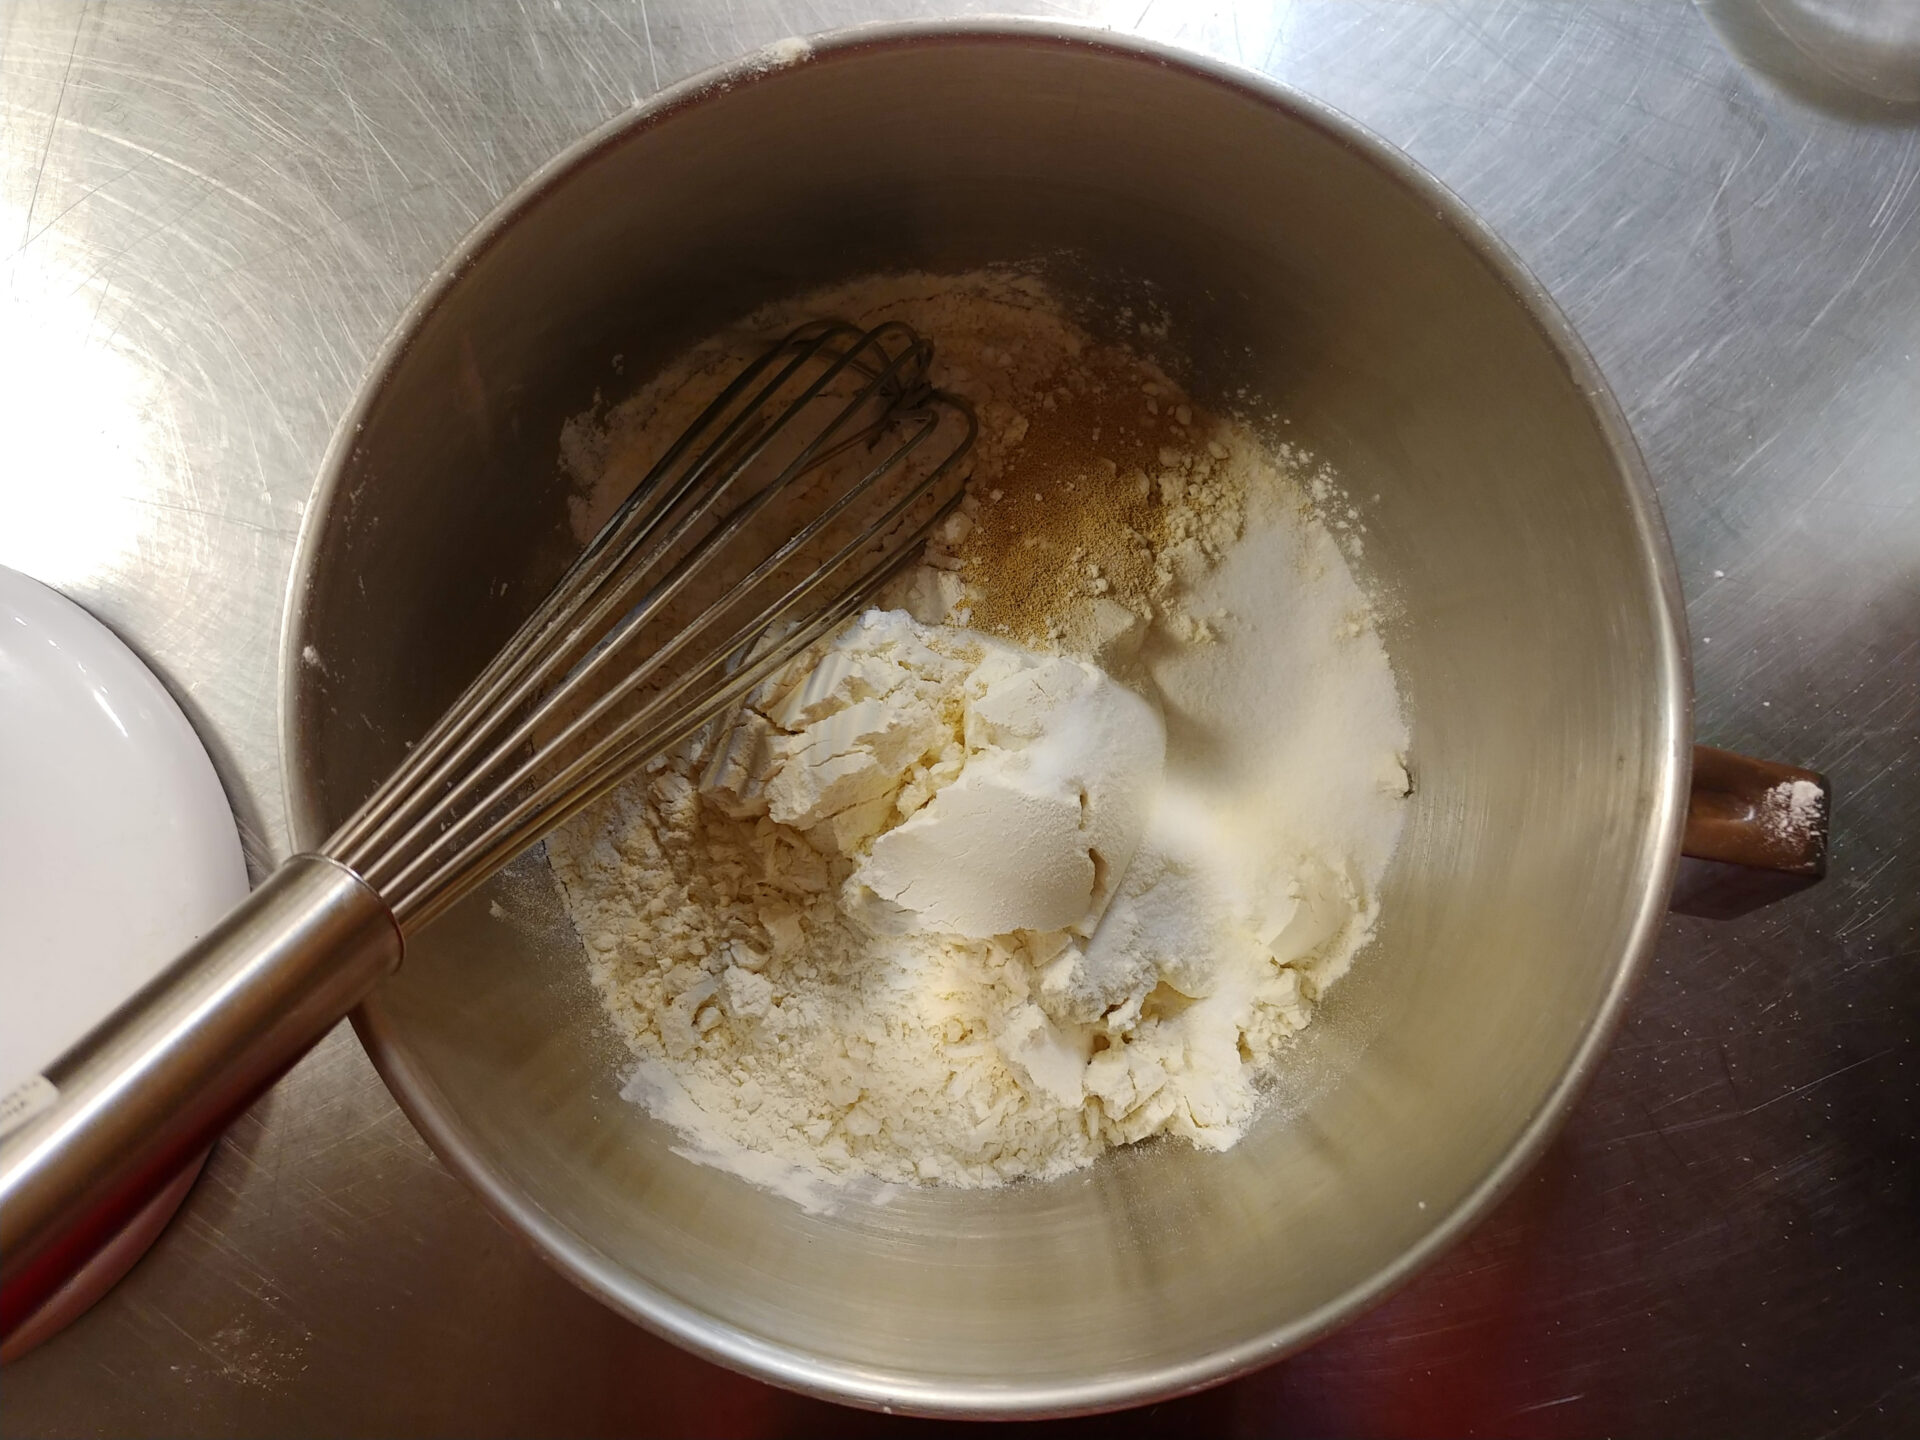
At its core, this recipe celebrates the beauty of simplicity. With just four essential ingredients – bread flour, yeast, salt, and water – we’ll create a dough that’s bursting with potential. But don’t let the simplicity fool you; this dough is a blank canvas for your creativity. Add herbs, spices, or even peppers to customize your bread and make it truly your own.
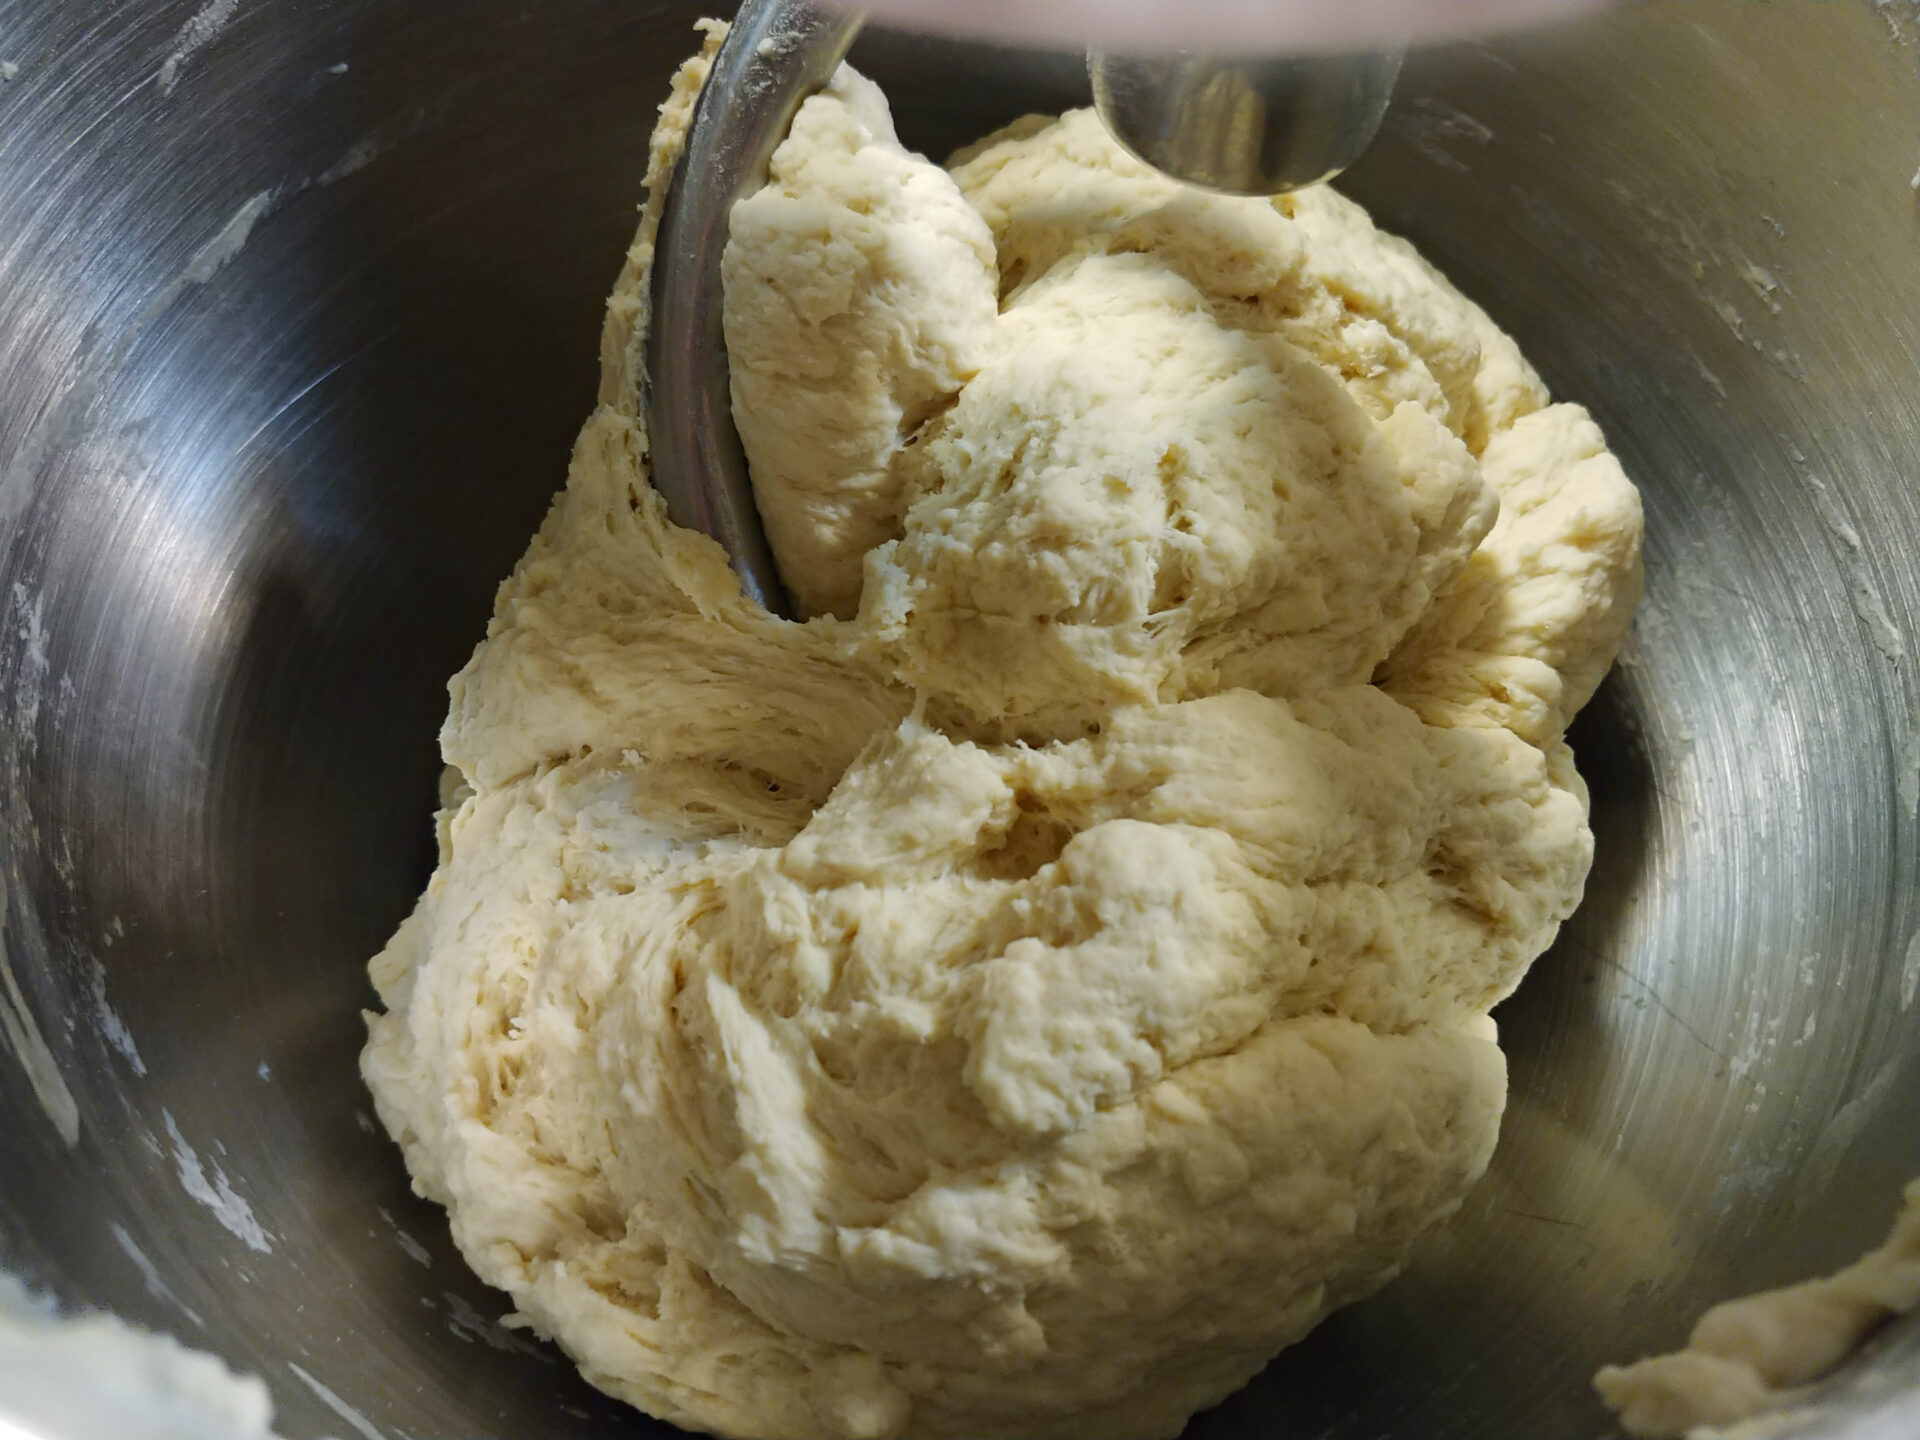
The Knead for Speed: Mixing and the Magic of Gluten
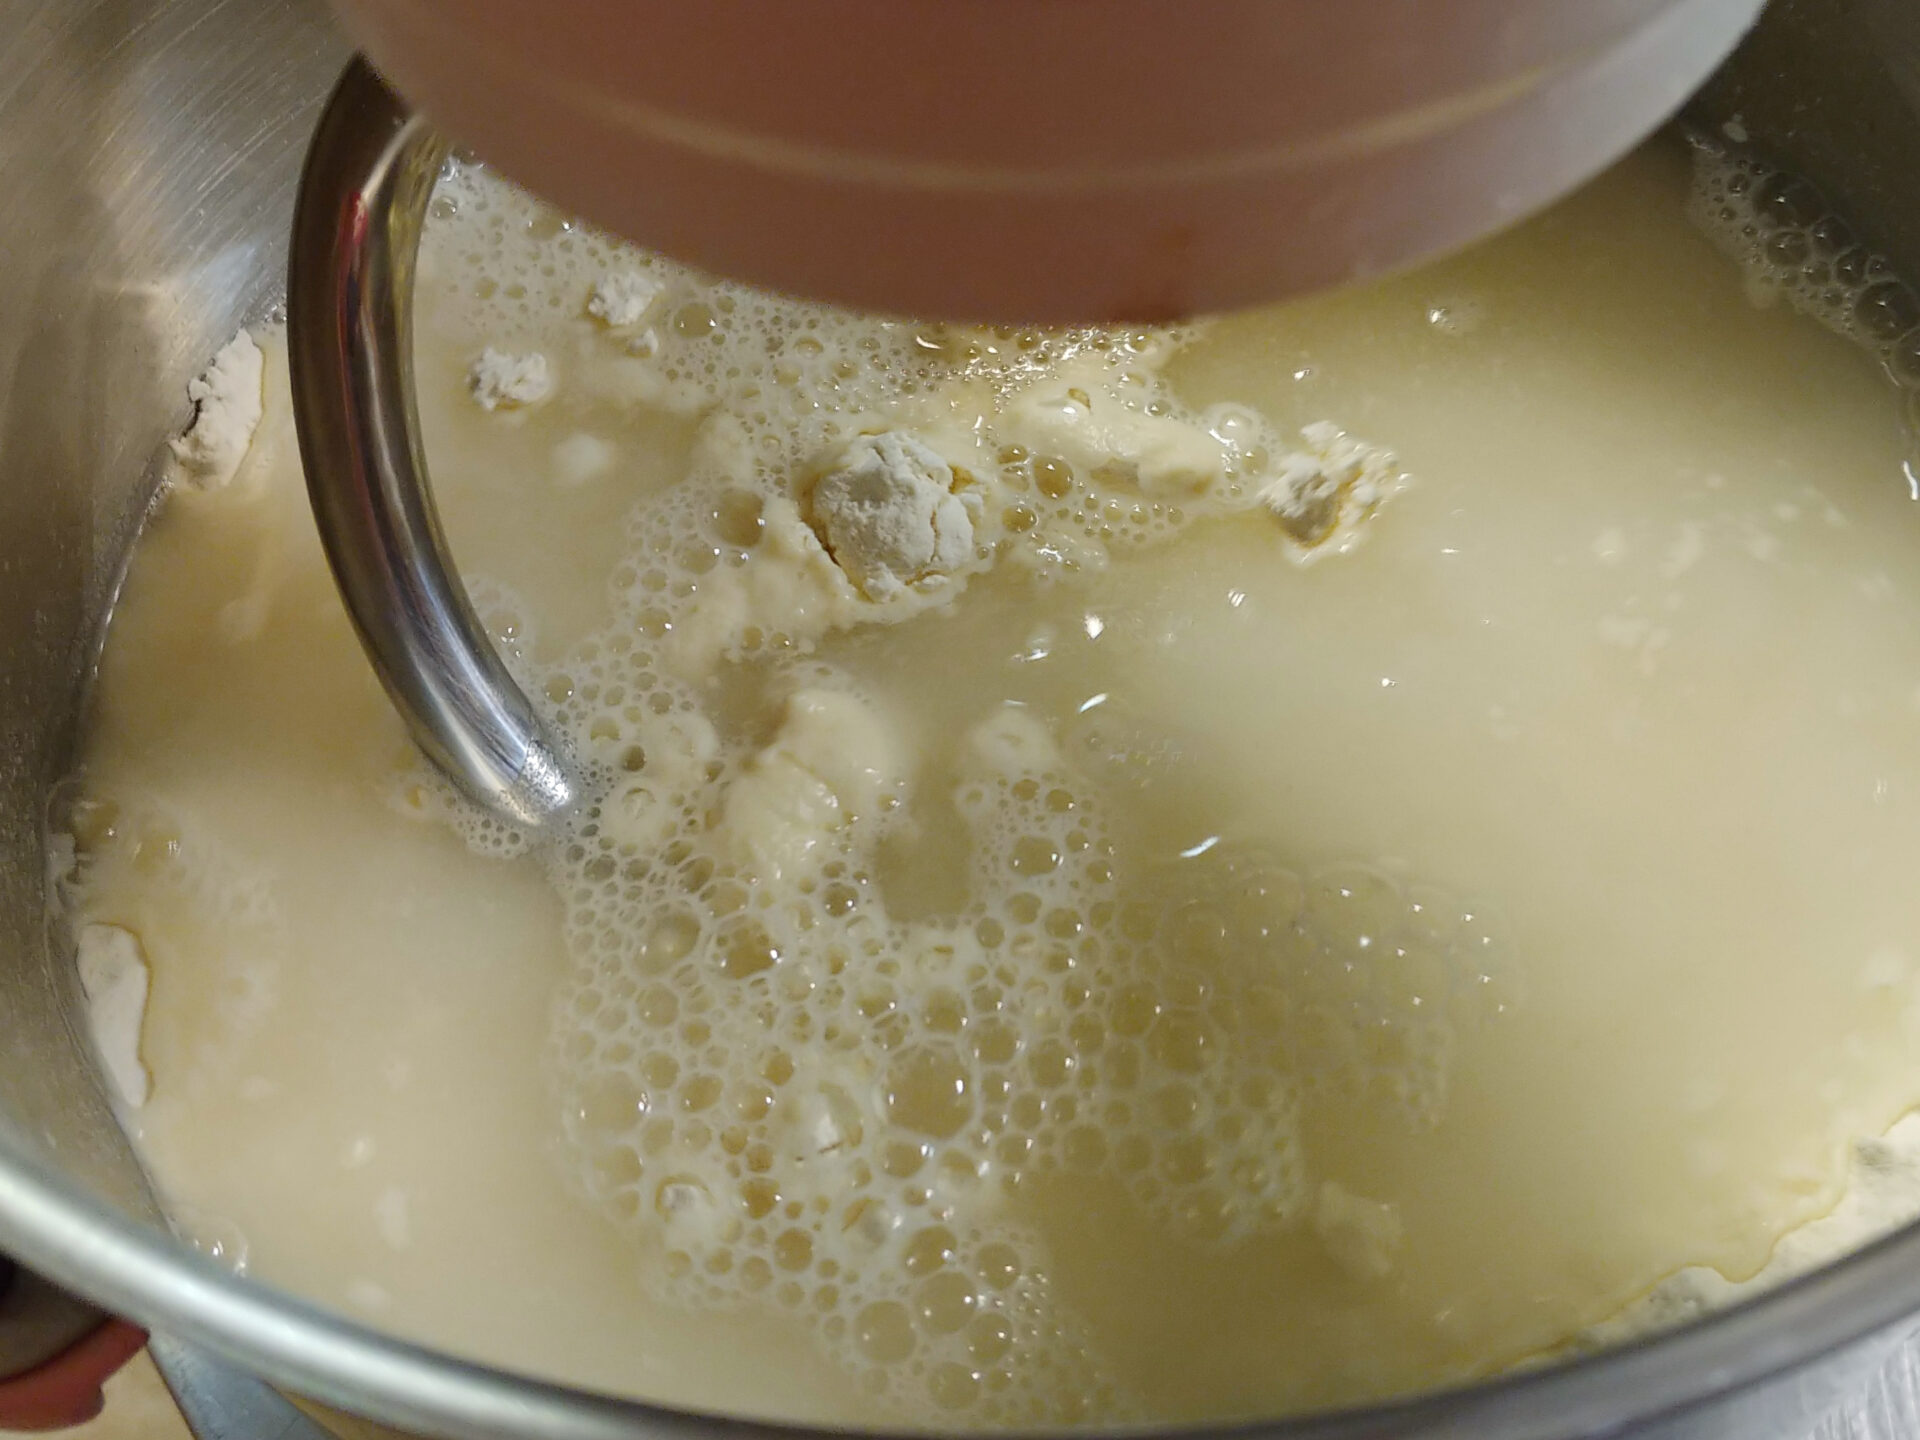
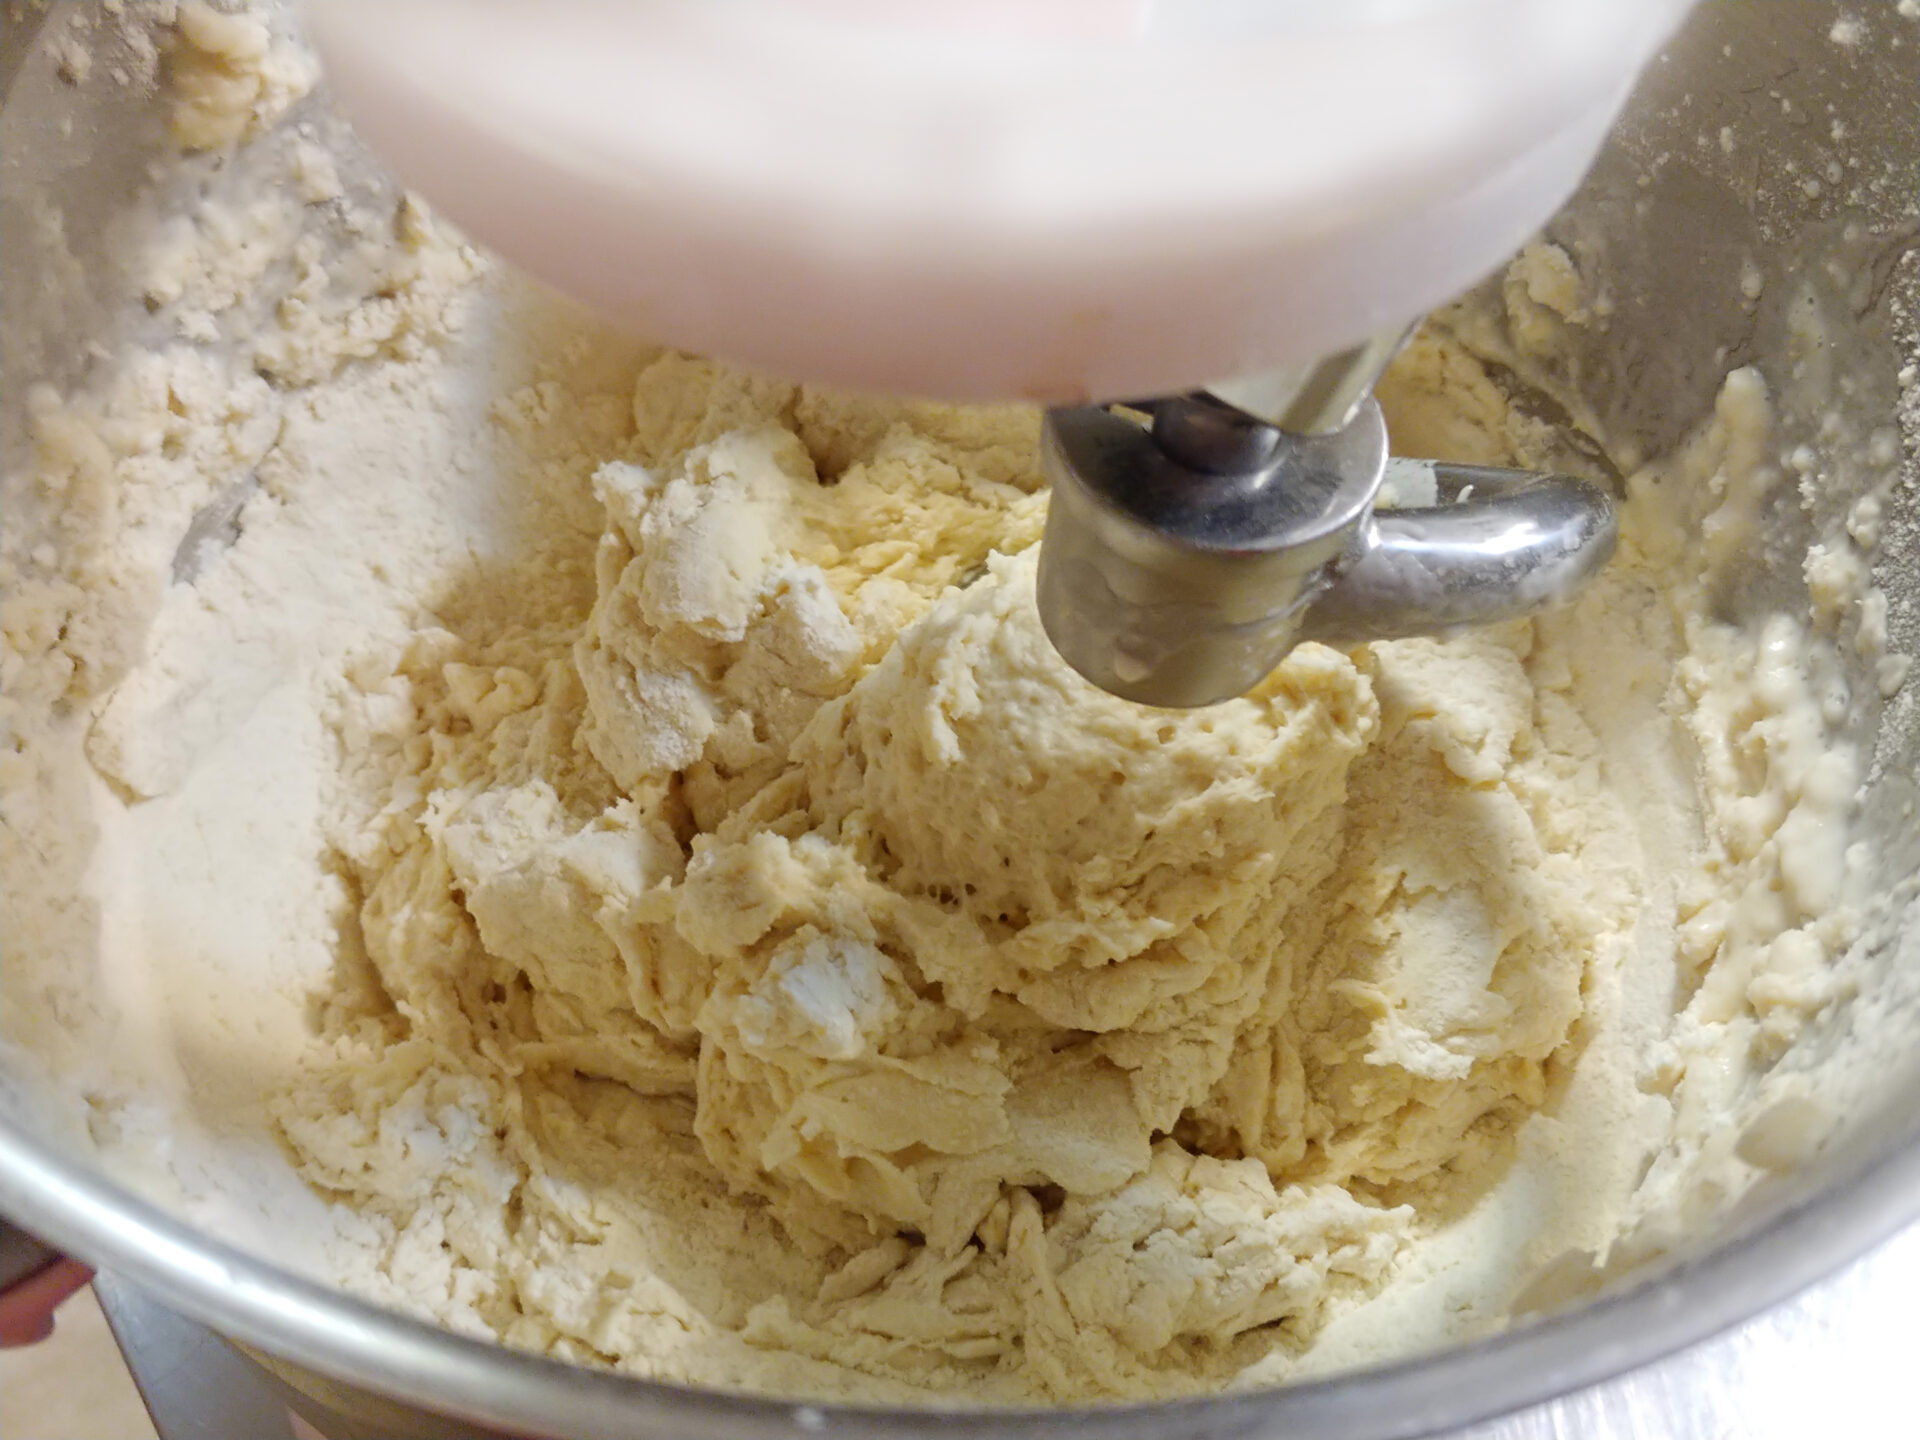
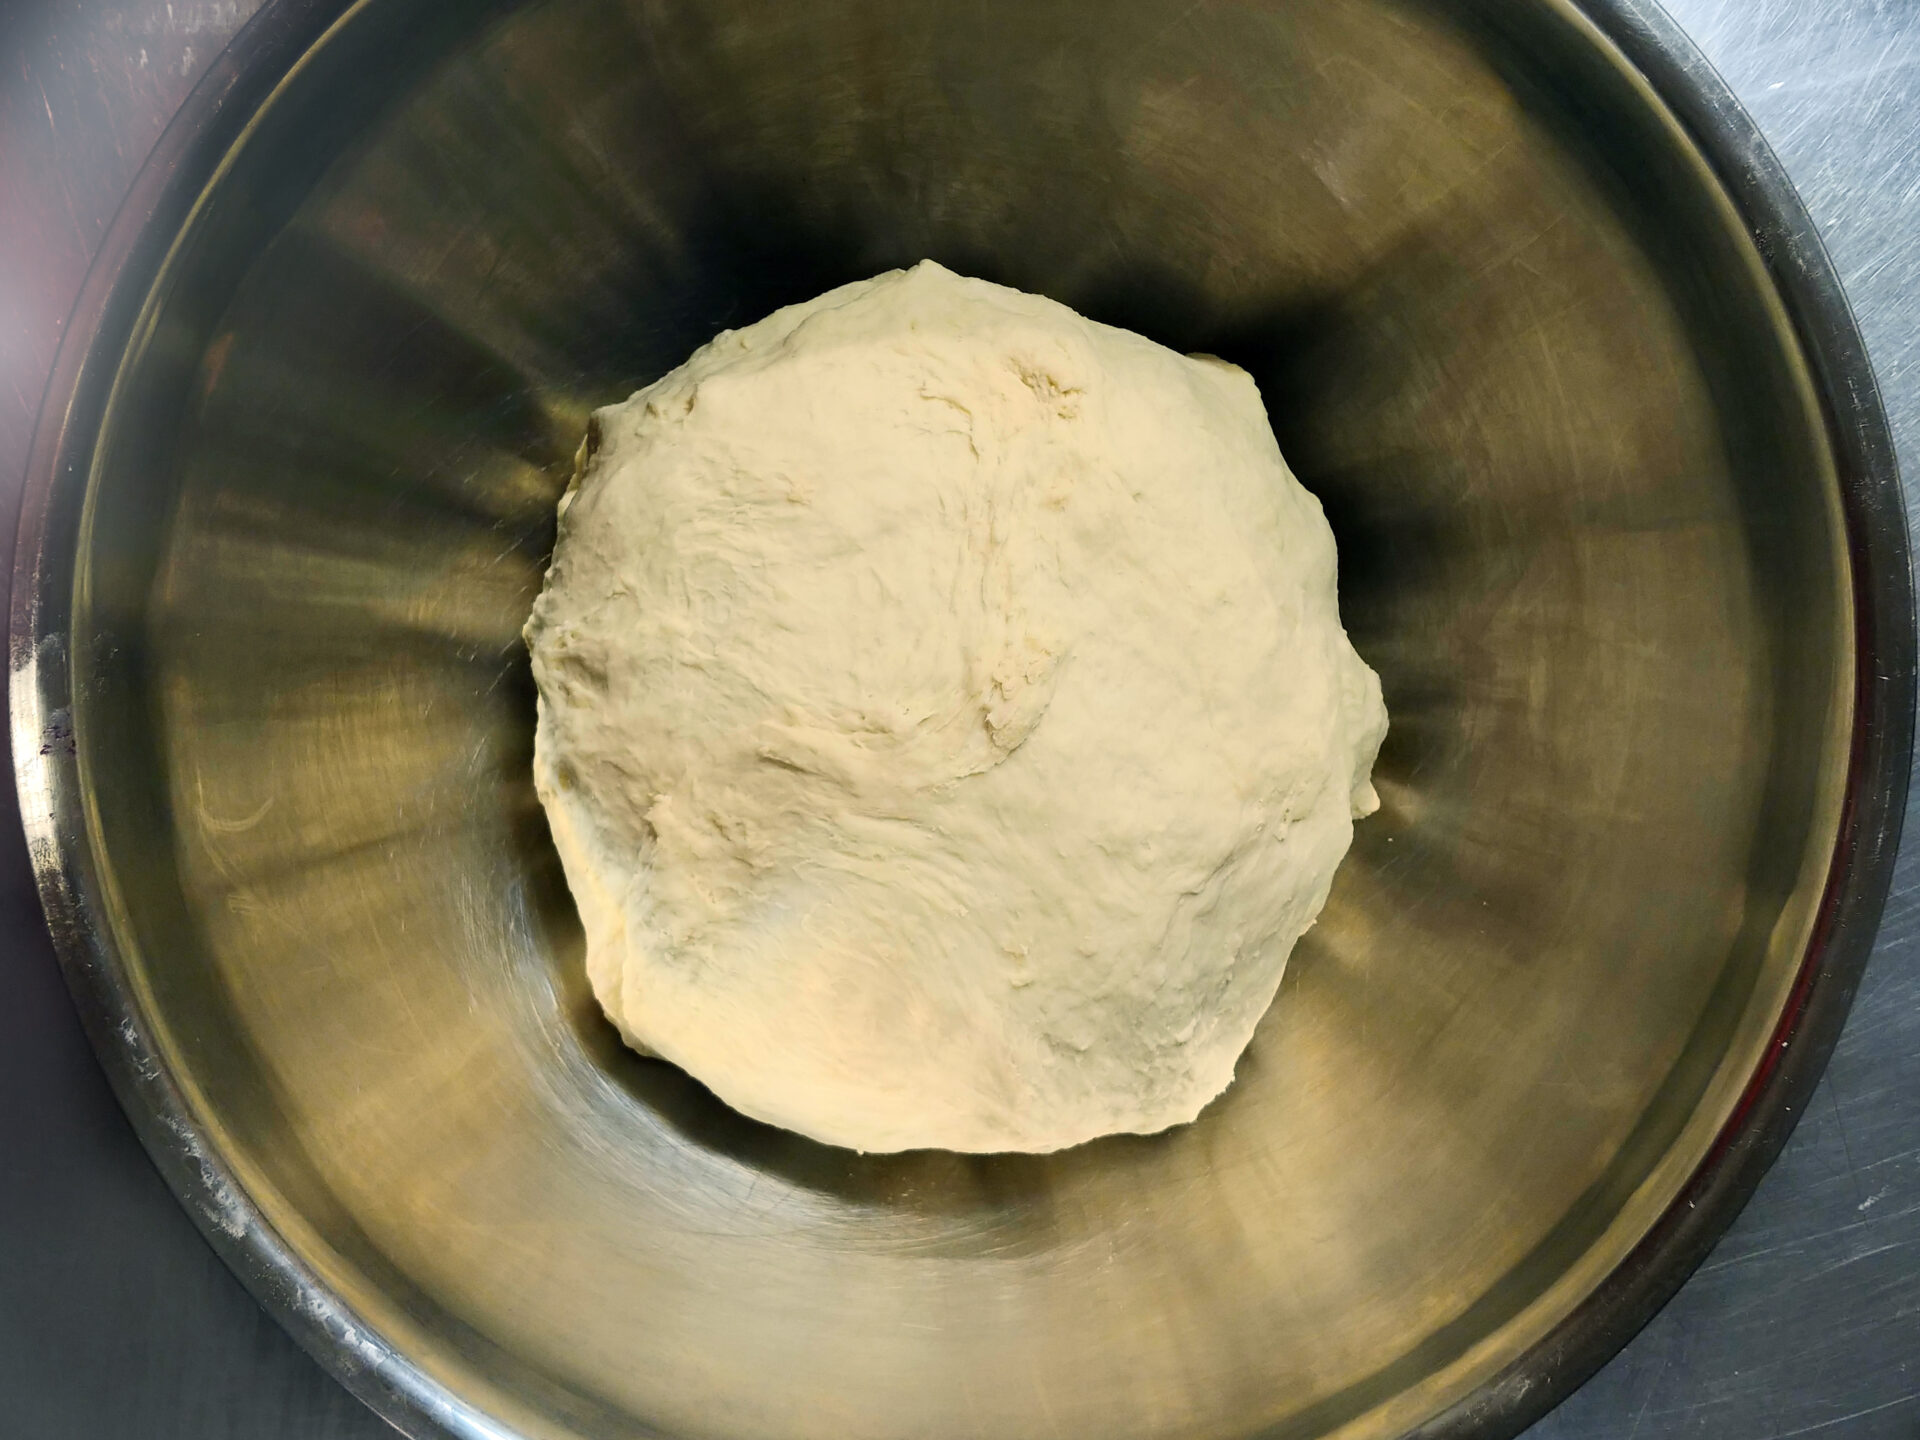
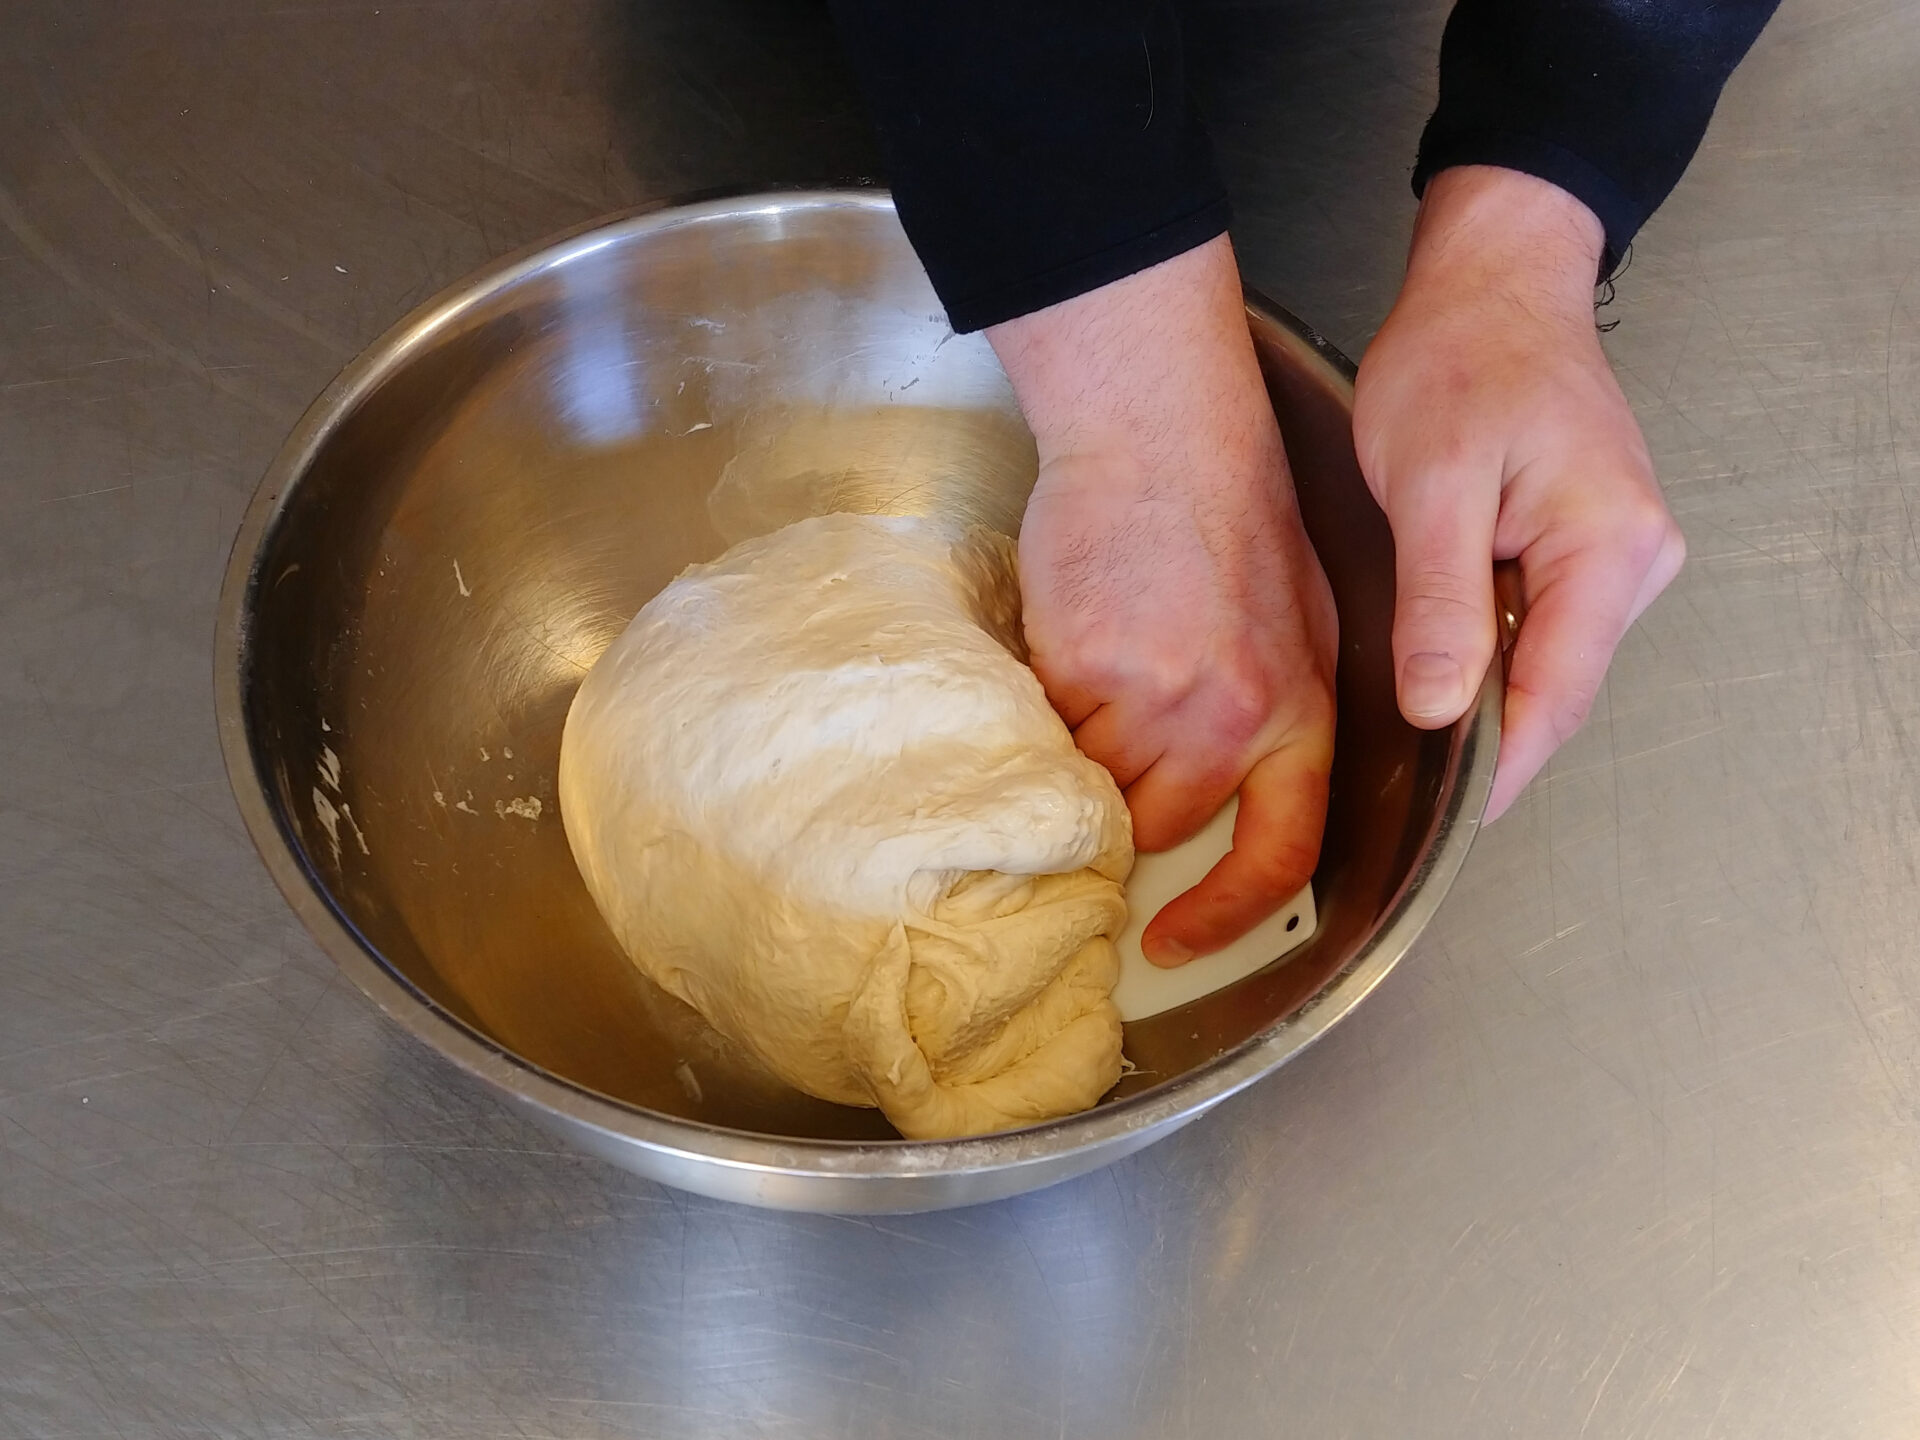
Our adventure begins with a kitchen mixer and its trusty hook attachment. This dynamic duo will do the heavy lifting, kneading the dough and developing the gluten that gives bread its structure and elasticity. As the mixer works its magic, you’ll witness the transformation from a shaggy mass to a smooth, supple dough.
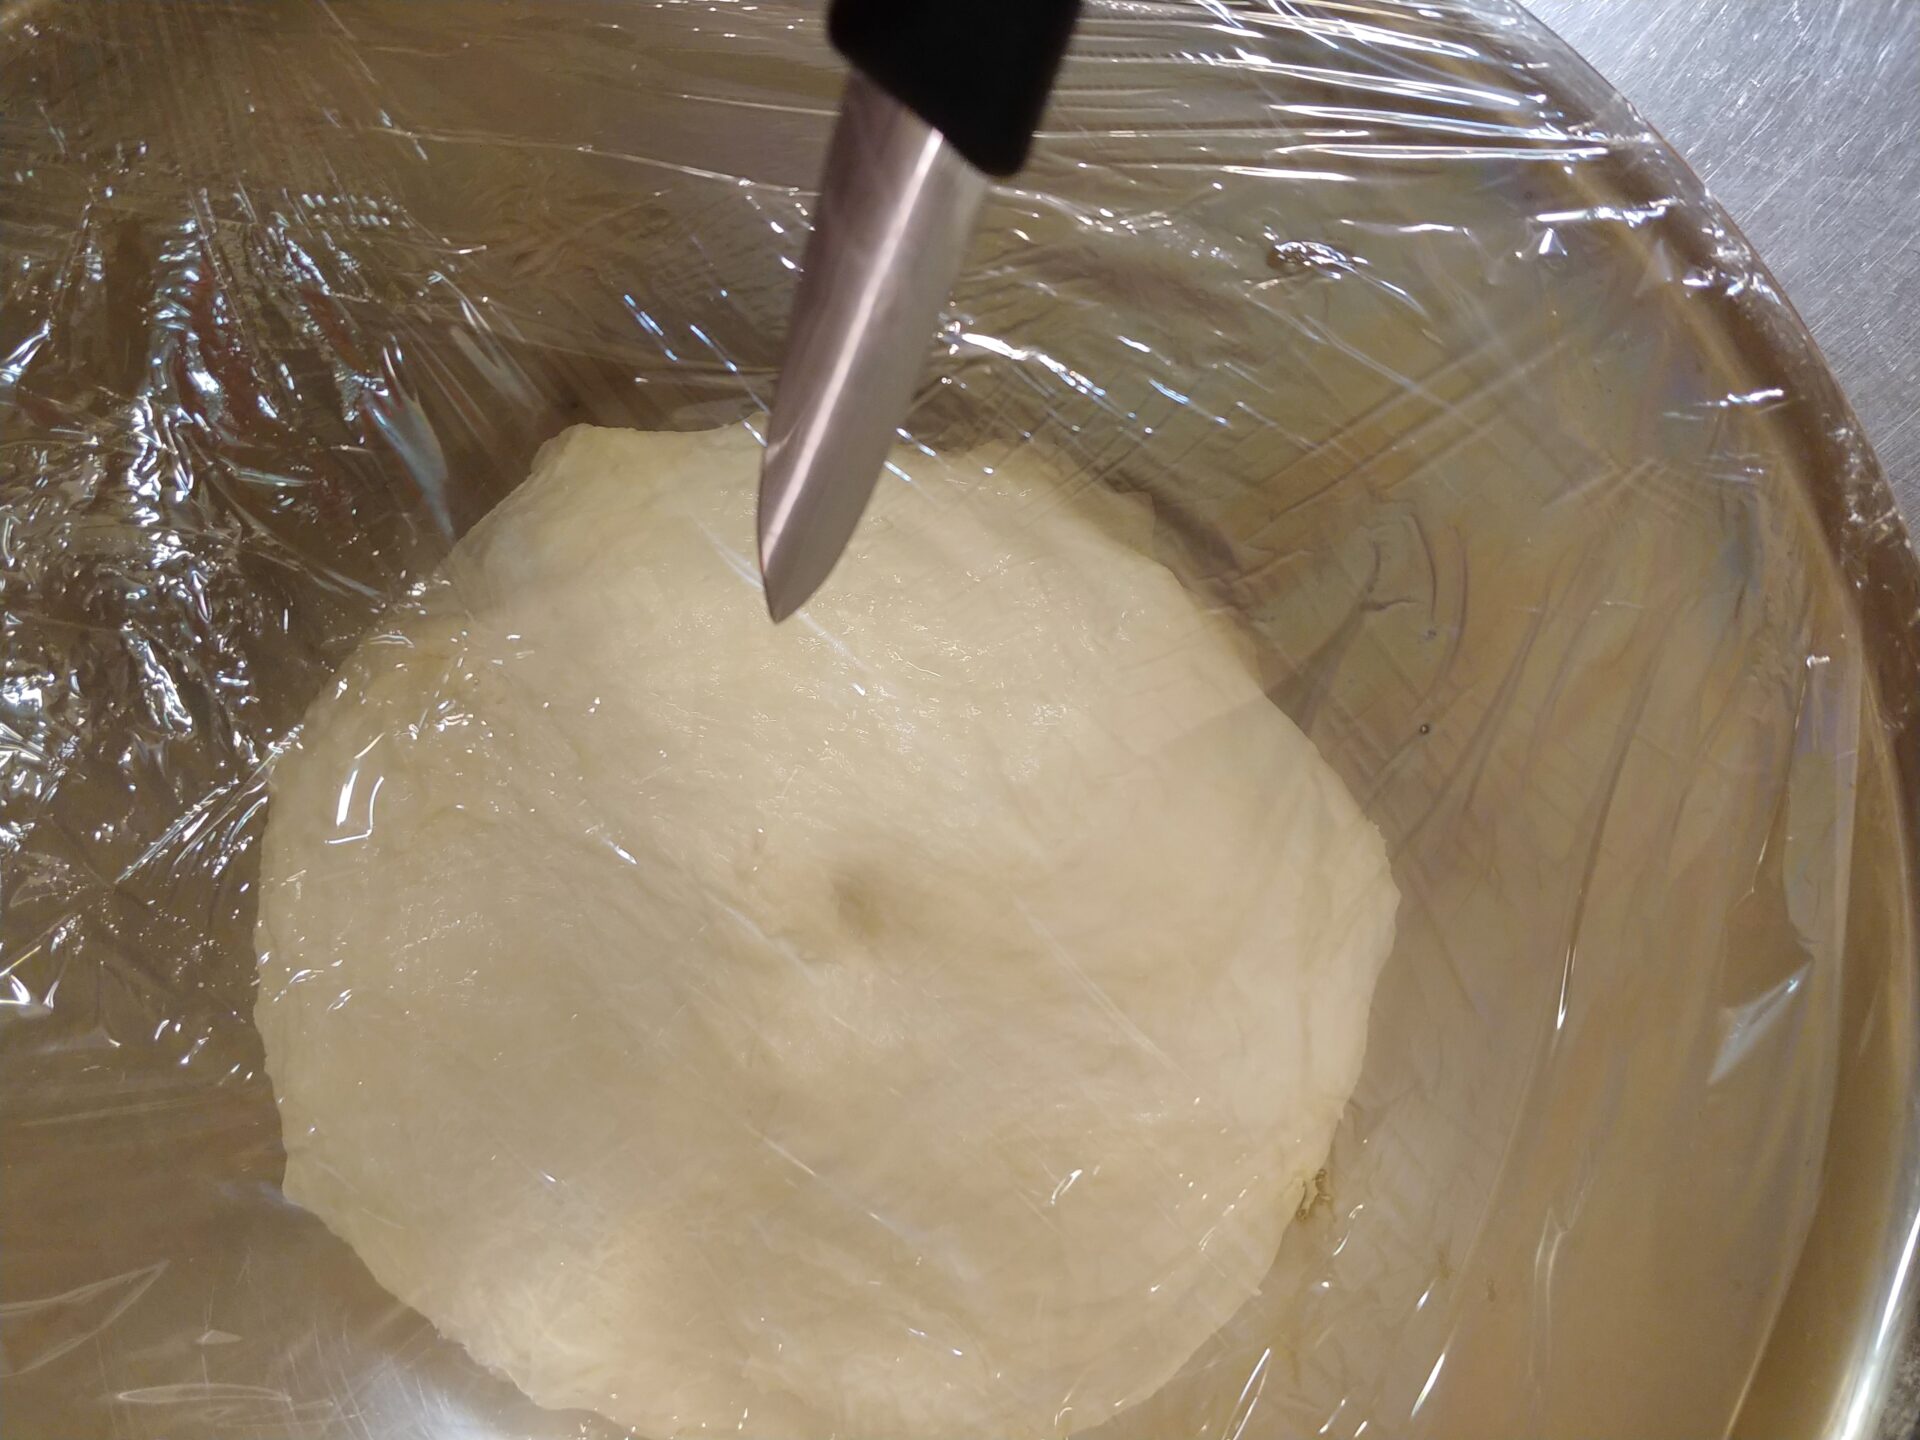
Patience is a Virtue: The Rise and Fall of Dough
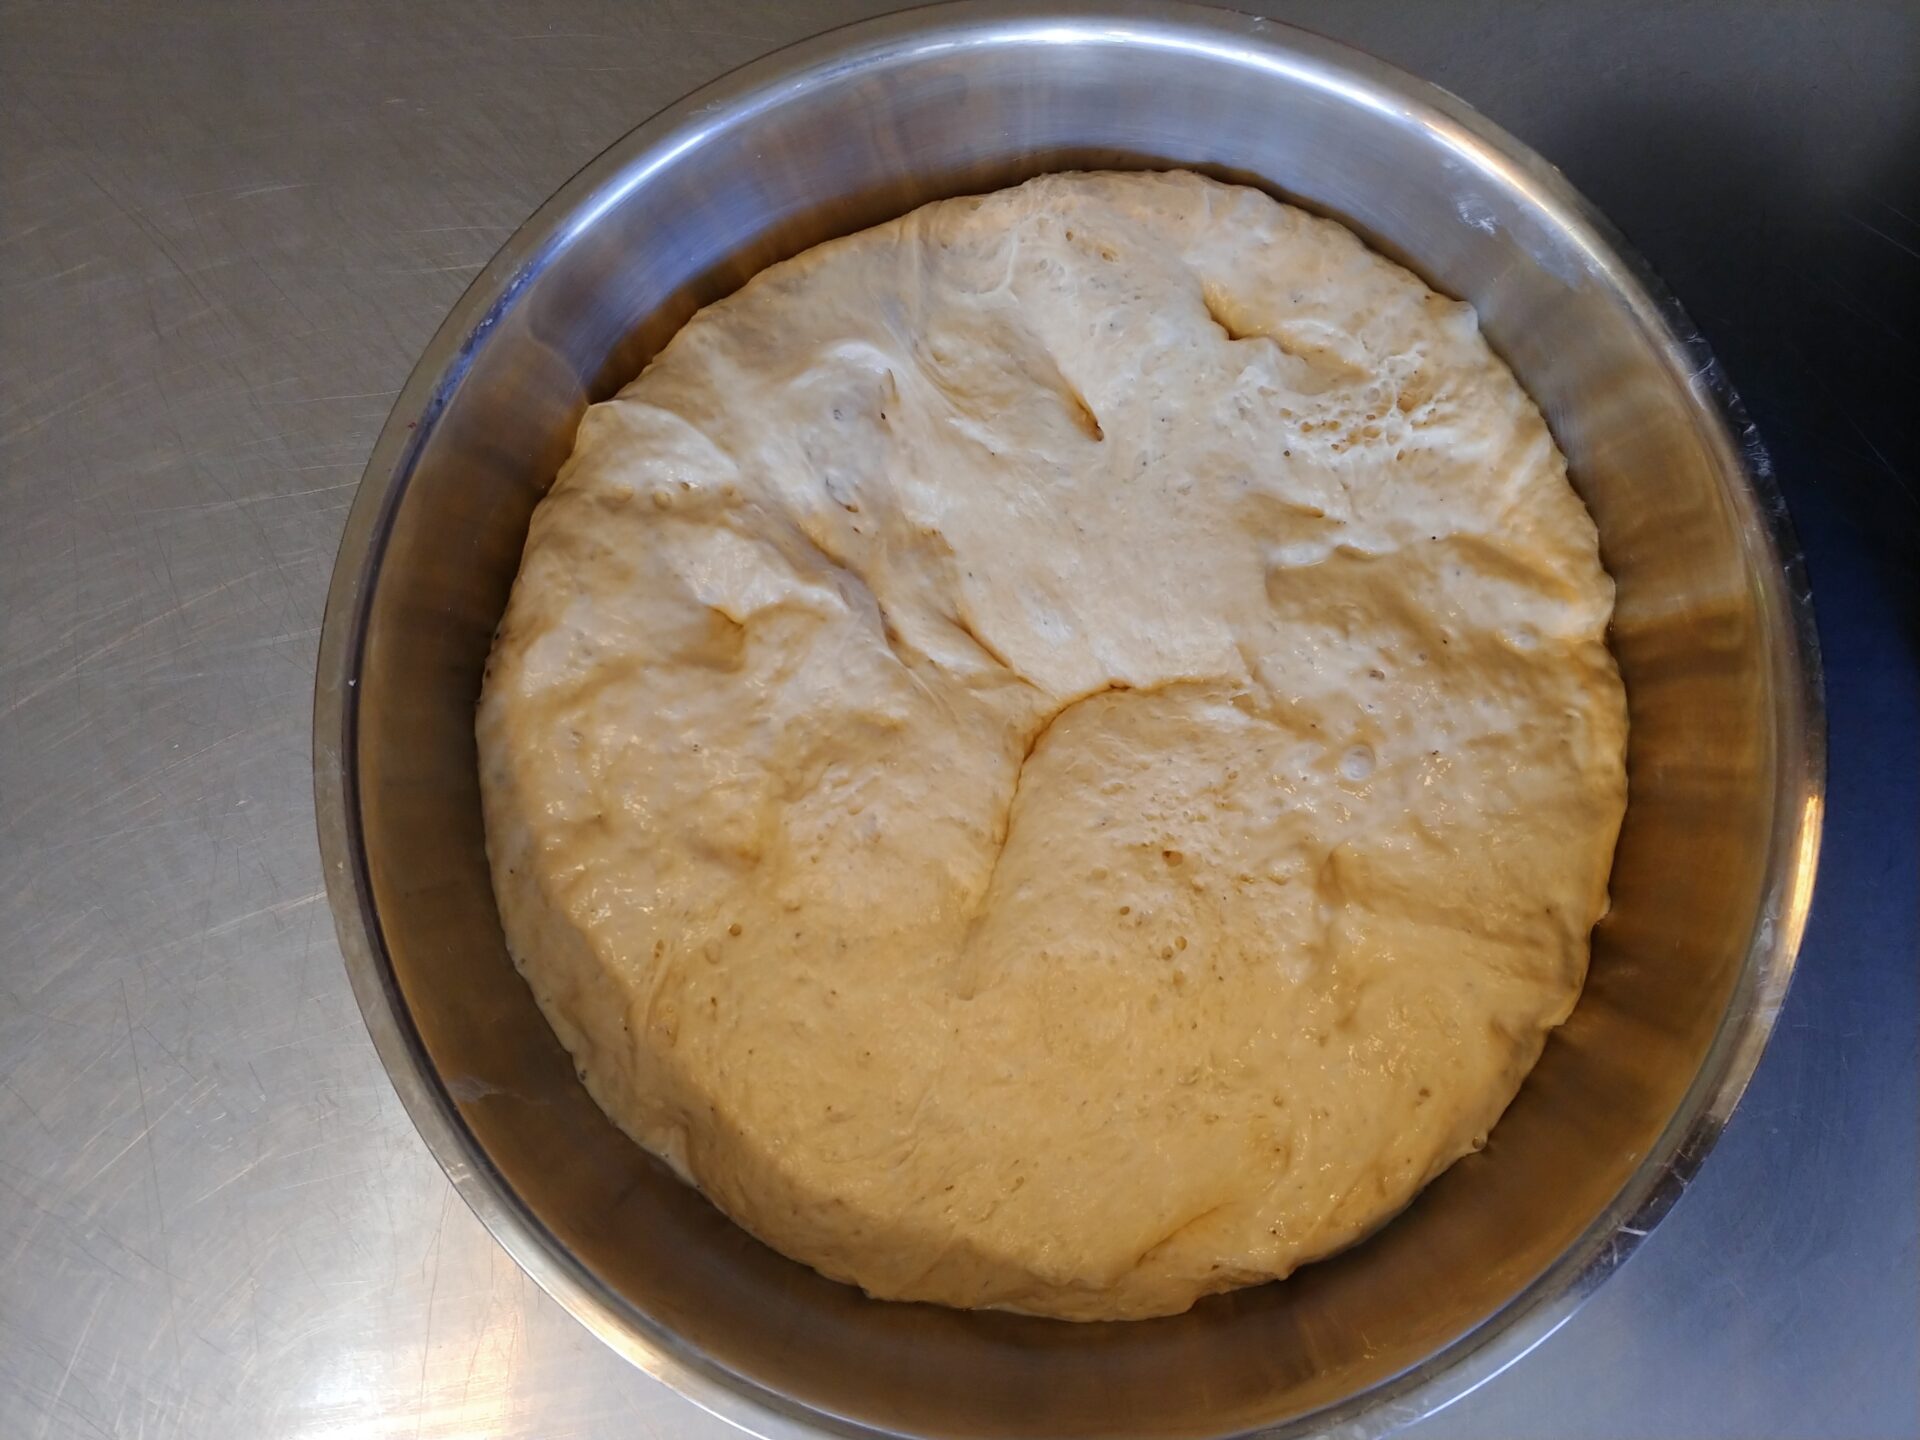
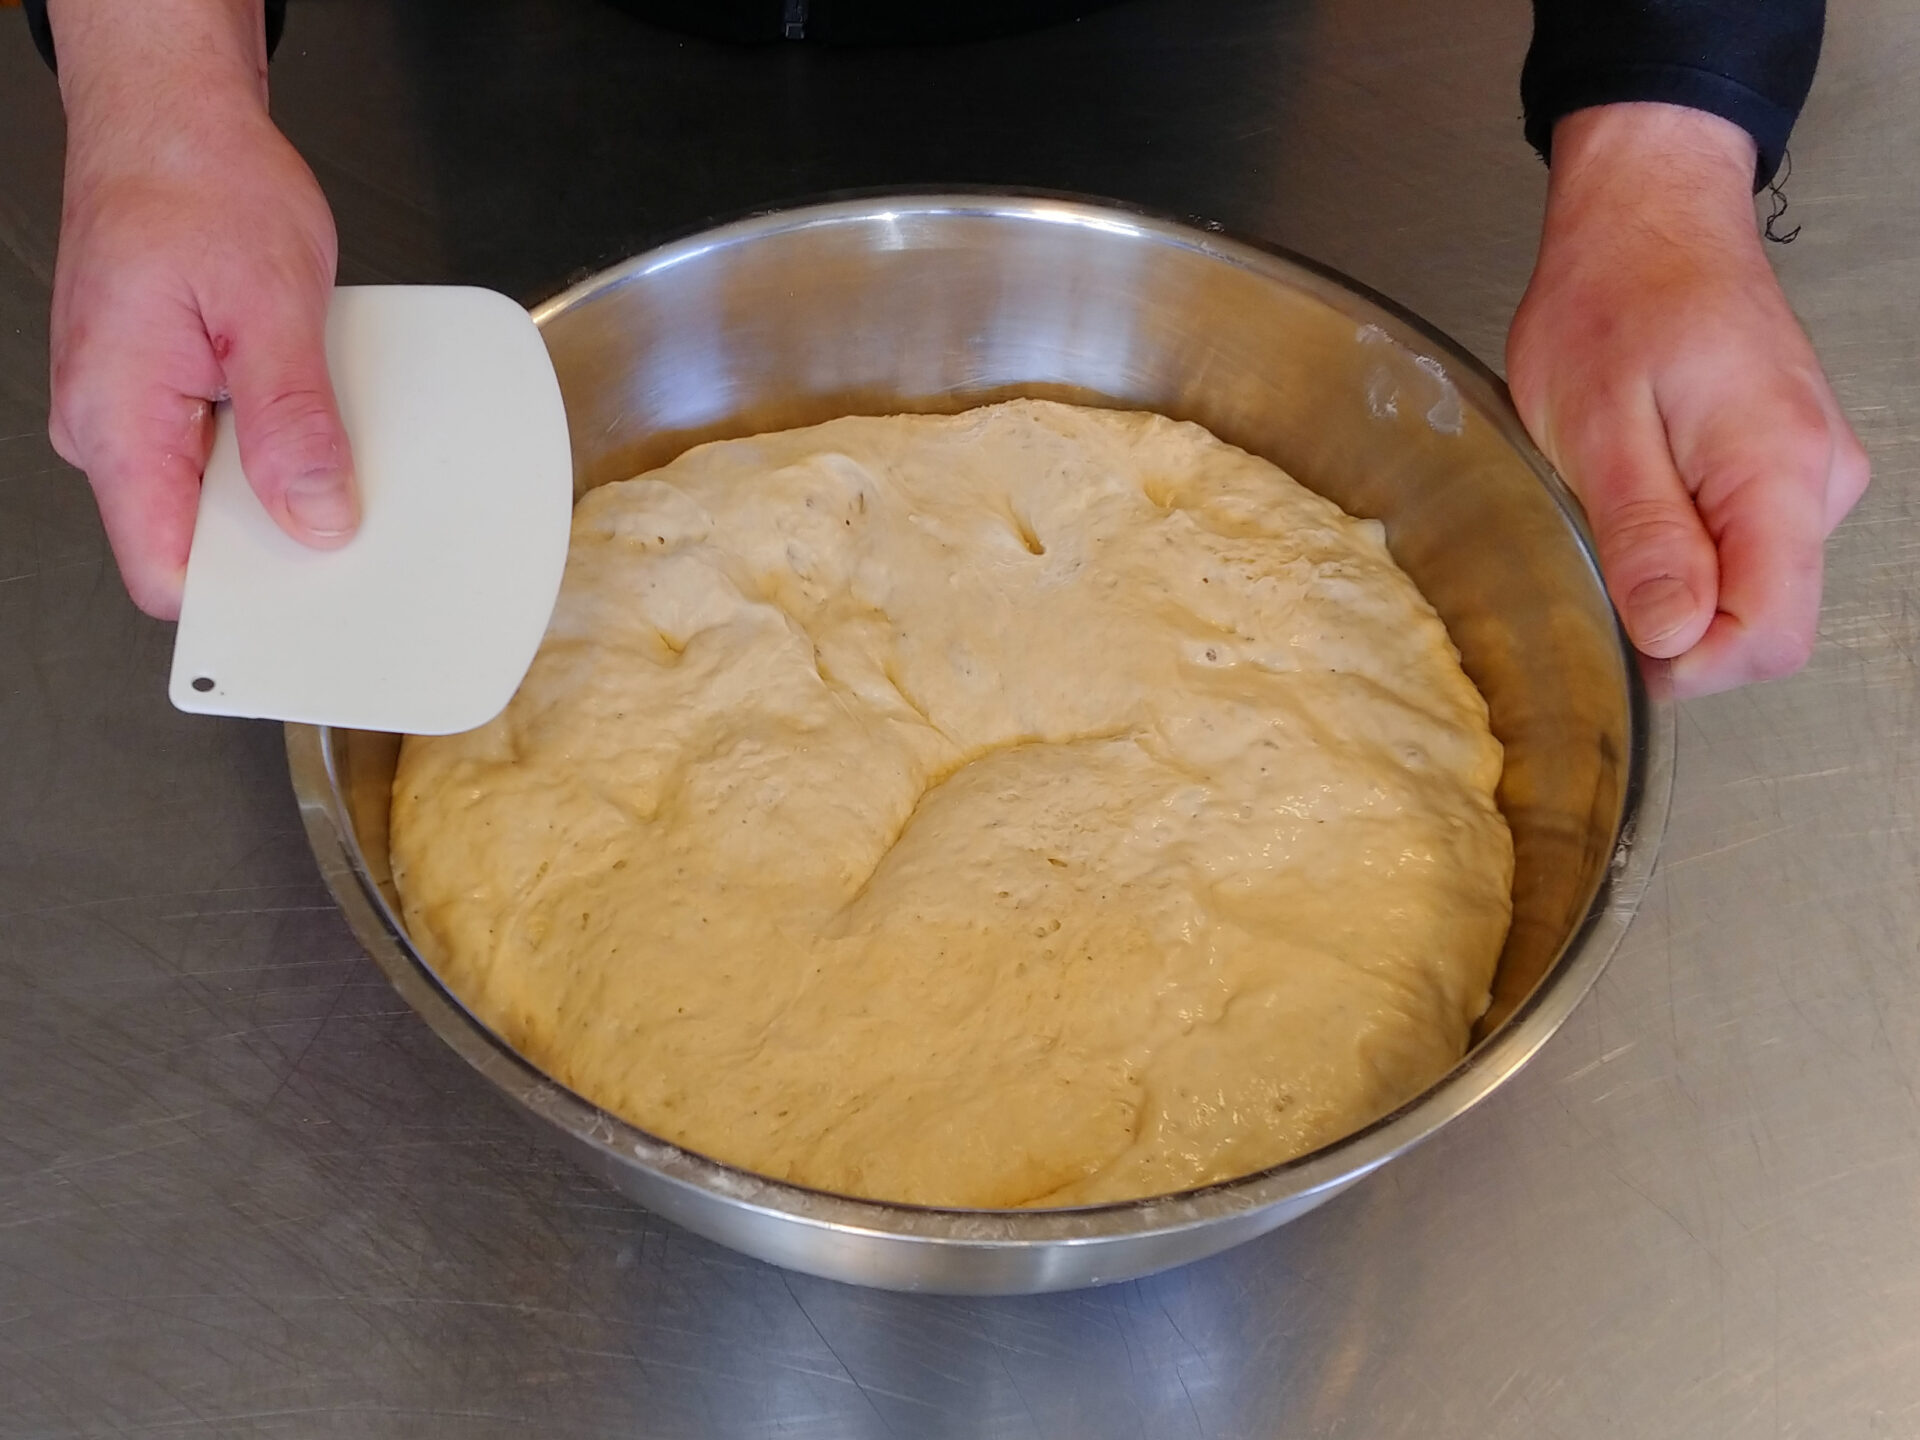
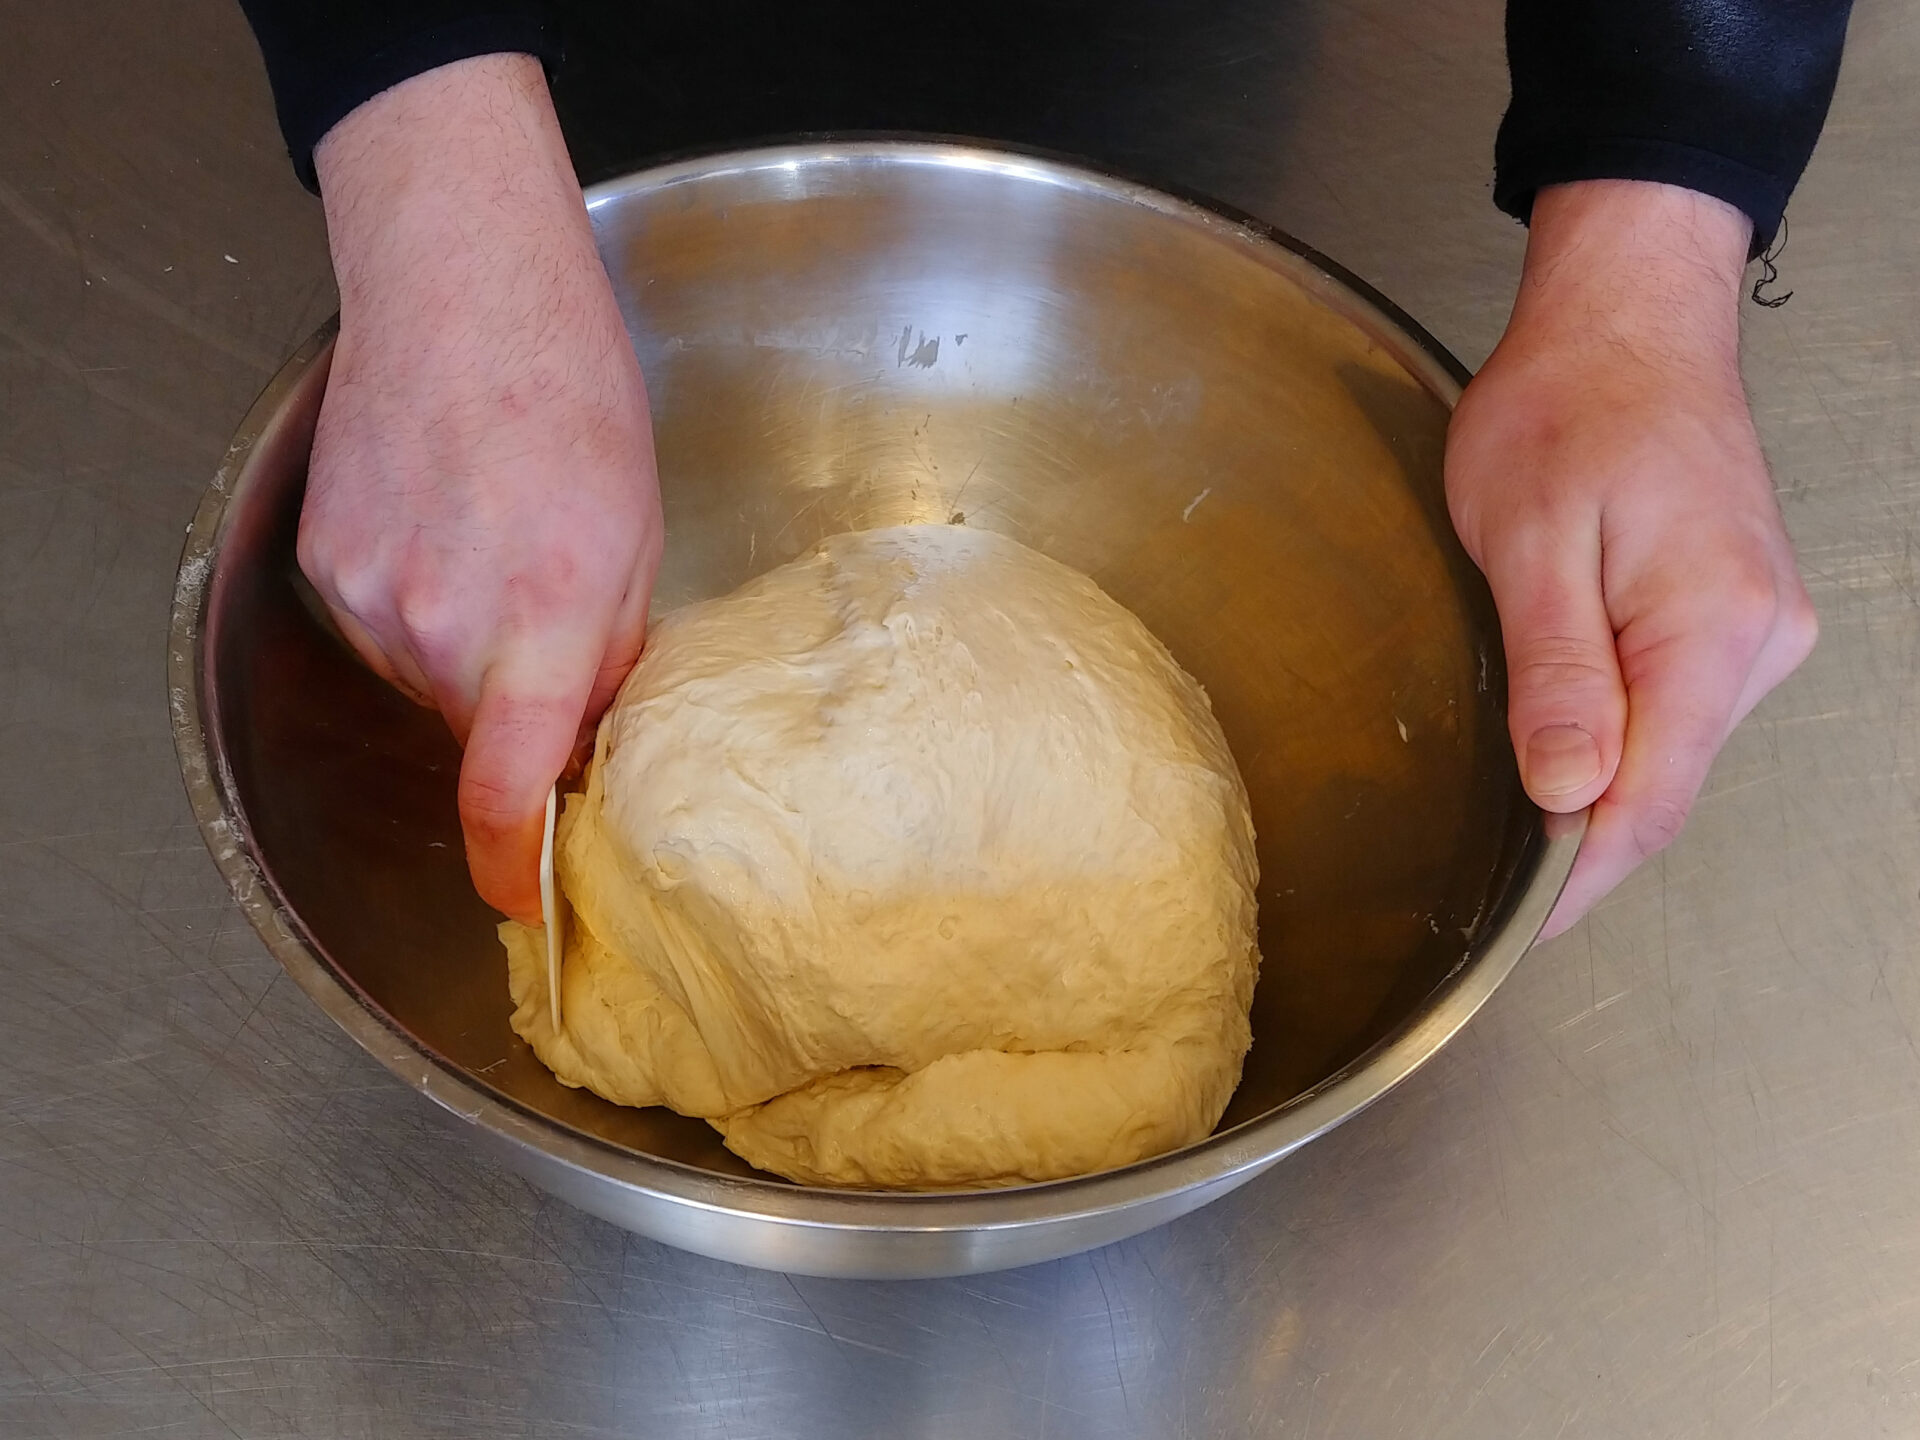
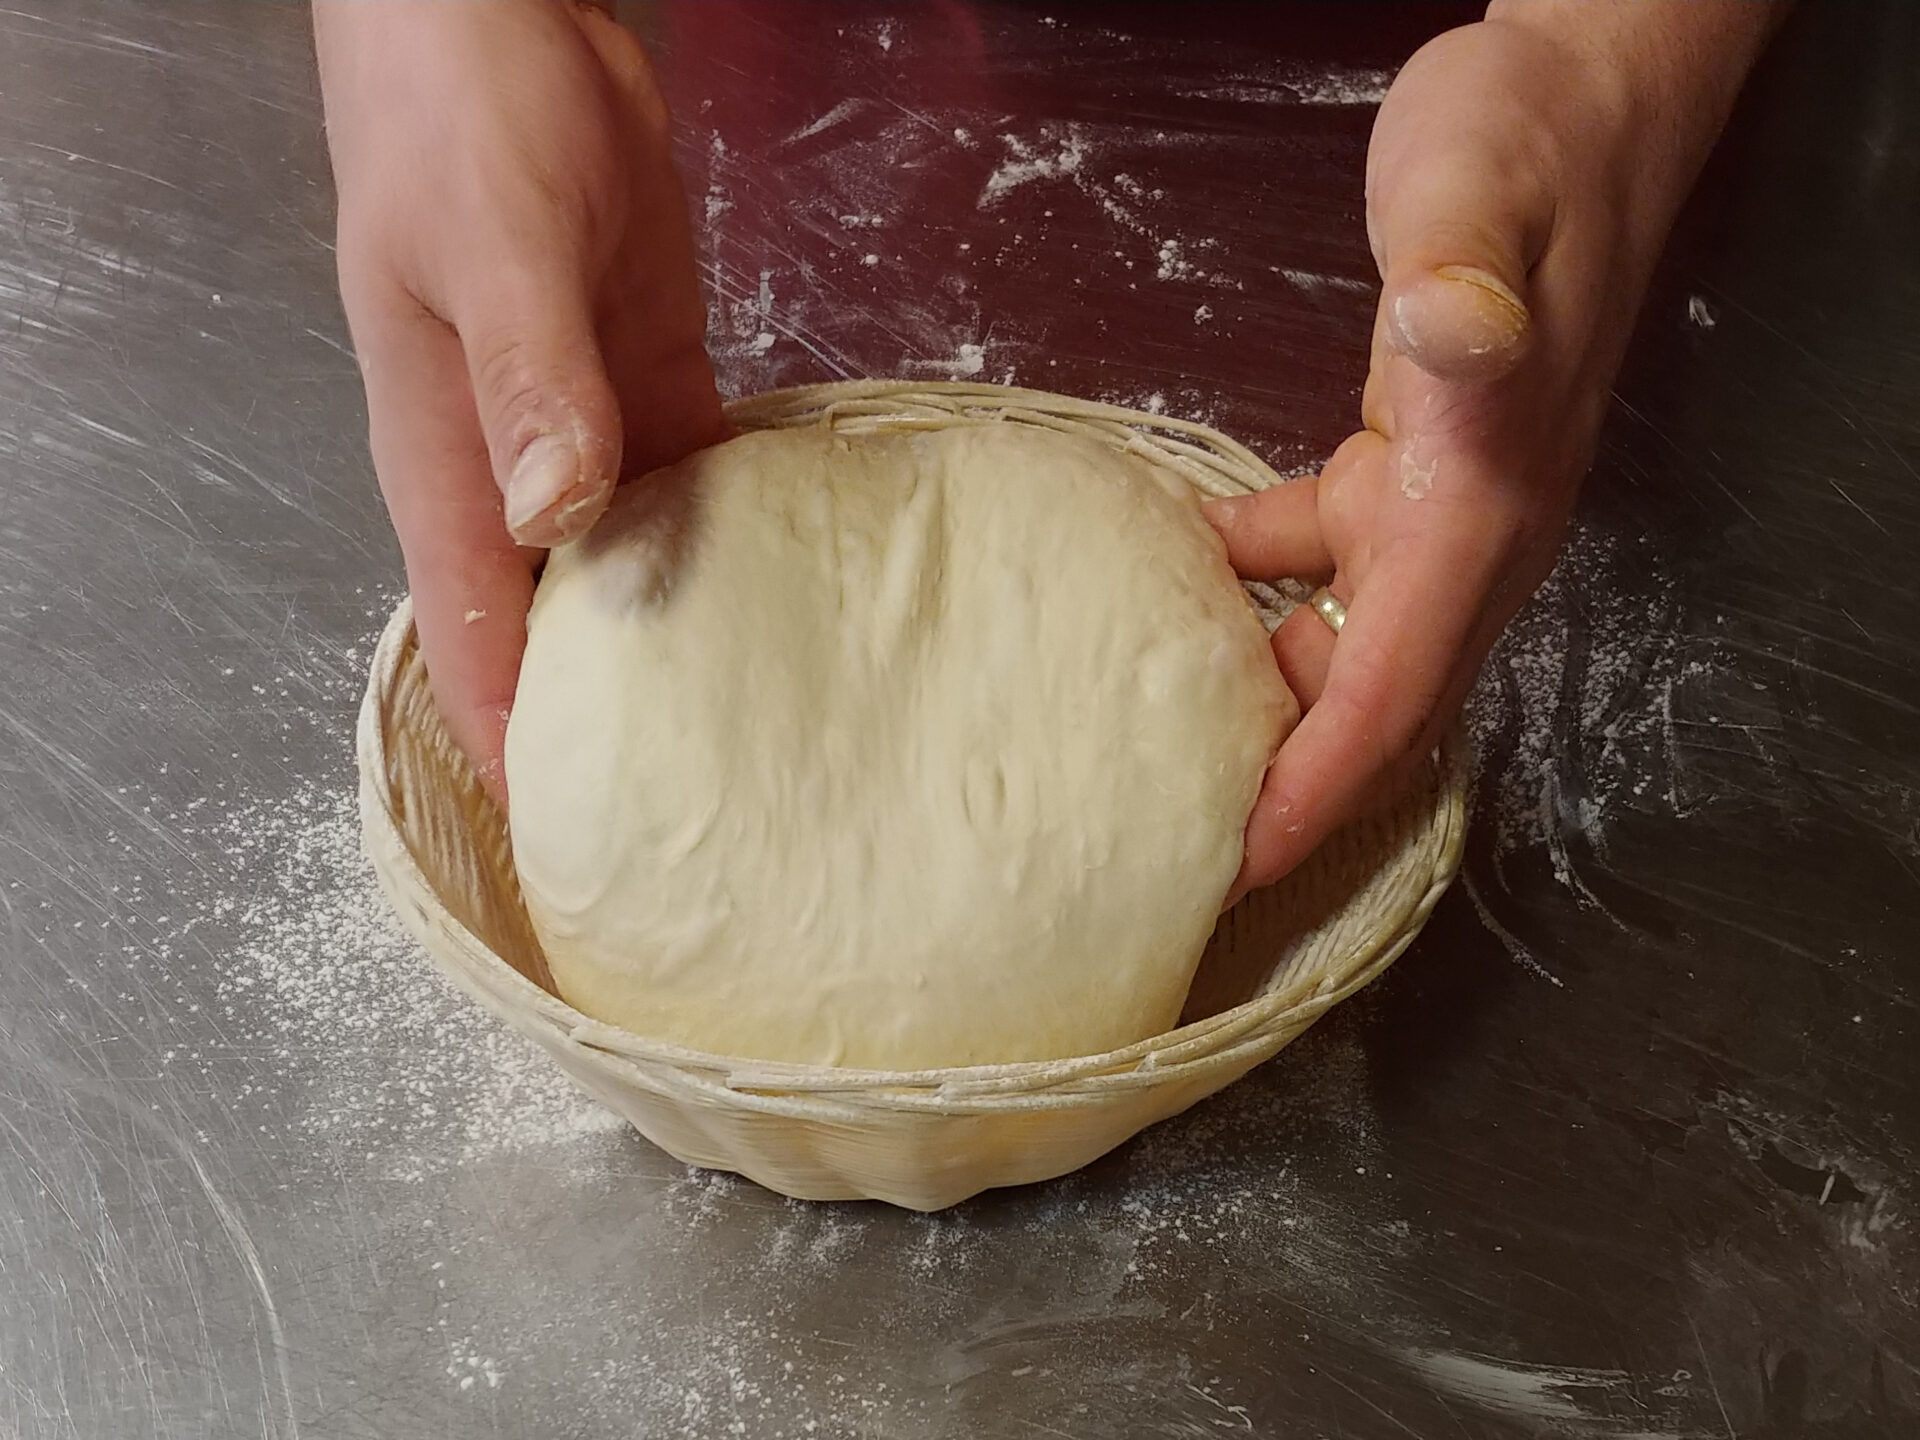
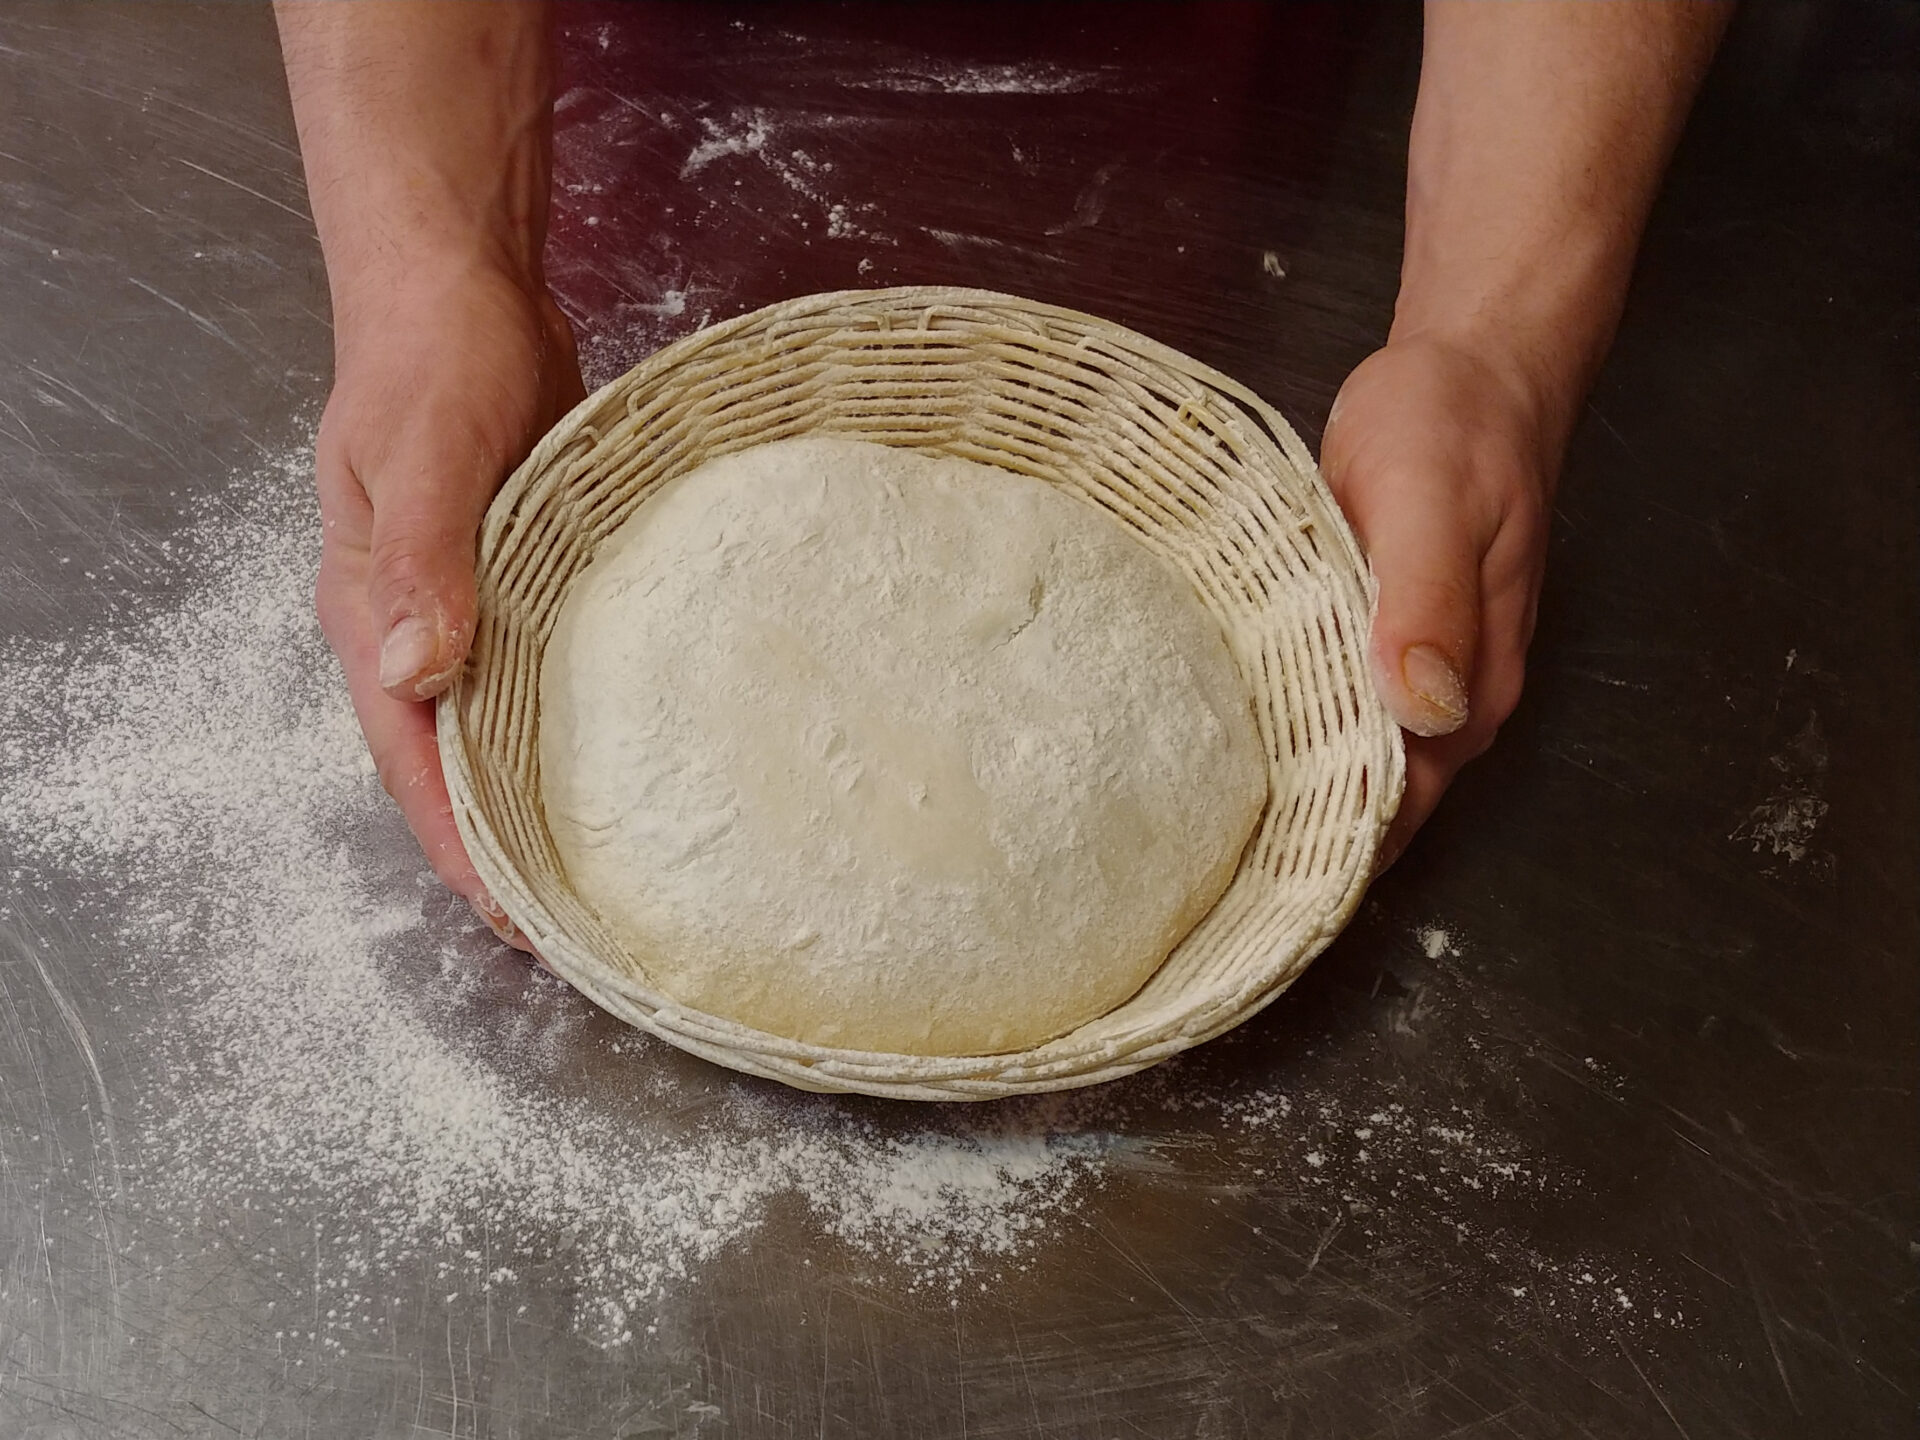
Now comes the time to exercise patience, a crucial ingredient in any bread baking endeavor. We’ll allow our dough to rise in a warm place, witnessing its gradual expansion as the yeast works its magic. This rising process, known as proofing, is where the dough develops its flavor and airy texture.
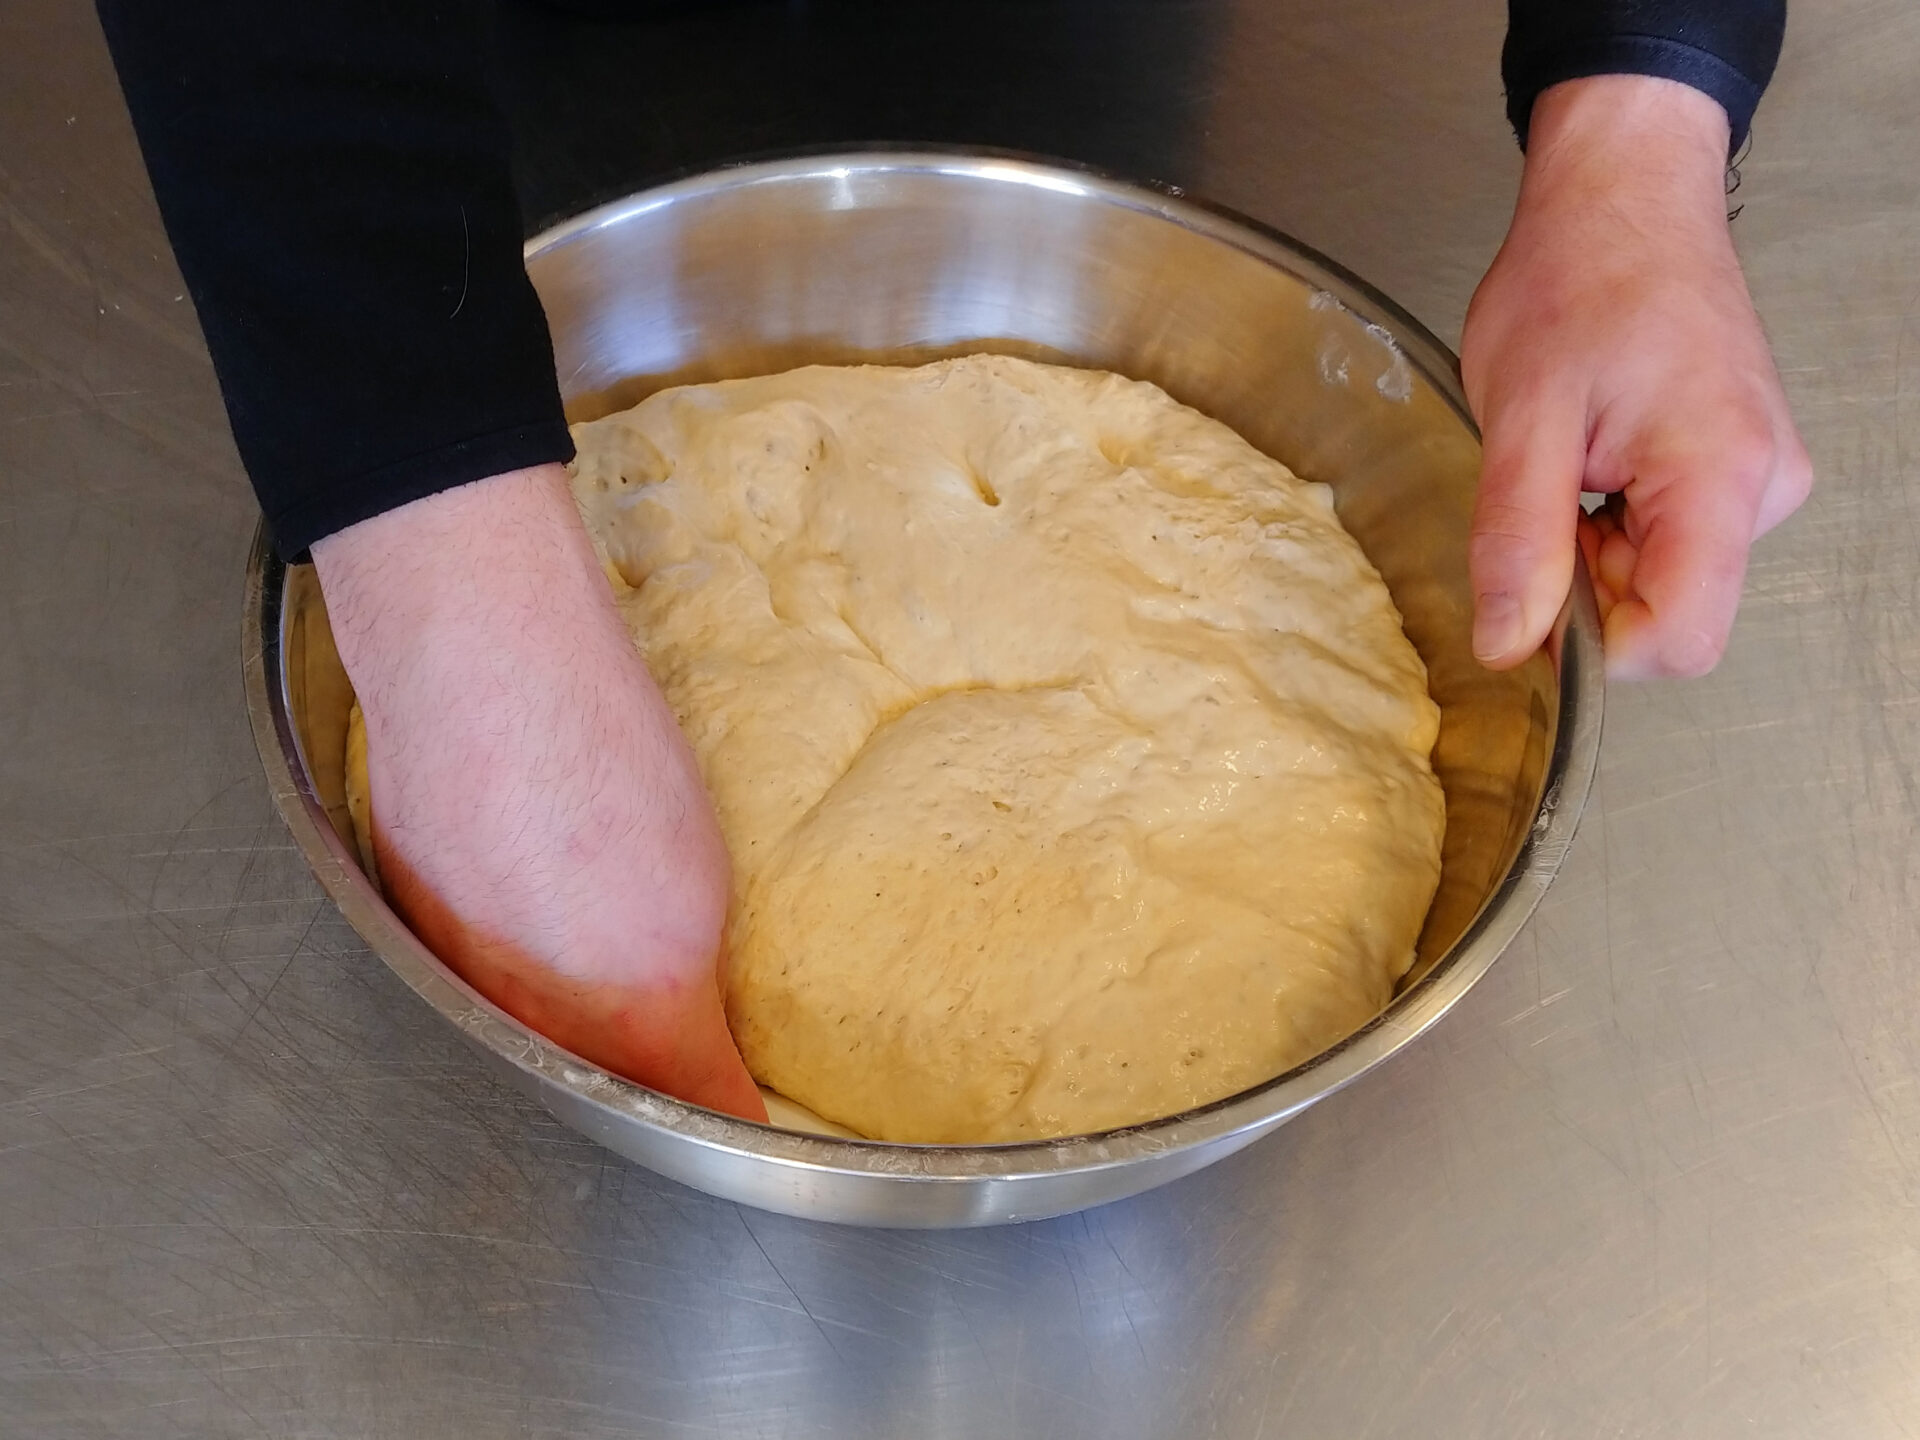
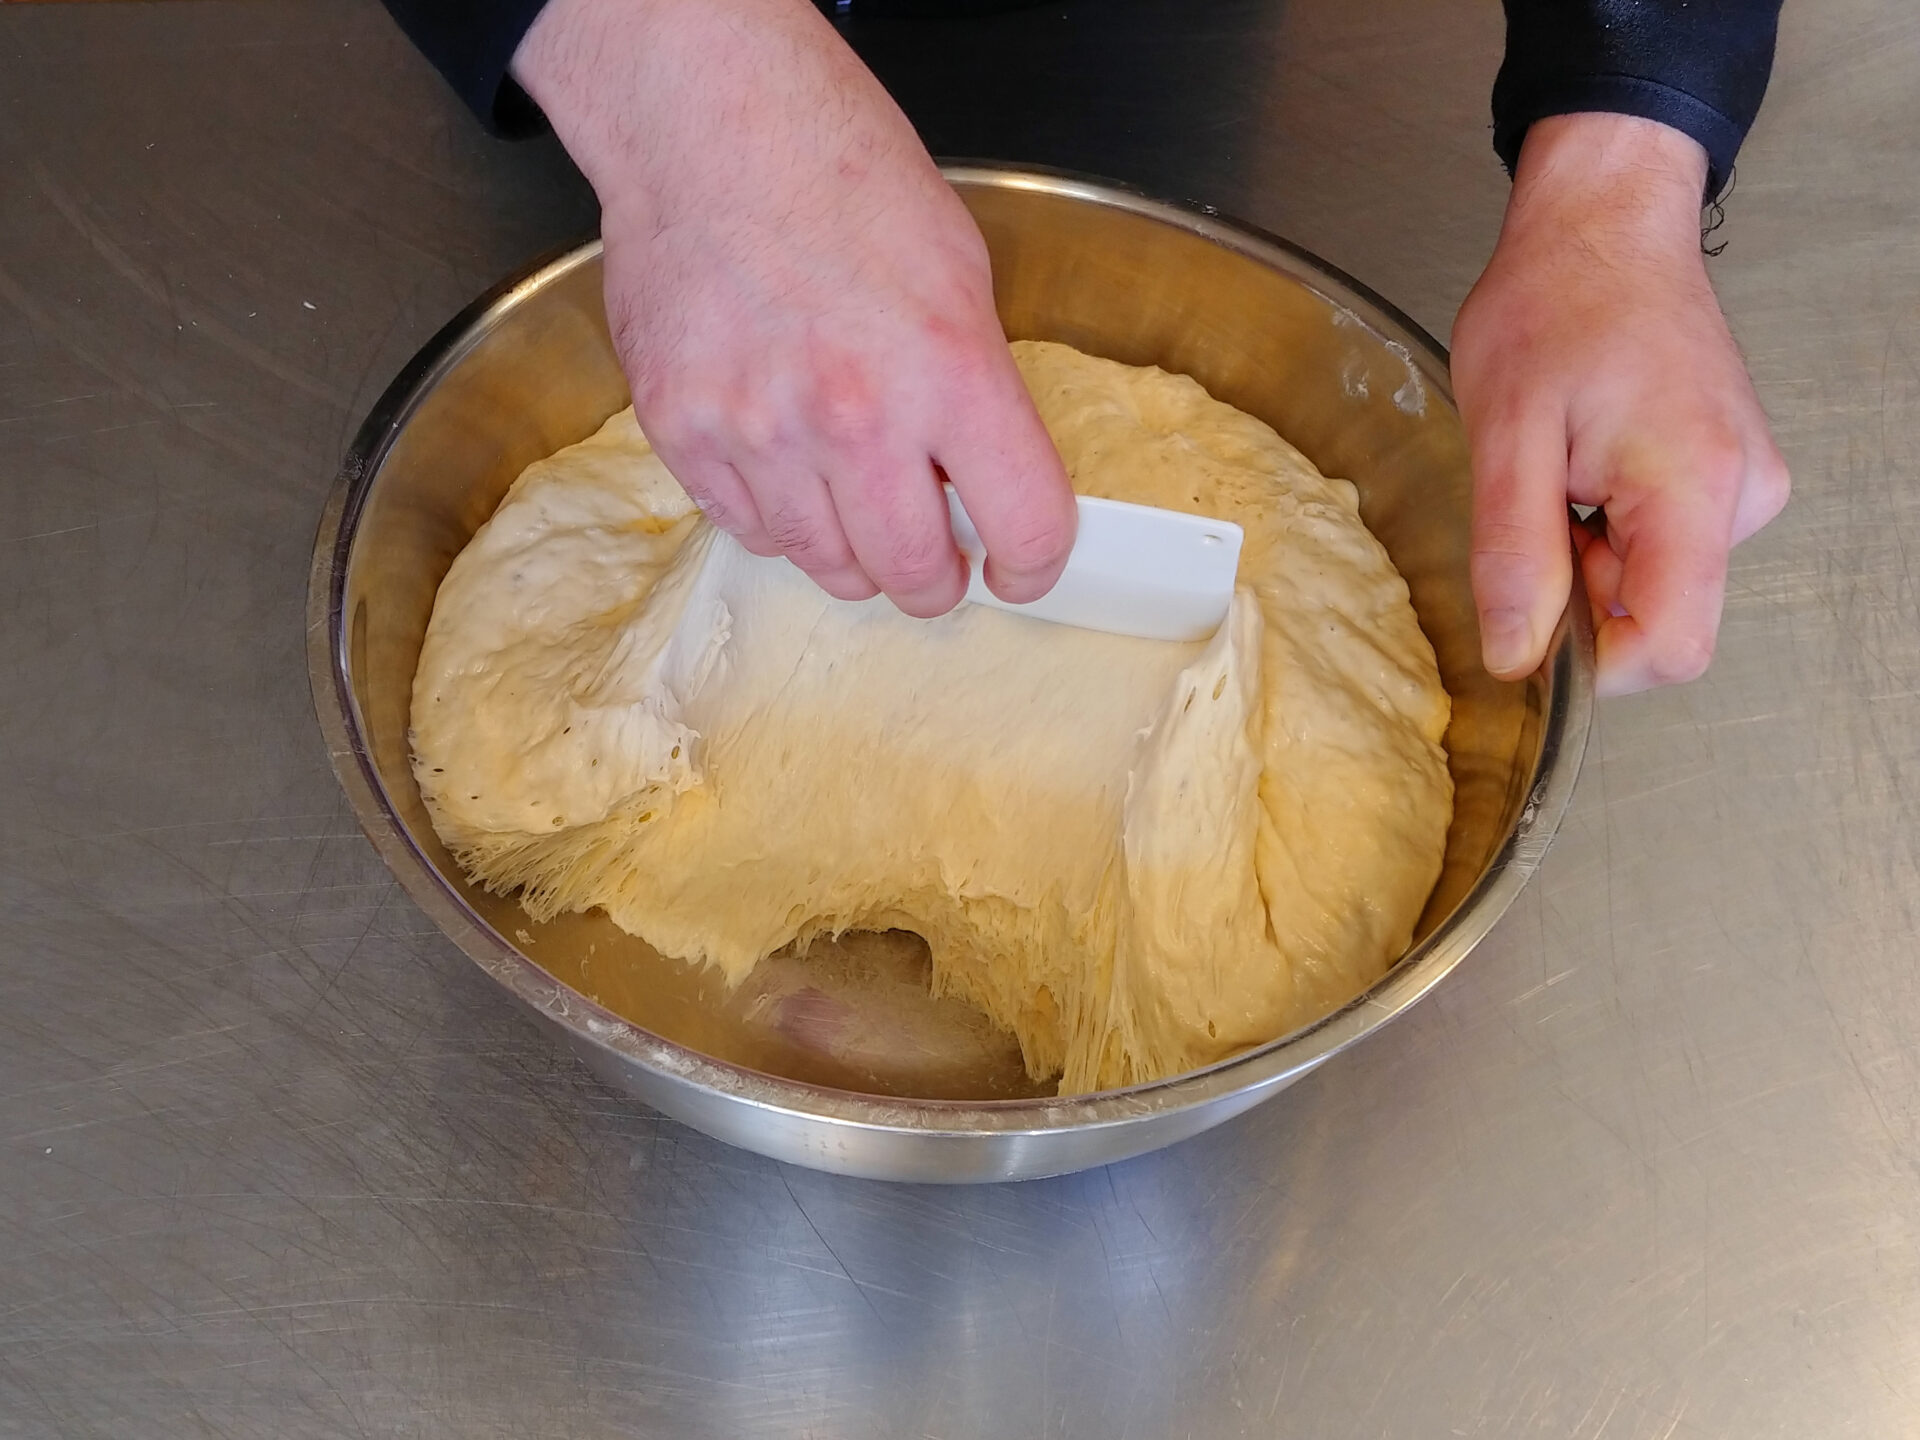
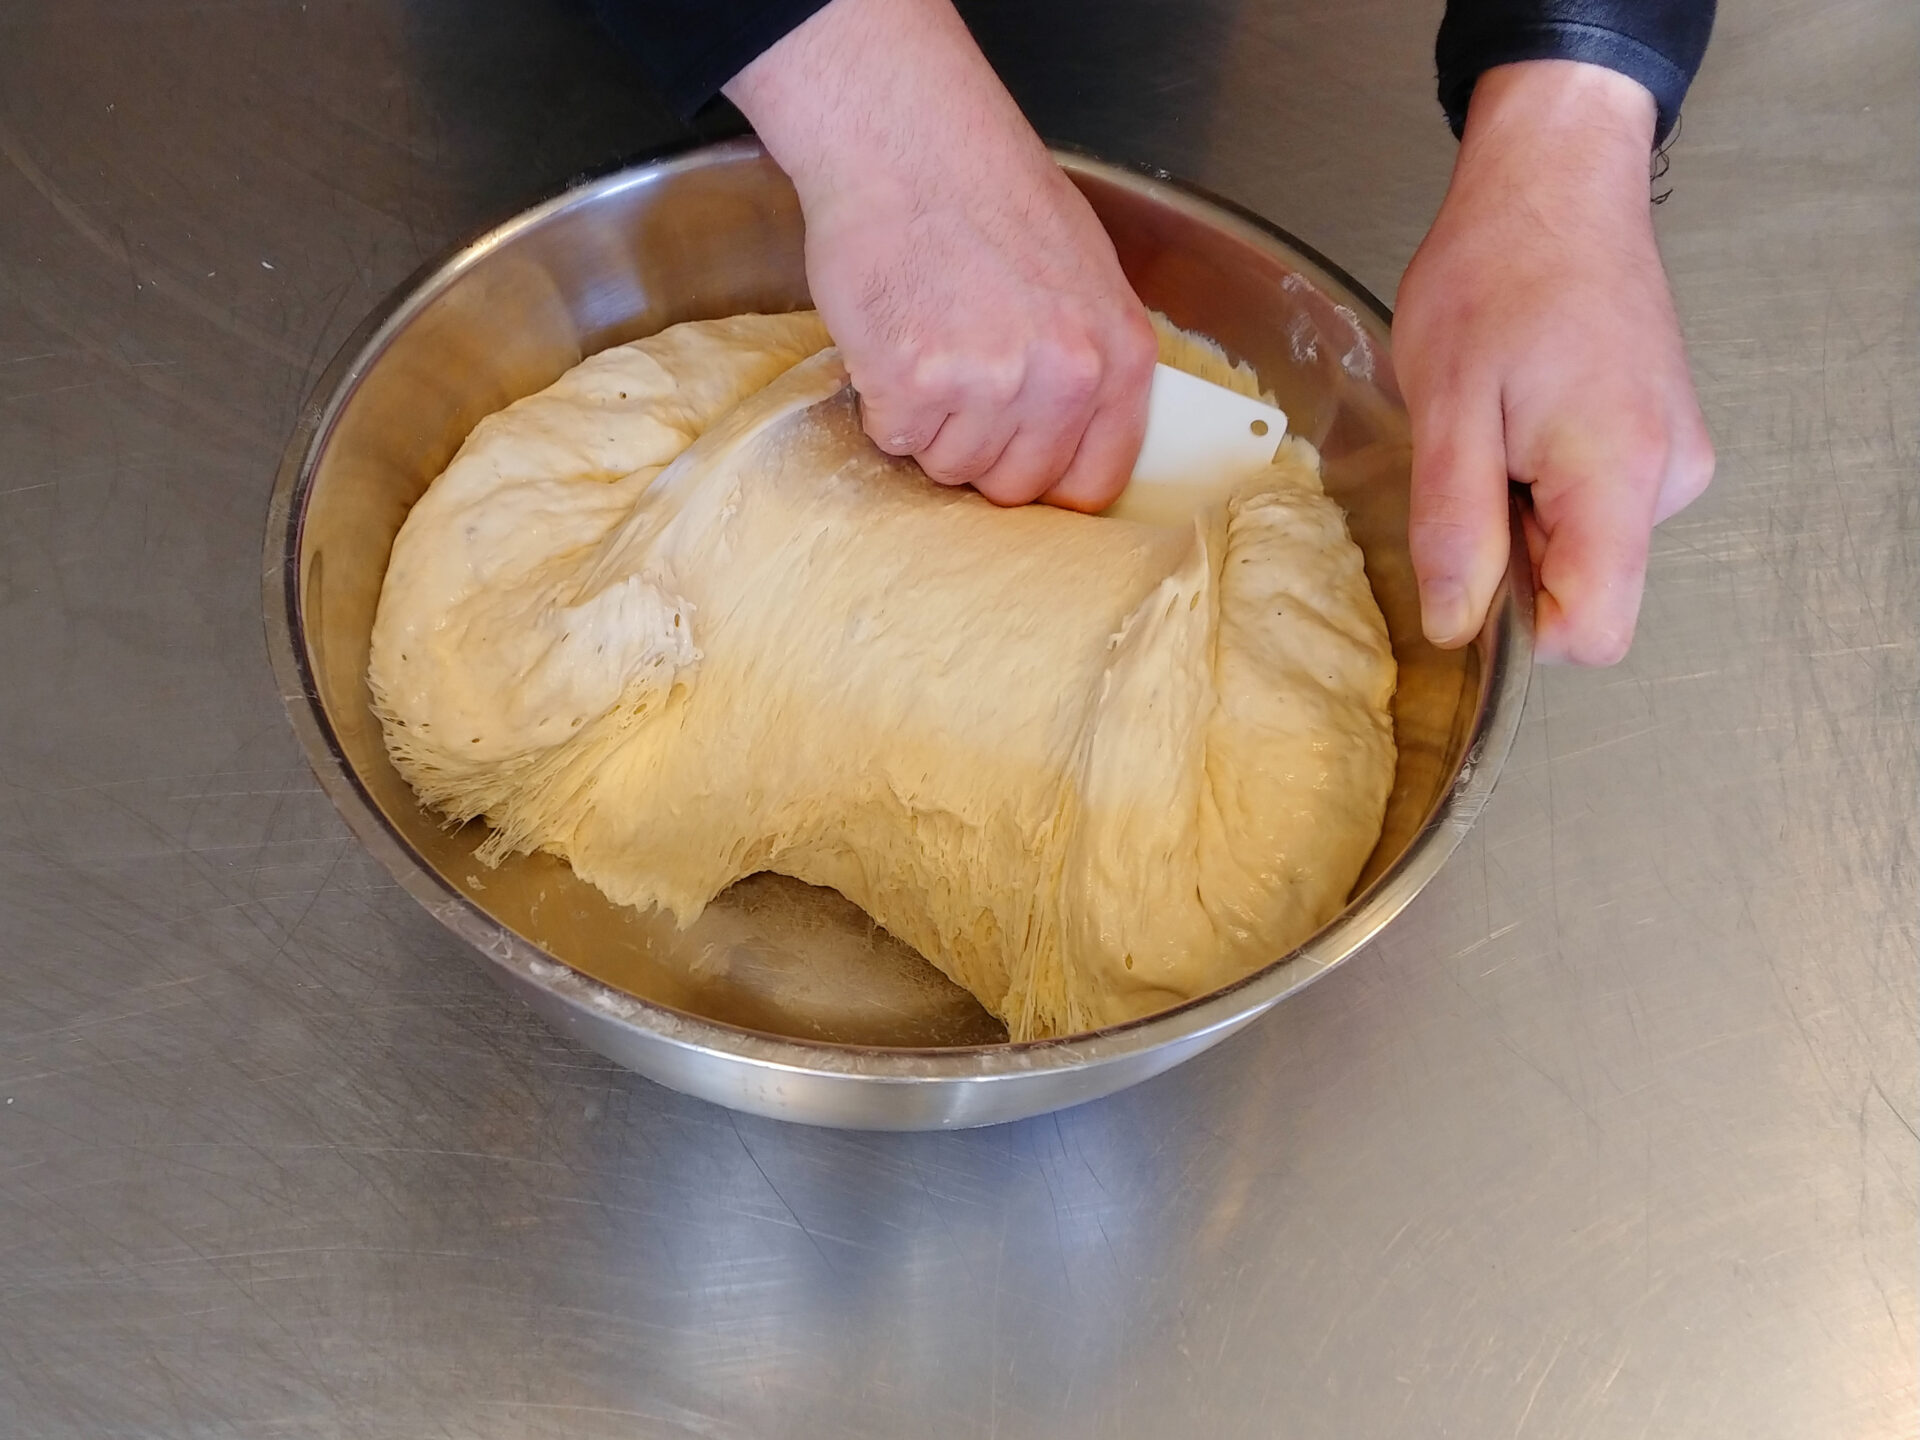
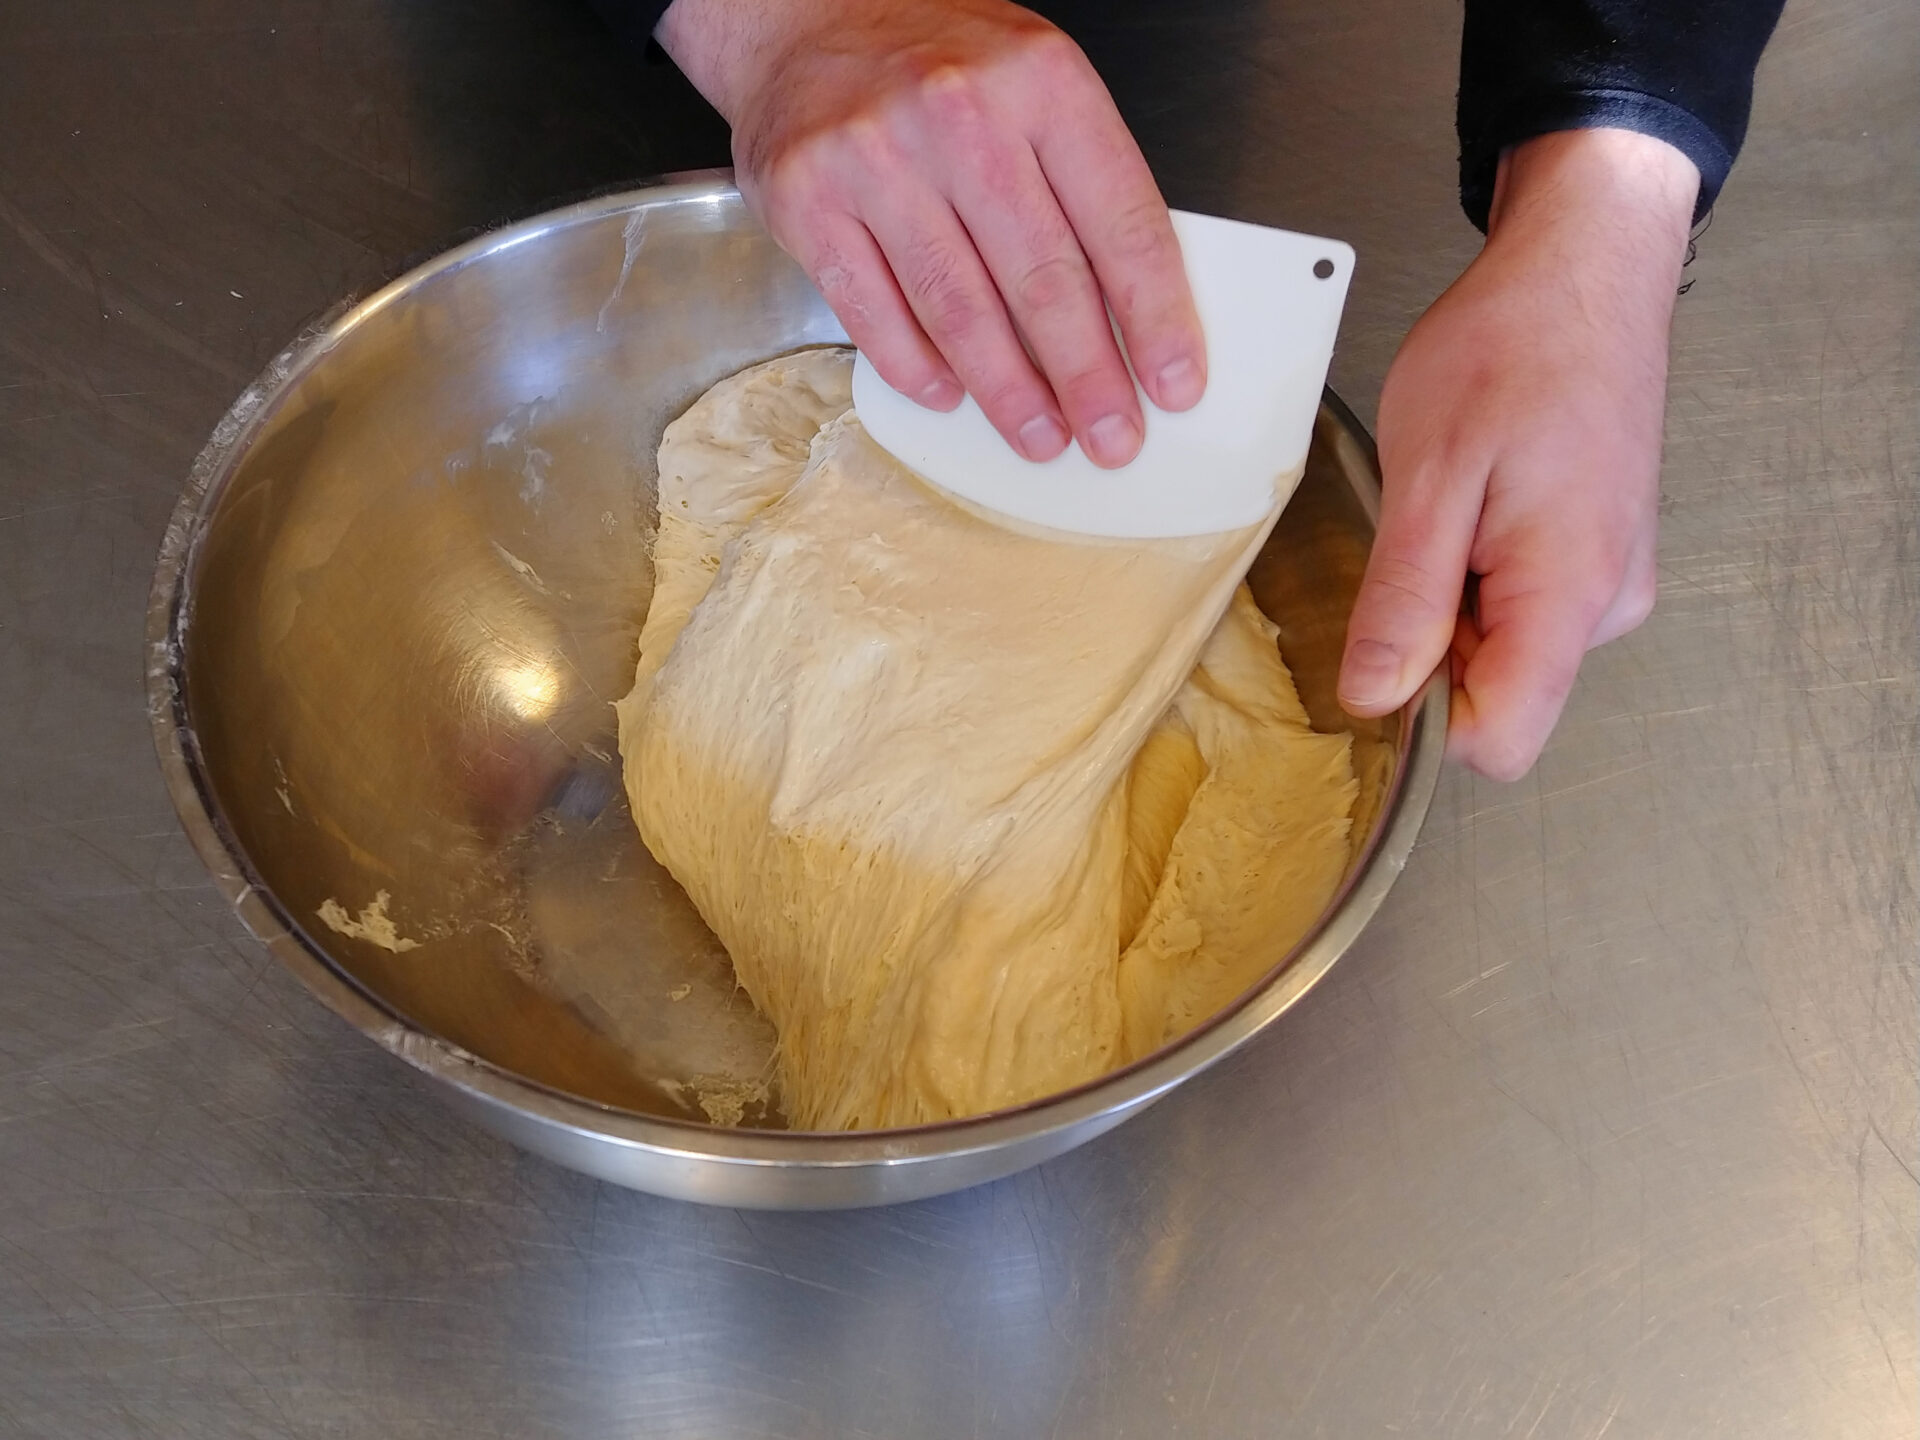
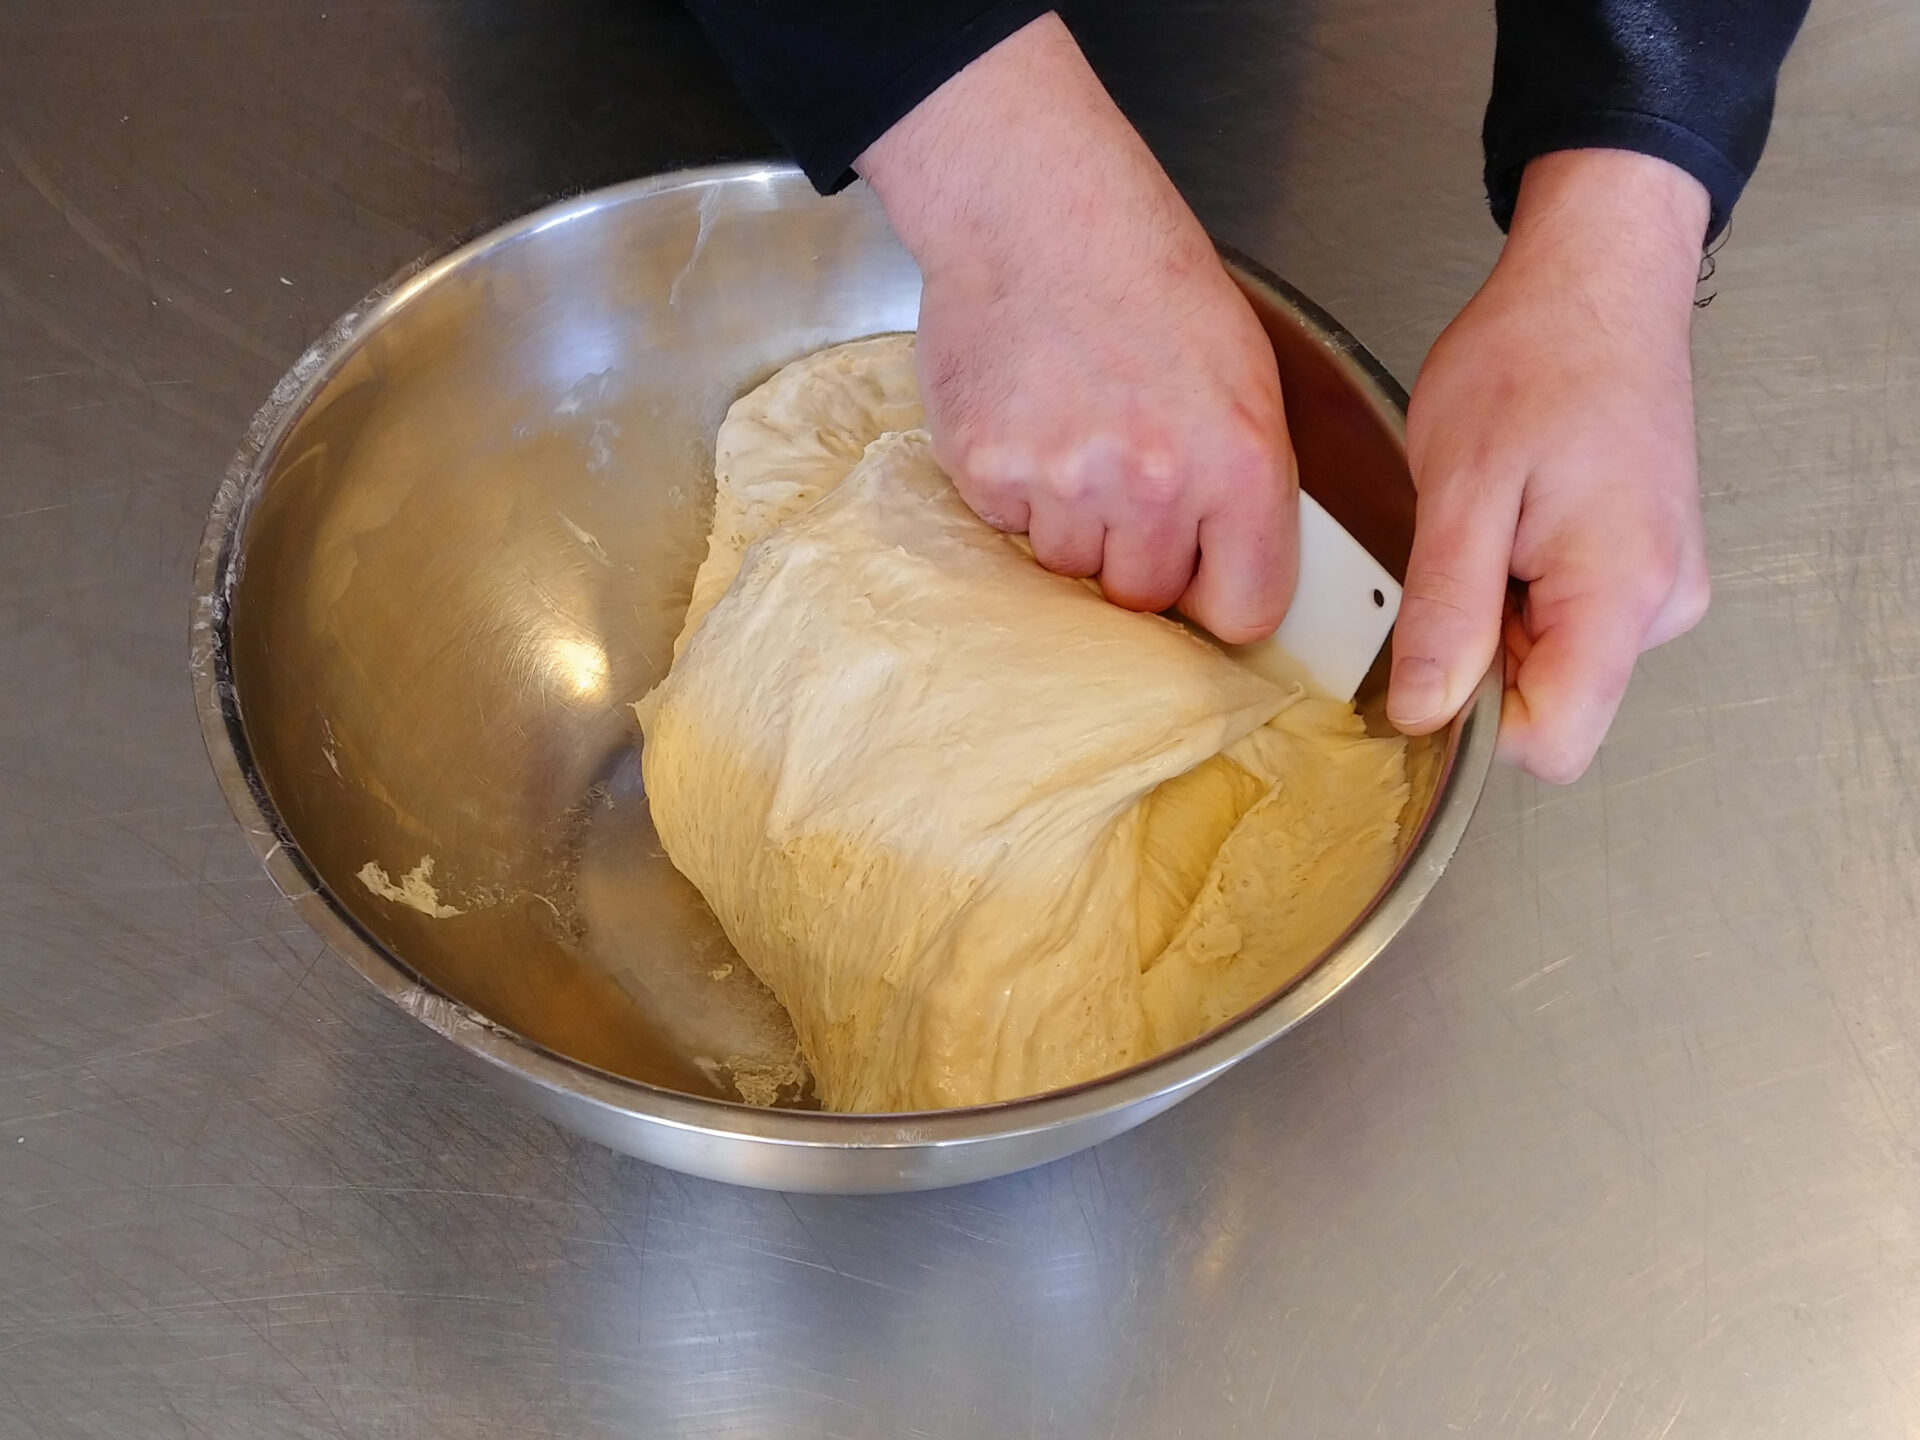
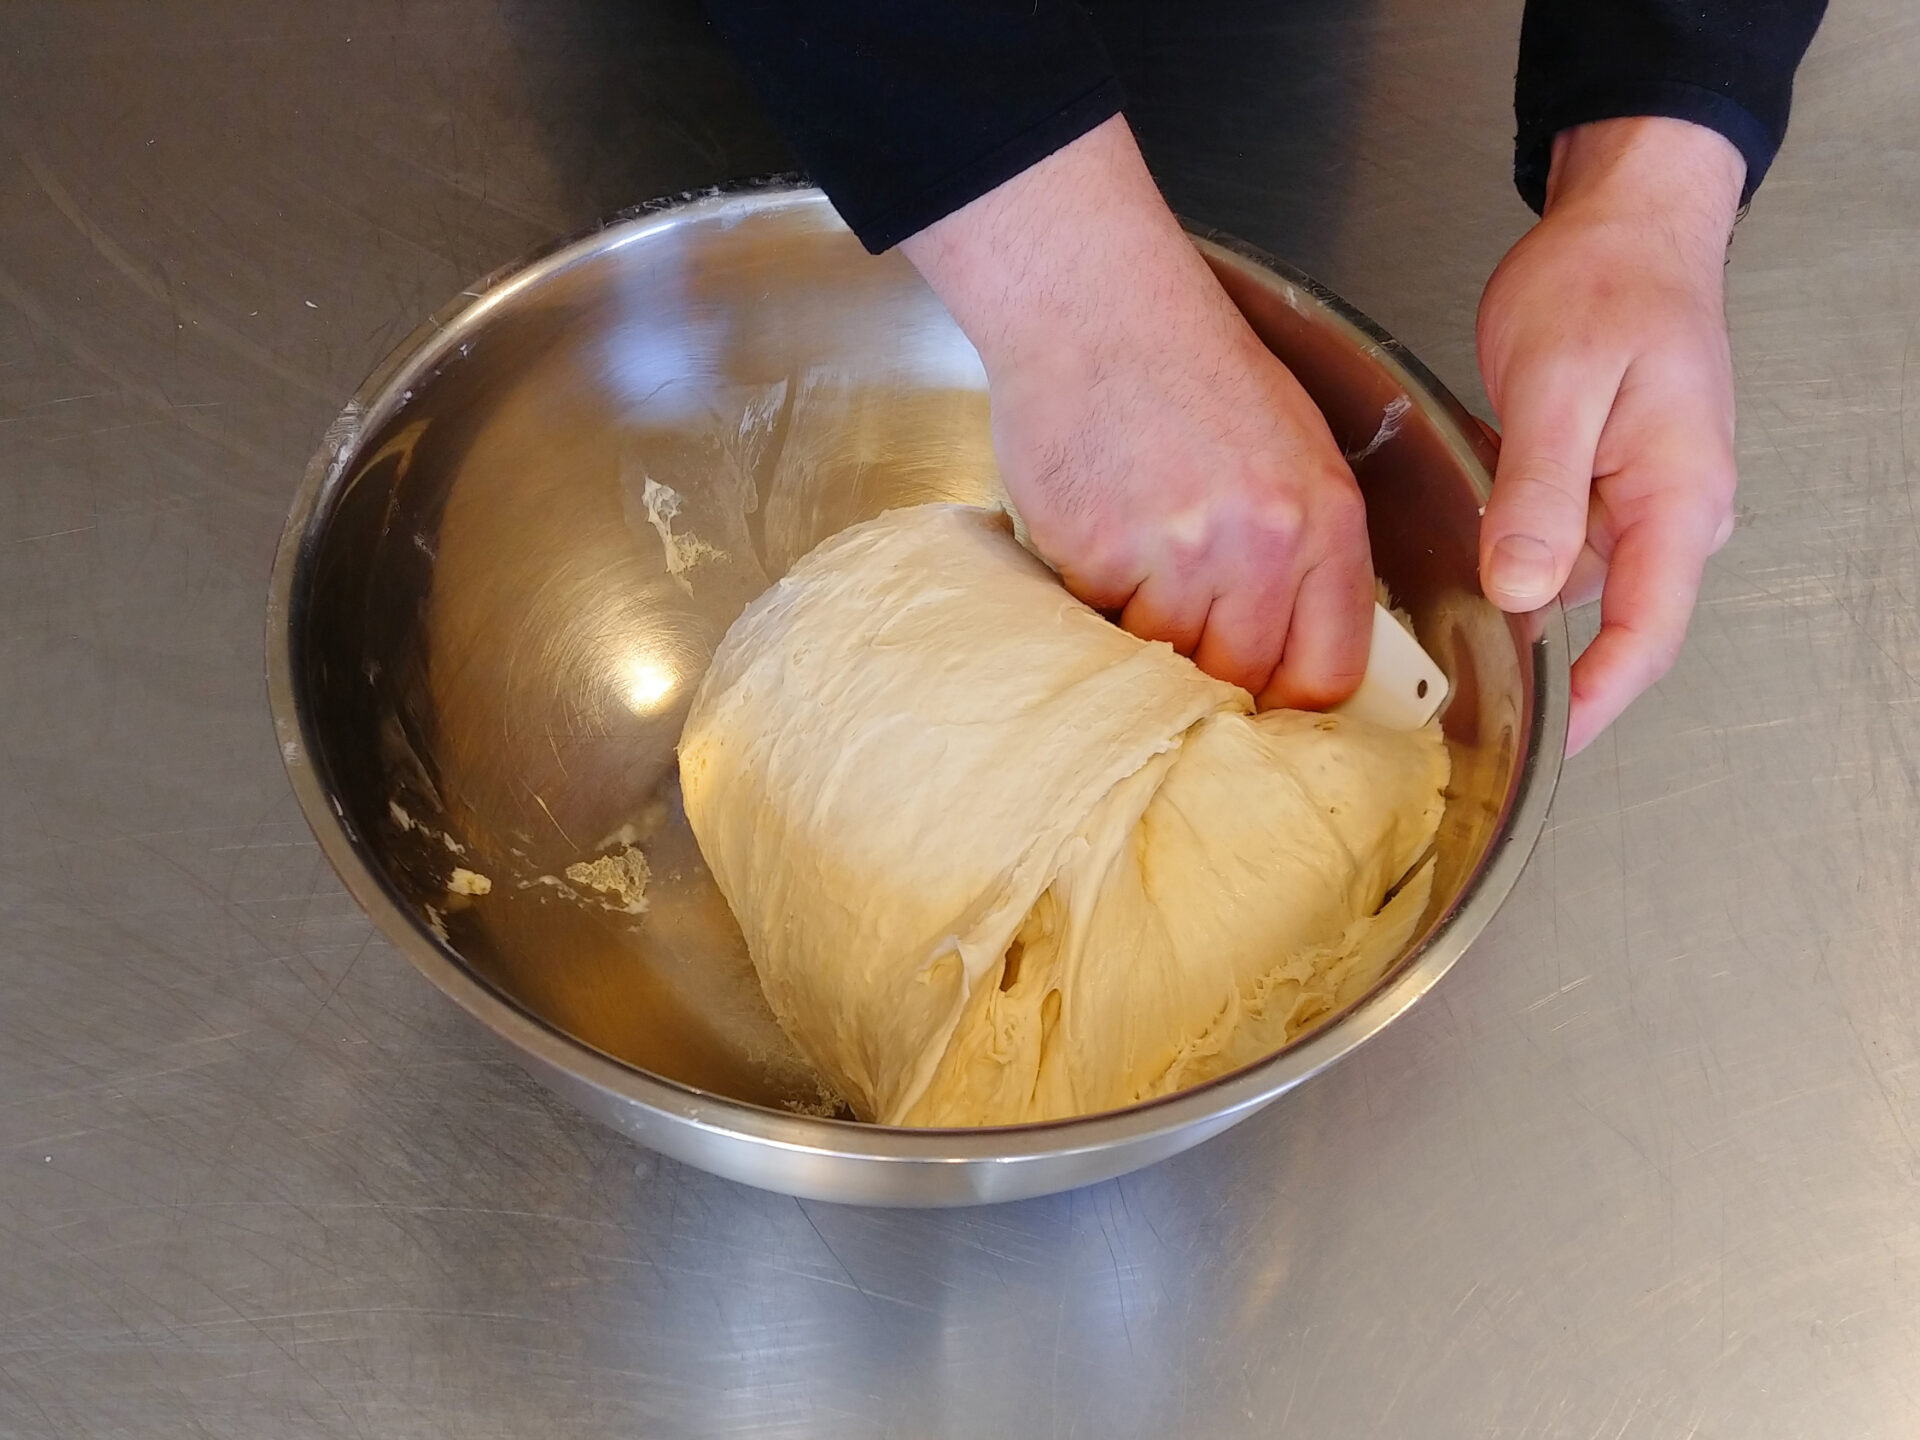
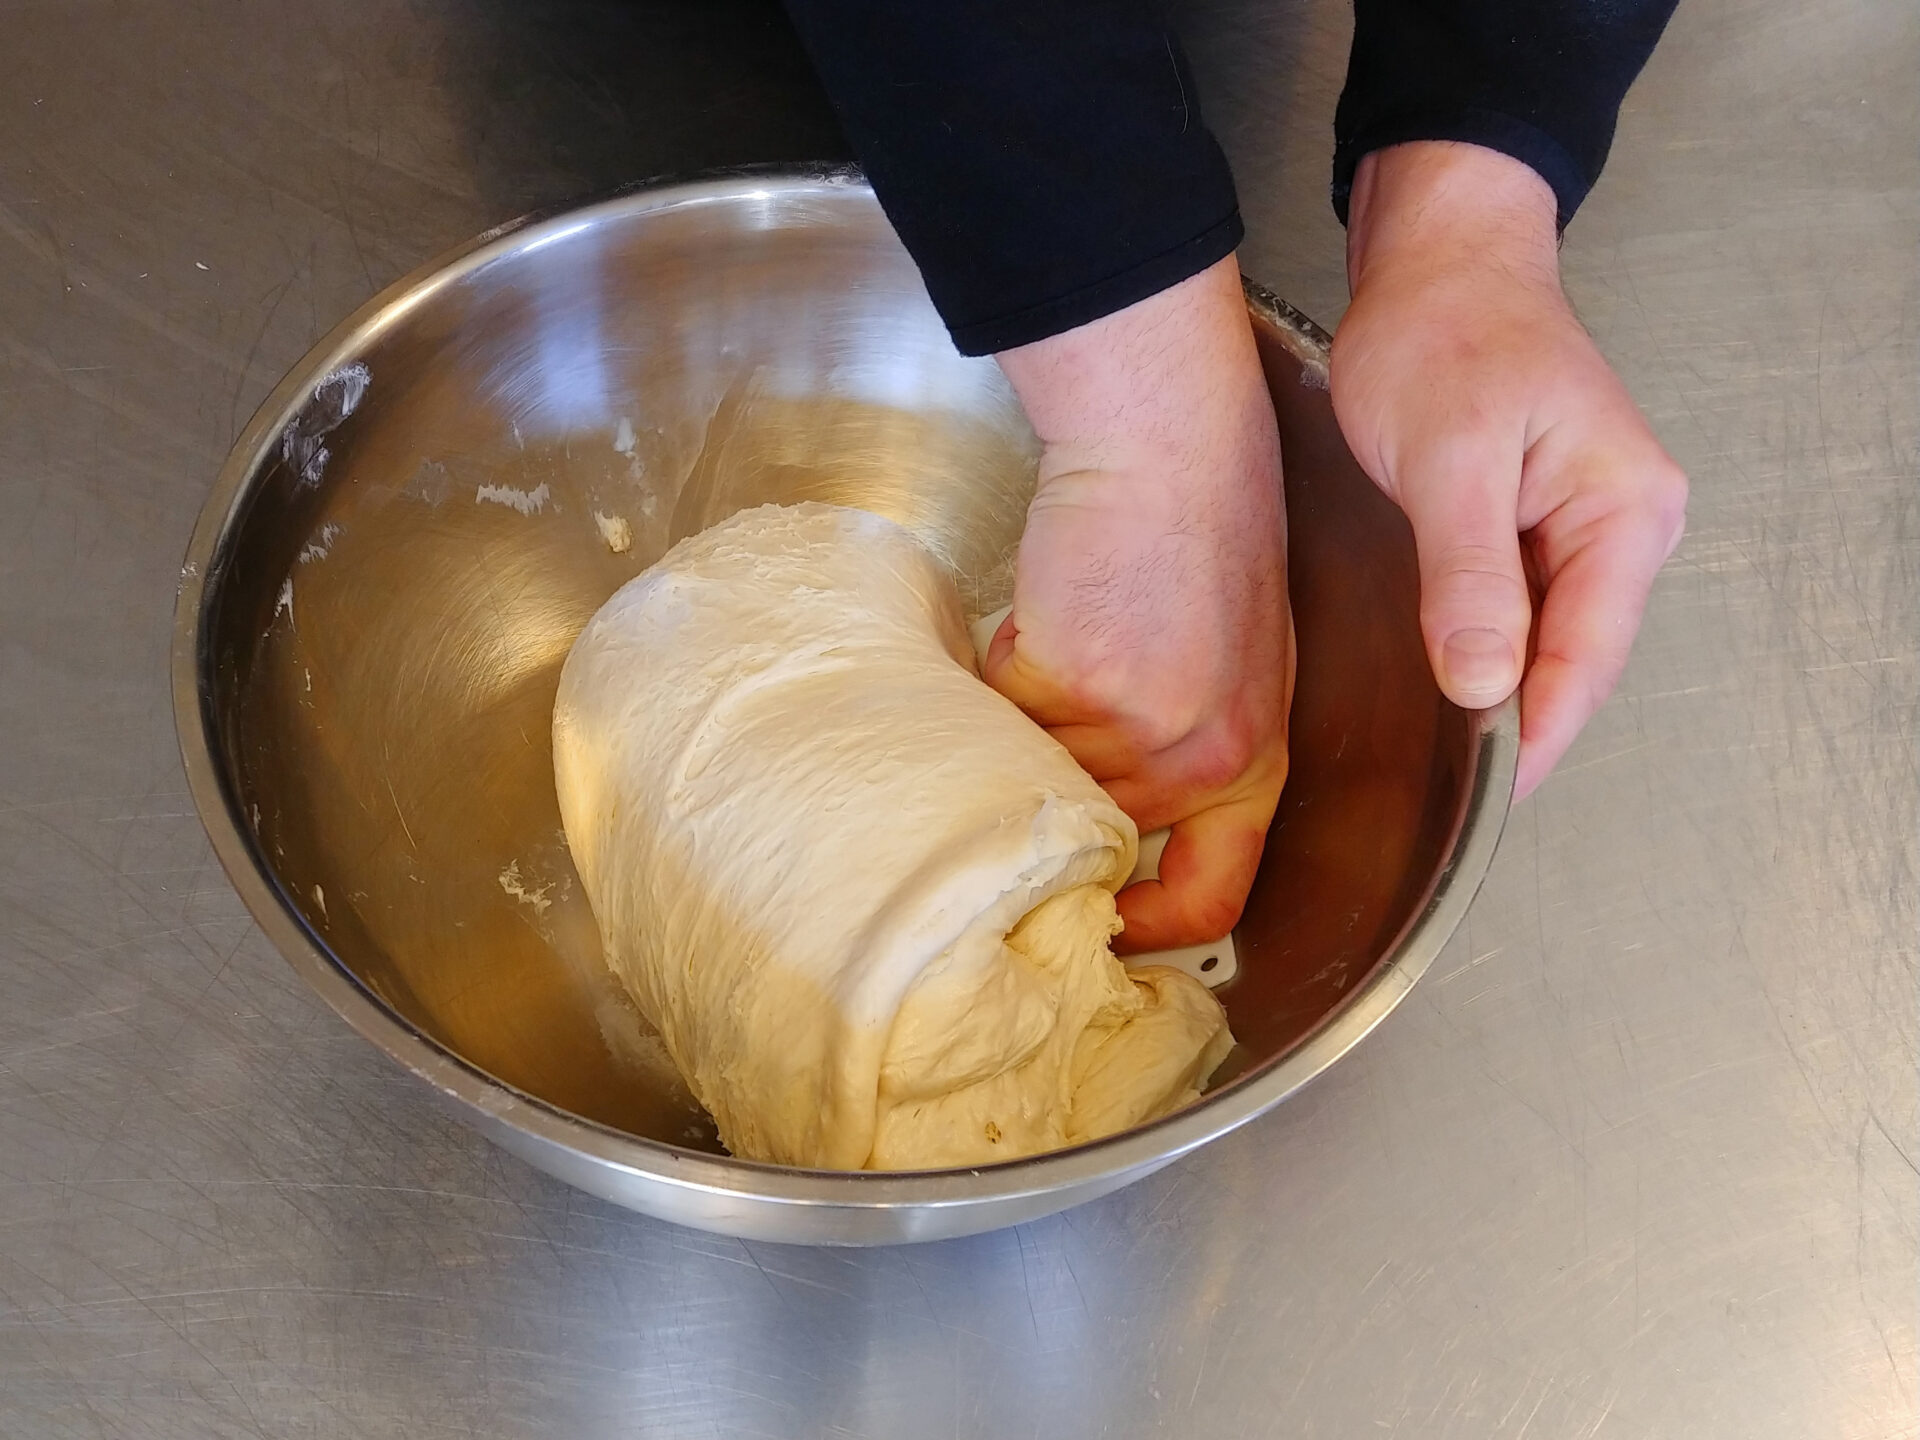
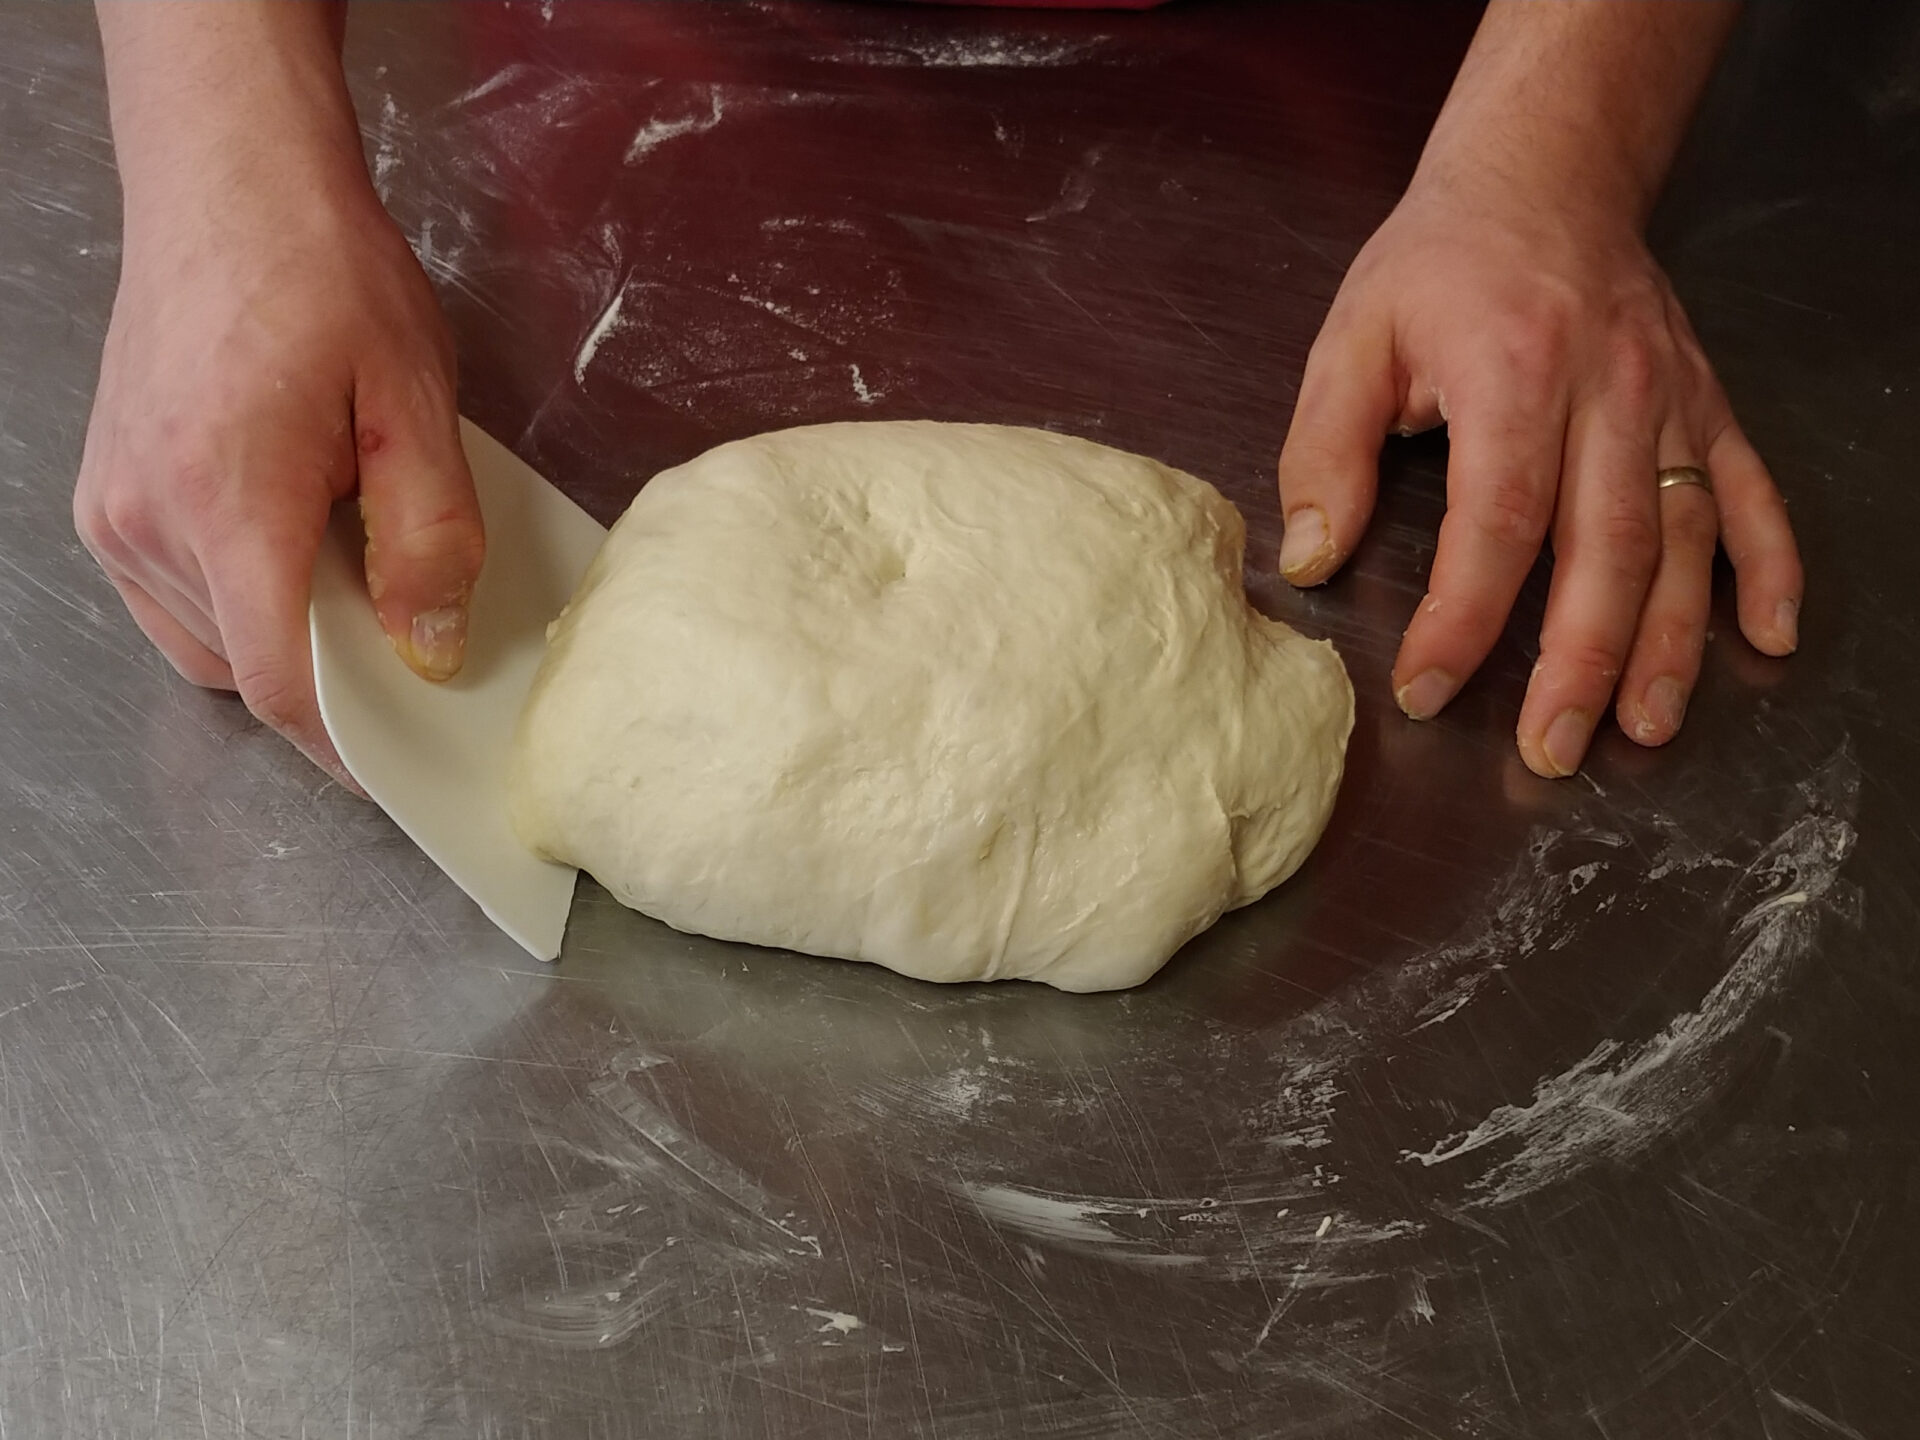
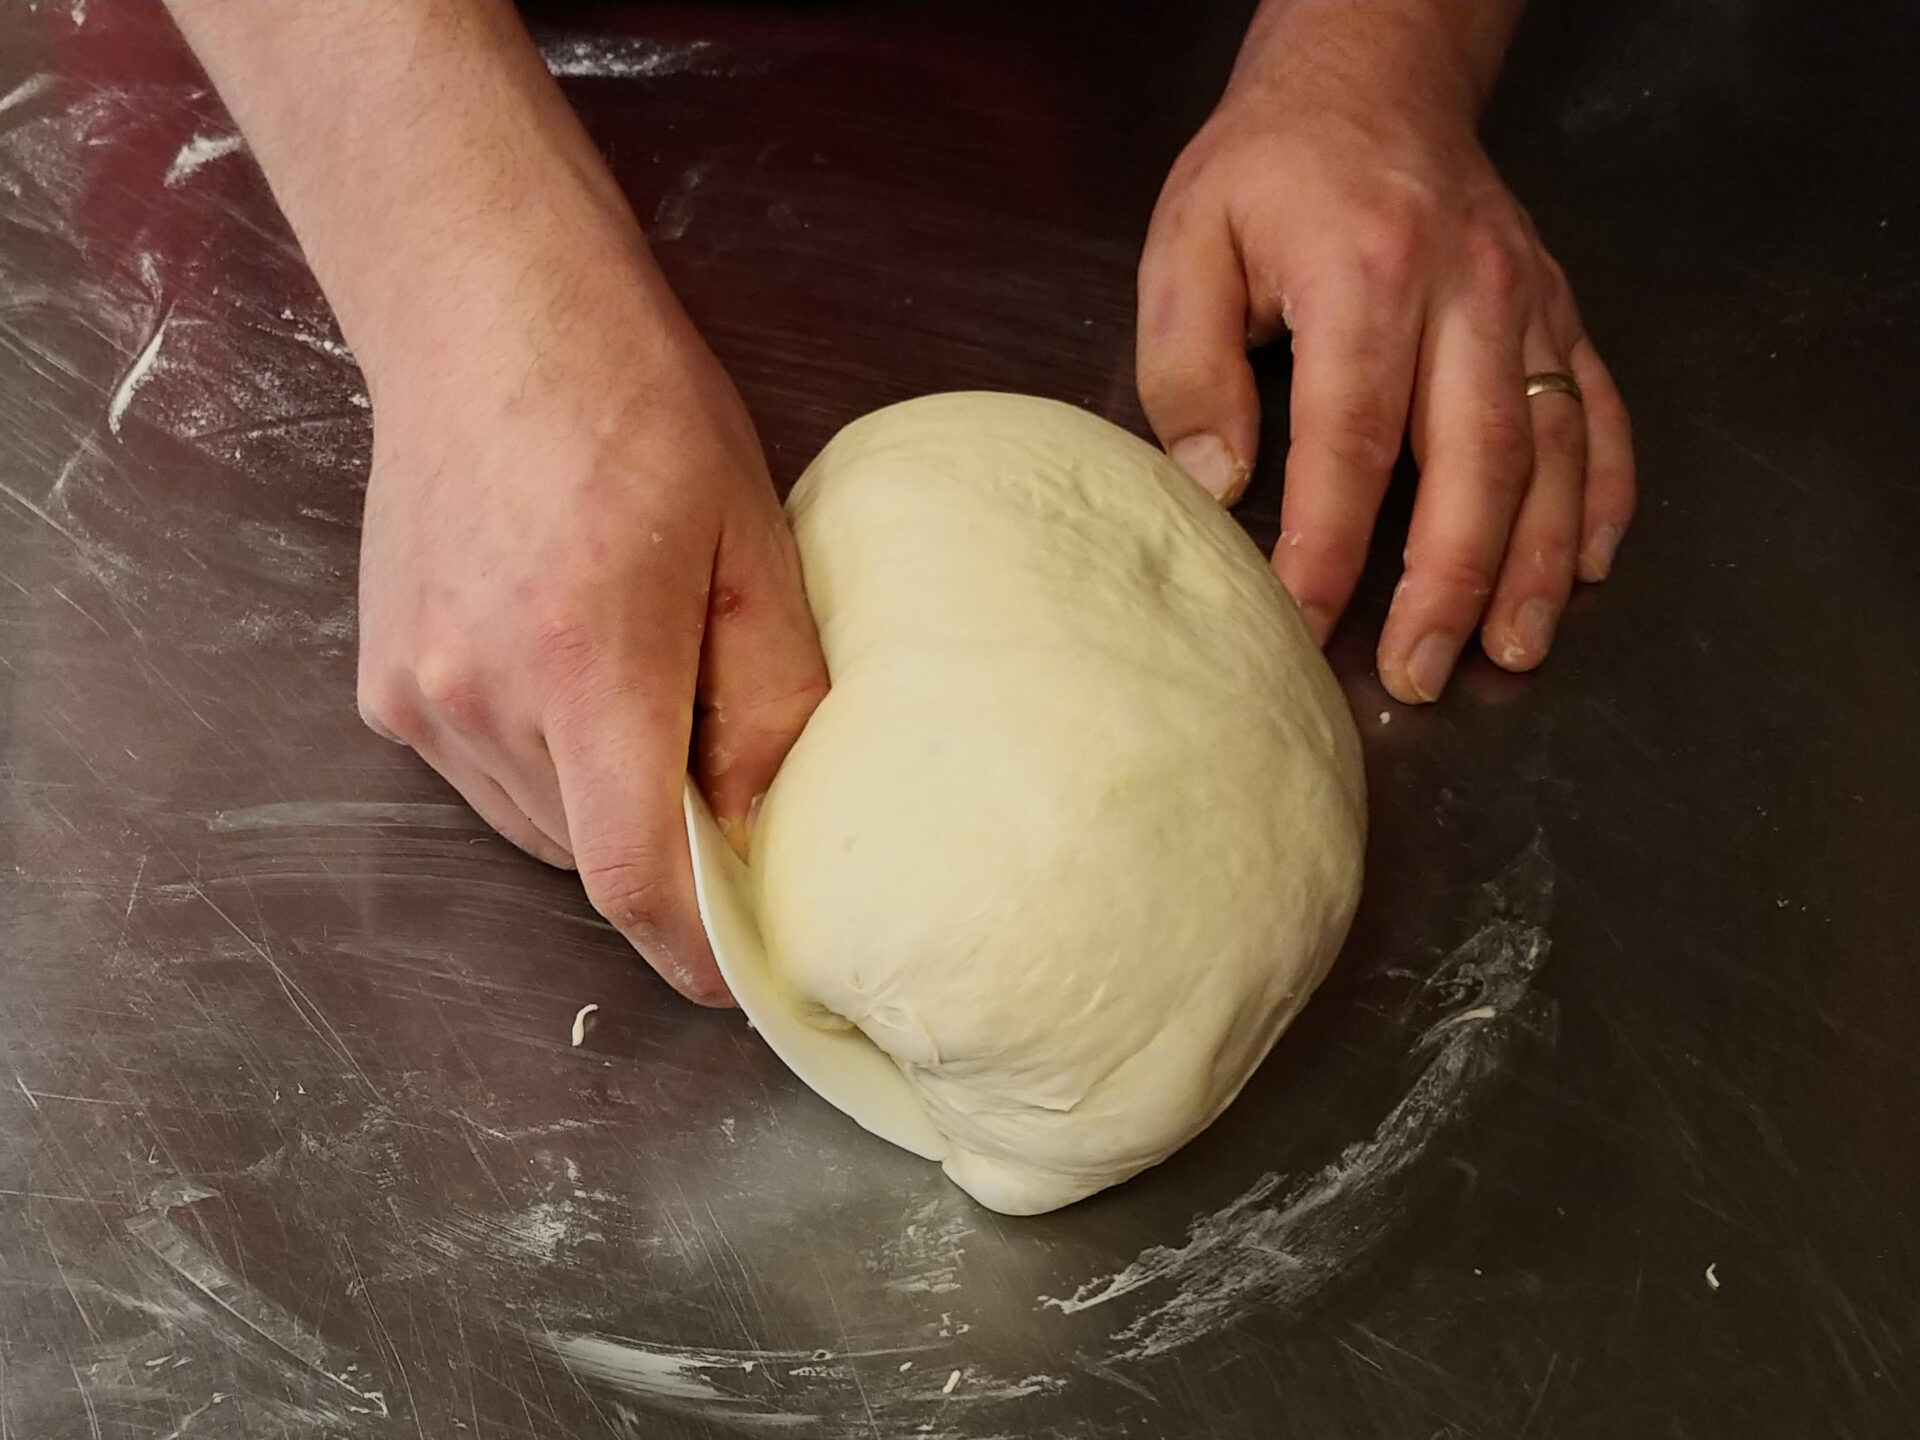
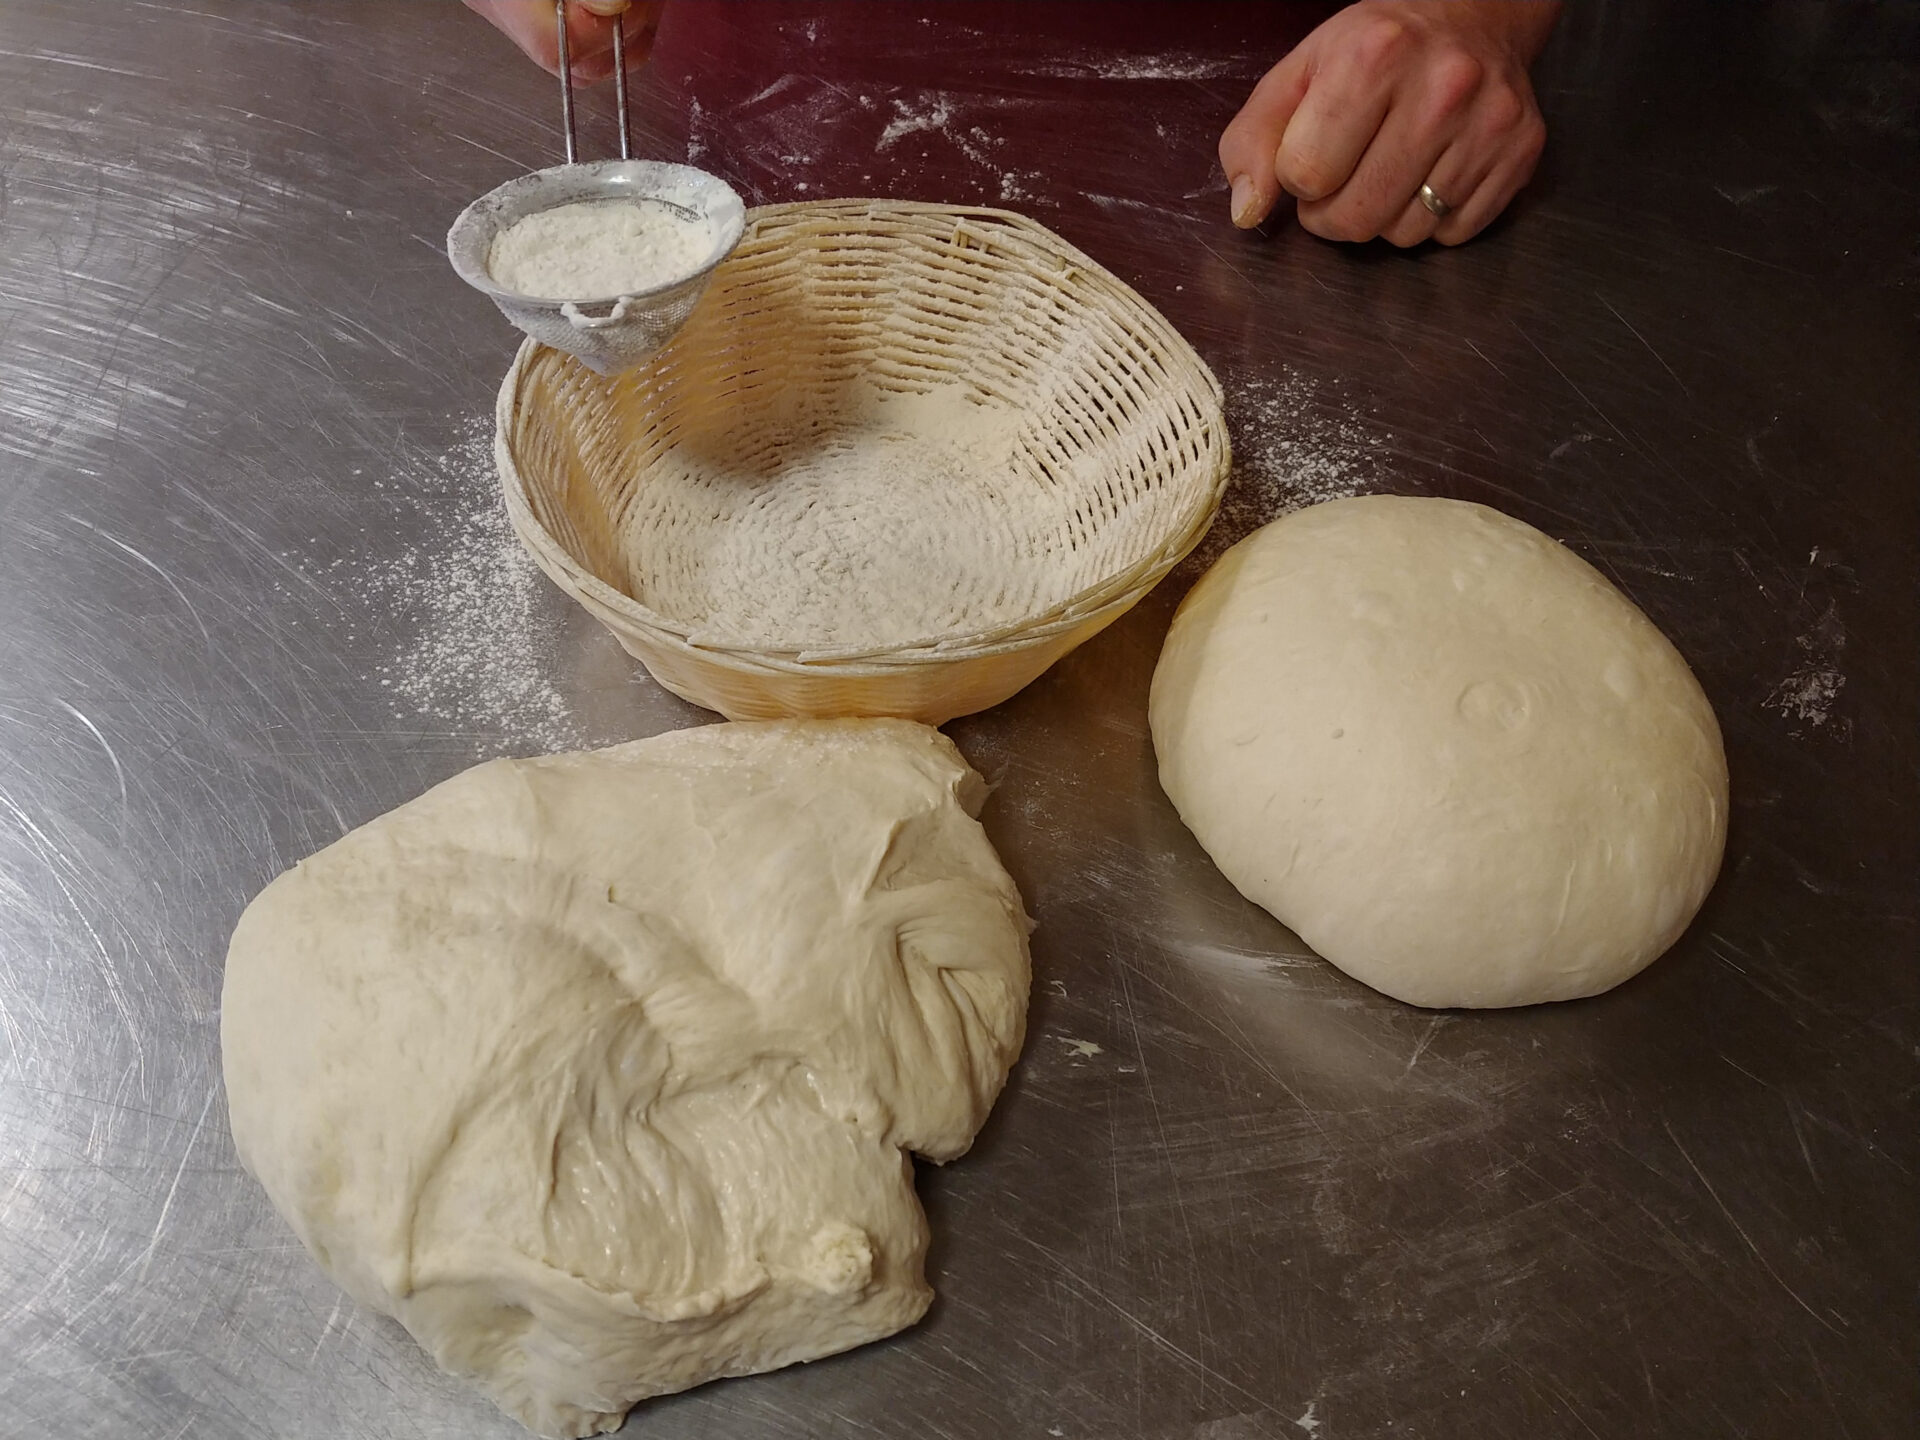
But the journey doesn’t stop there. We’ll deflate the dough, folding it onto itself to further enhance its strength and texture. This process, repeated several times, is key to achieving a bread with a beautiful crumb and a satisfying chew.
Shaping the Dream: From Loaf to Baguette
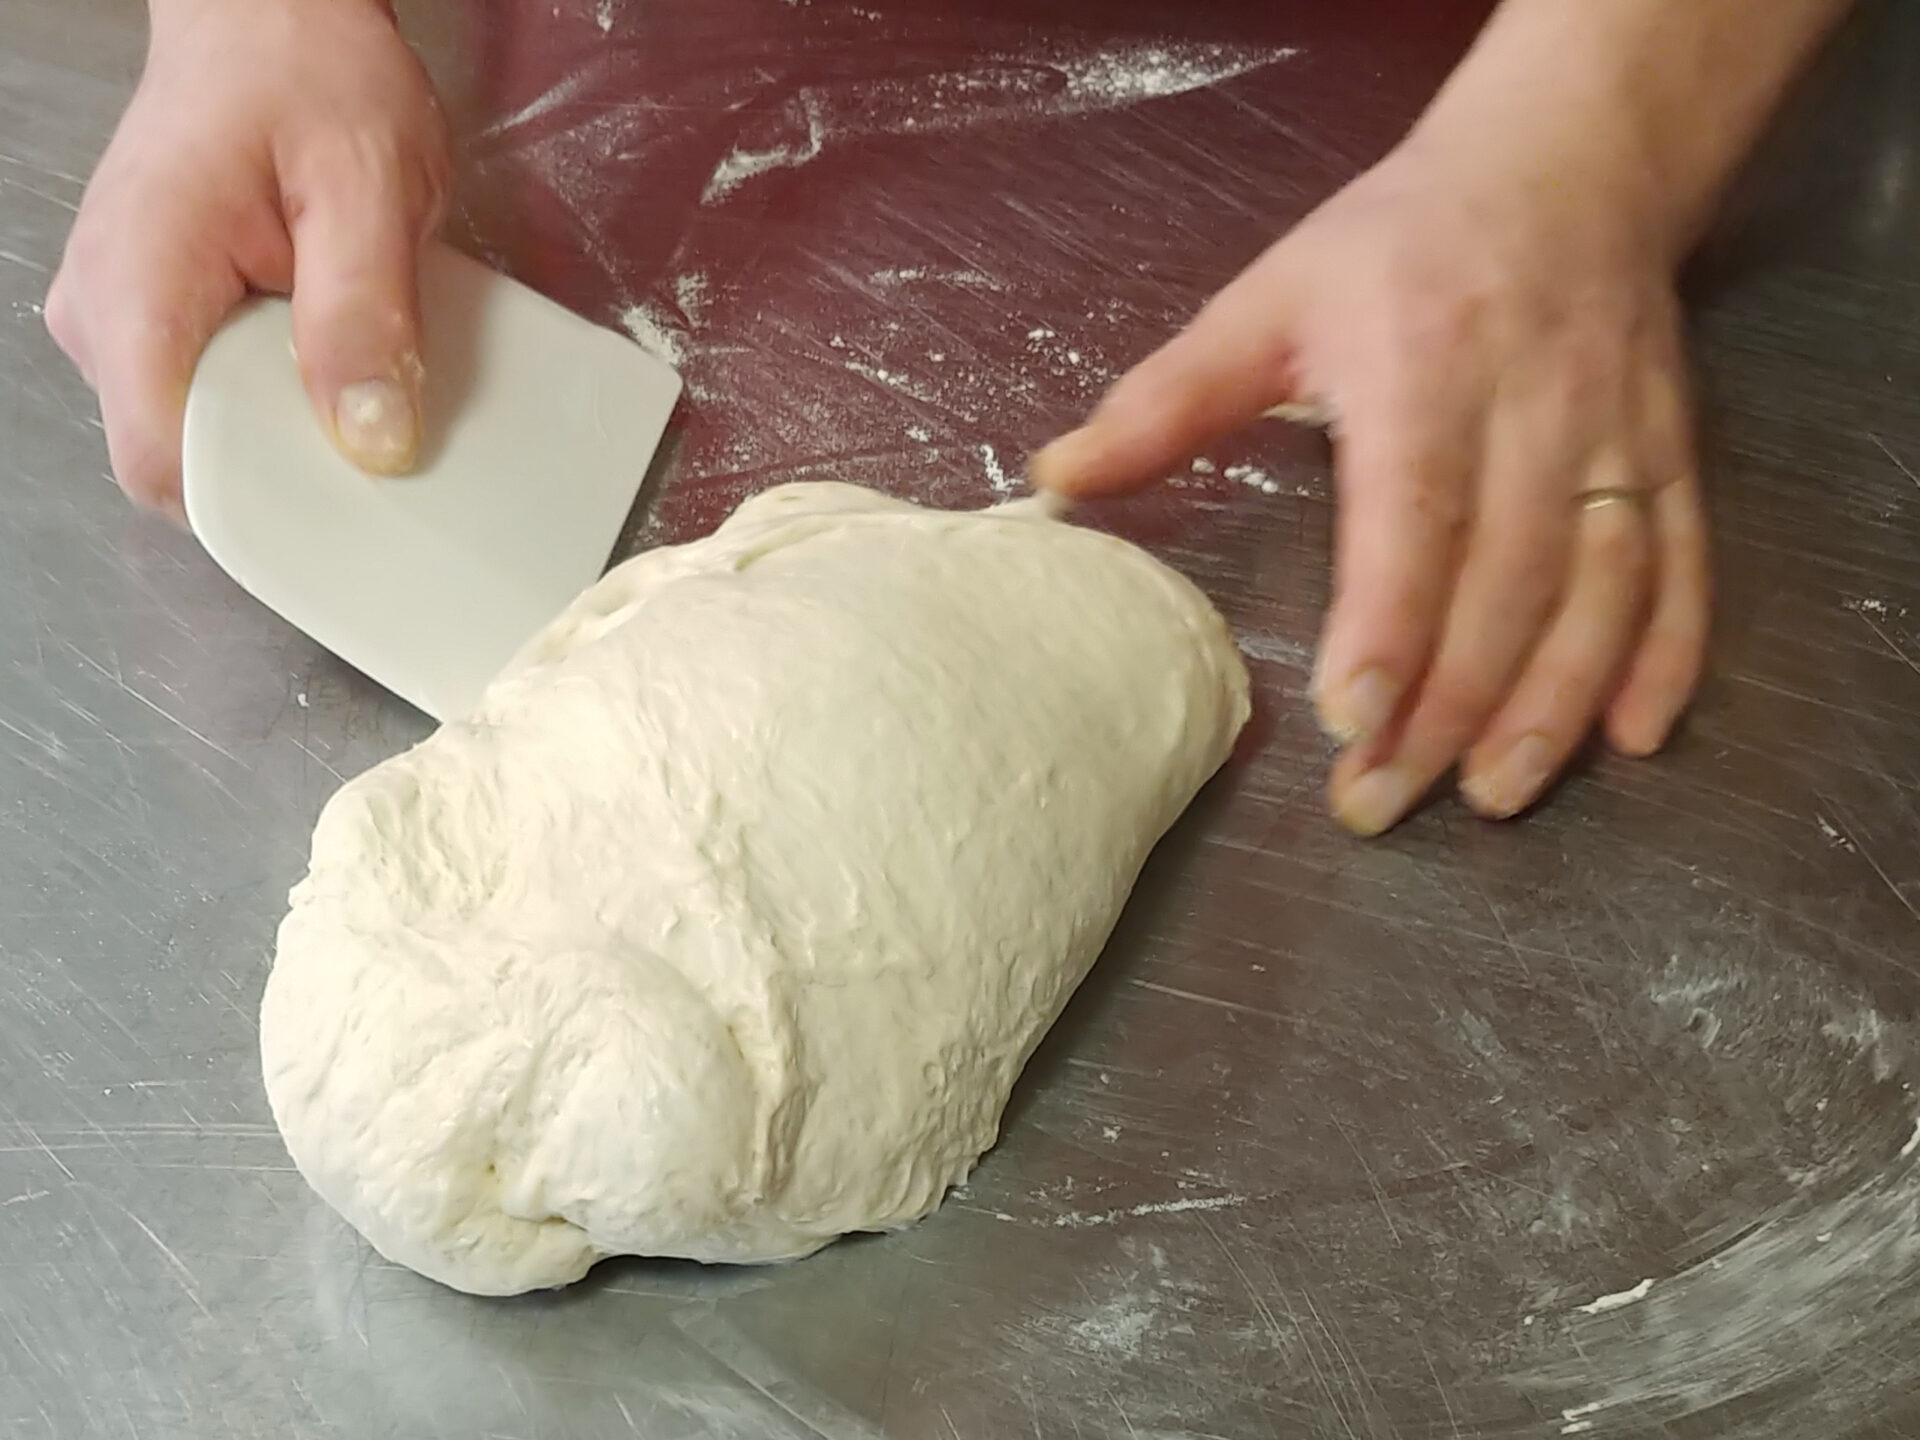
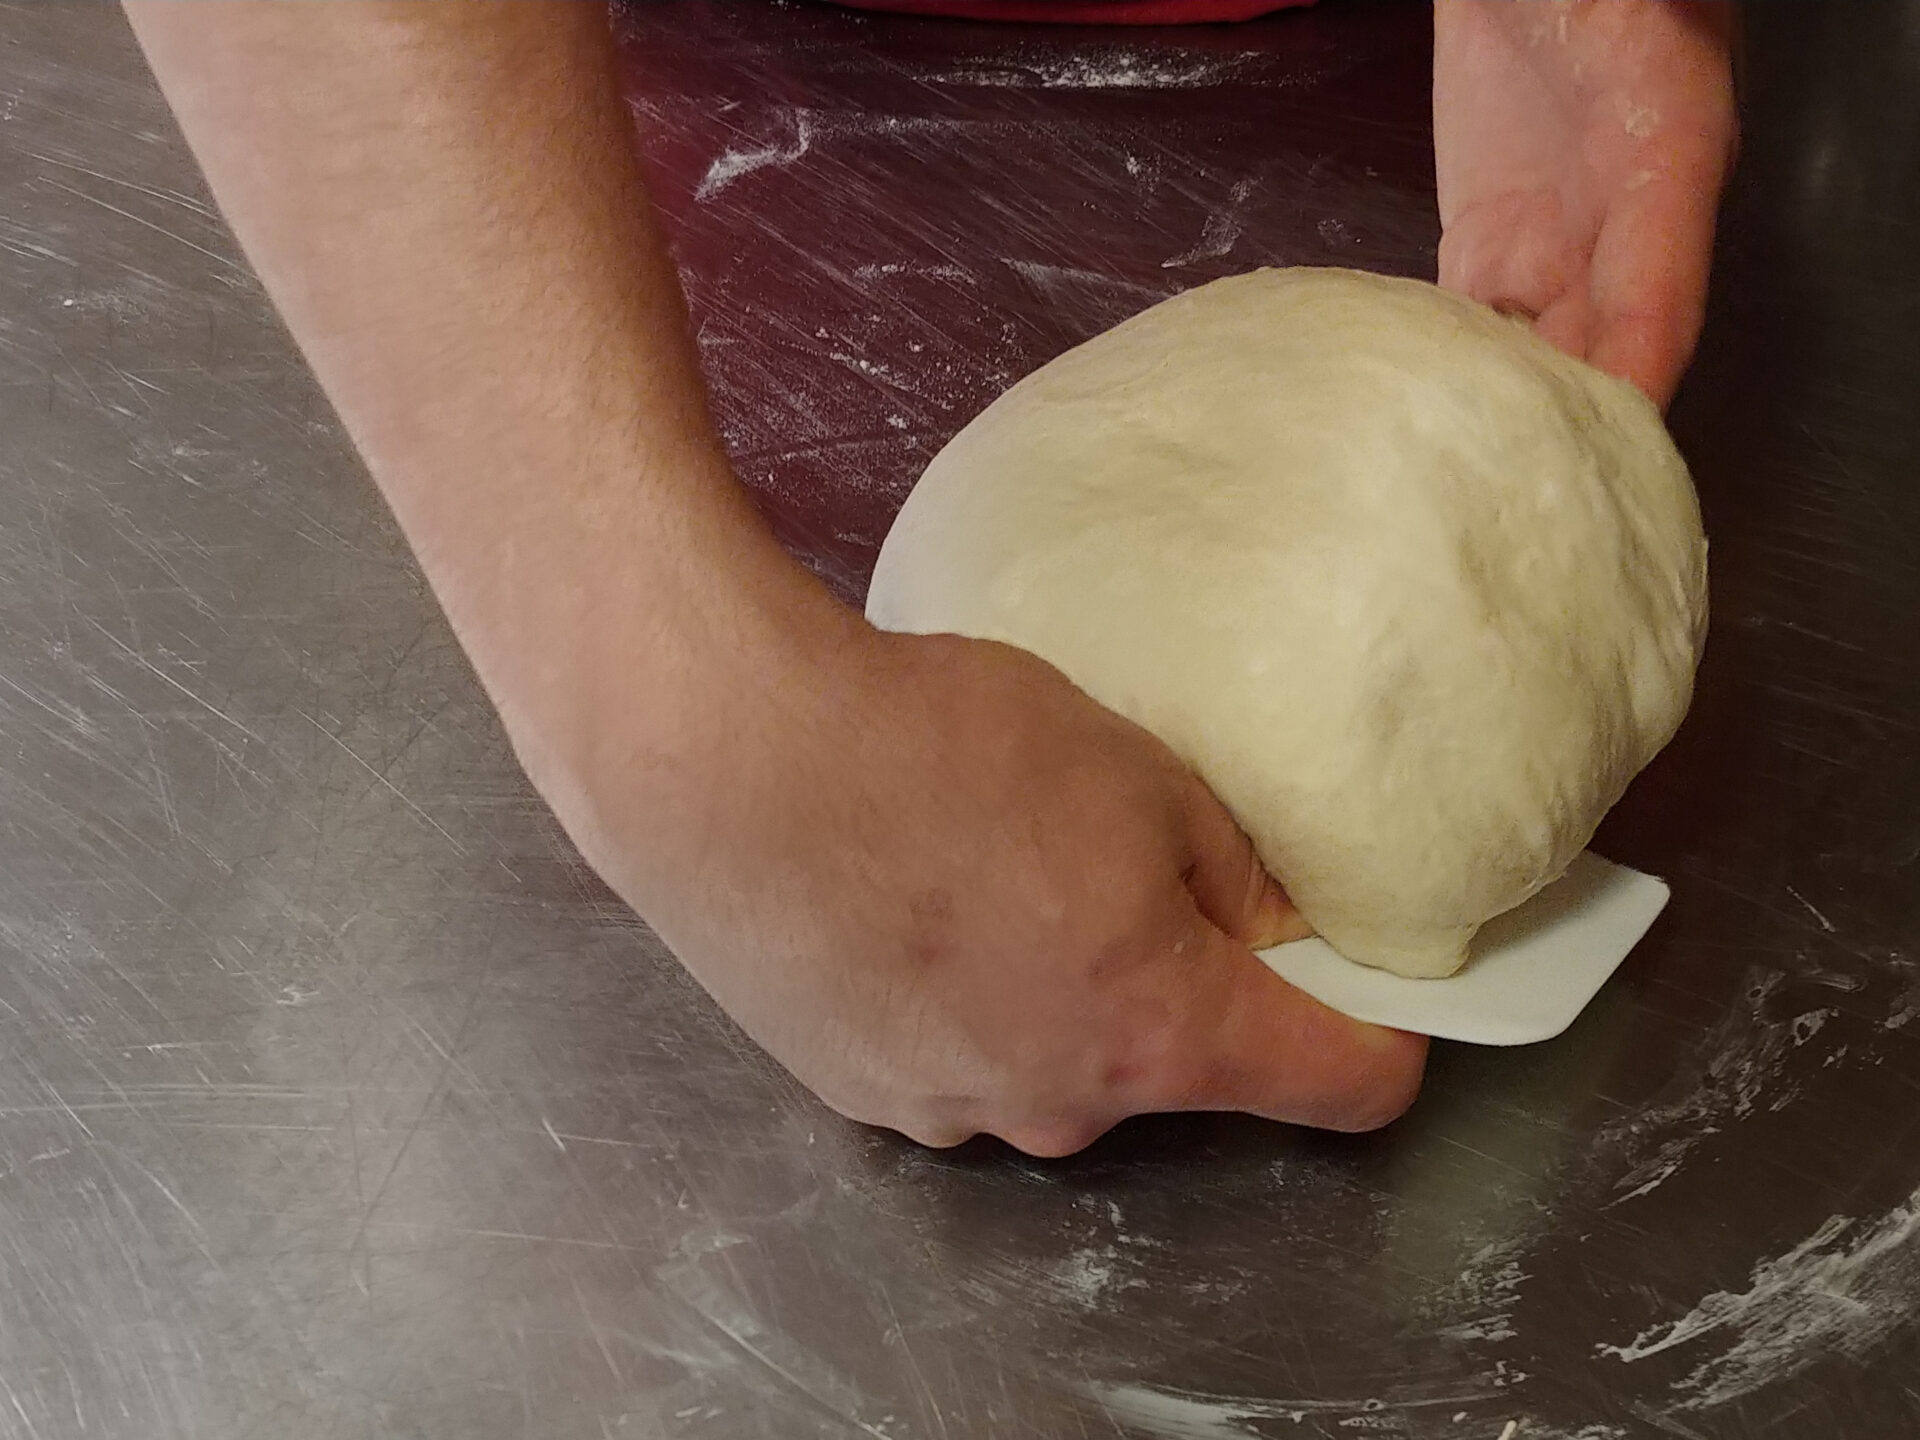
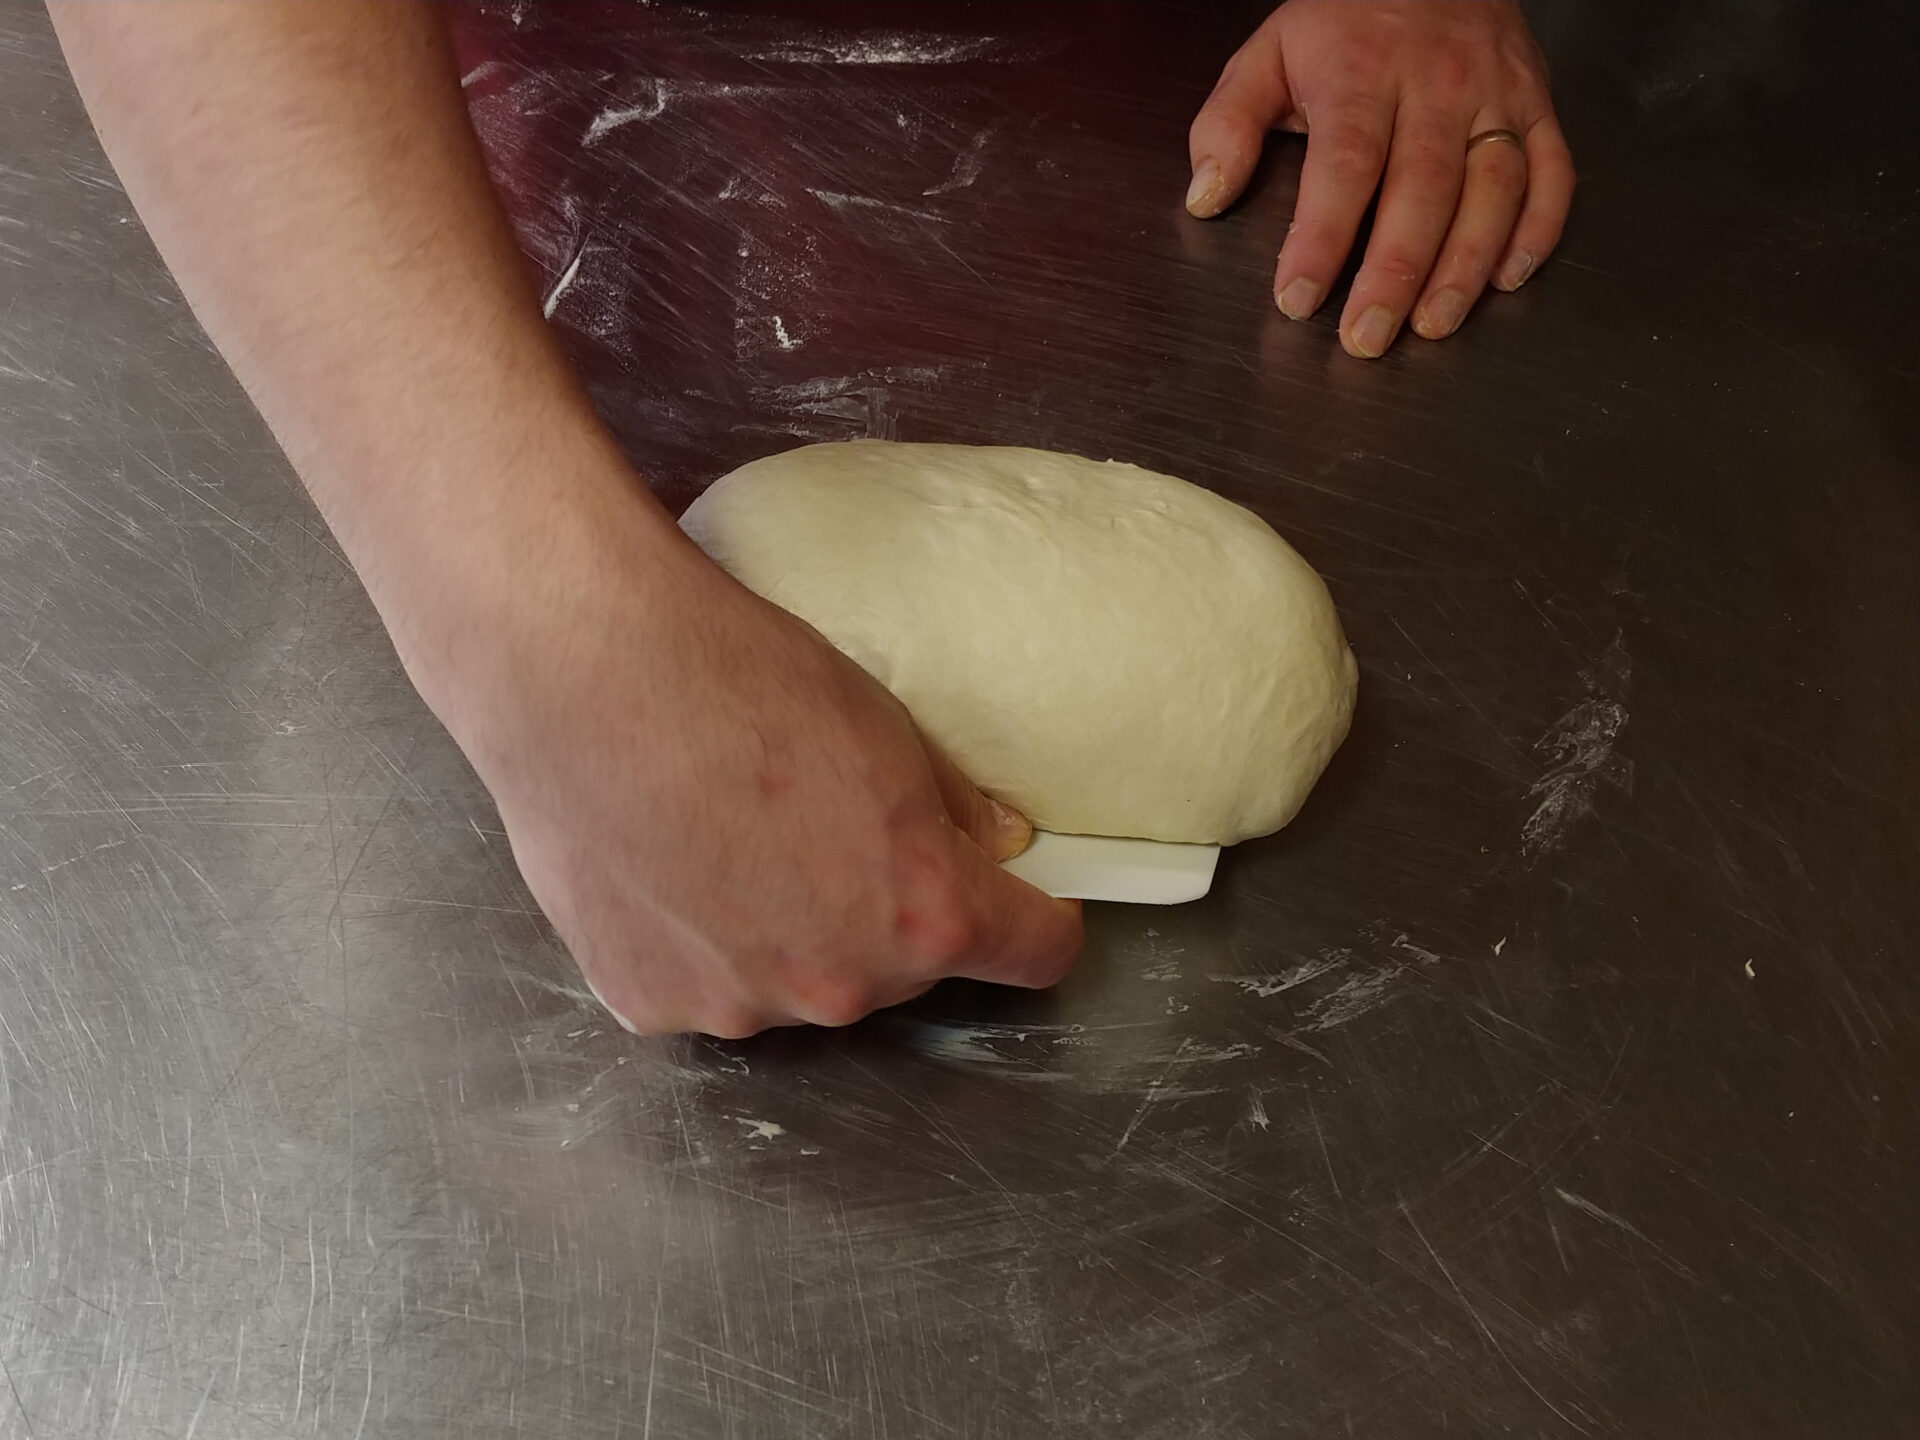
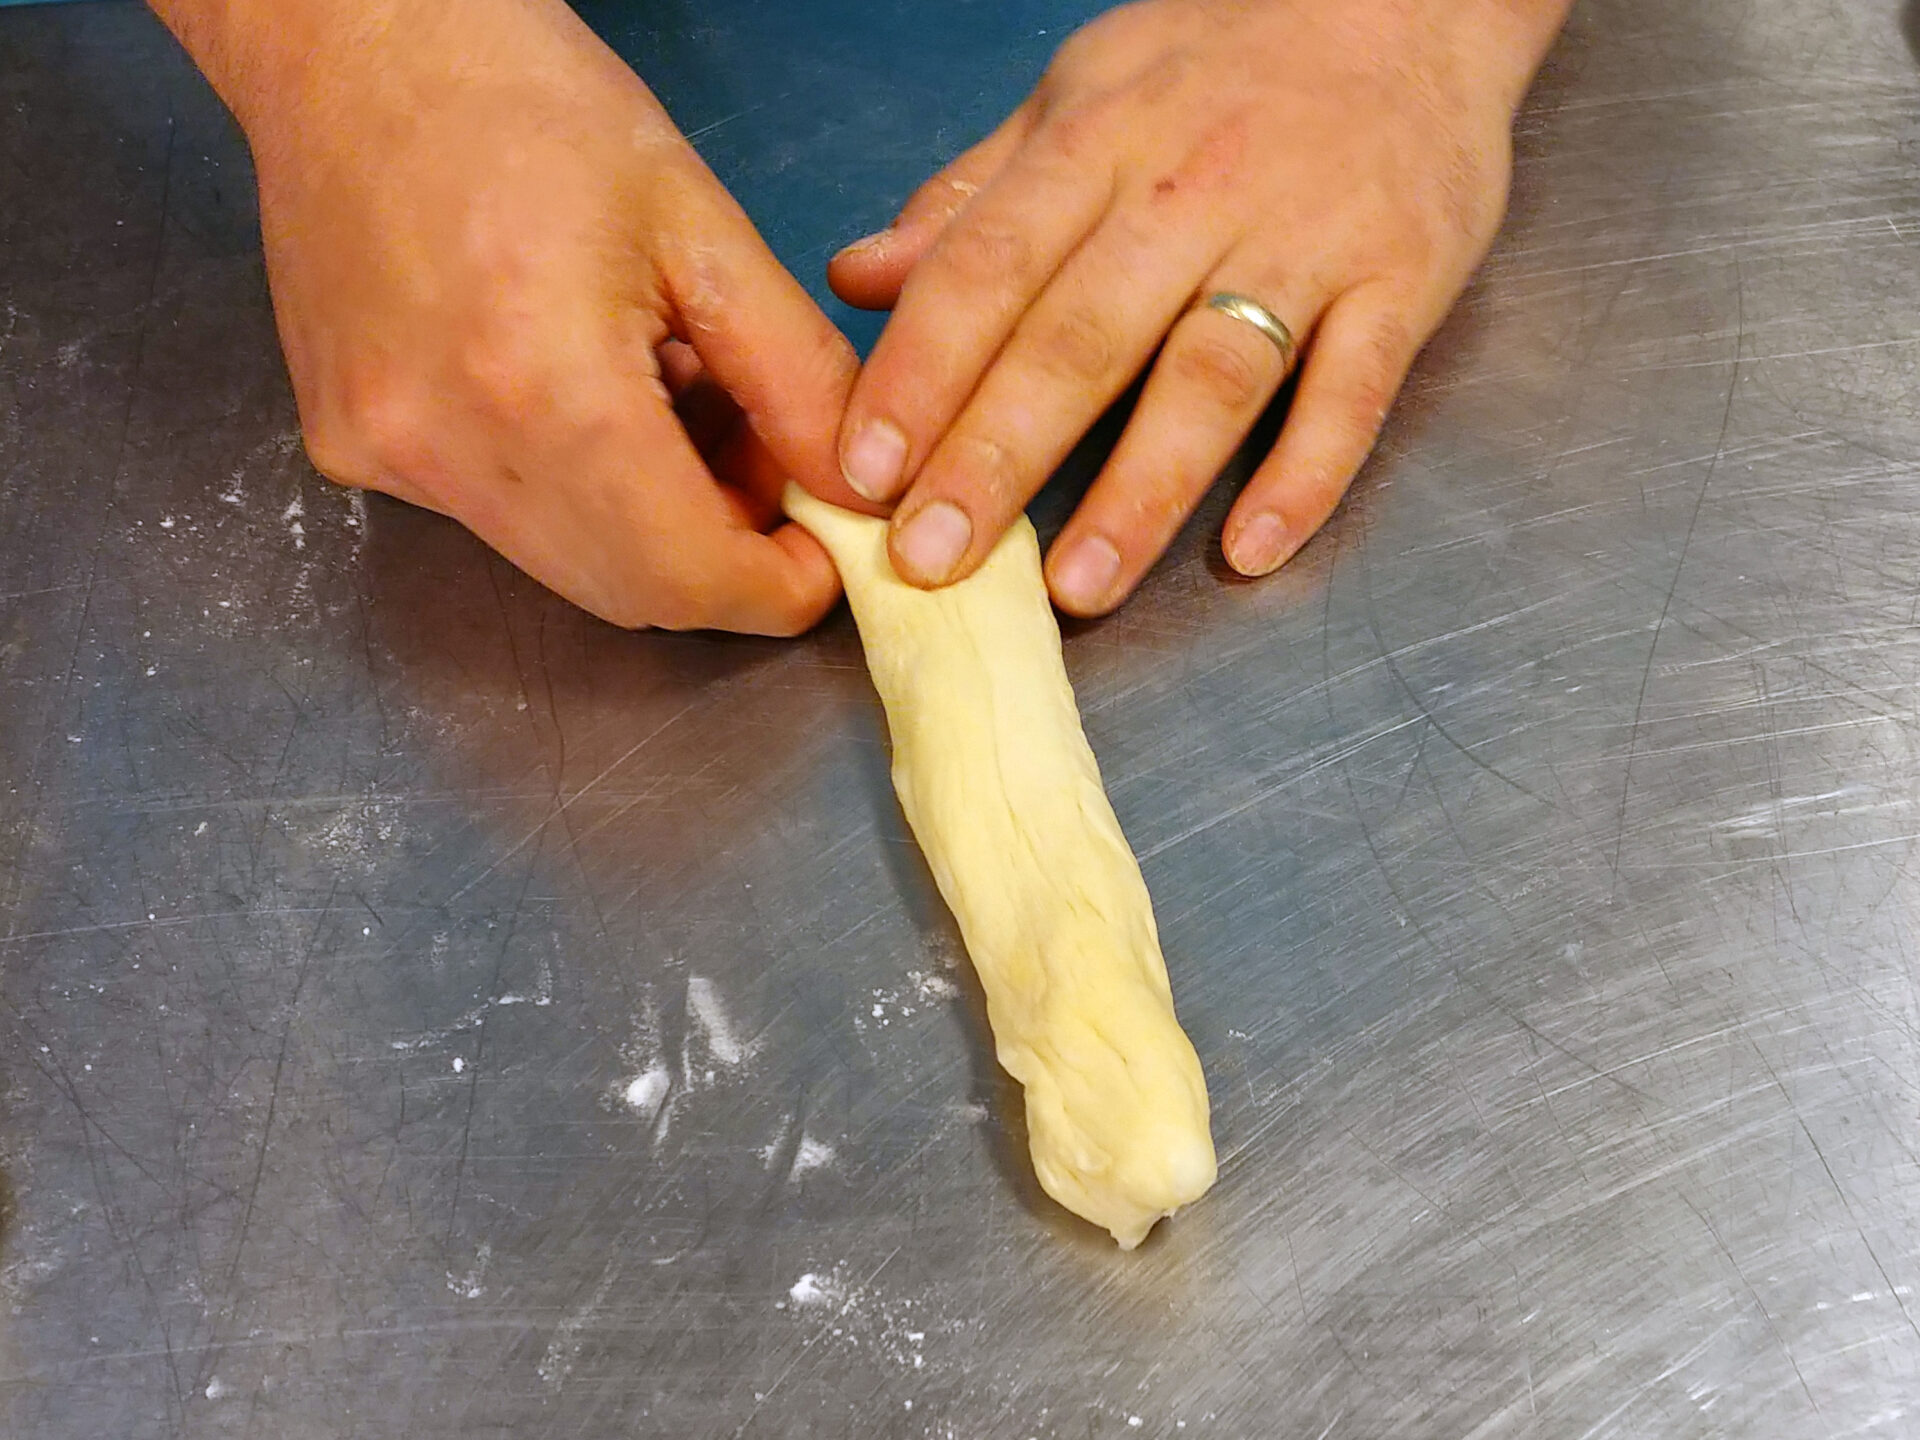
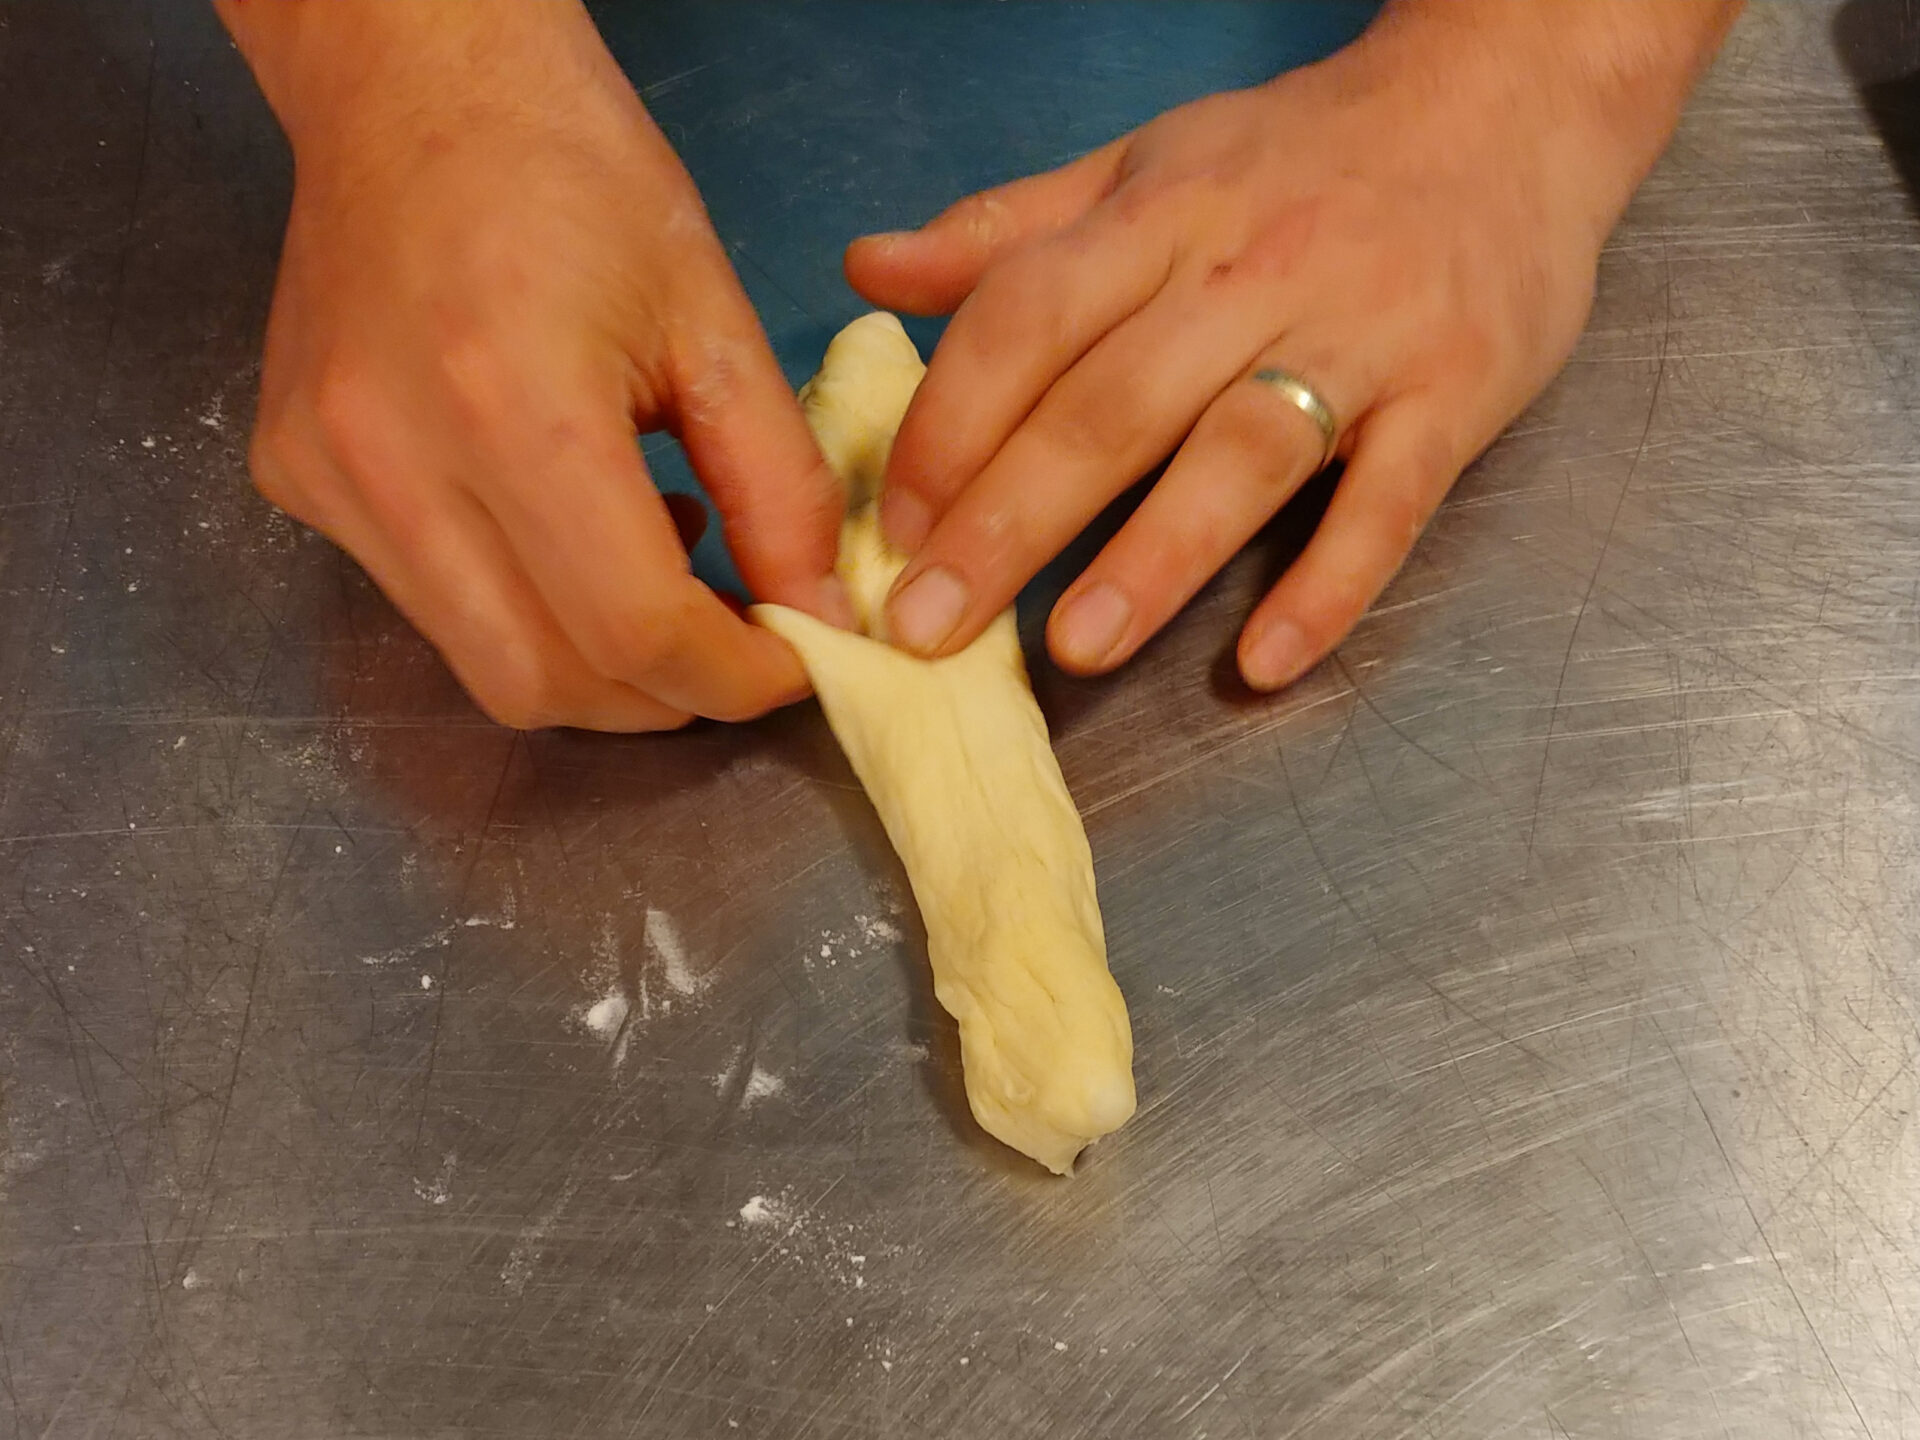
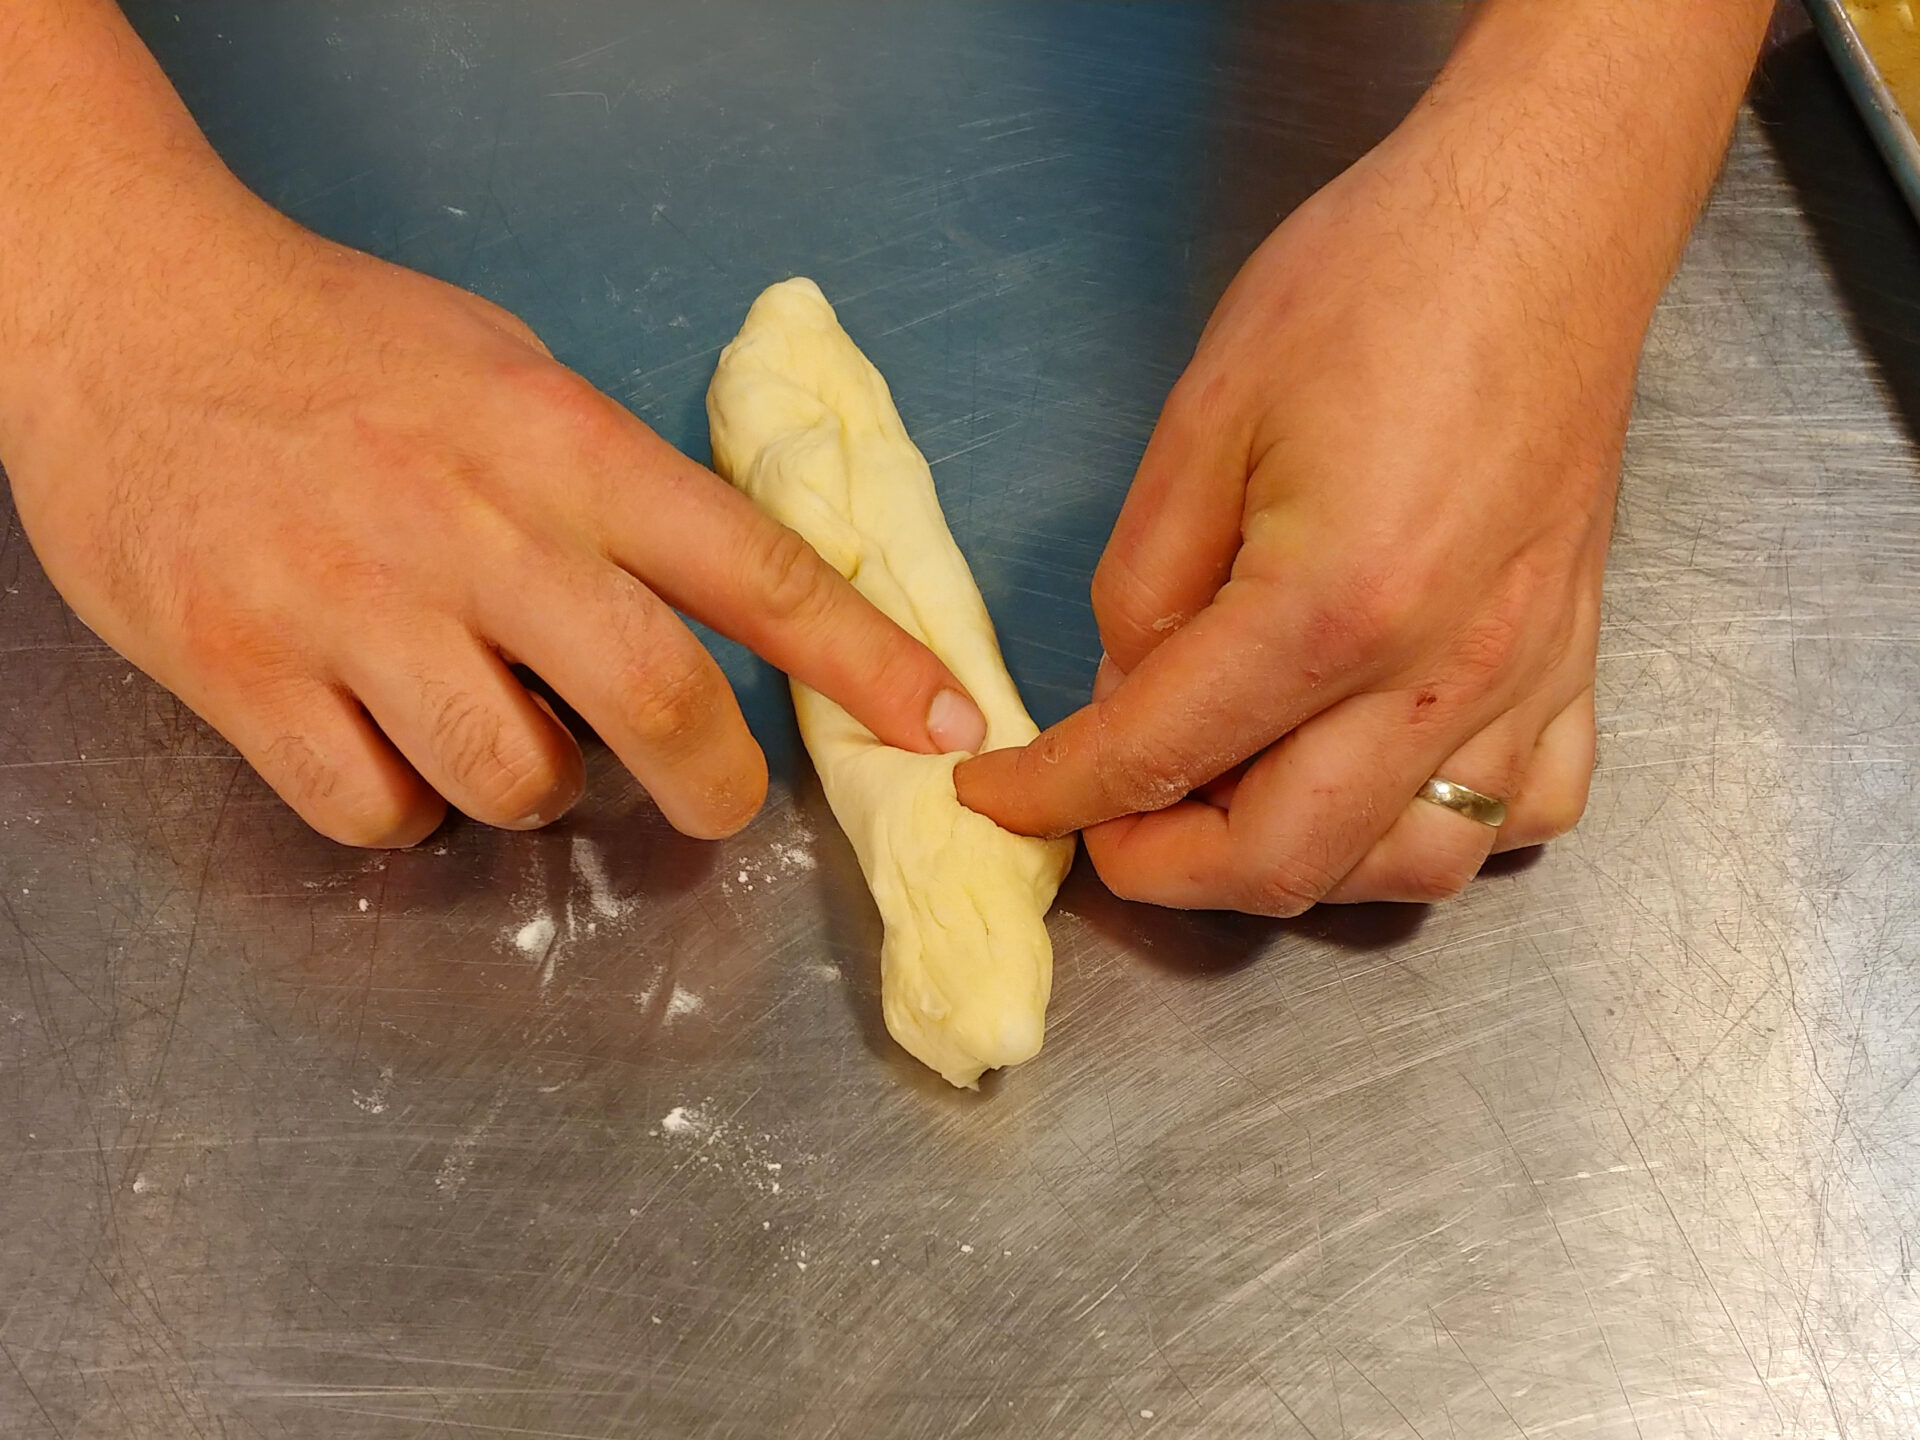
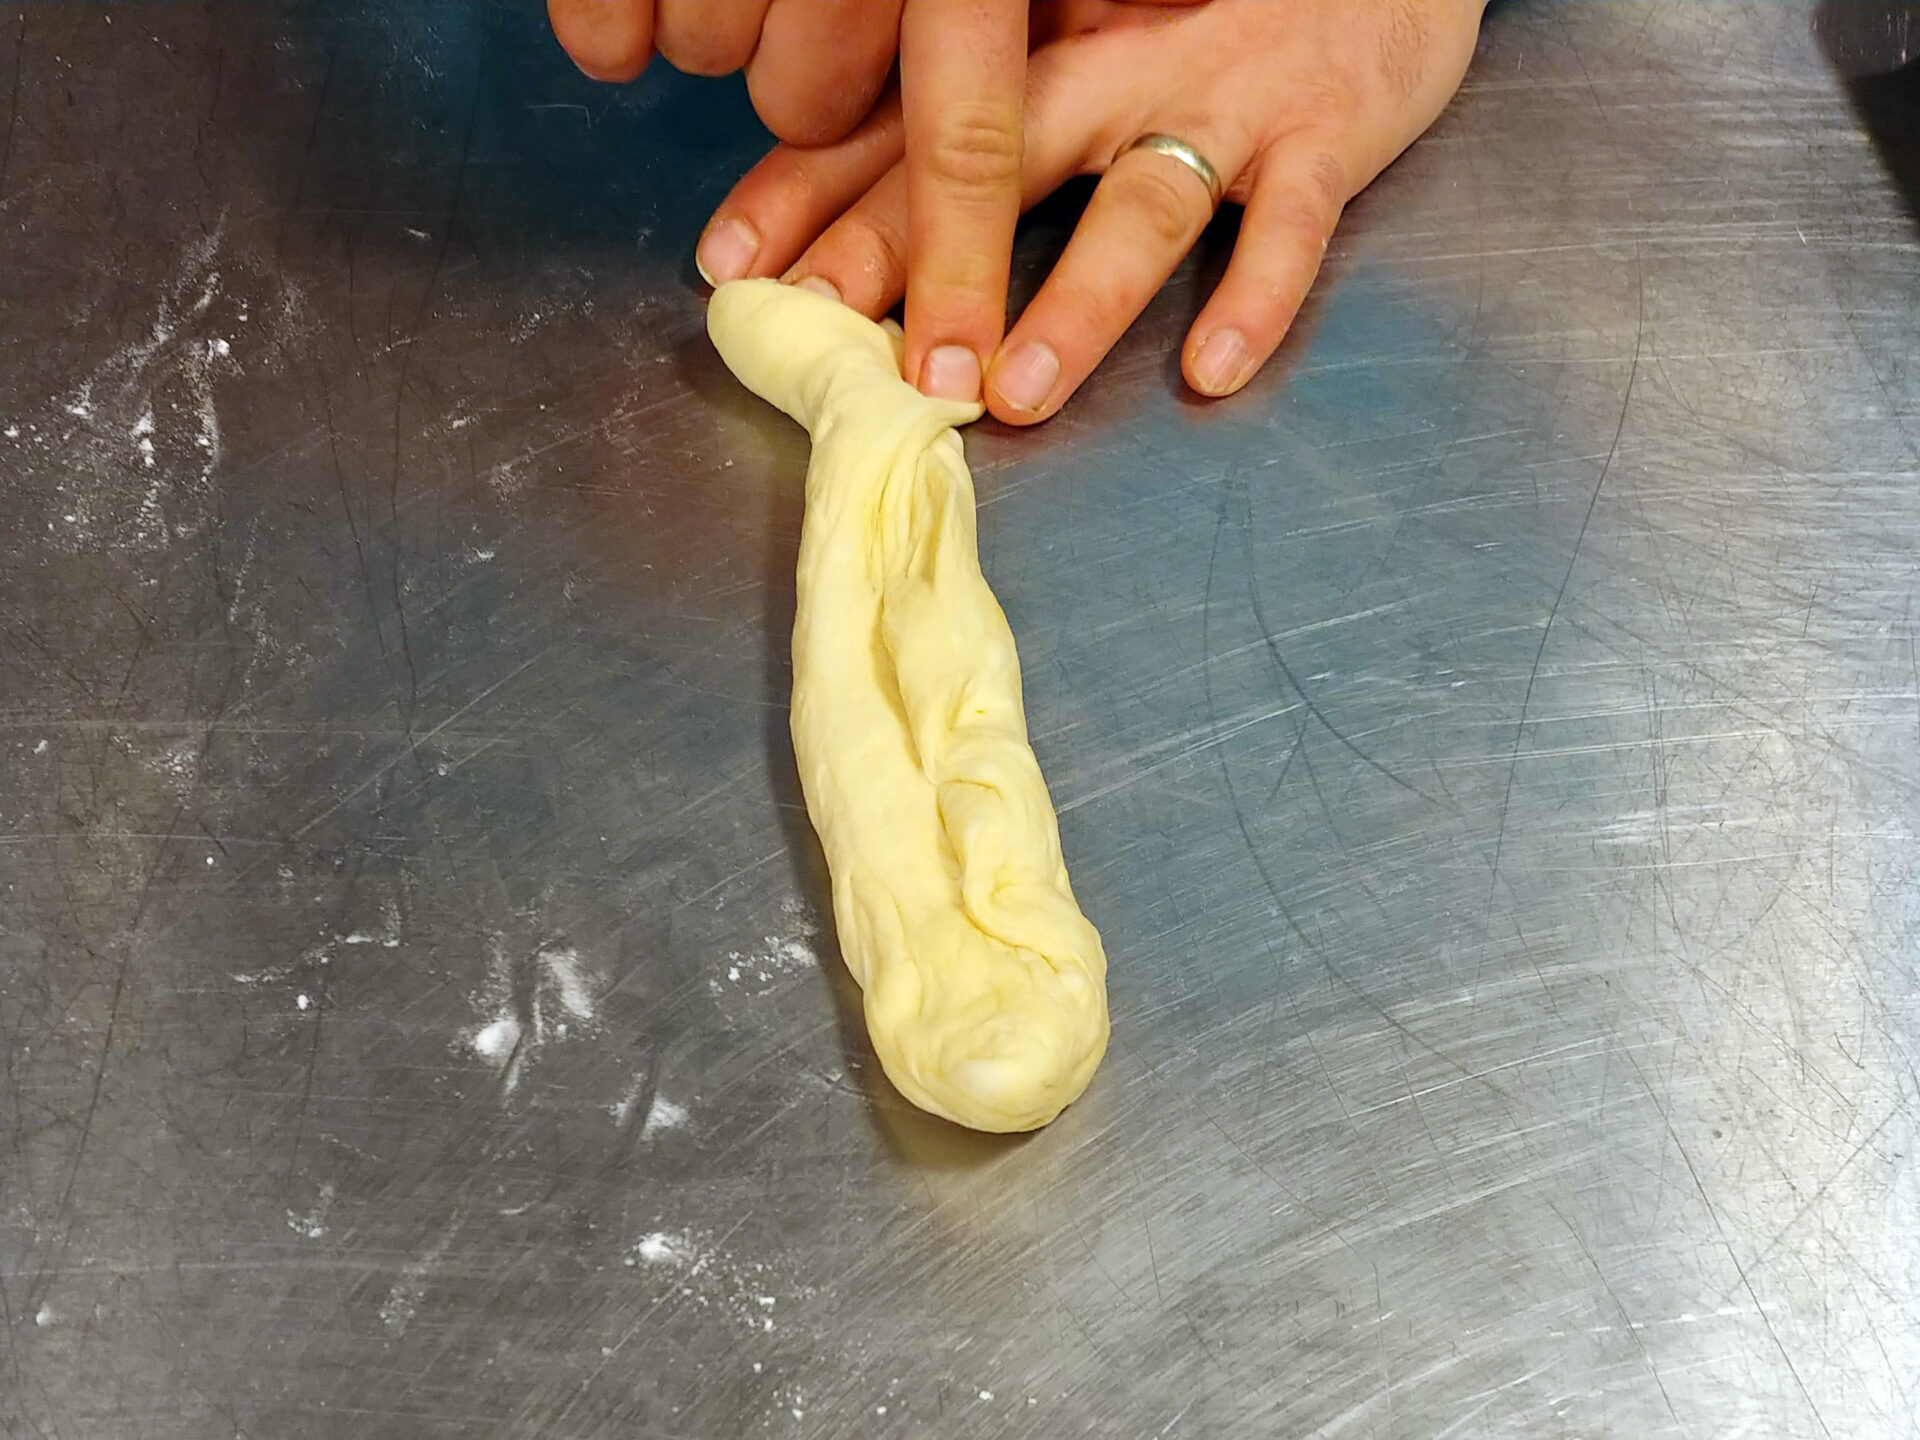
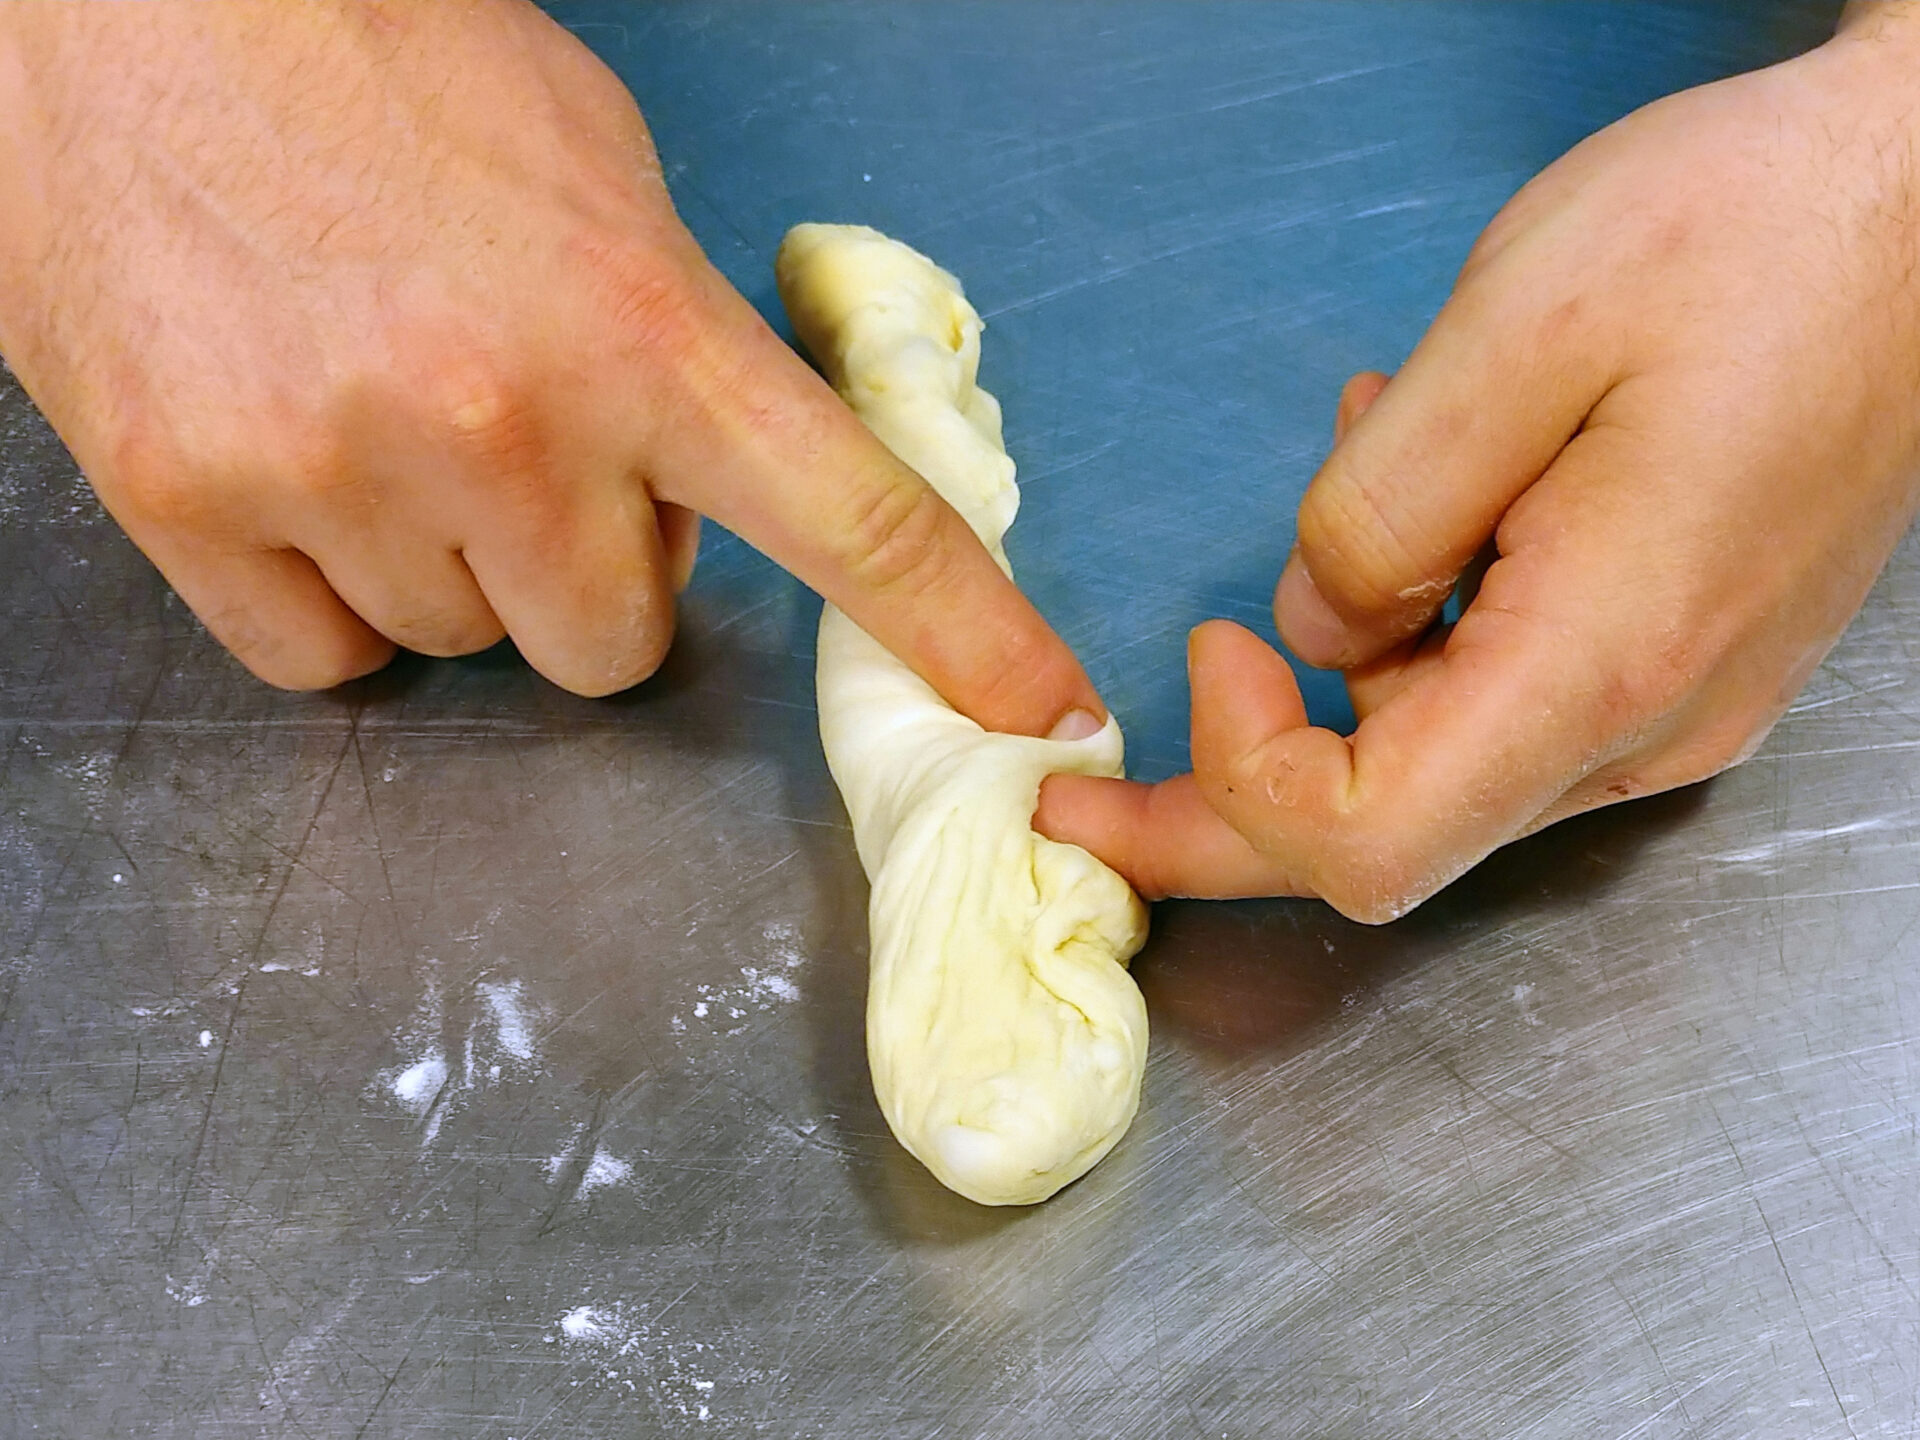
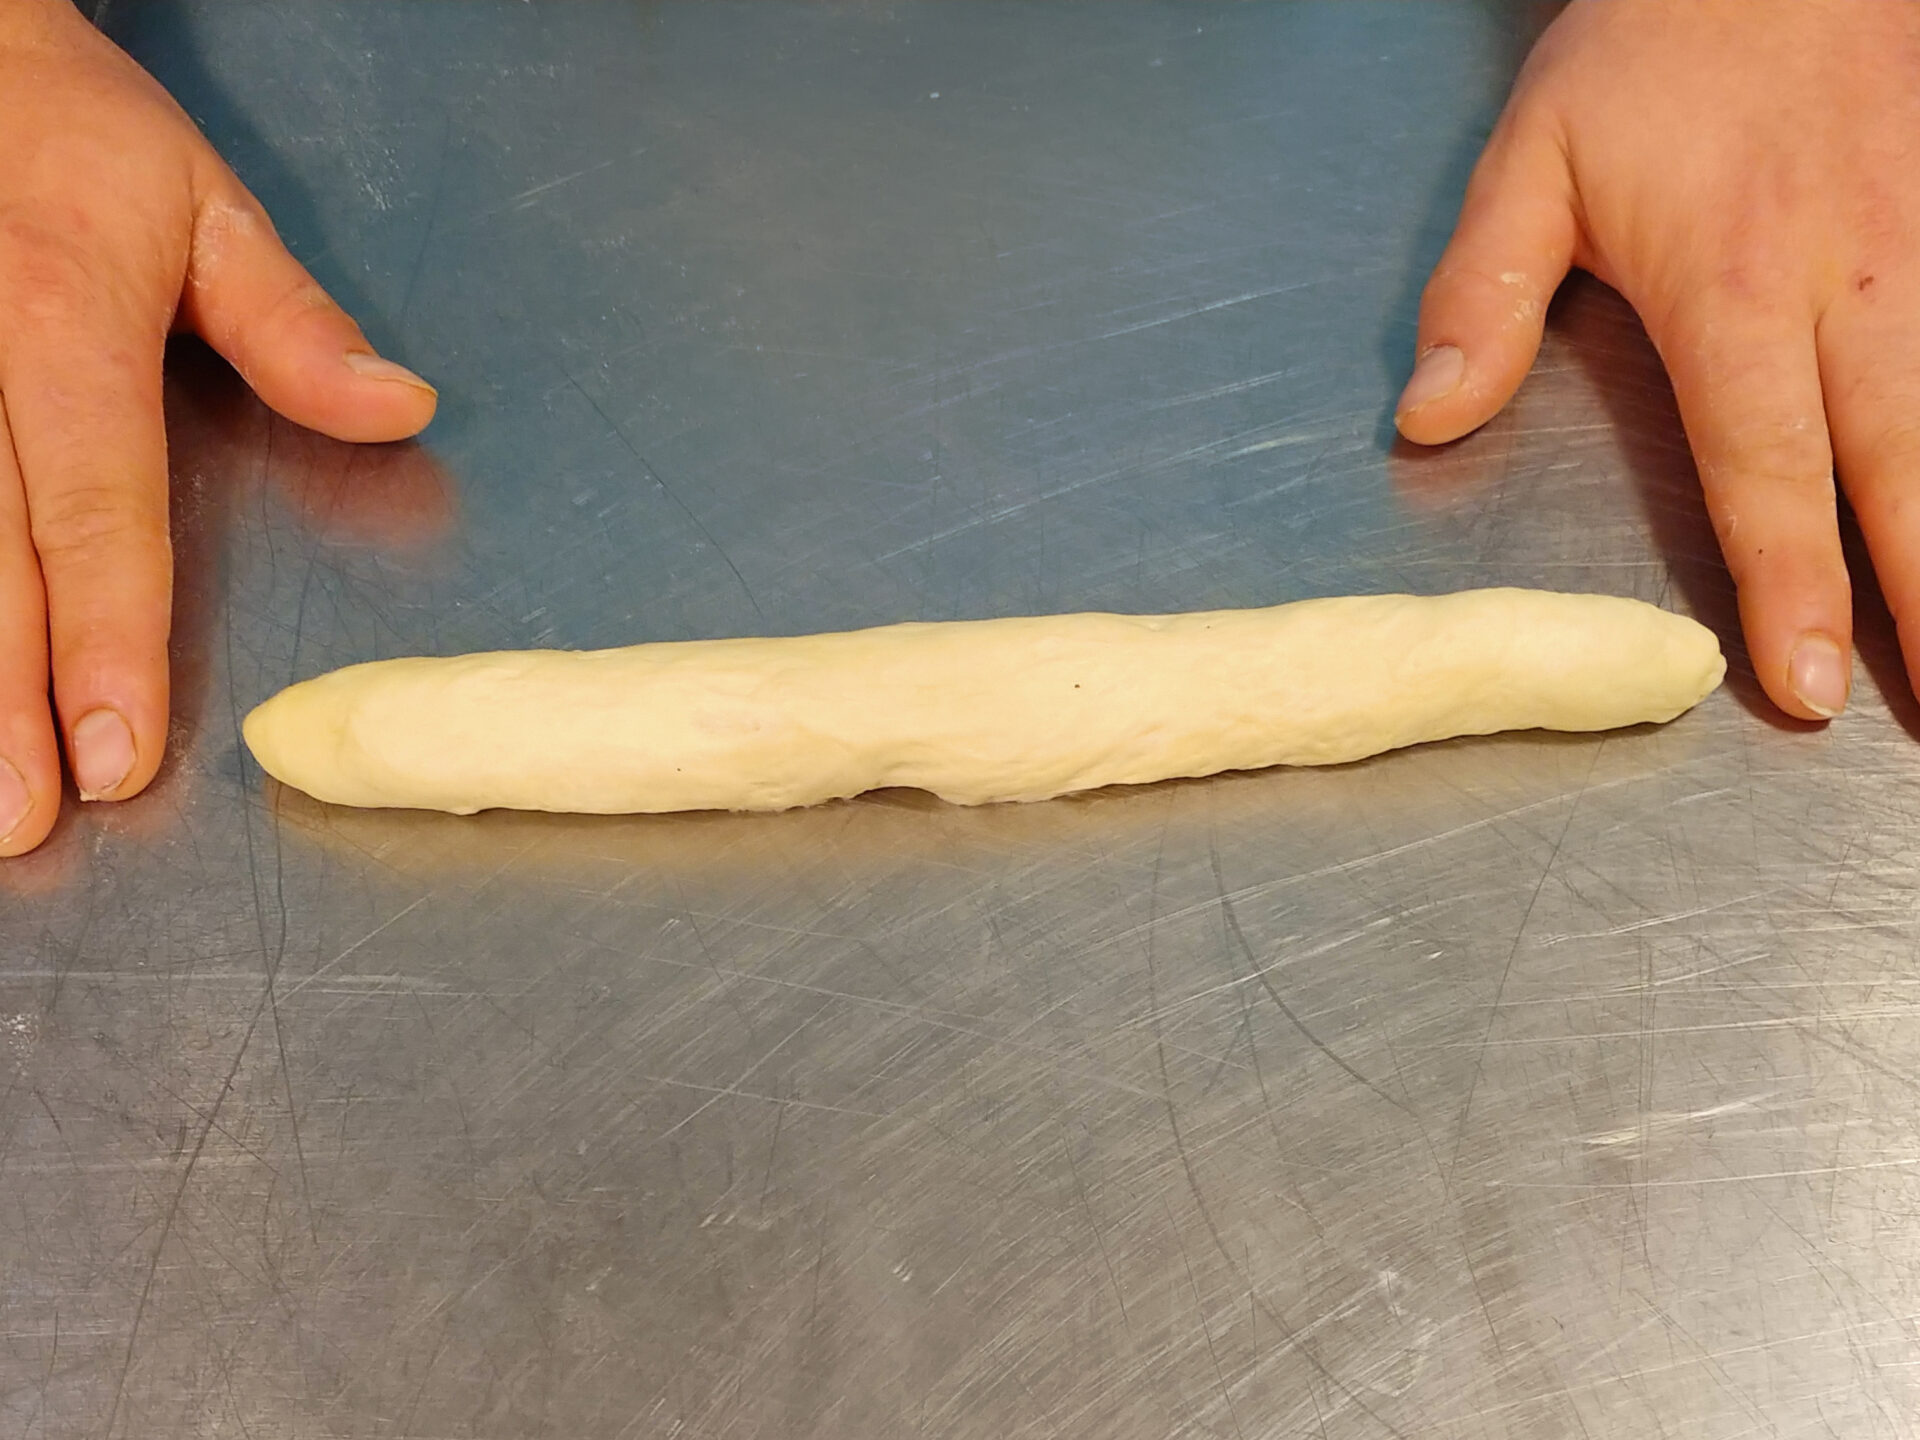
With our dough well-rested and full of potential, it’s time to shape our creations. Whether you opt for a rustic loaf or slender baguettes, the process is a tactile experience, connecting you to the dough and allowing you to shape your vision.
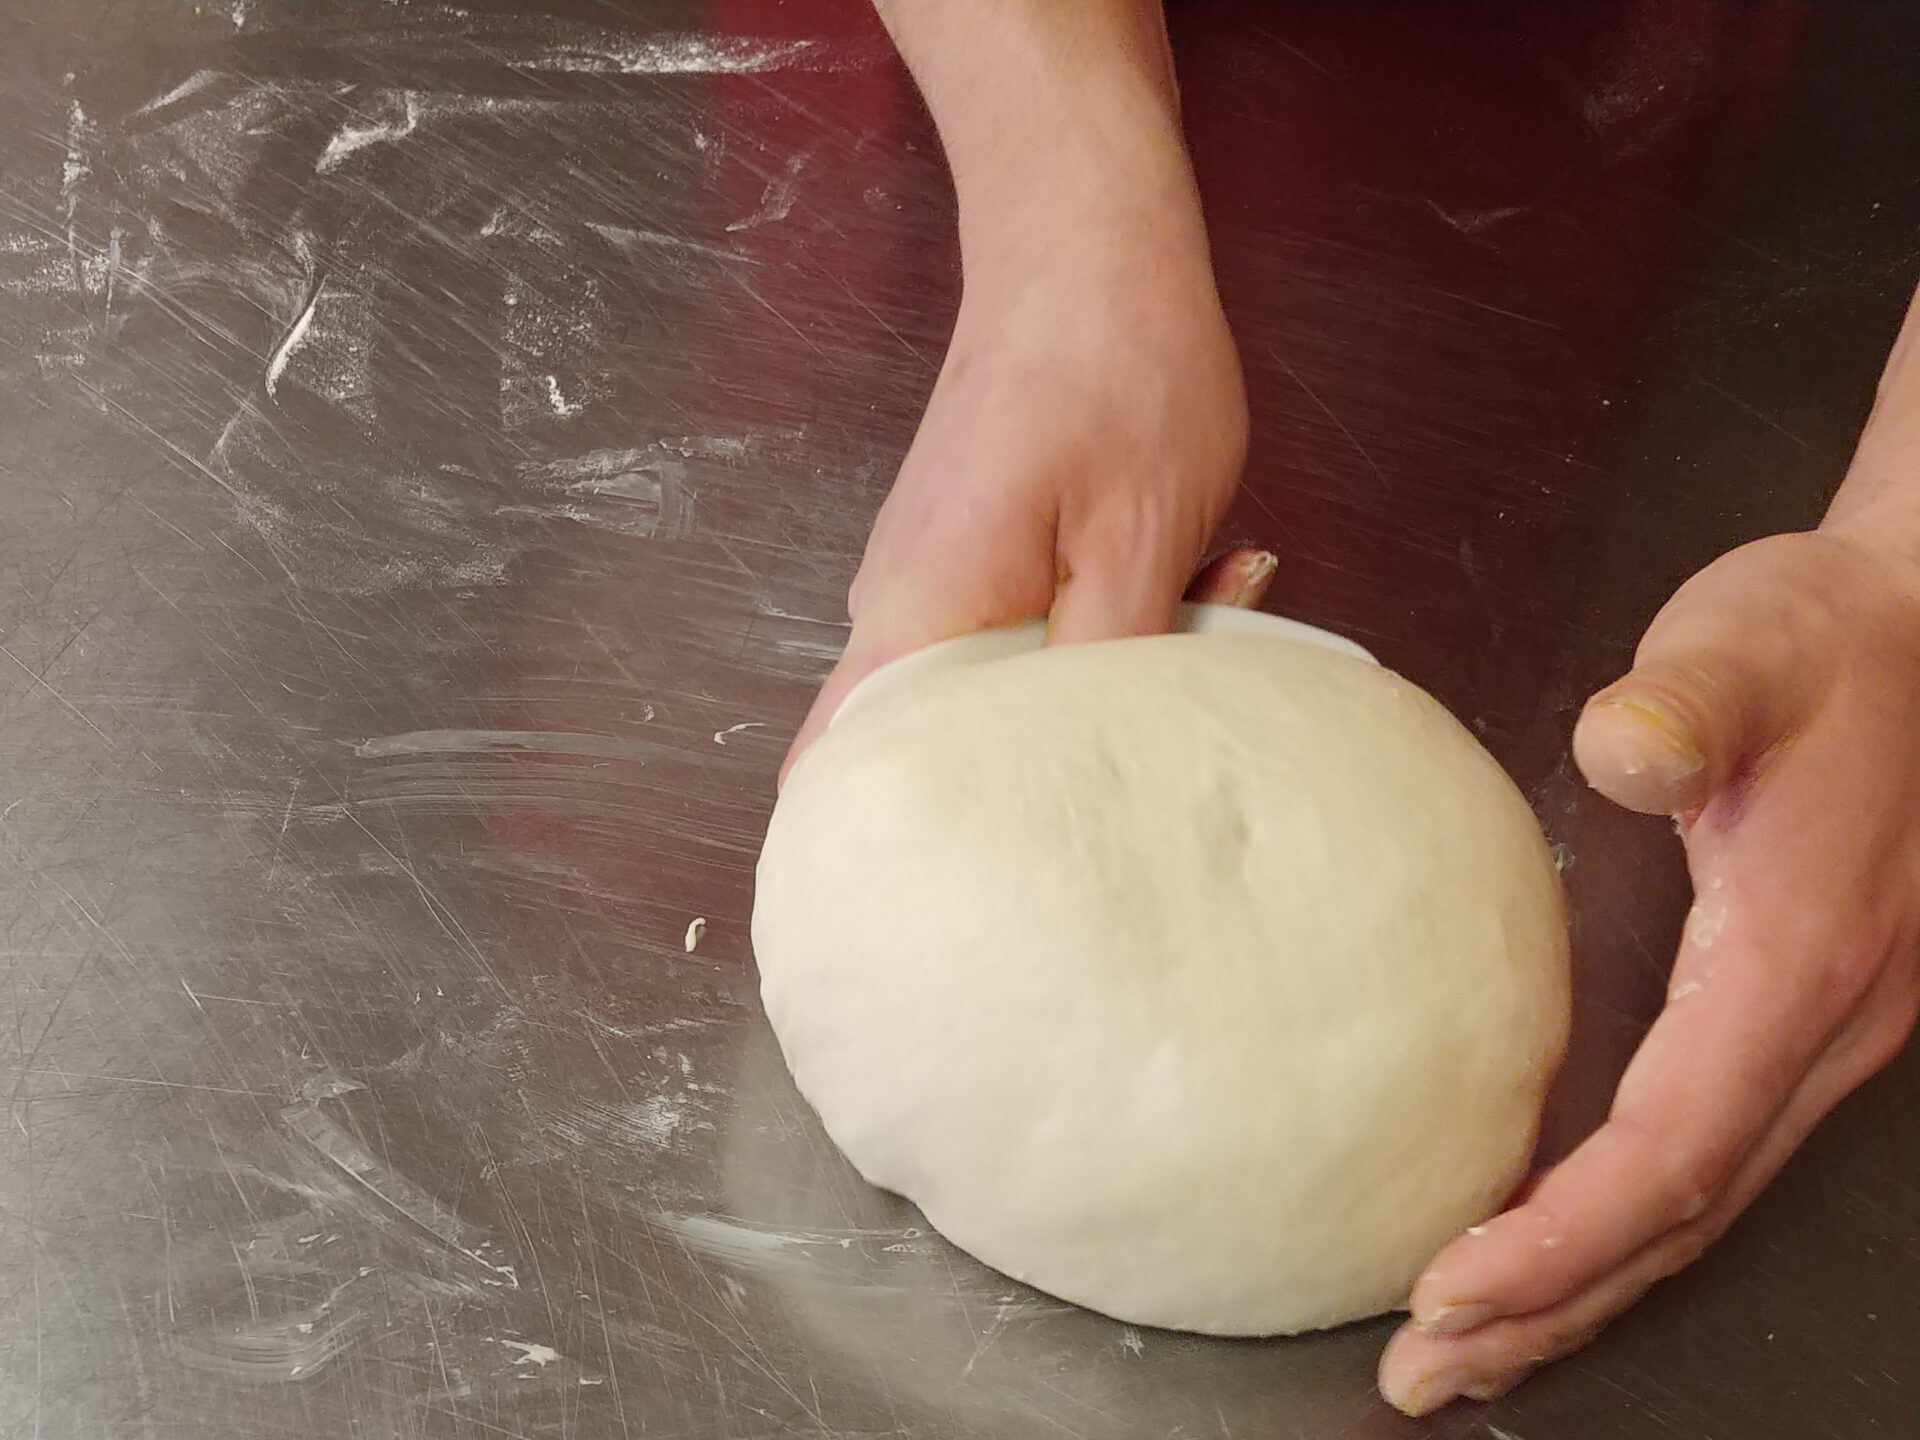
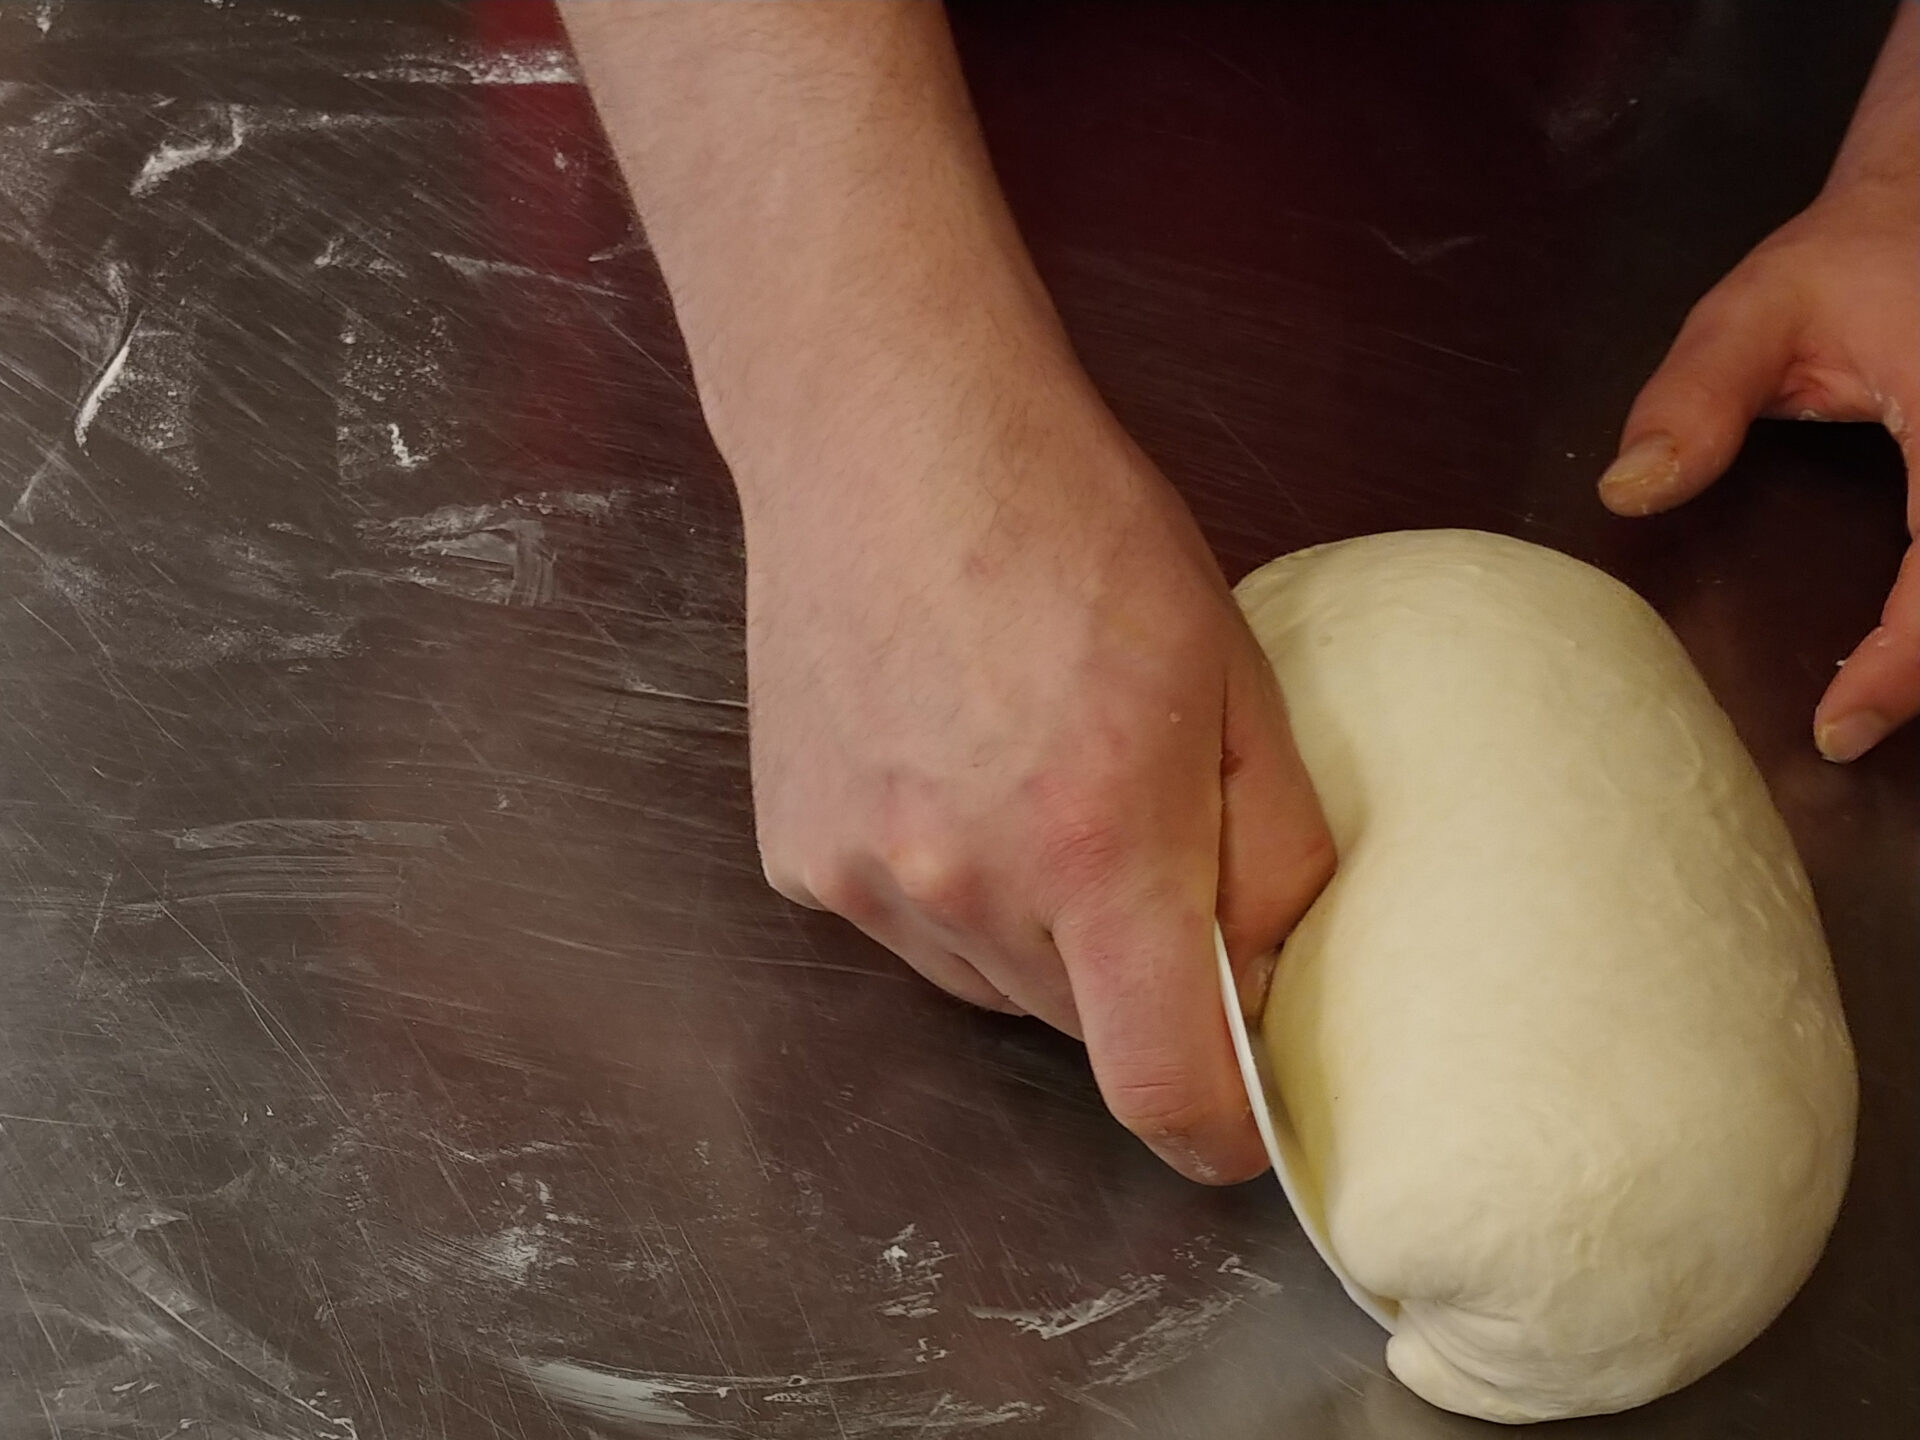
For the loaf, we’ll gently stretch and fold the dough, creating a taut surface and a well-defined shape. For baguettes, we’ll divide the dough into portions, rolling and shaping them into long, slender forms.
The Final Act: Baking to Perfection
The culmination of our efforts lies in the baking process. Whether you choose the gentle heat of an oven or the fiery kiss of a grill, the transformation is mesmerizing. As the bread bakes, the aroma will fill your kitchen, teasing your senses and building anticipation.
A crucial tip for achieving a crisp crust is to introduce steam into the baking environment. This can be done by adding ice cubes to a heatproof bowl in the oven or grill. The steam creates a moist environment that allows the crust to develop its characteristic crunch.
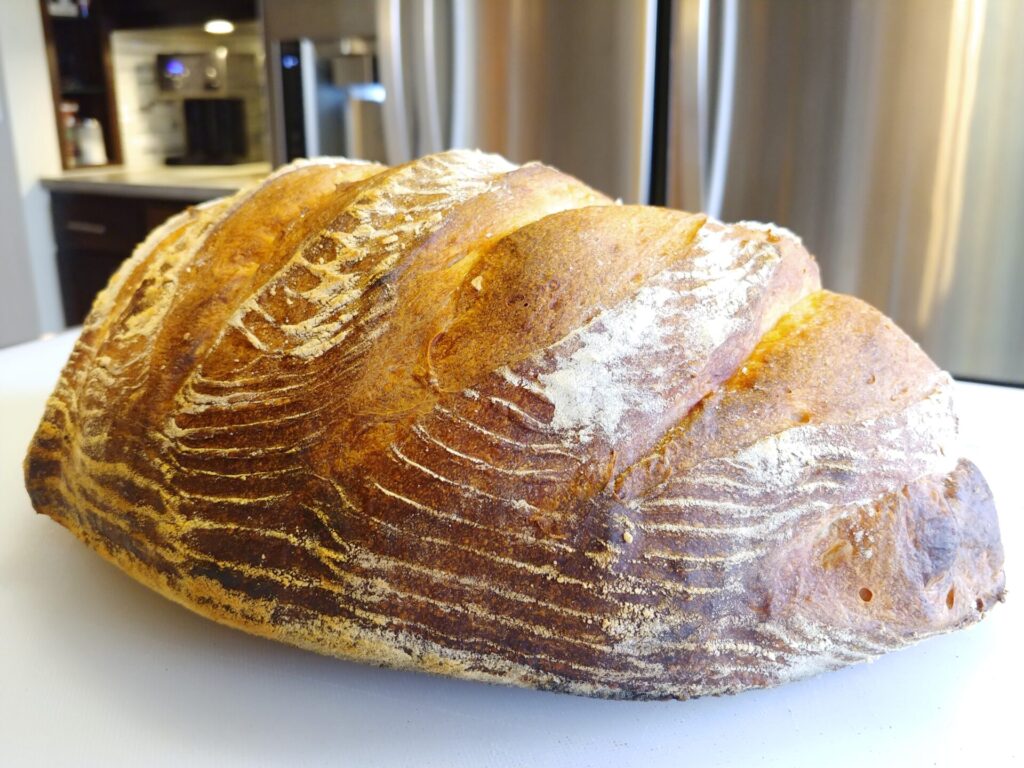
A Feast for the Senses: Rustic Bread or Baguettes
Finally, the moment we’ve all been waiting for: slicing into the freshly baked bread and savoring its texture and flavor. The crust crackles invitingly as you cut through it, revealing a soft, airy interior. Whether enjoyed on its own or paired with your favorite dips and spreads, this bread is a testament to the power of simple ingredients and the joy of baking.
Beyond the Rustic Bread or Baguettes.: Embracing the Journey
This recipe is more than just a set of instructions; it’s an invitation to explore the world of bread baking, to connect with a timeless tradition, and to unleash your creativity in the kitchen. So gather your ingredients, embrace the process, and experience the satisfaction of creating something truly special with your own hands. Happy baking!
Read less


Share
Click on the icons below to share "Title of the item to share"