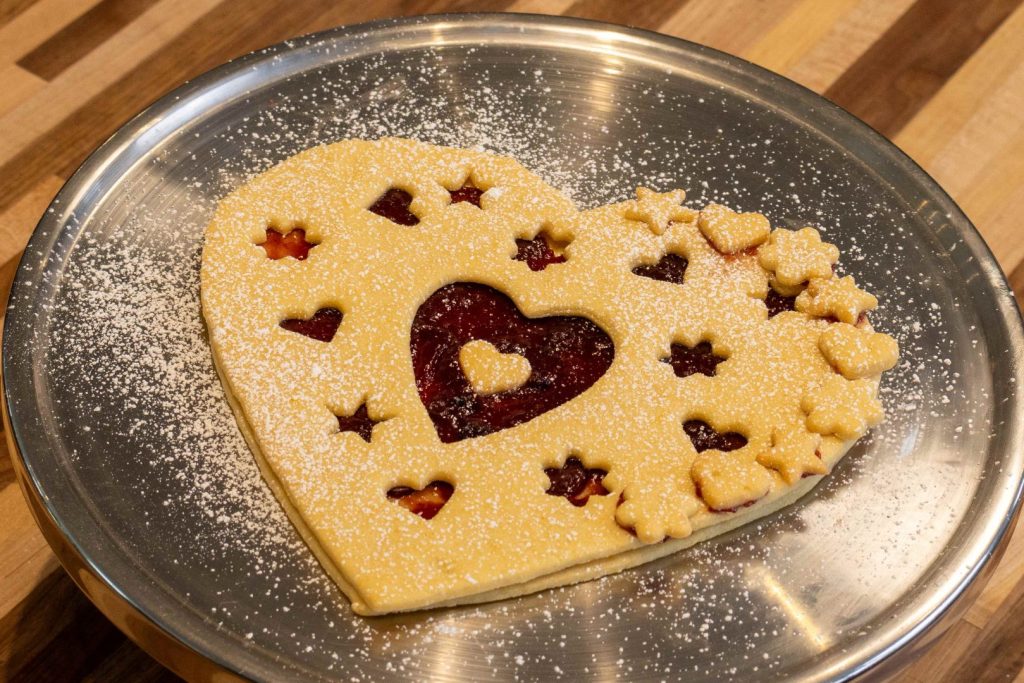
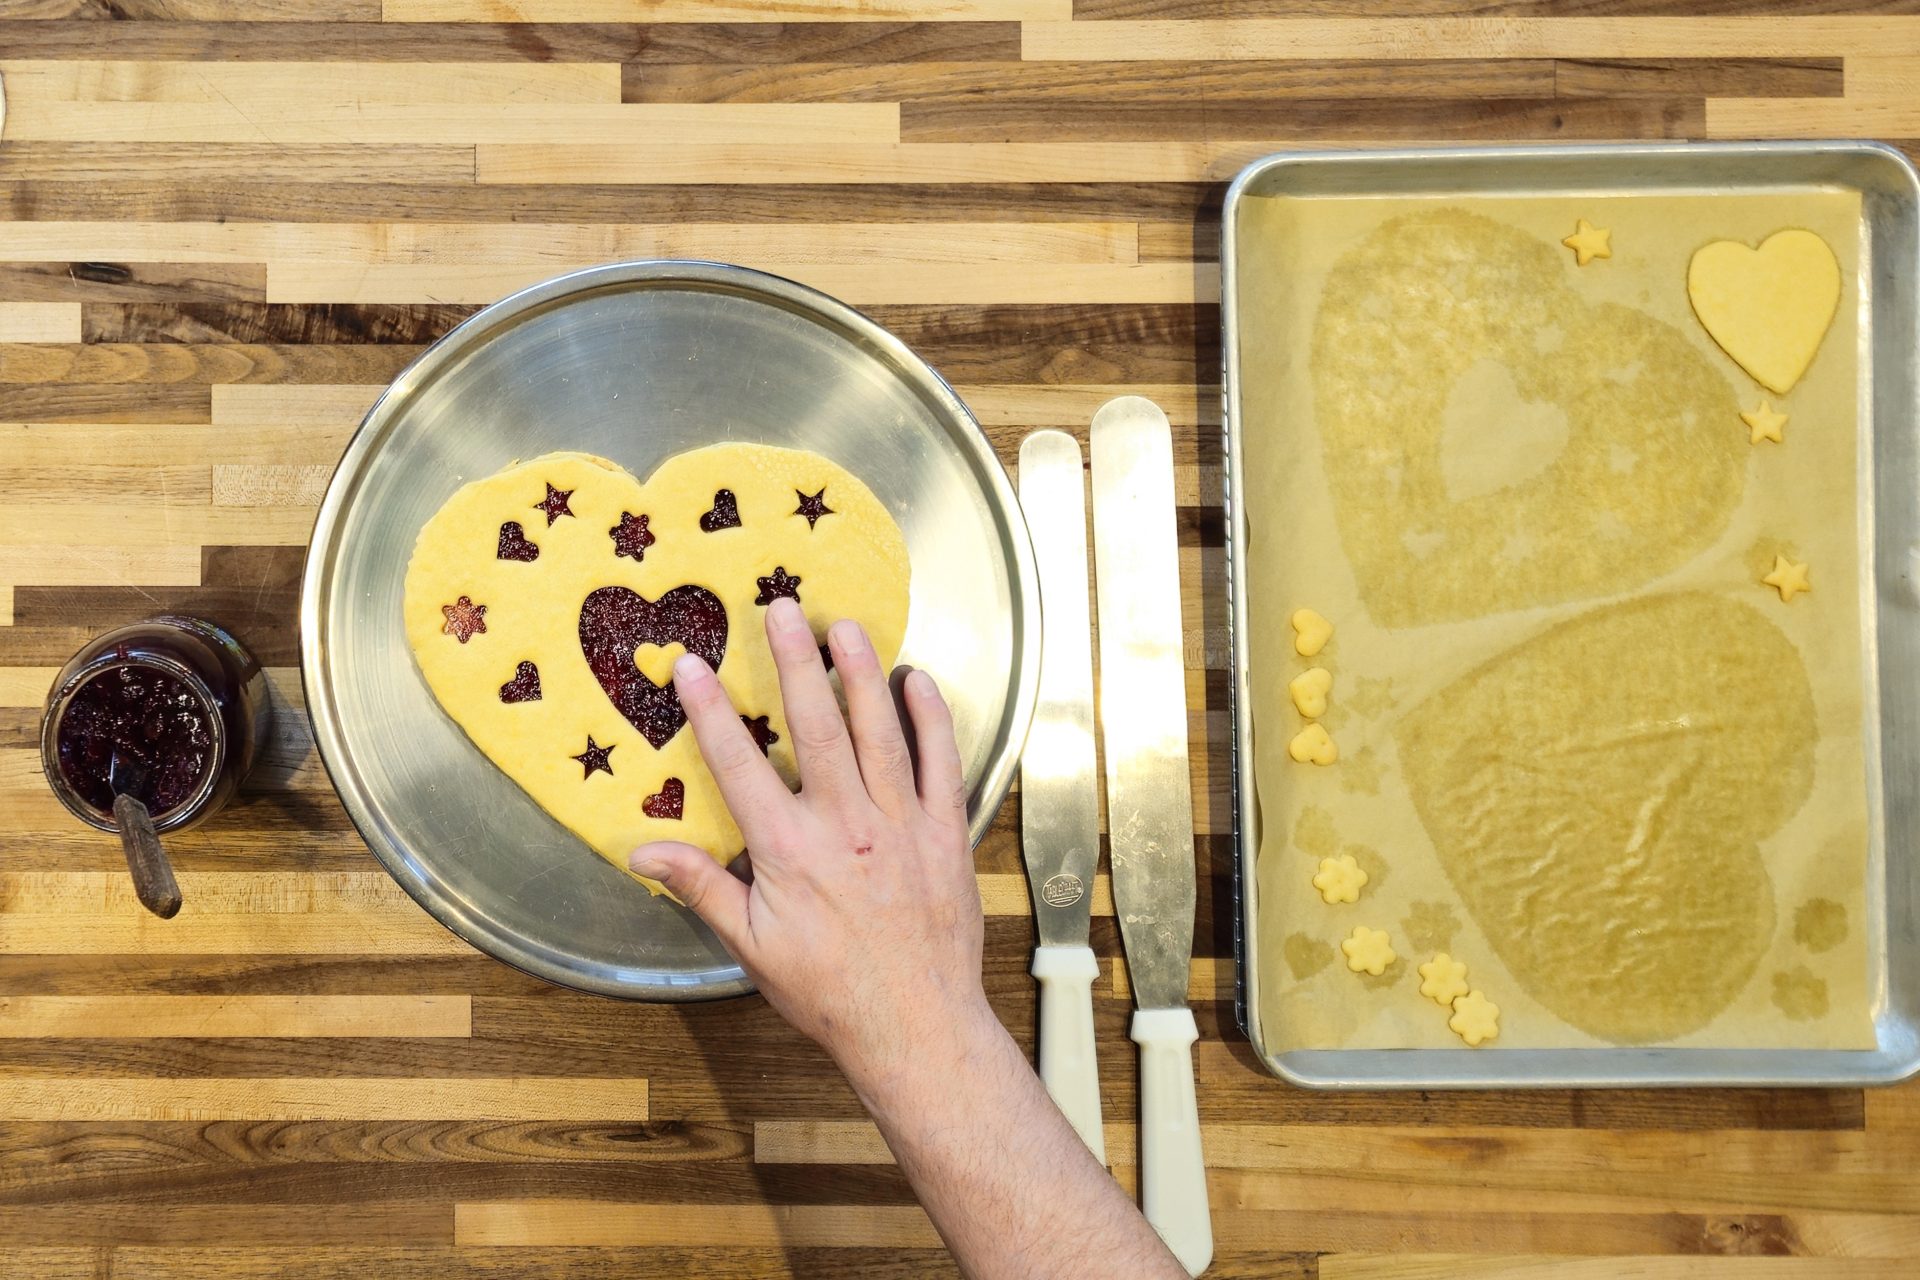
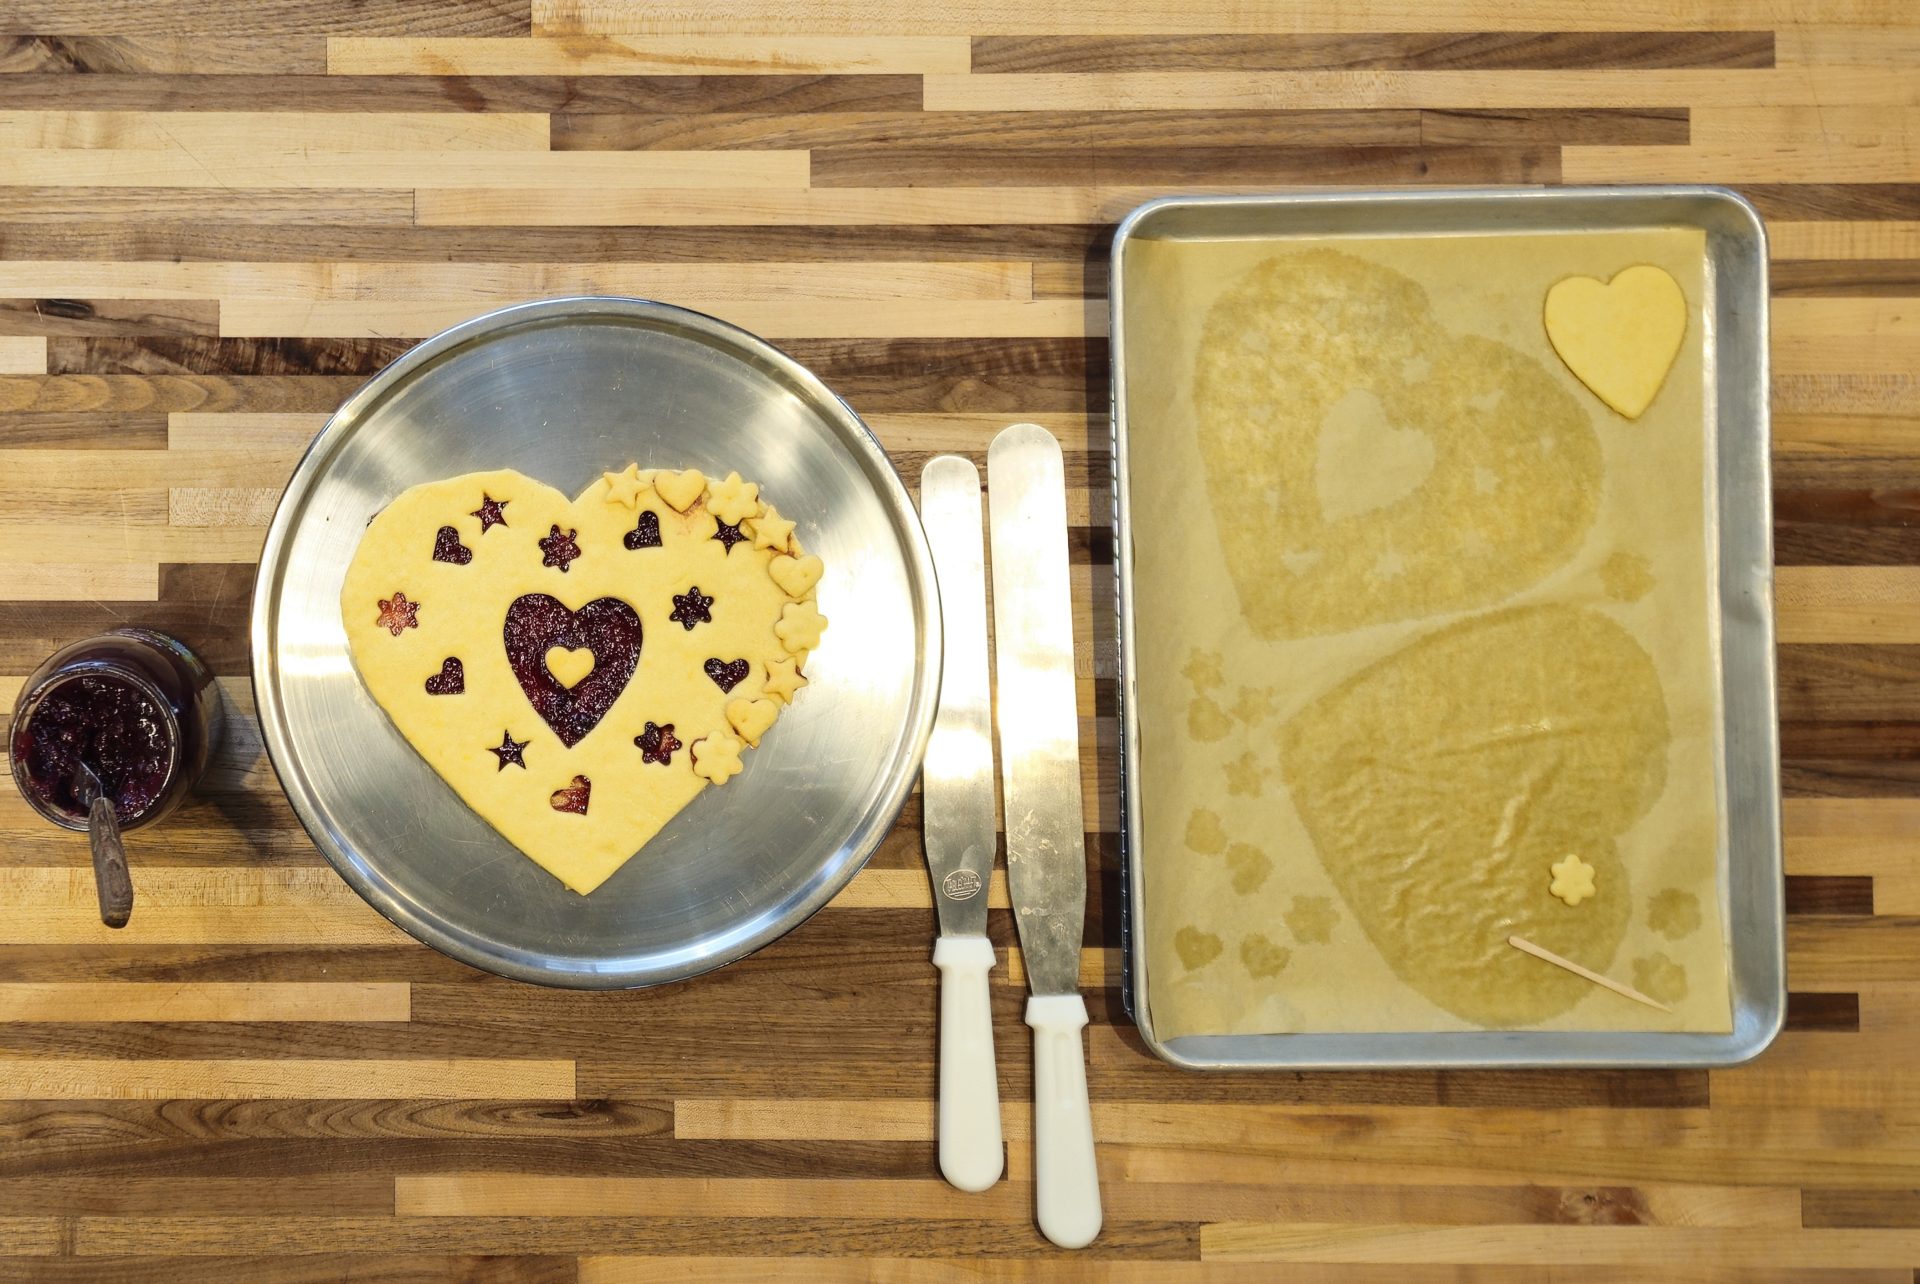
Cook, Learn, and Share to Fight Hunger.
  • 40 min.
  • 1 h. 50 min.
  • 1/5

Ingredients:

Dough:

Filling:

Optional Final Touch:

Directions:

1. Dough:

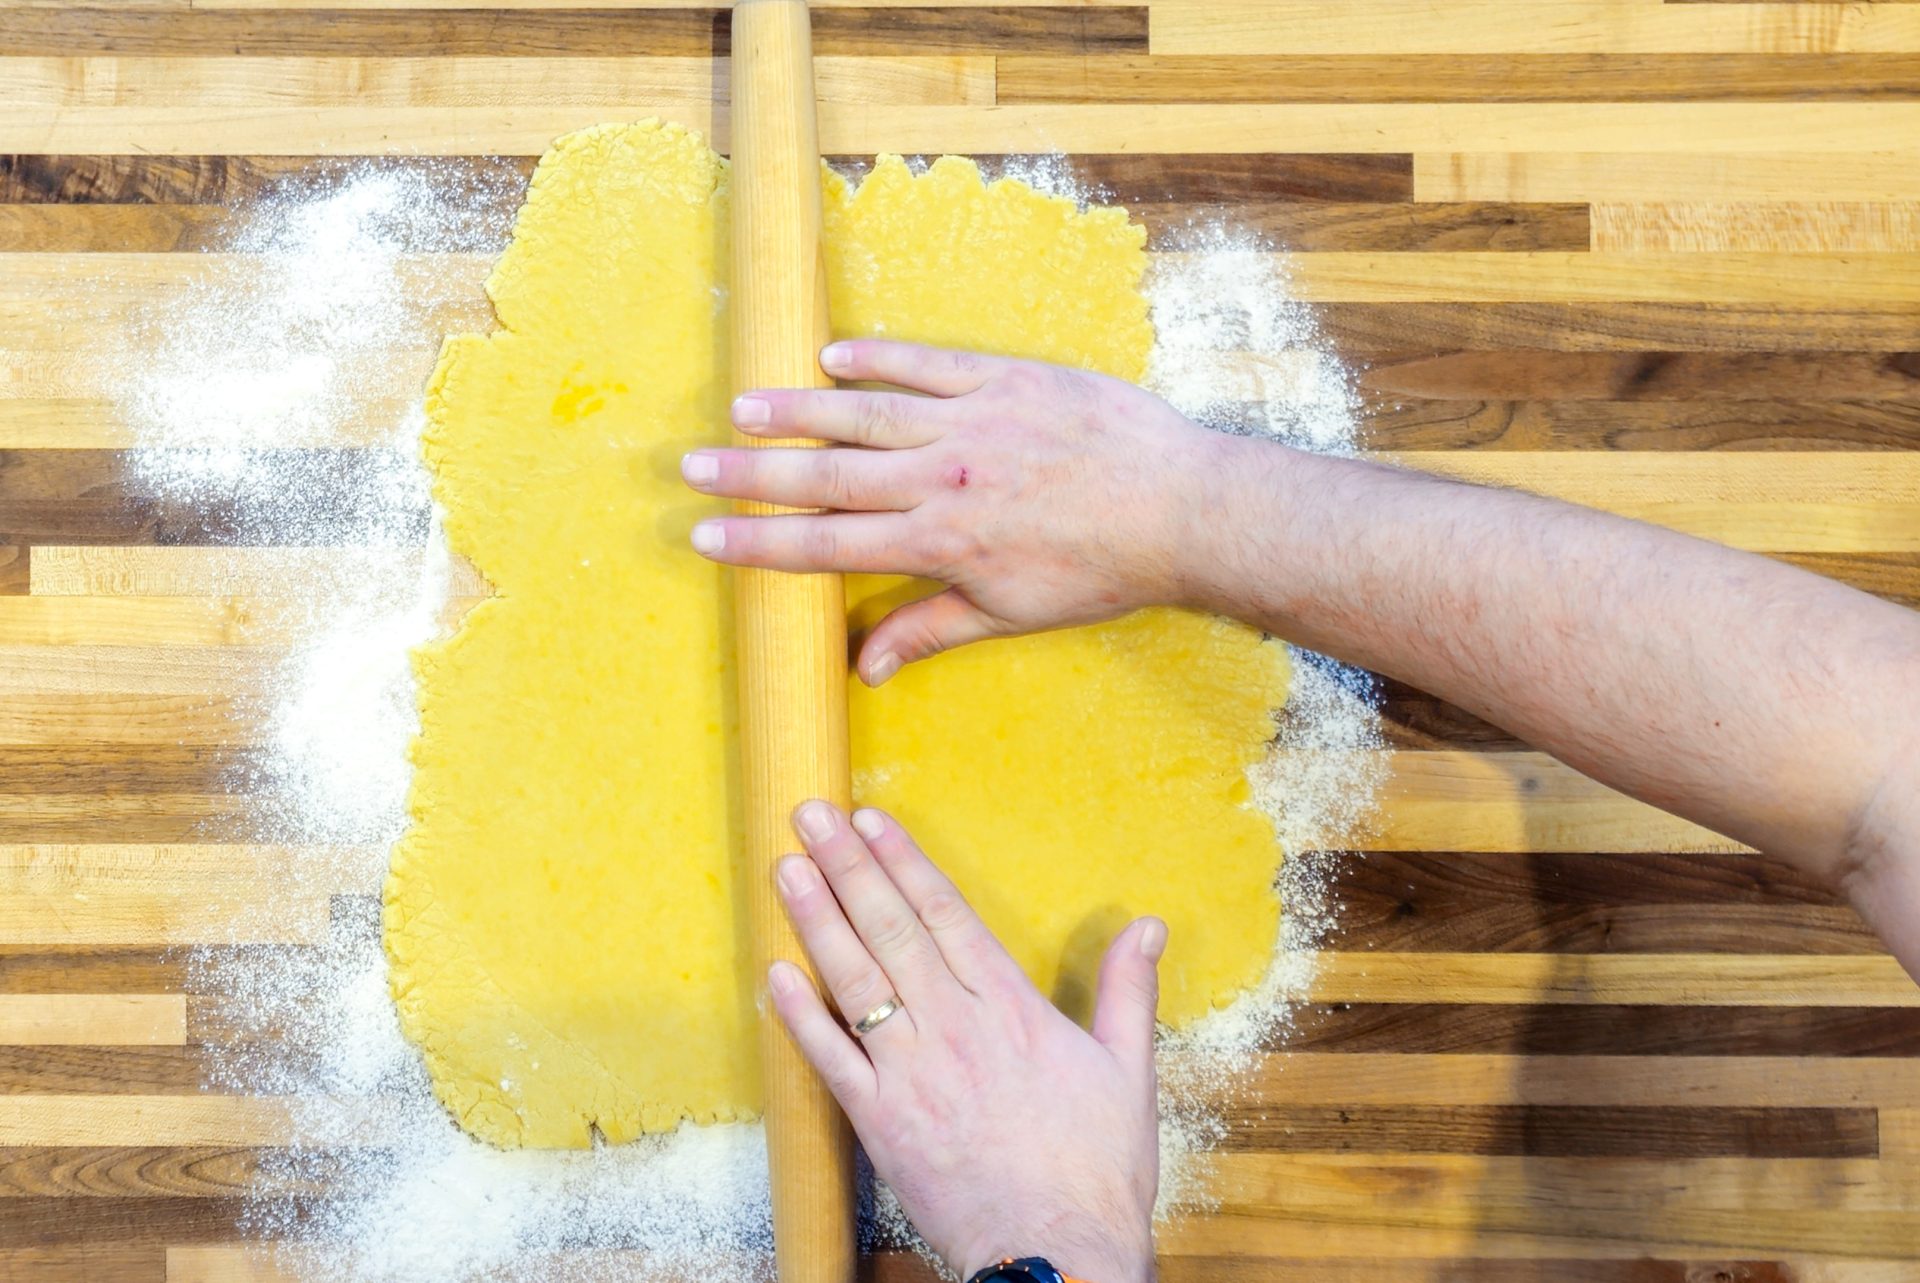
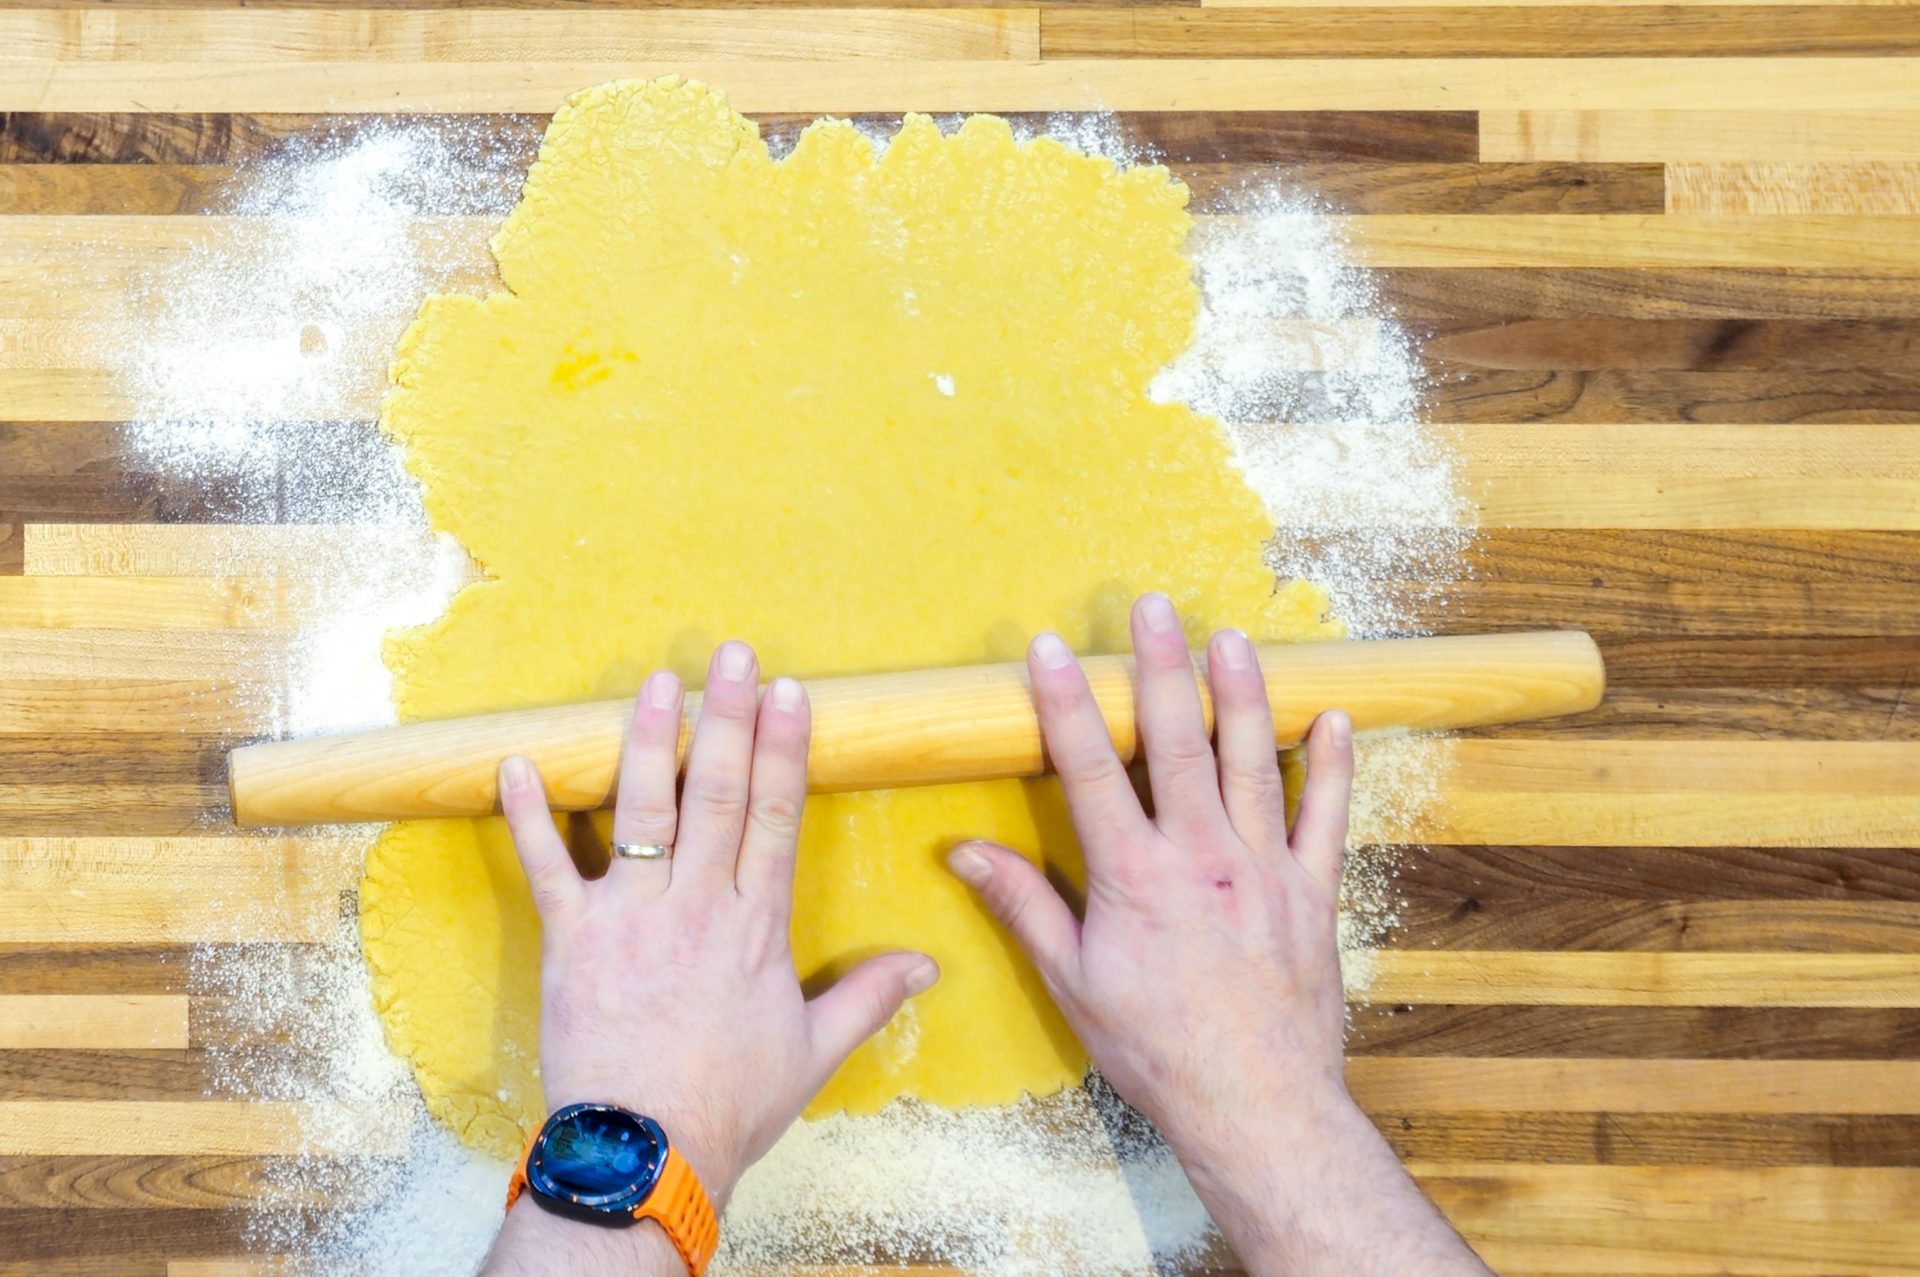
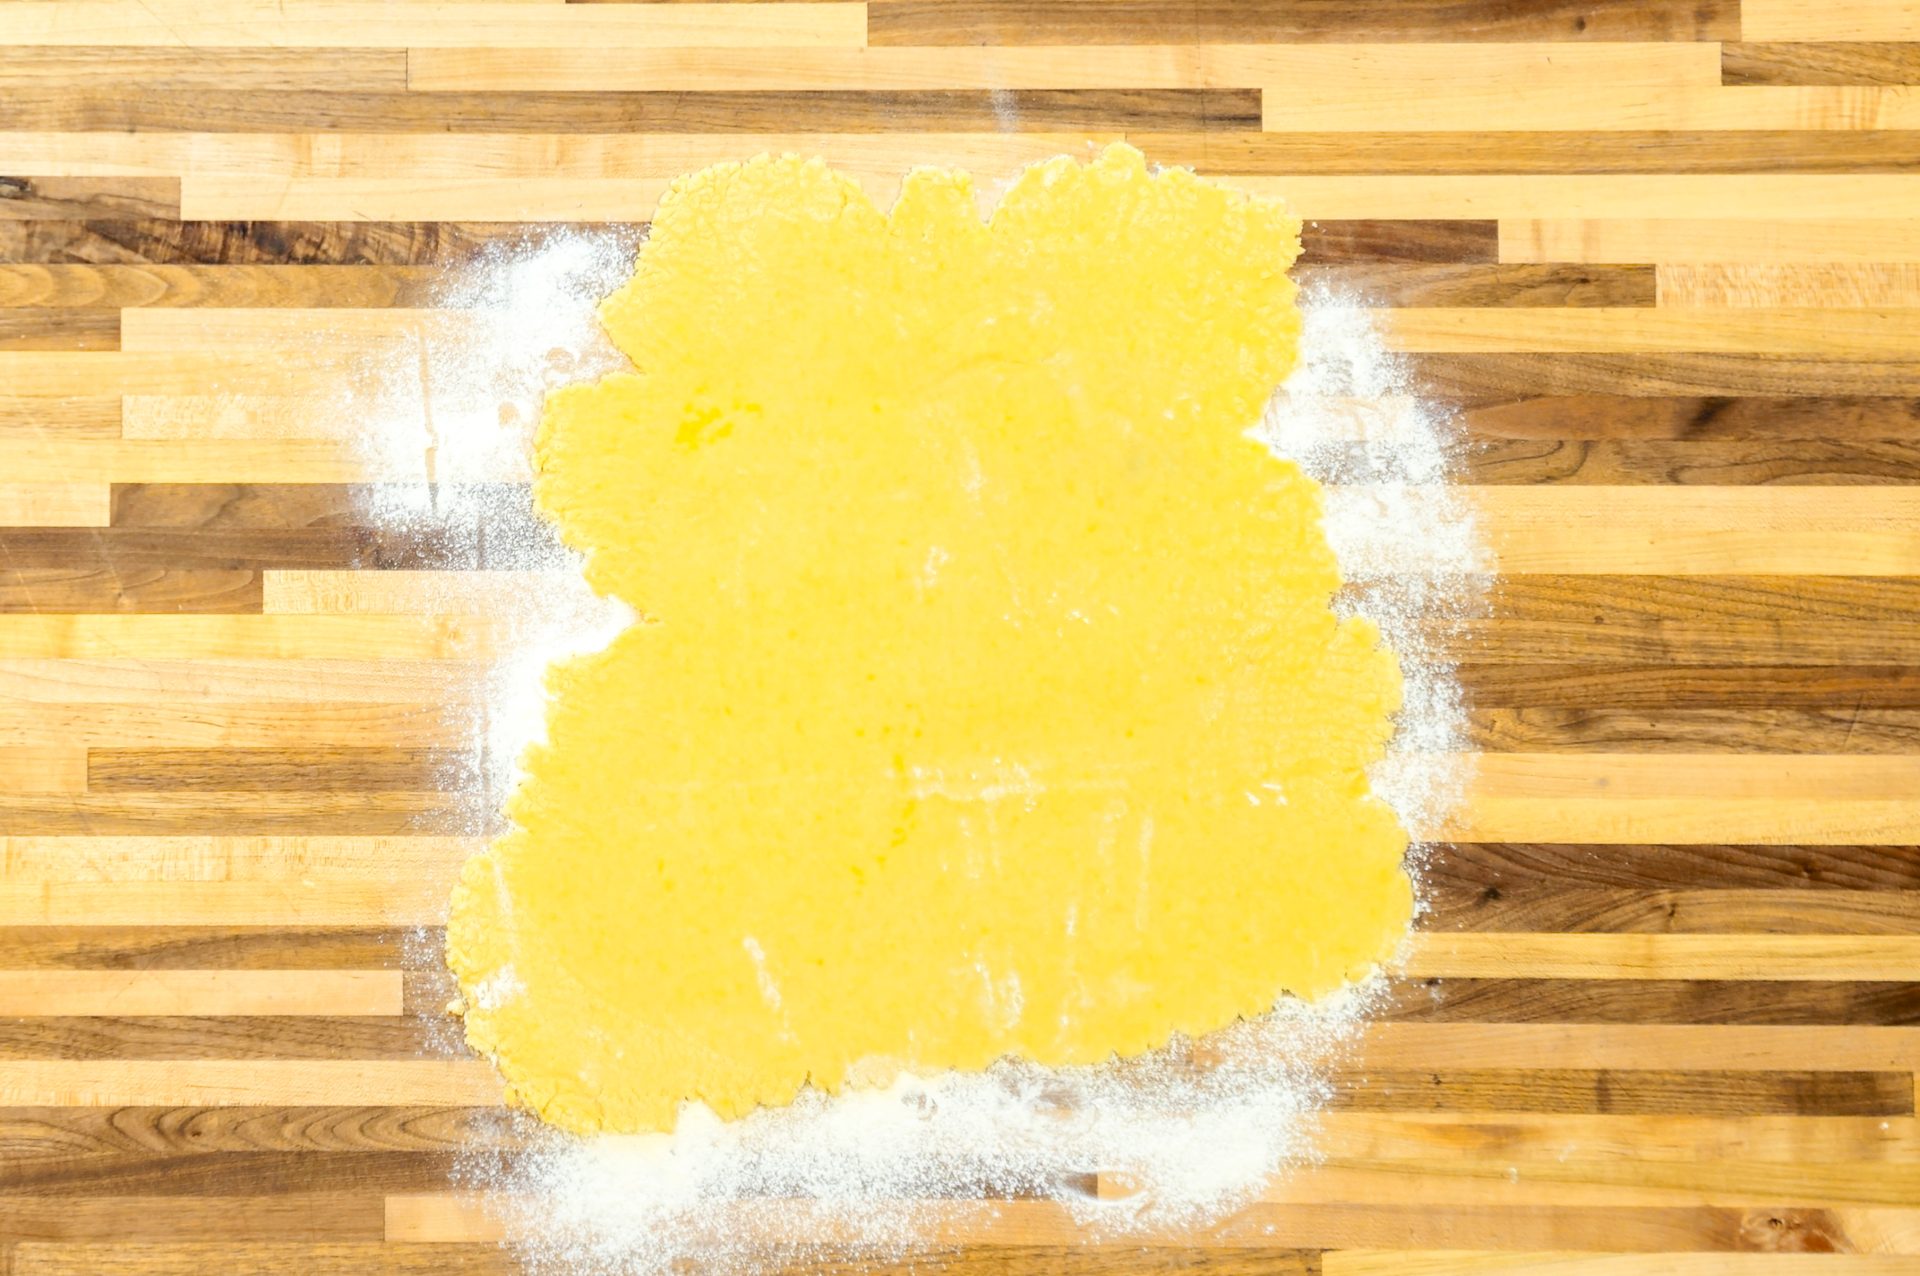
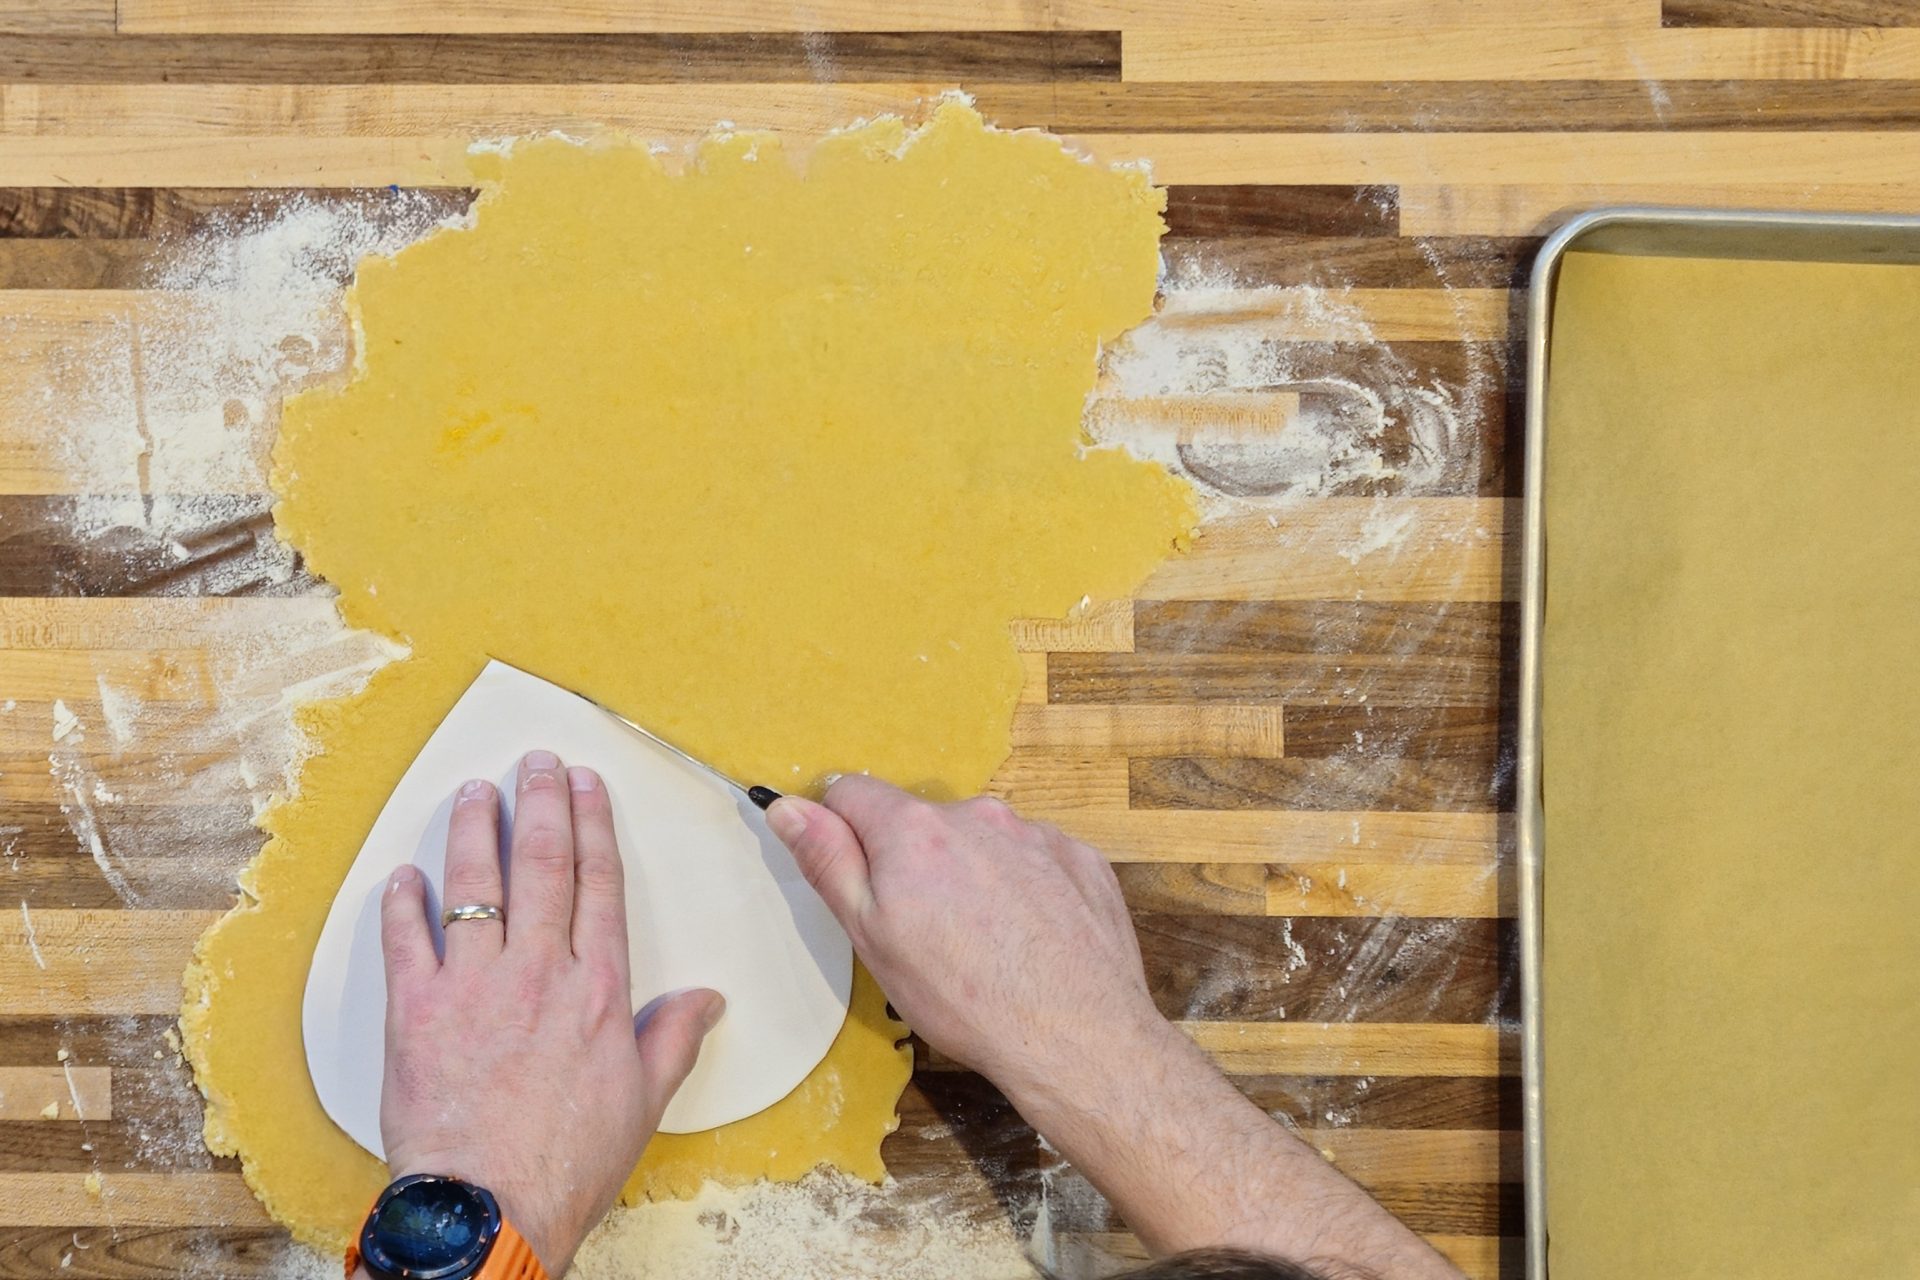
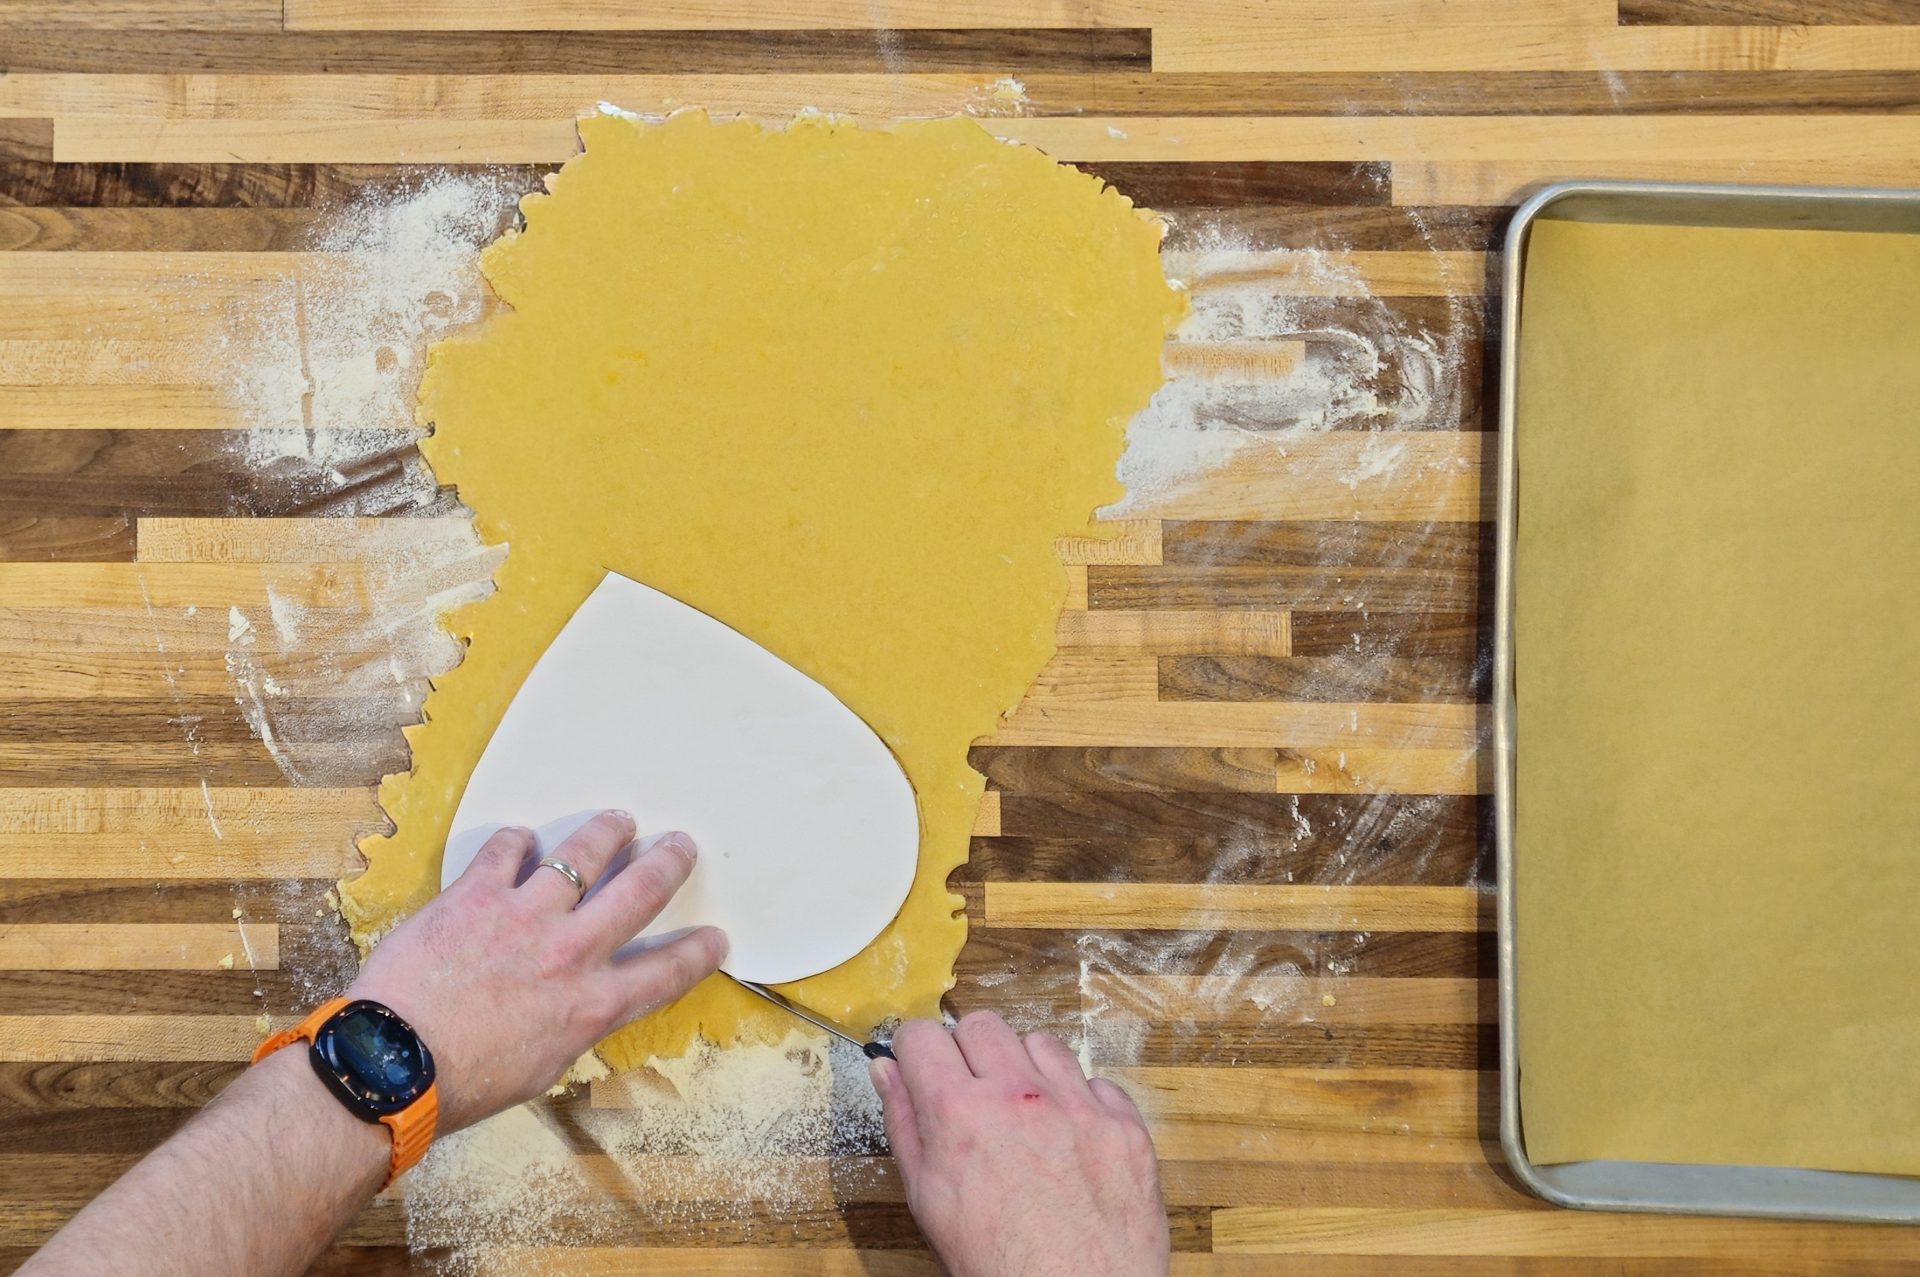
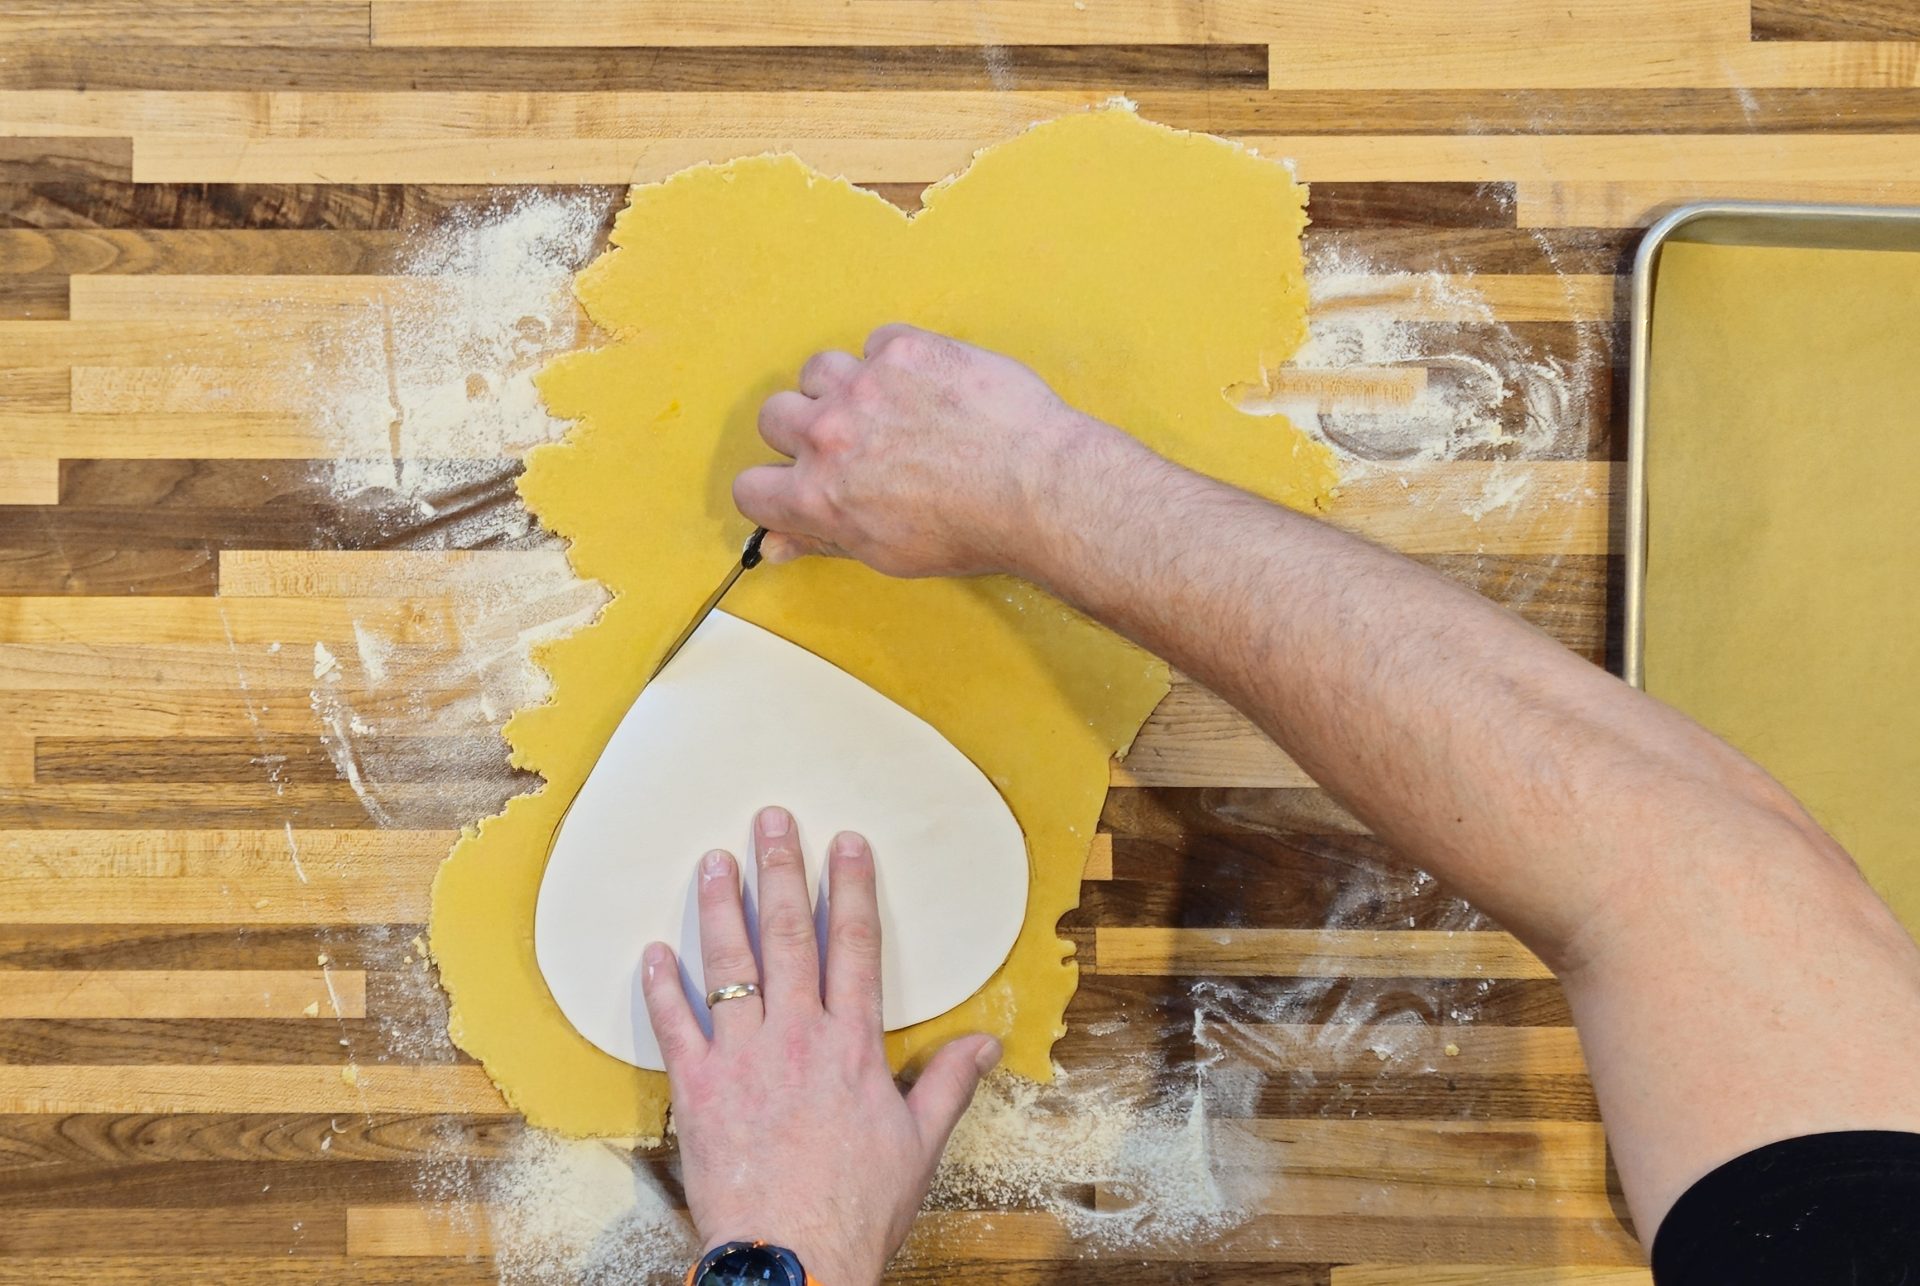
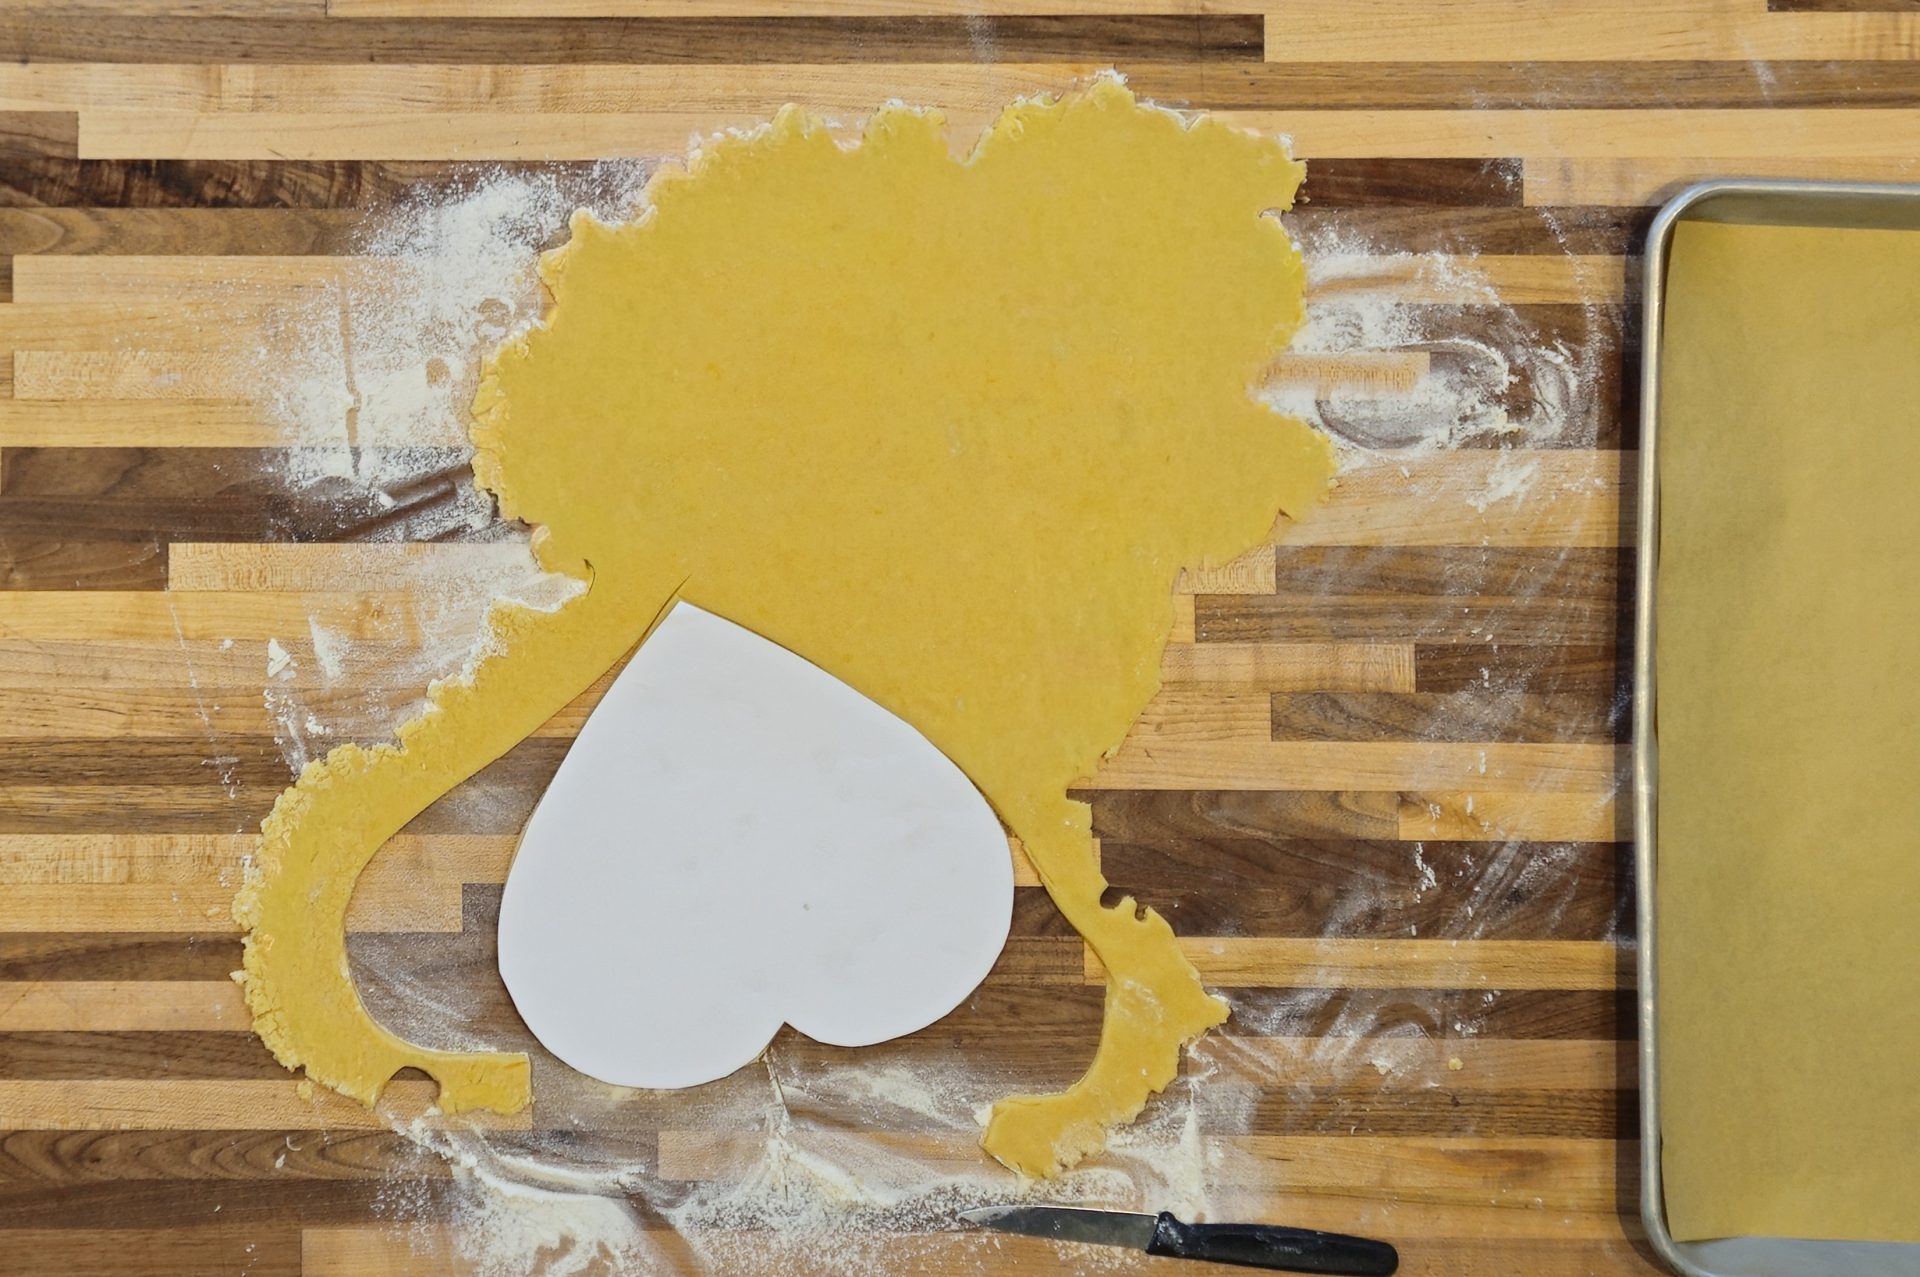
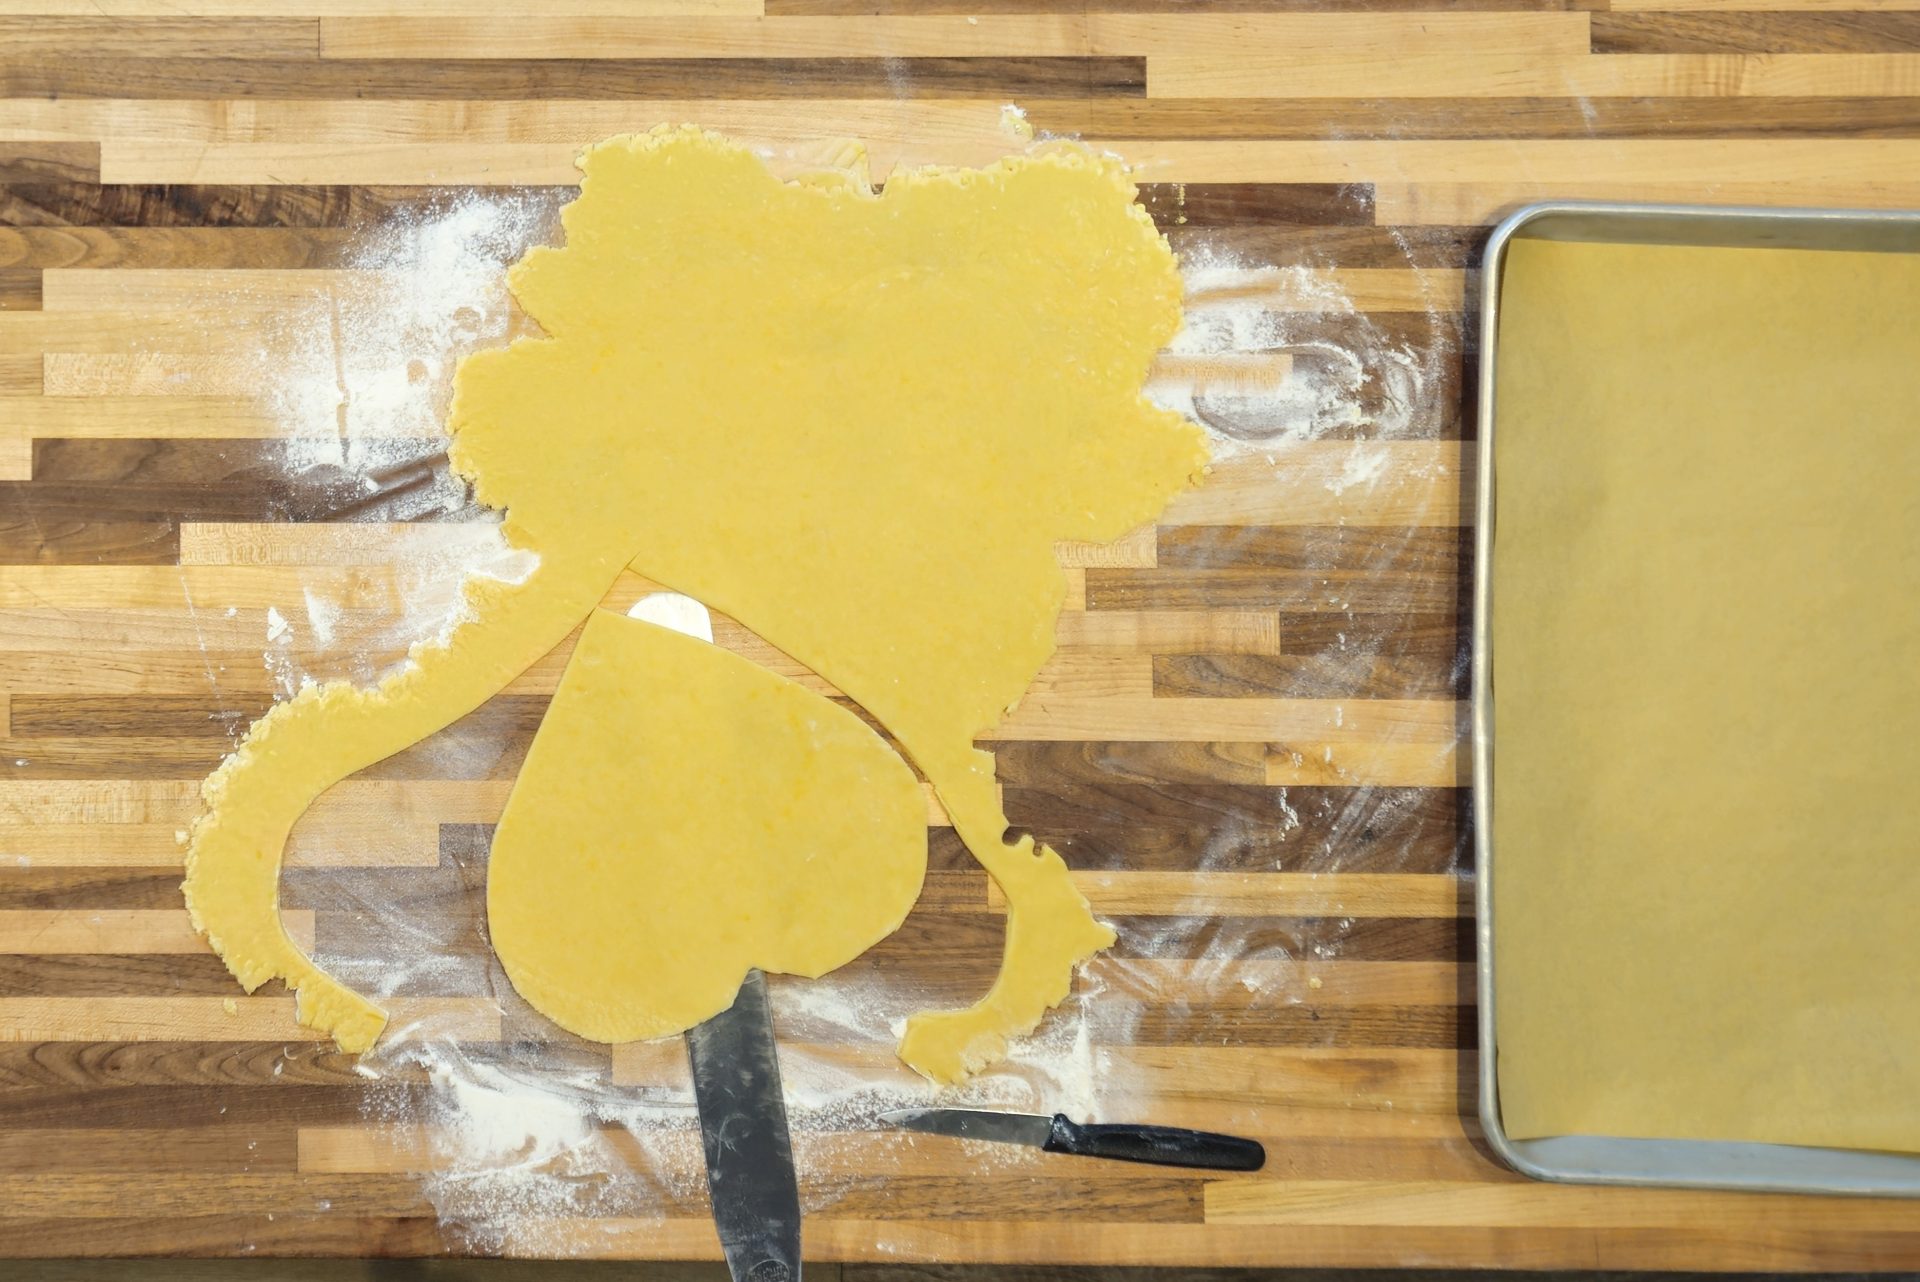
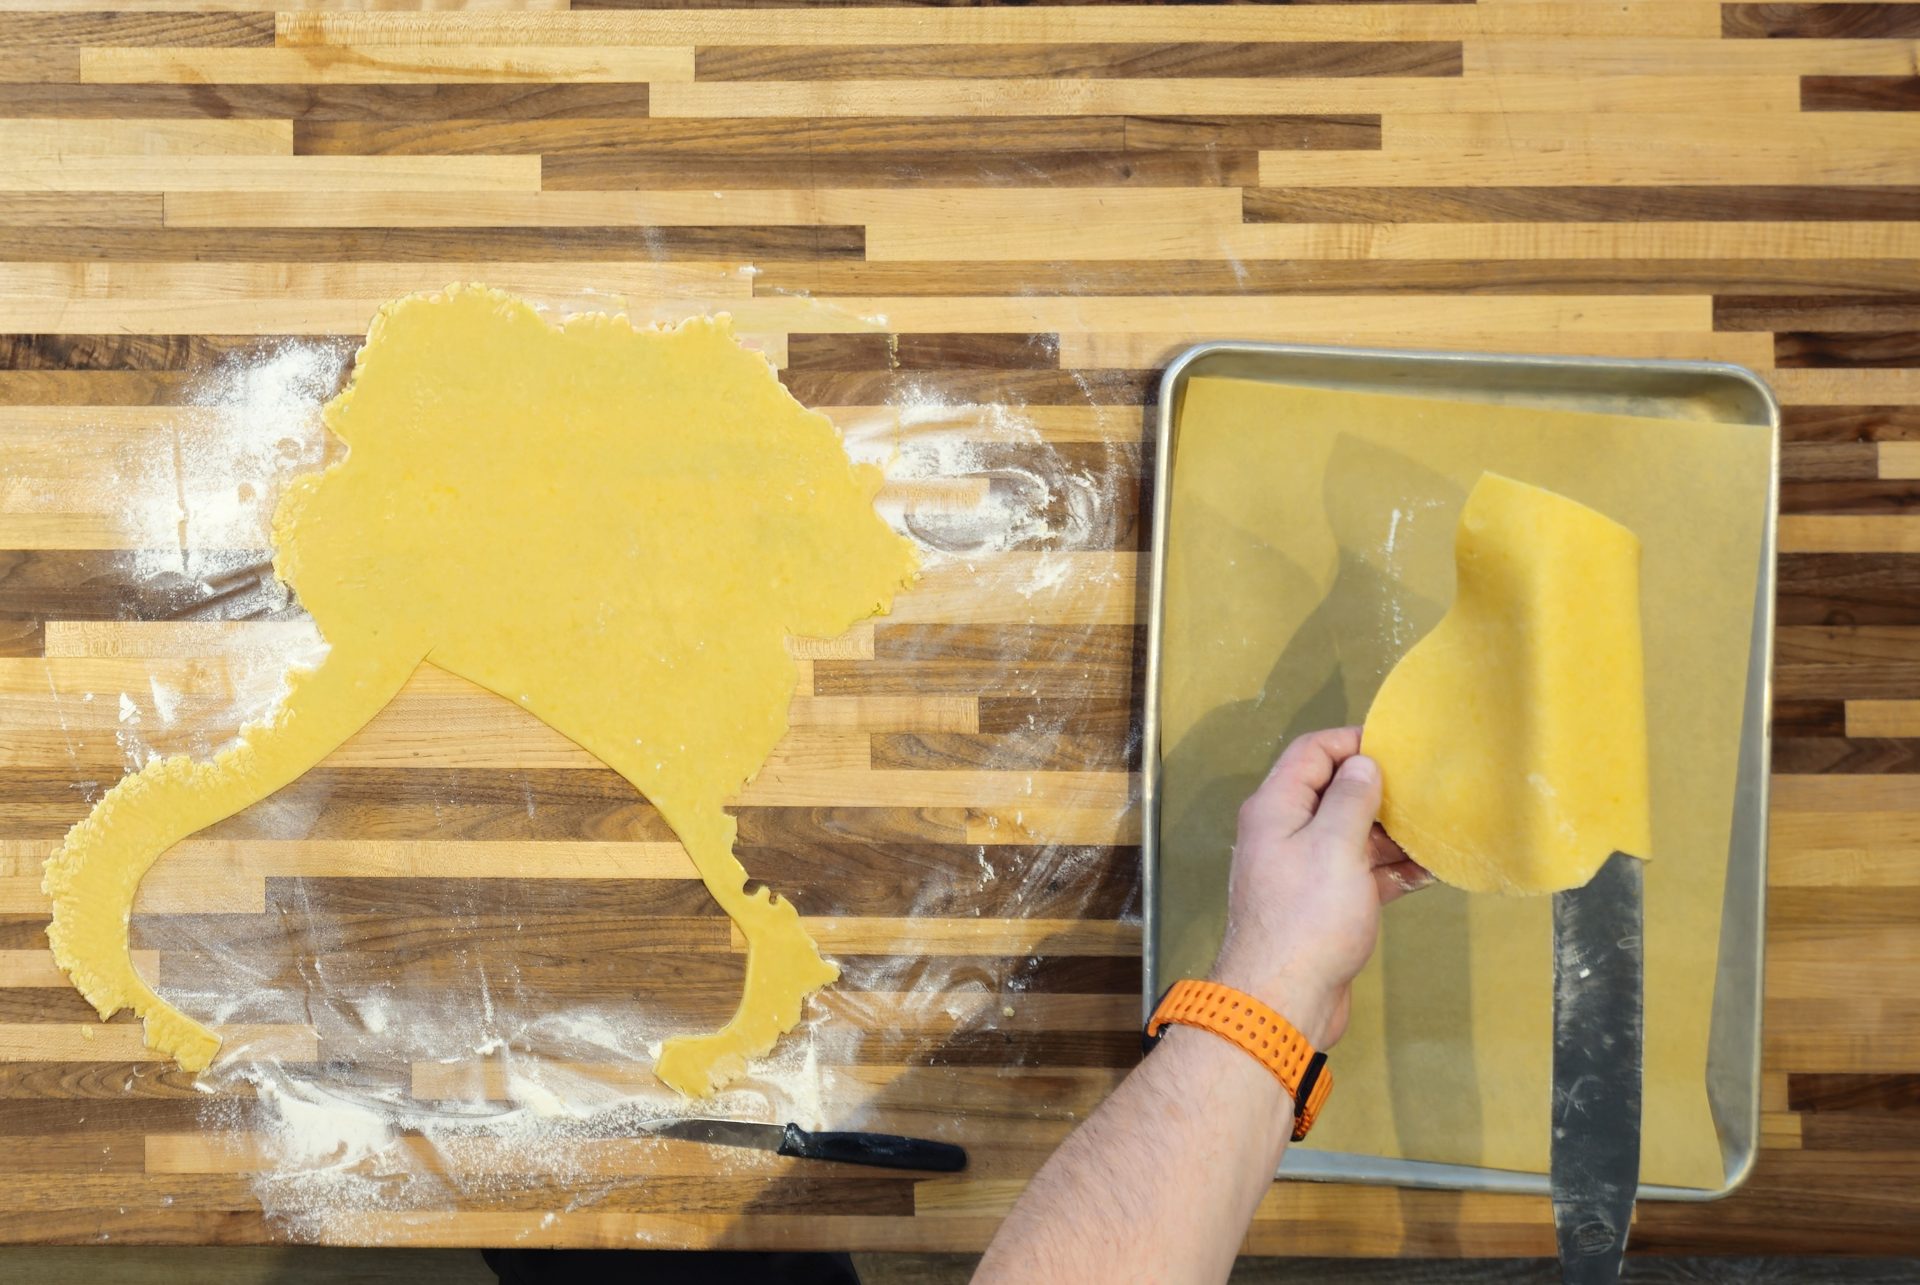
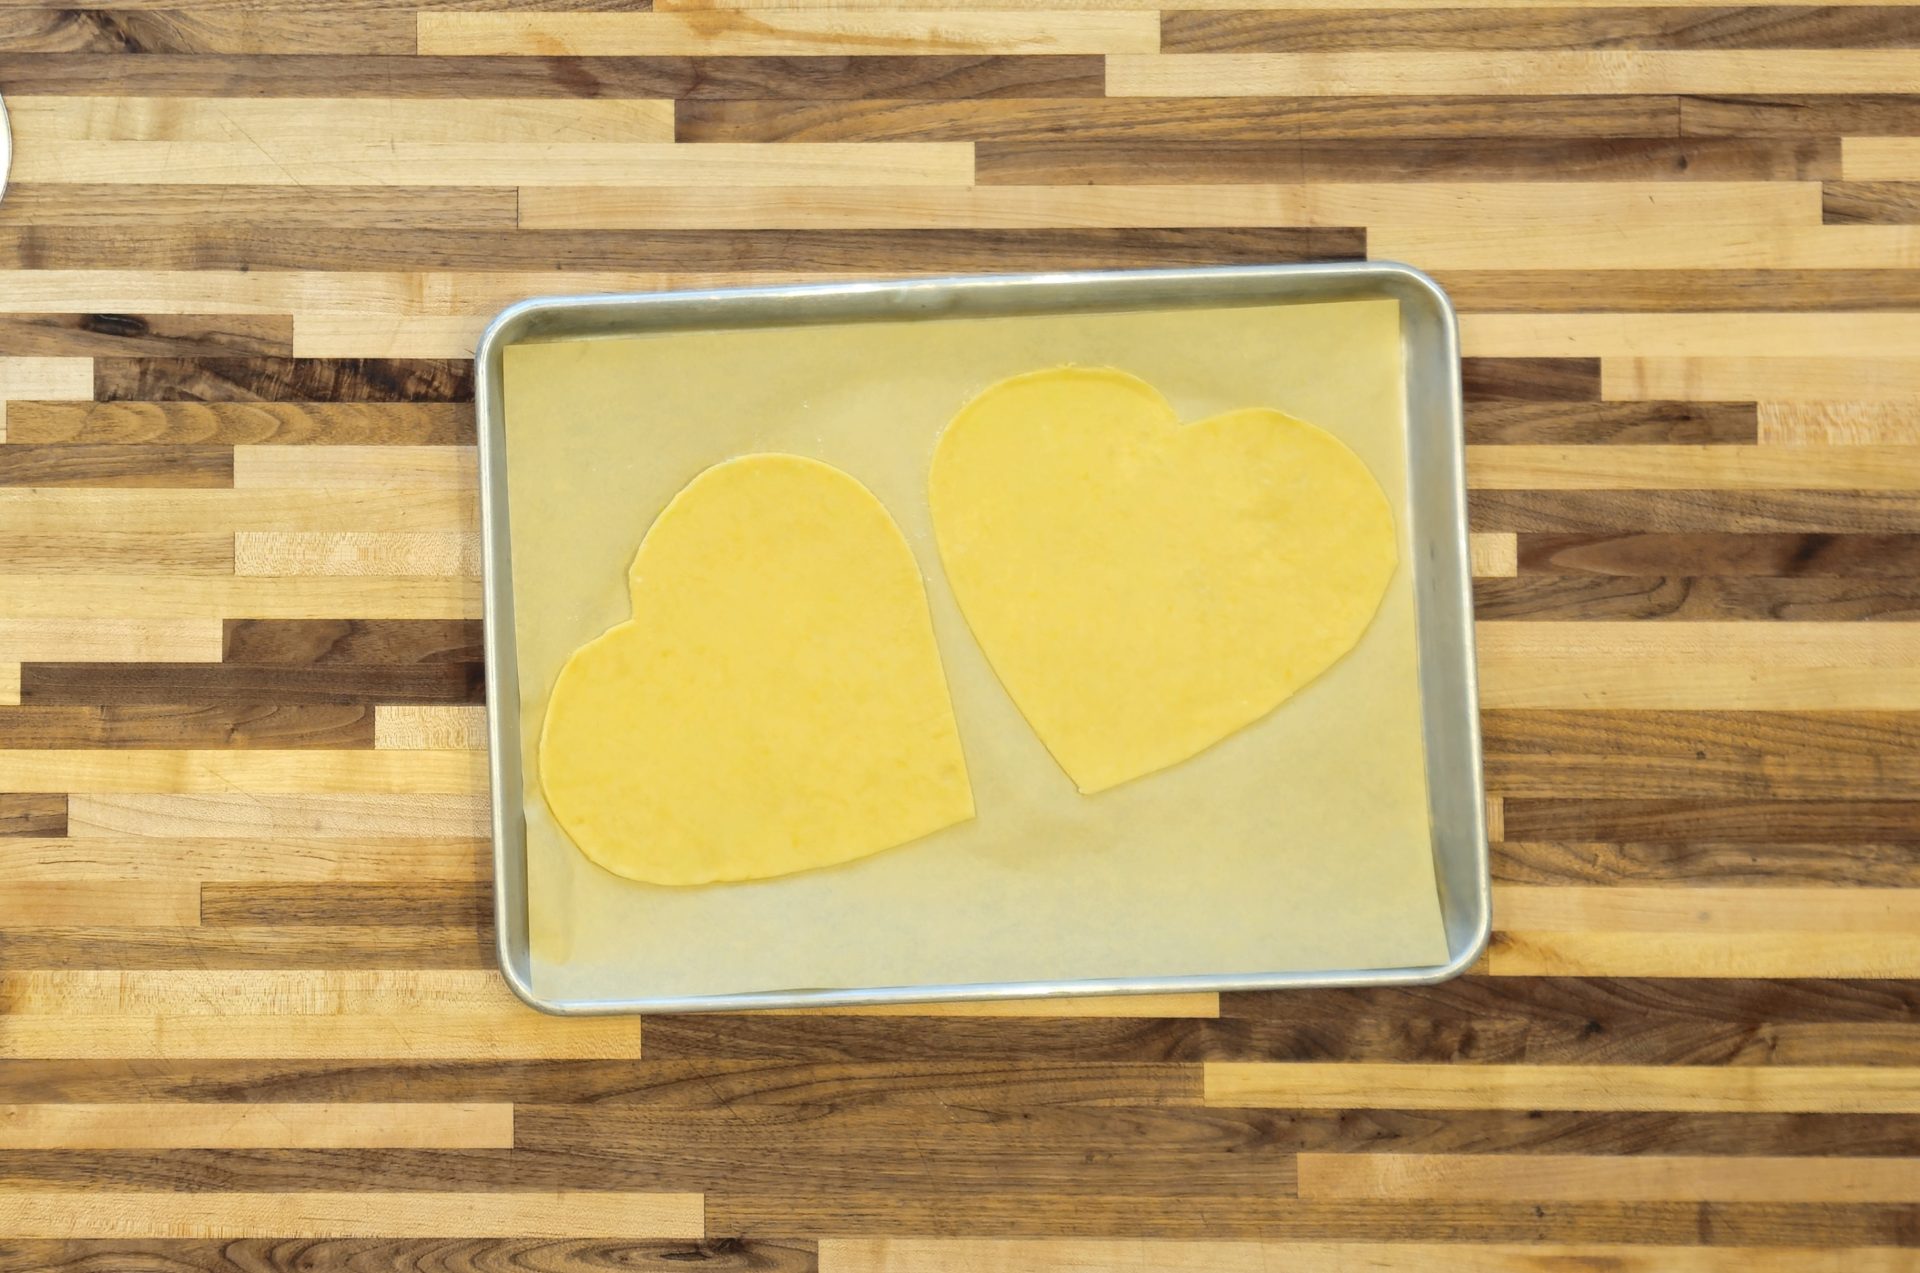
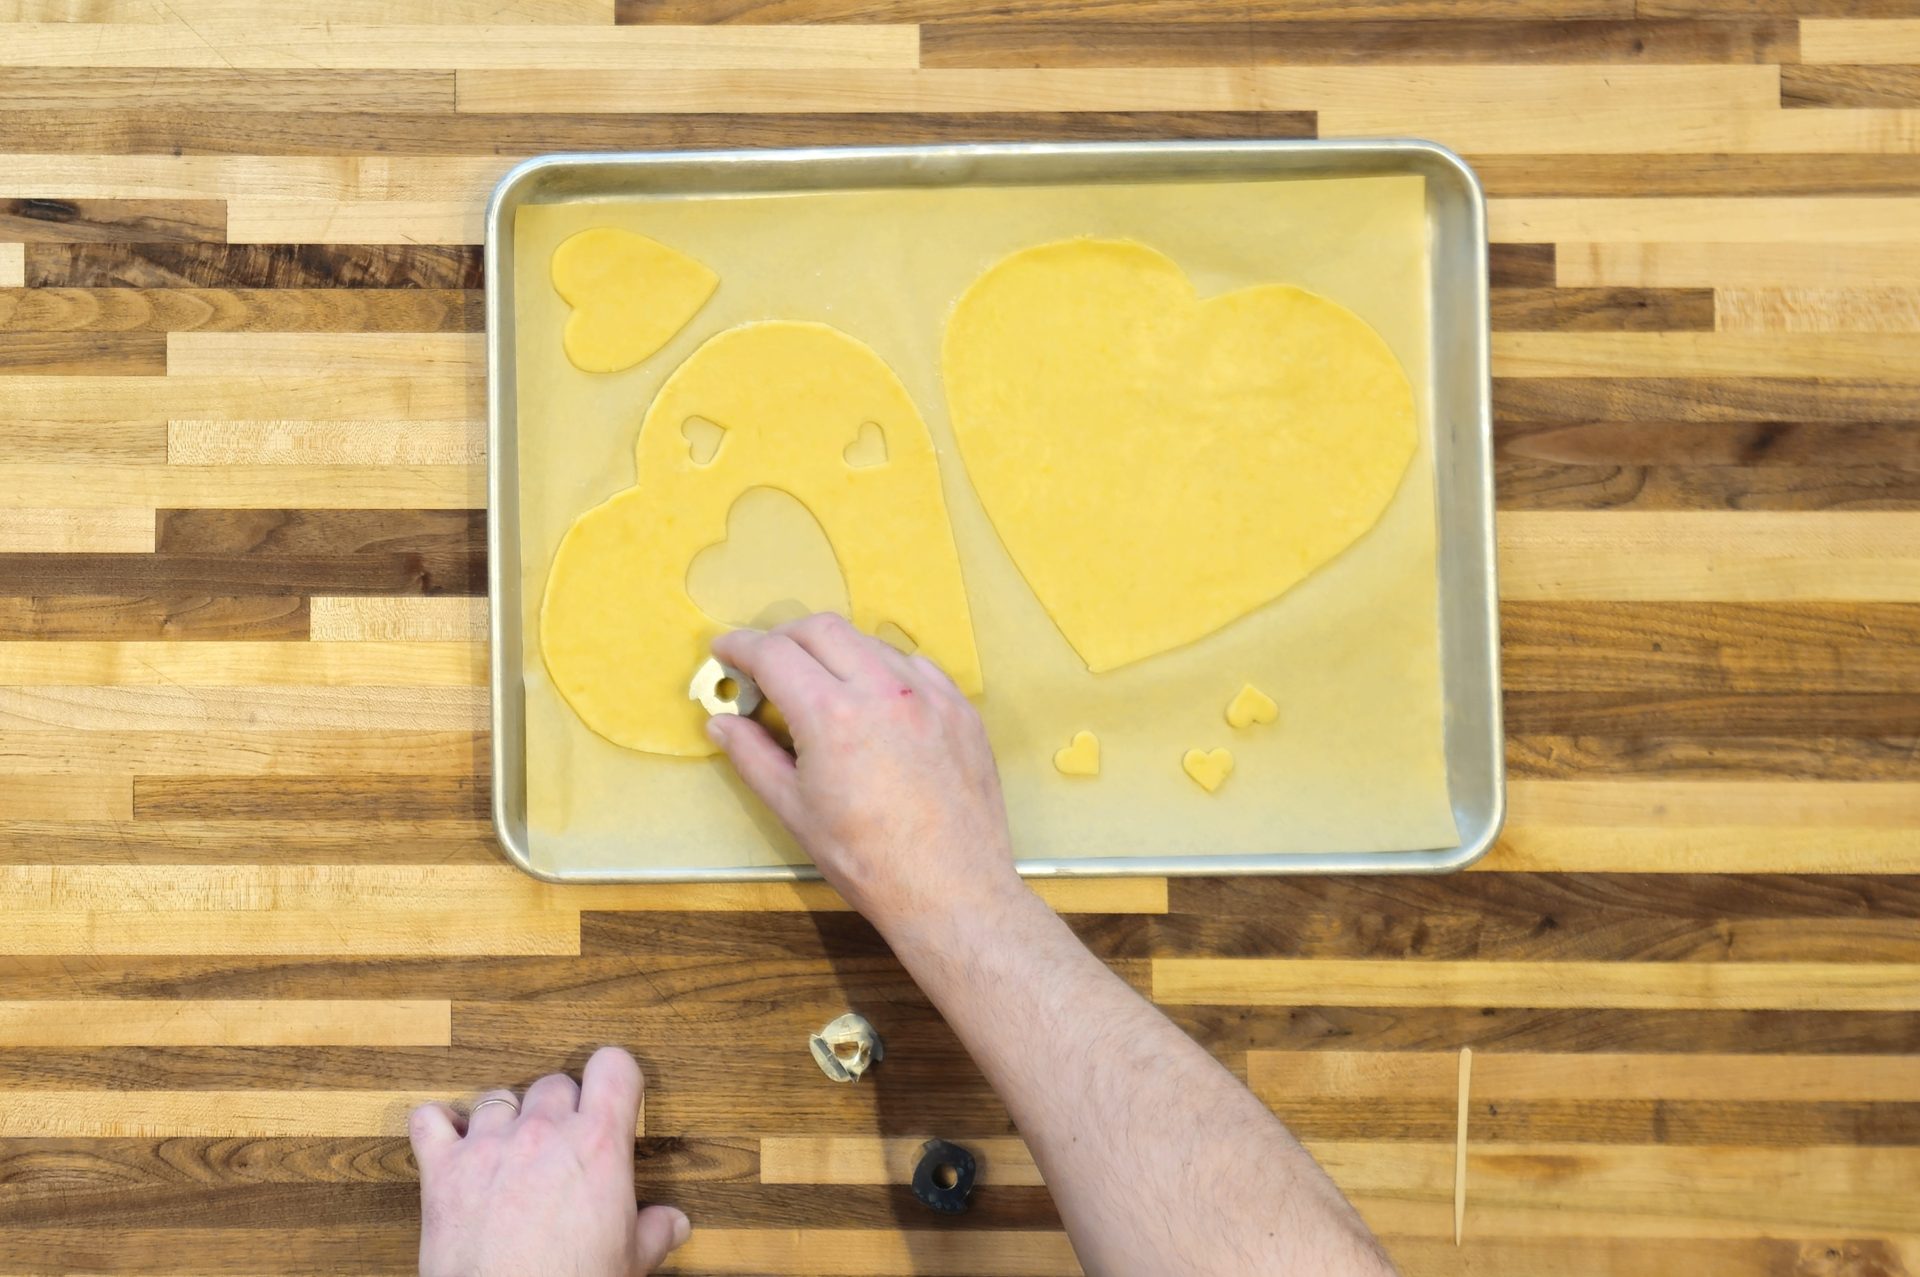
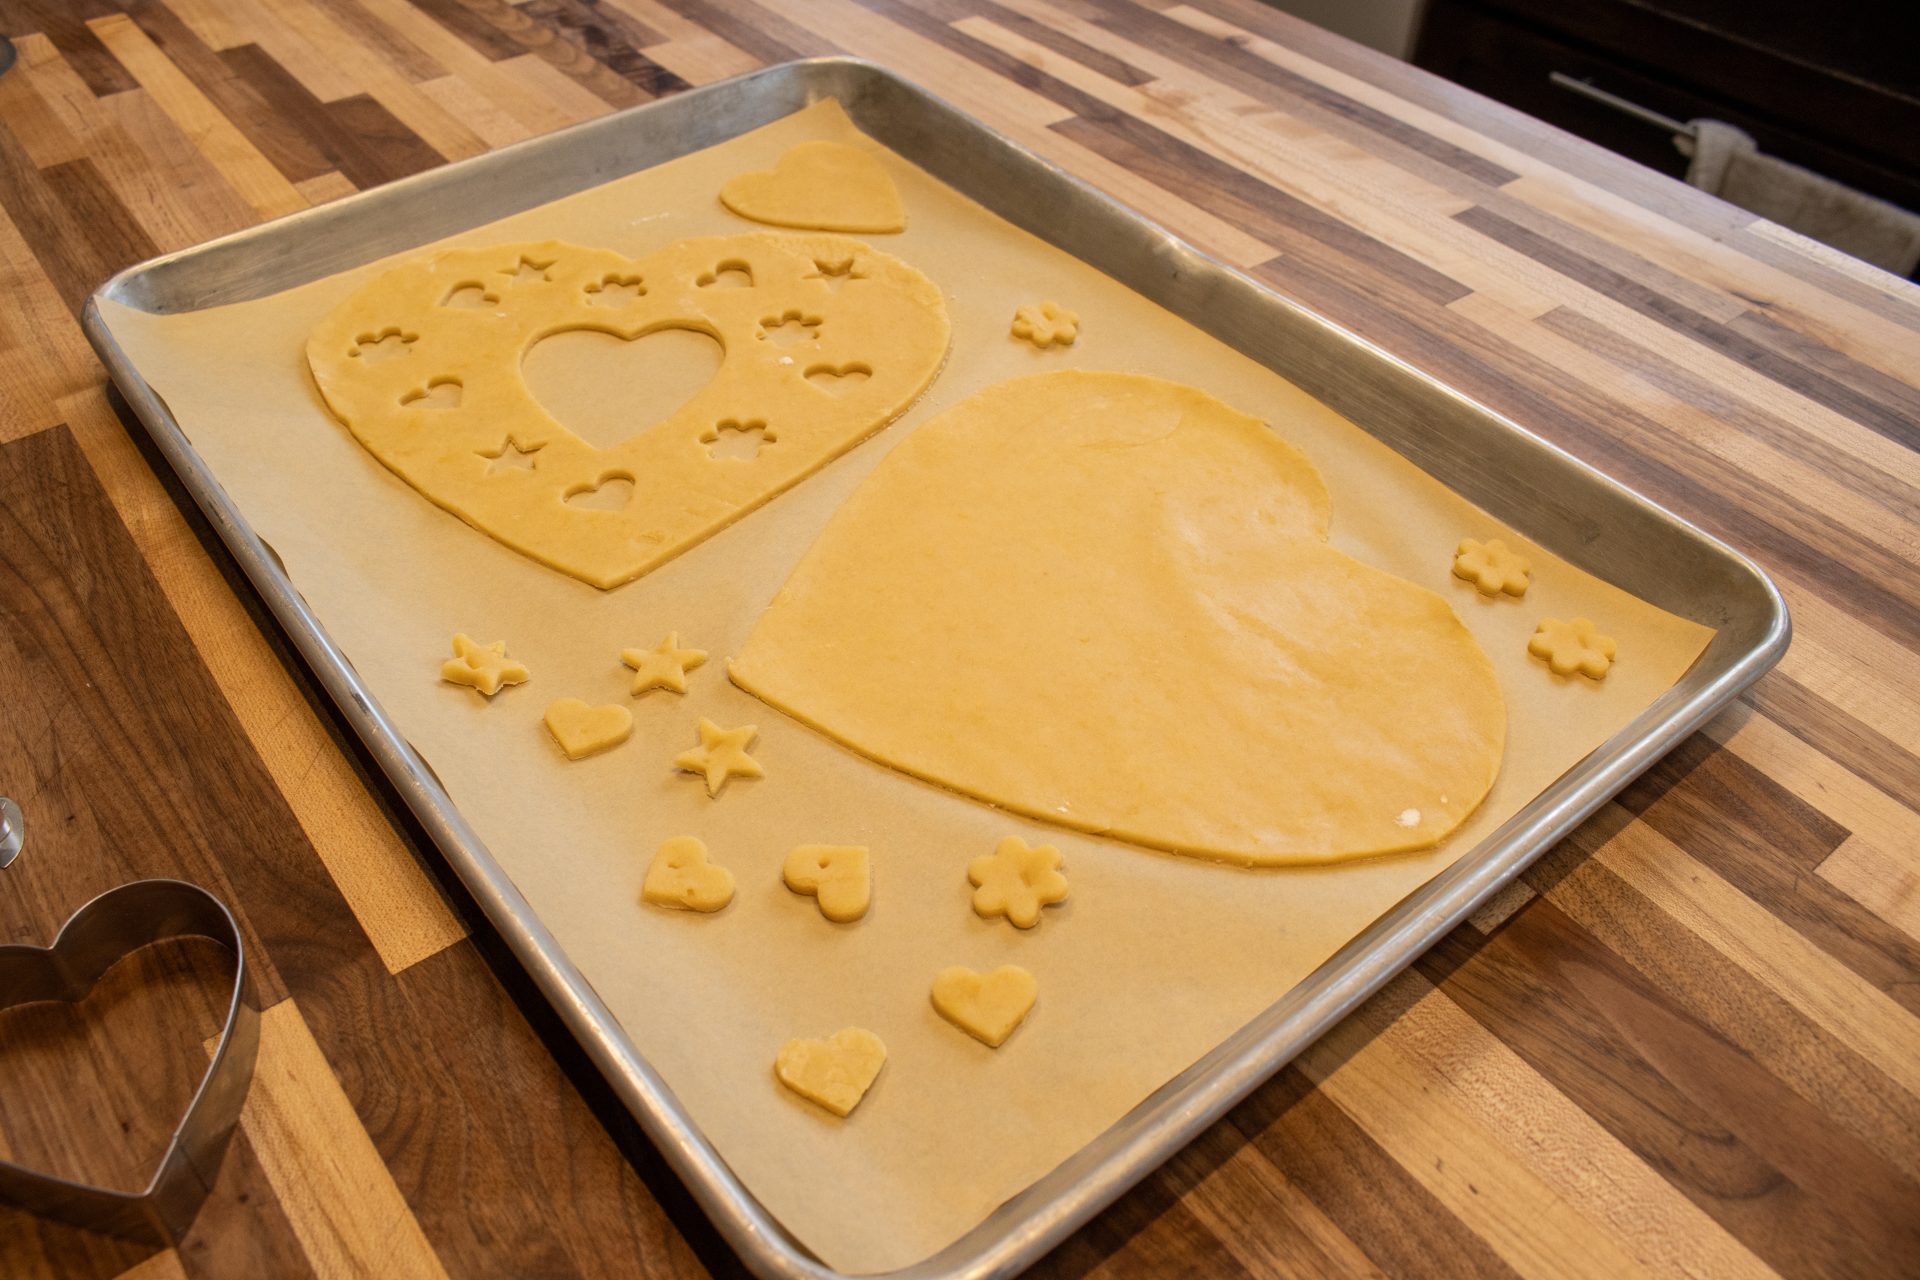
Let’s start the preparation of Linzer Tart Hearts by preparing the dough.

1.1. Place into a kitchen mixer with a flat beater attachment:

3 cups of flour
2 cups of confectioners’ sugar
½ TSP of baking powder
Lemon zest from one lemon

Shortly stir together using a hand whisk until nicely combined (about 1 minute).

1.2. Add:

2 ½ sticks of butter – soft
2 large eggs
1 TSP of Vanilla Extract

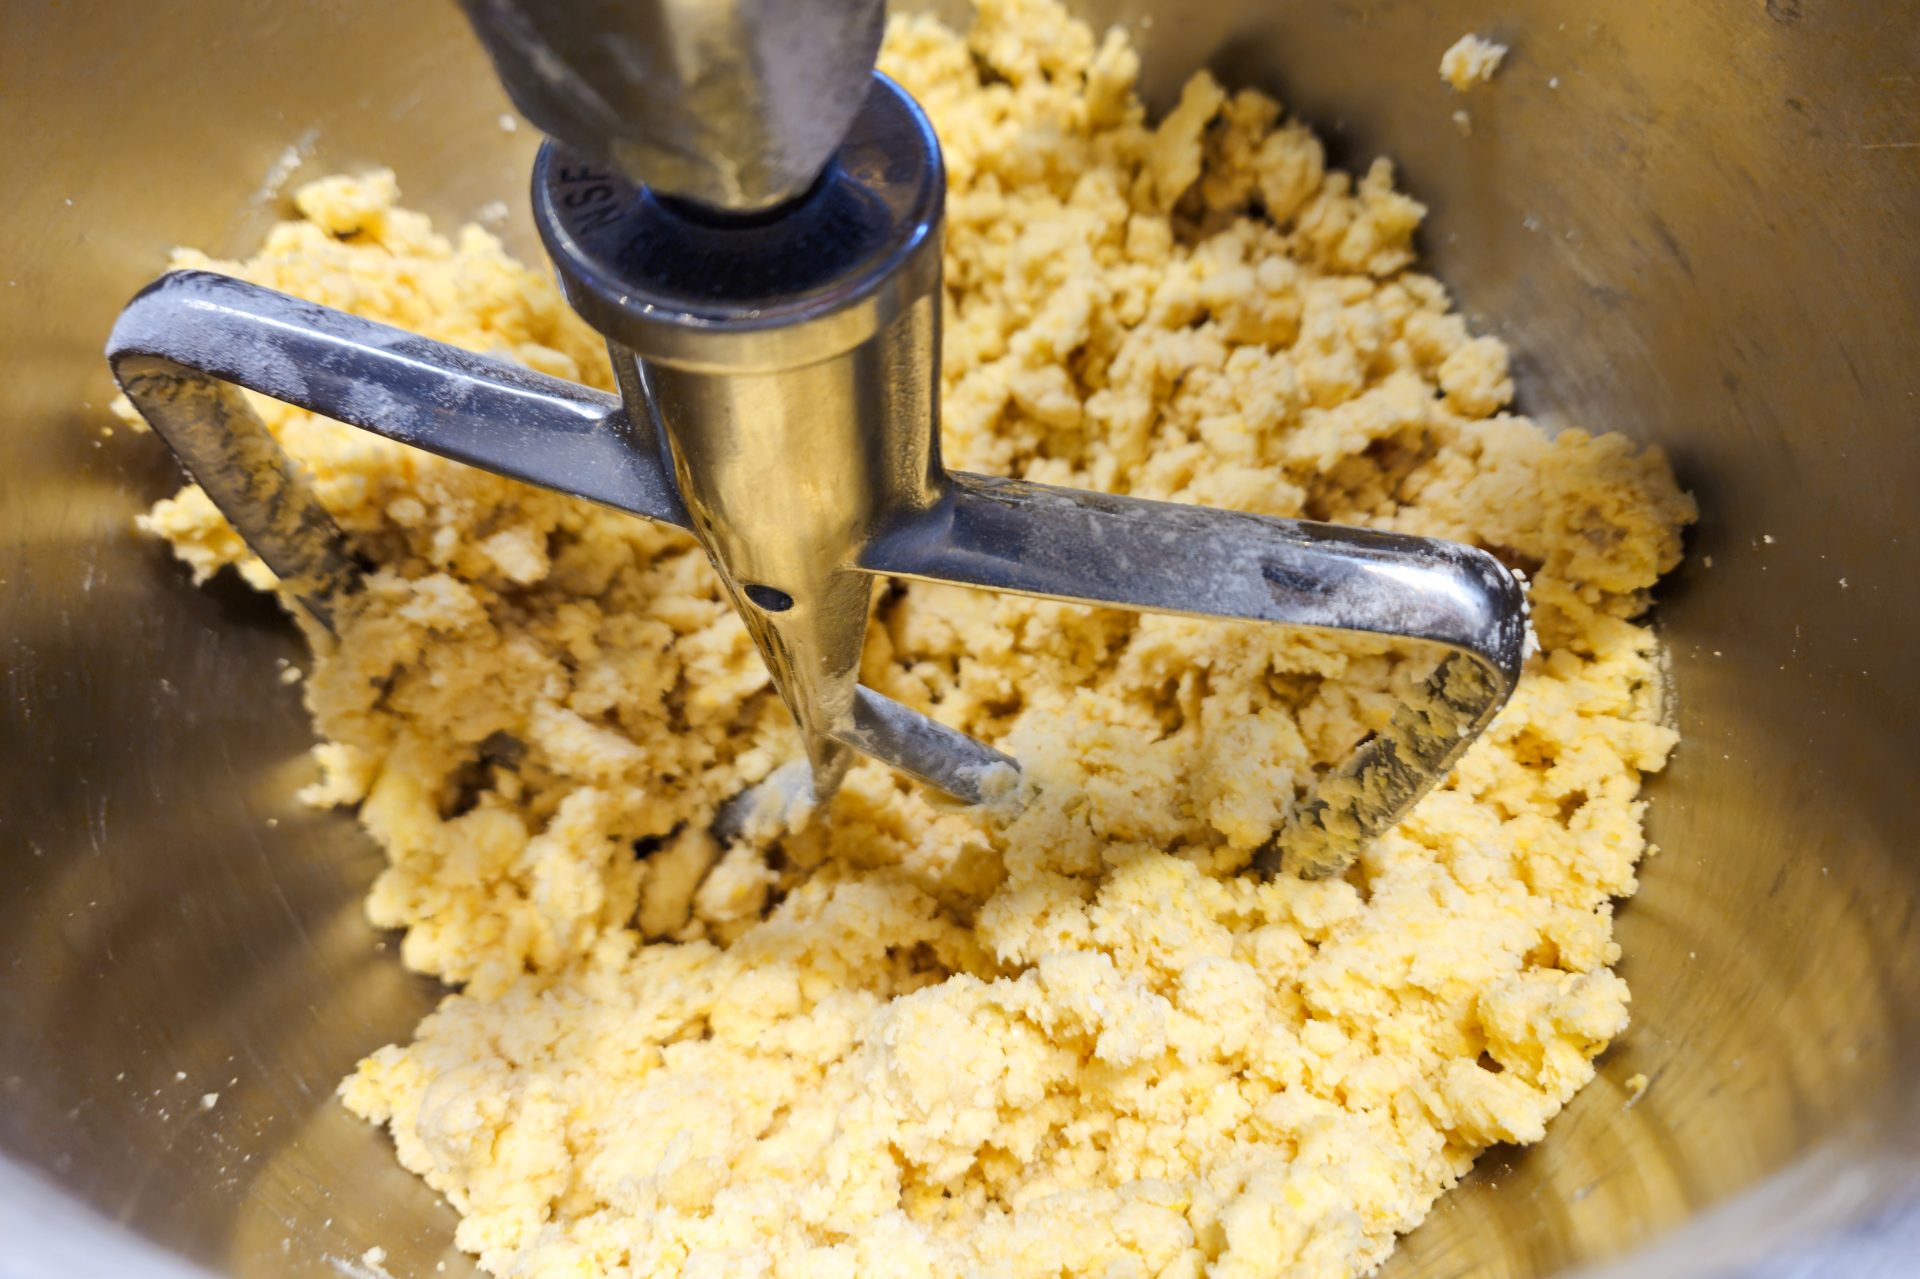
Process at a slow speed until all ingredients are partially combined.

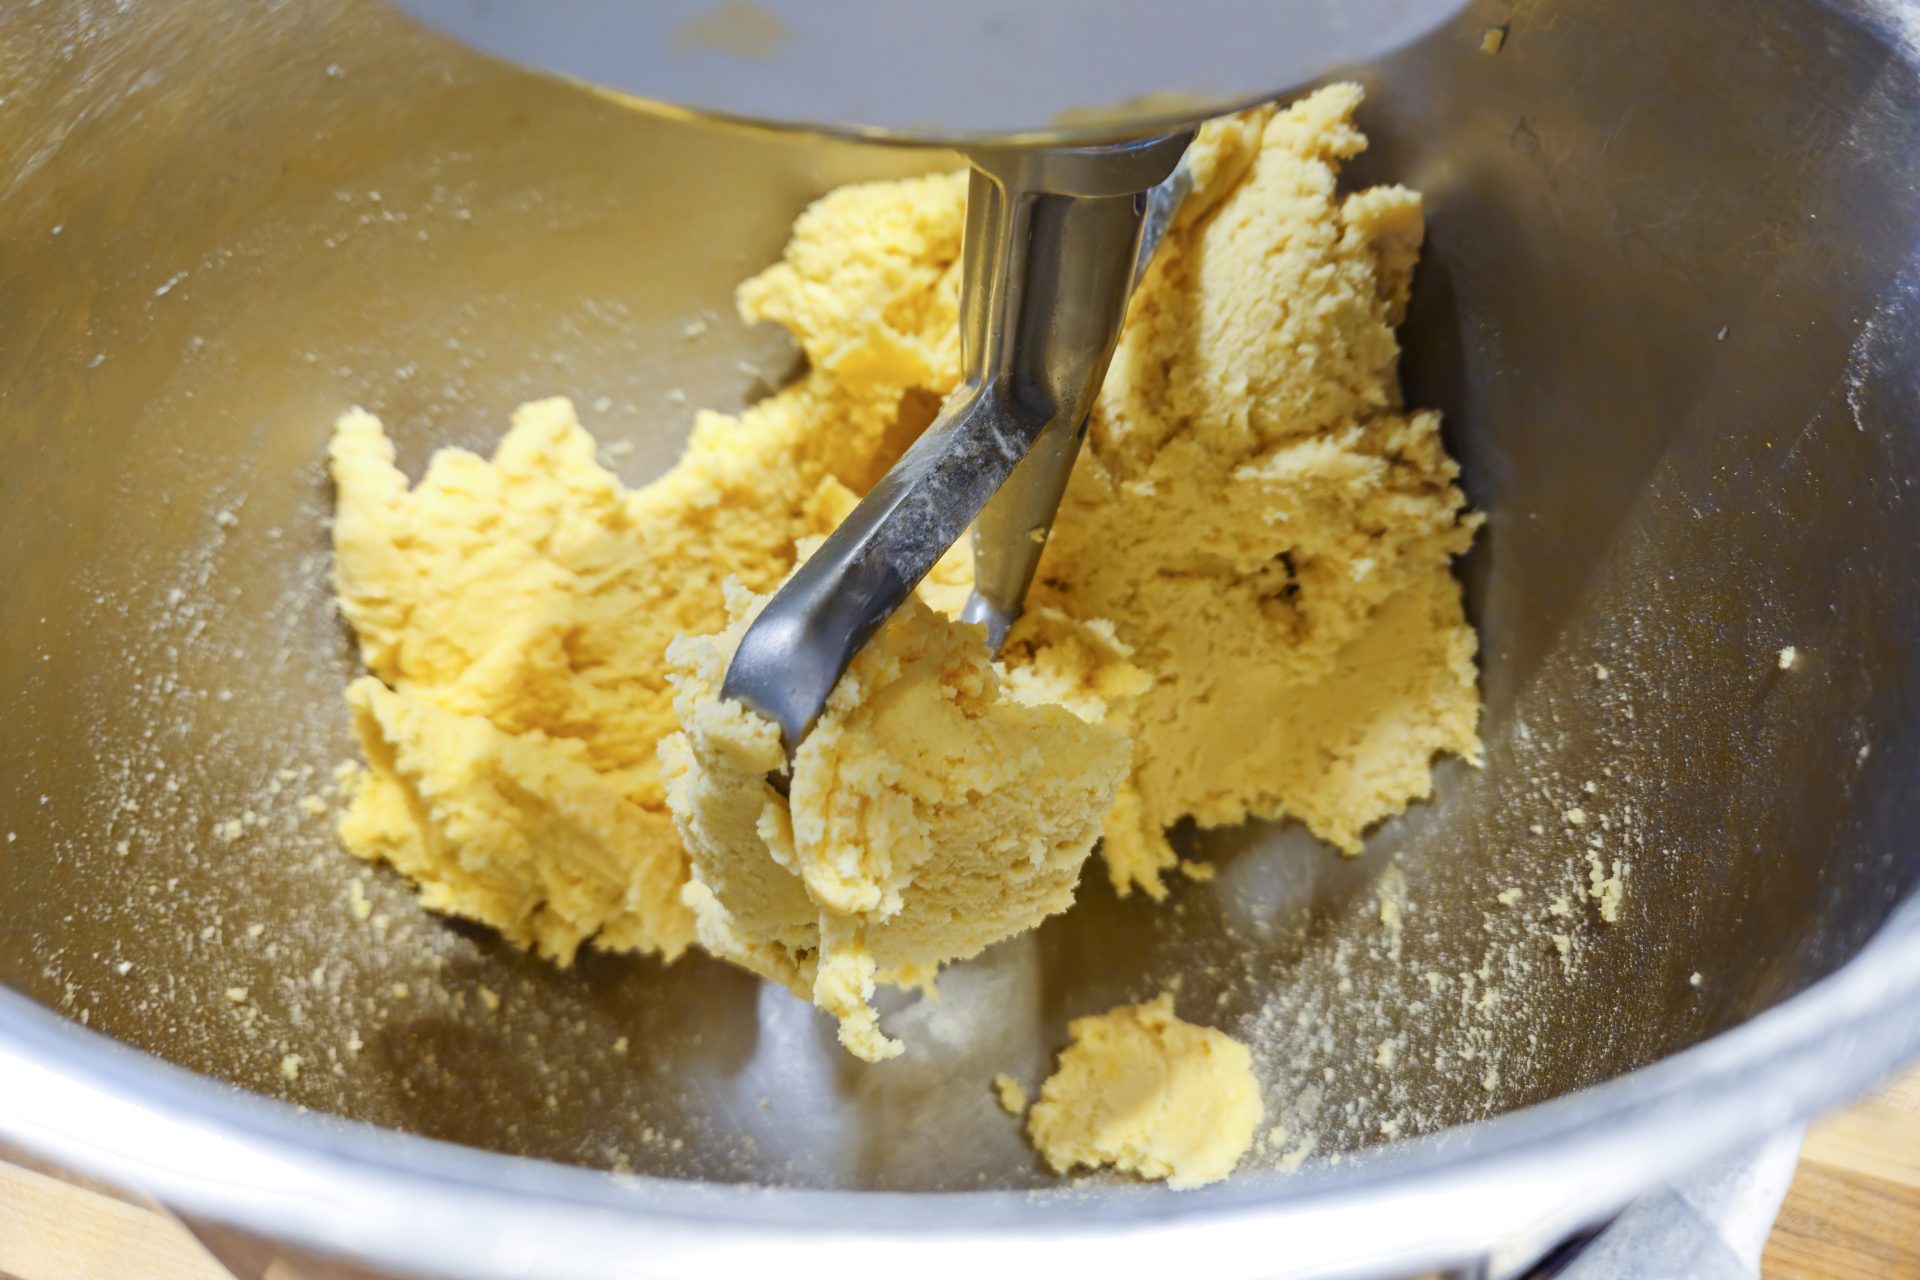
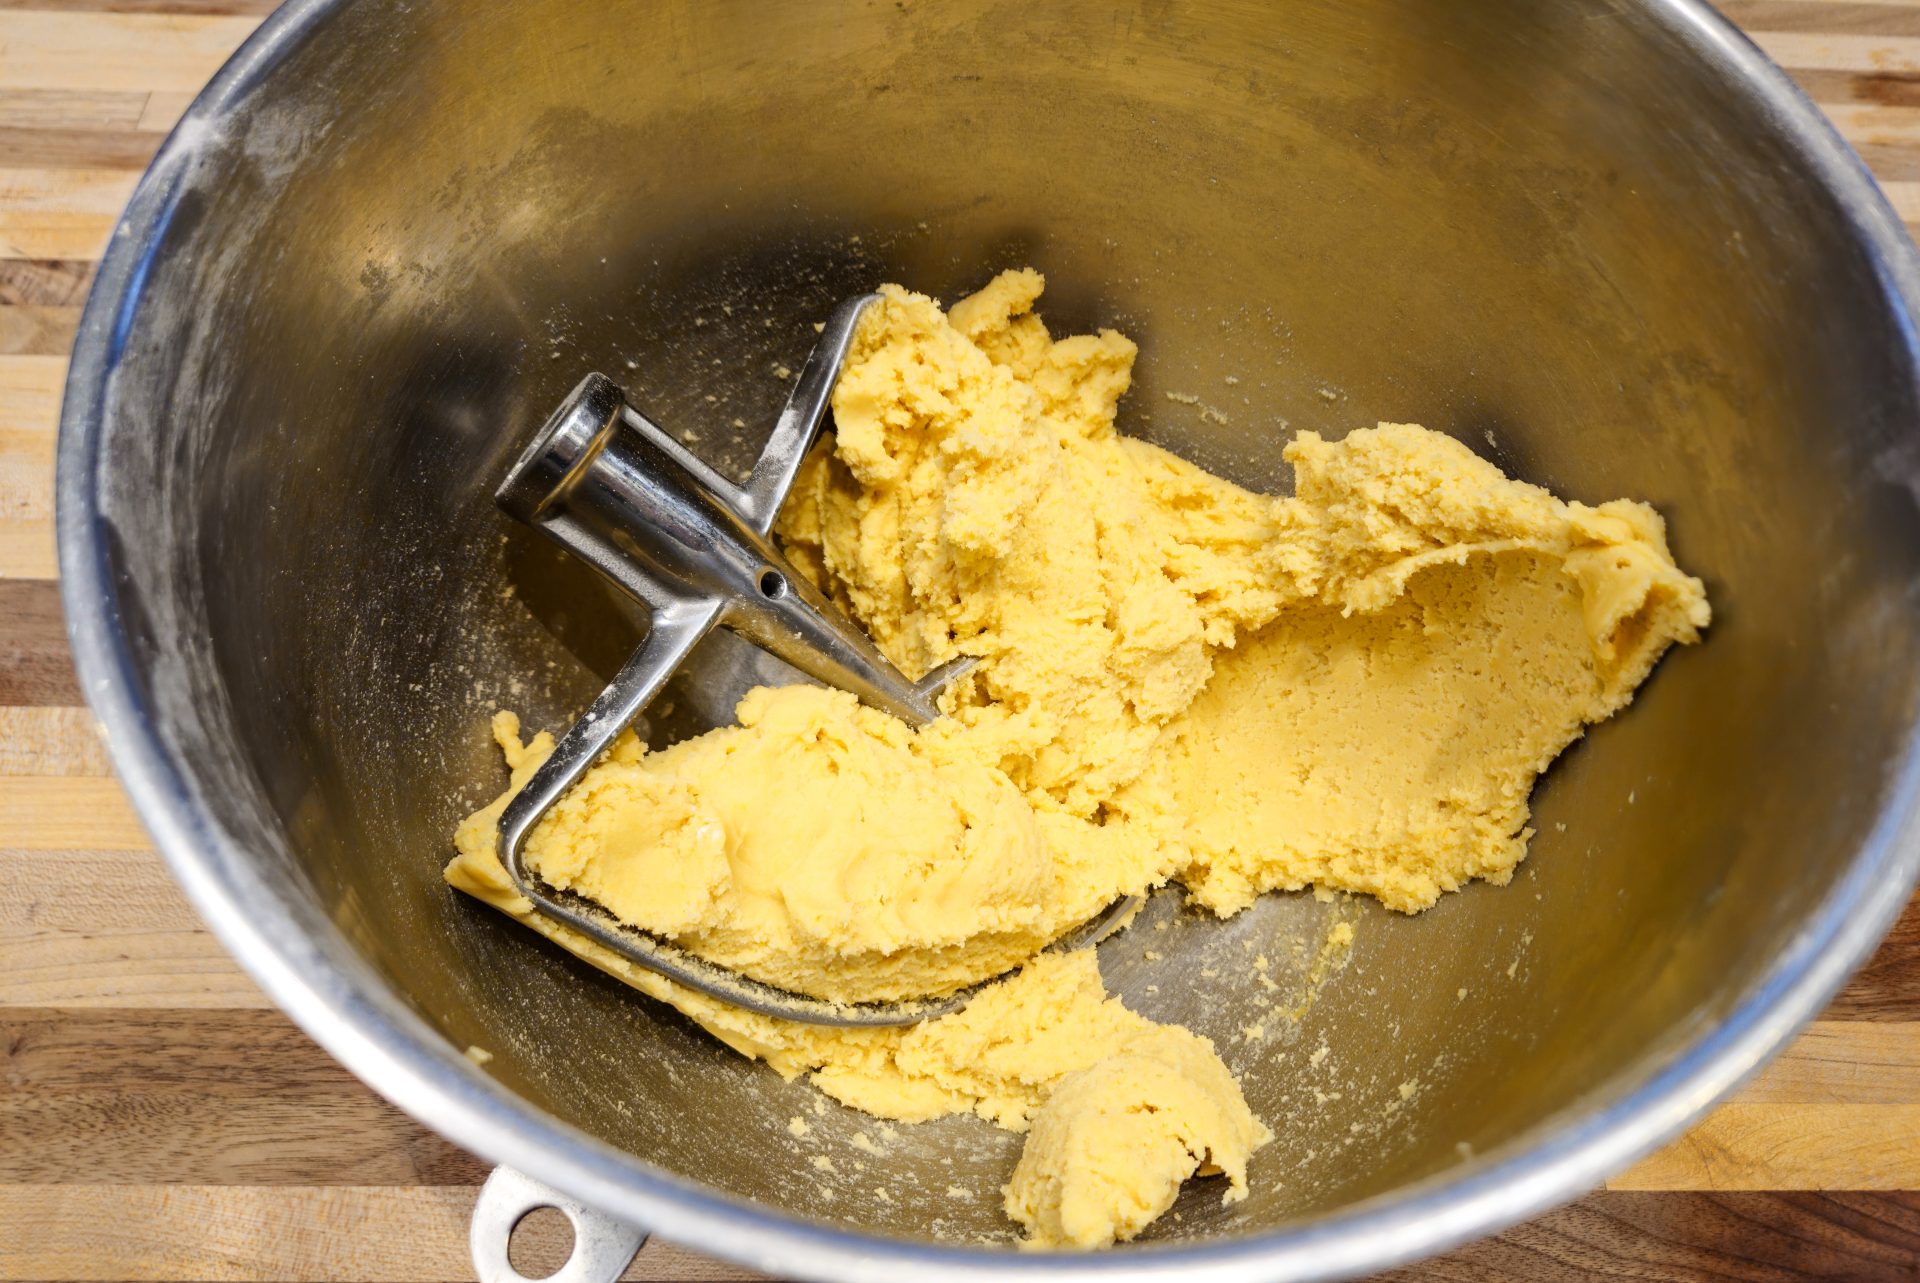
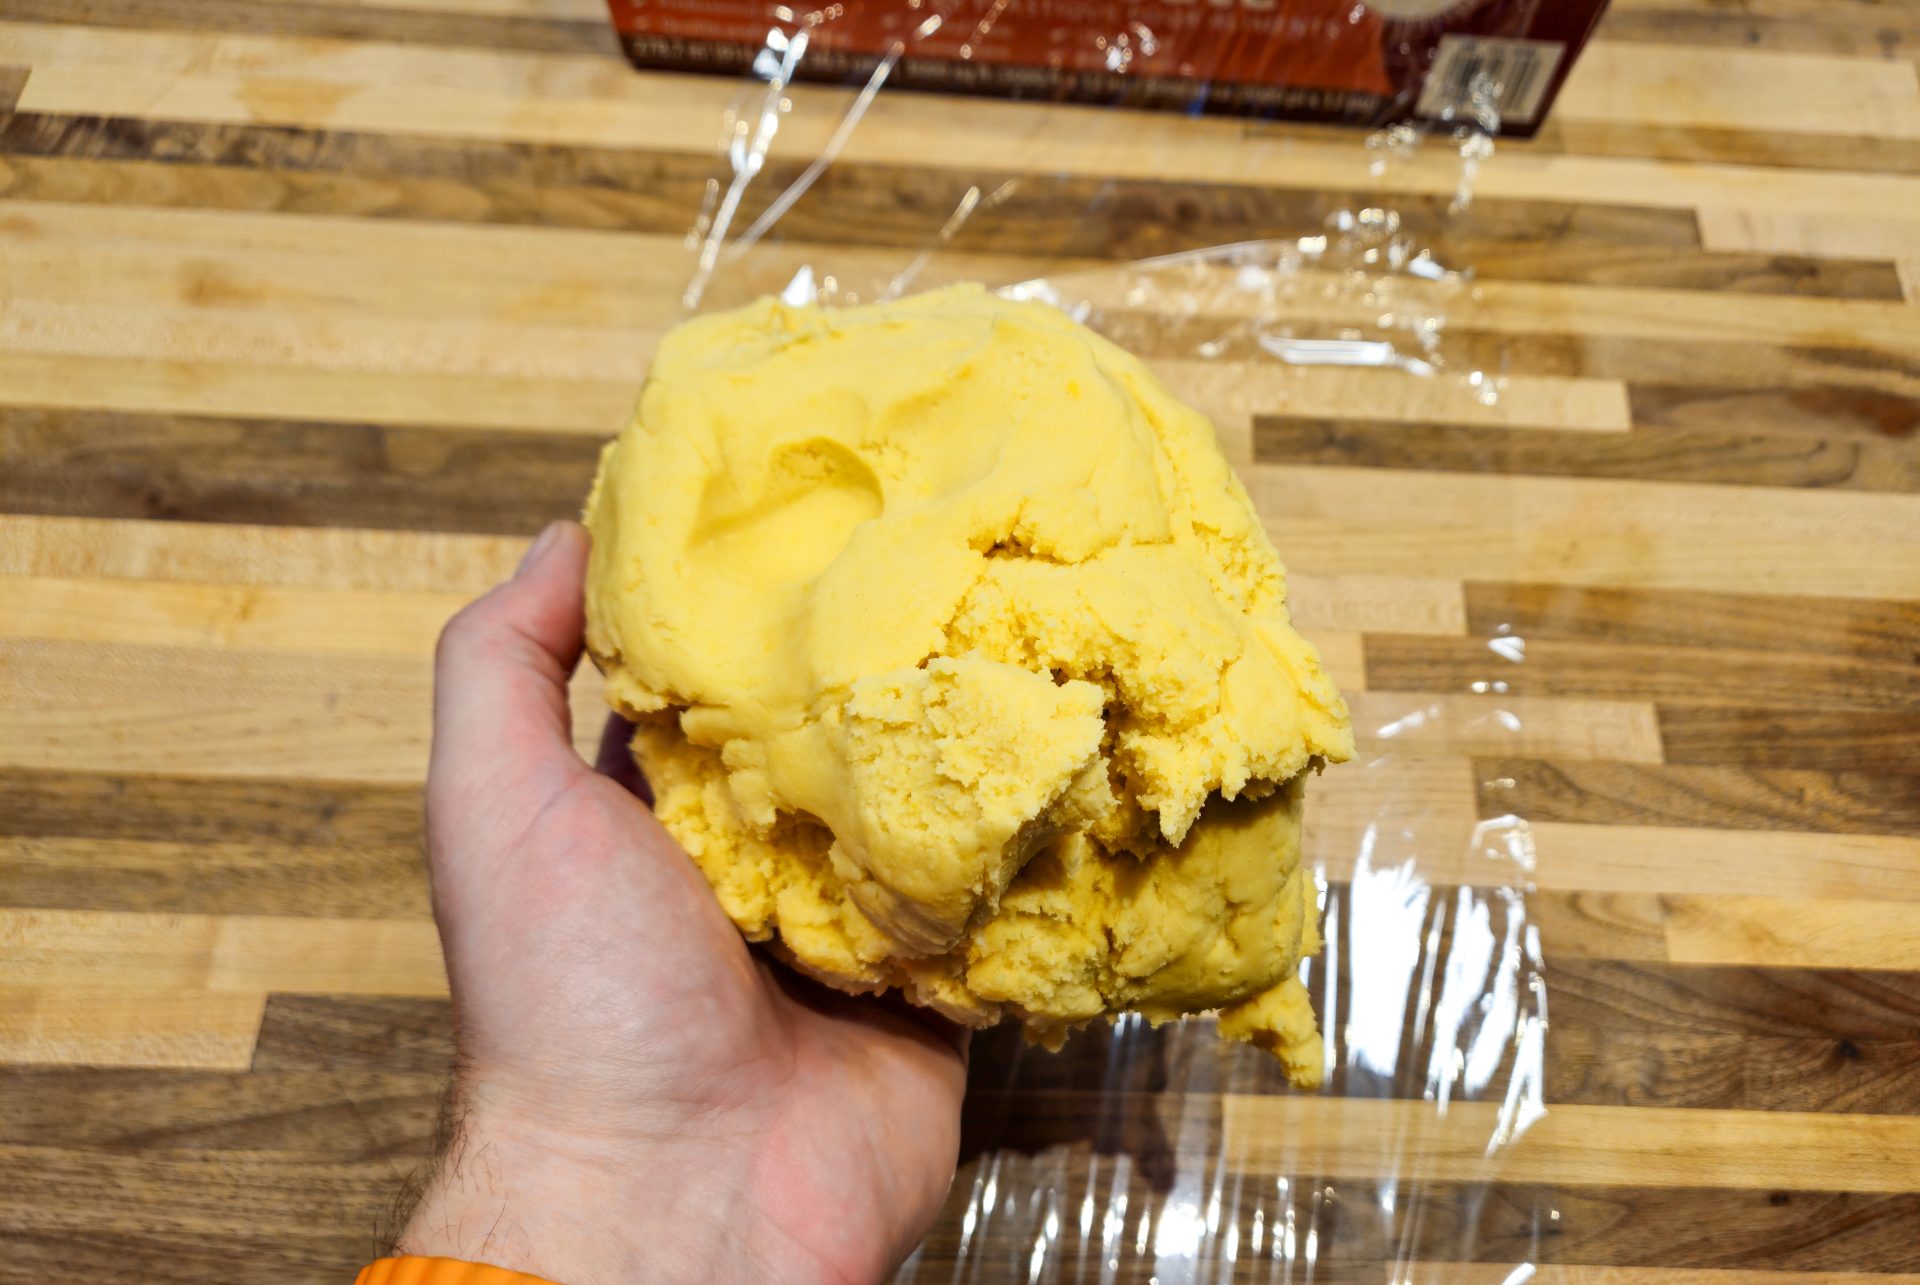
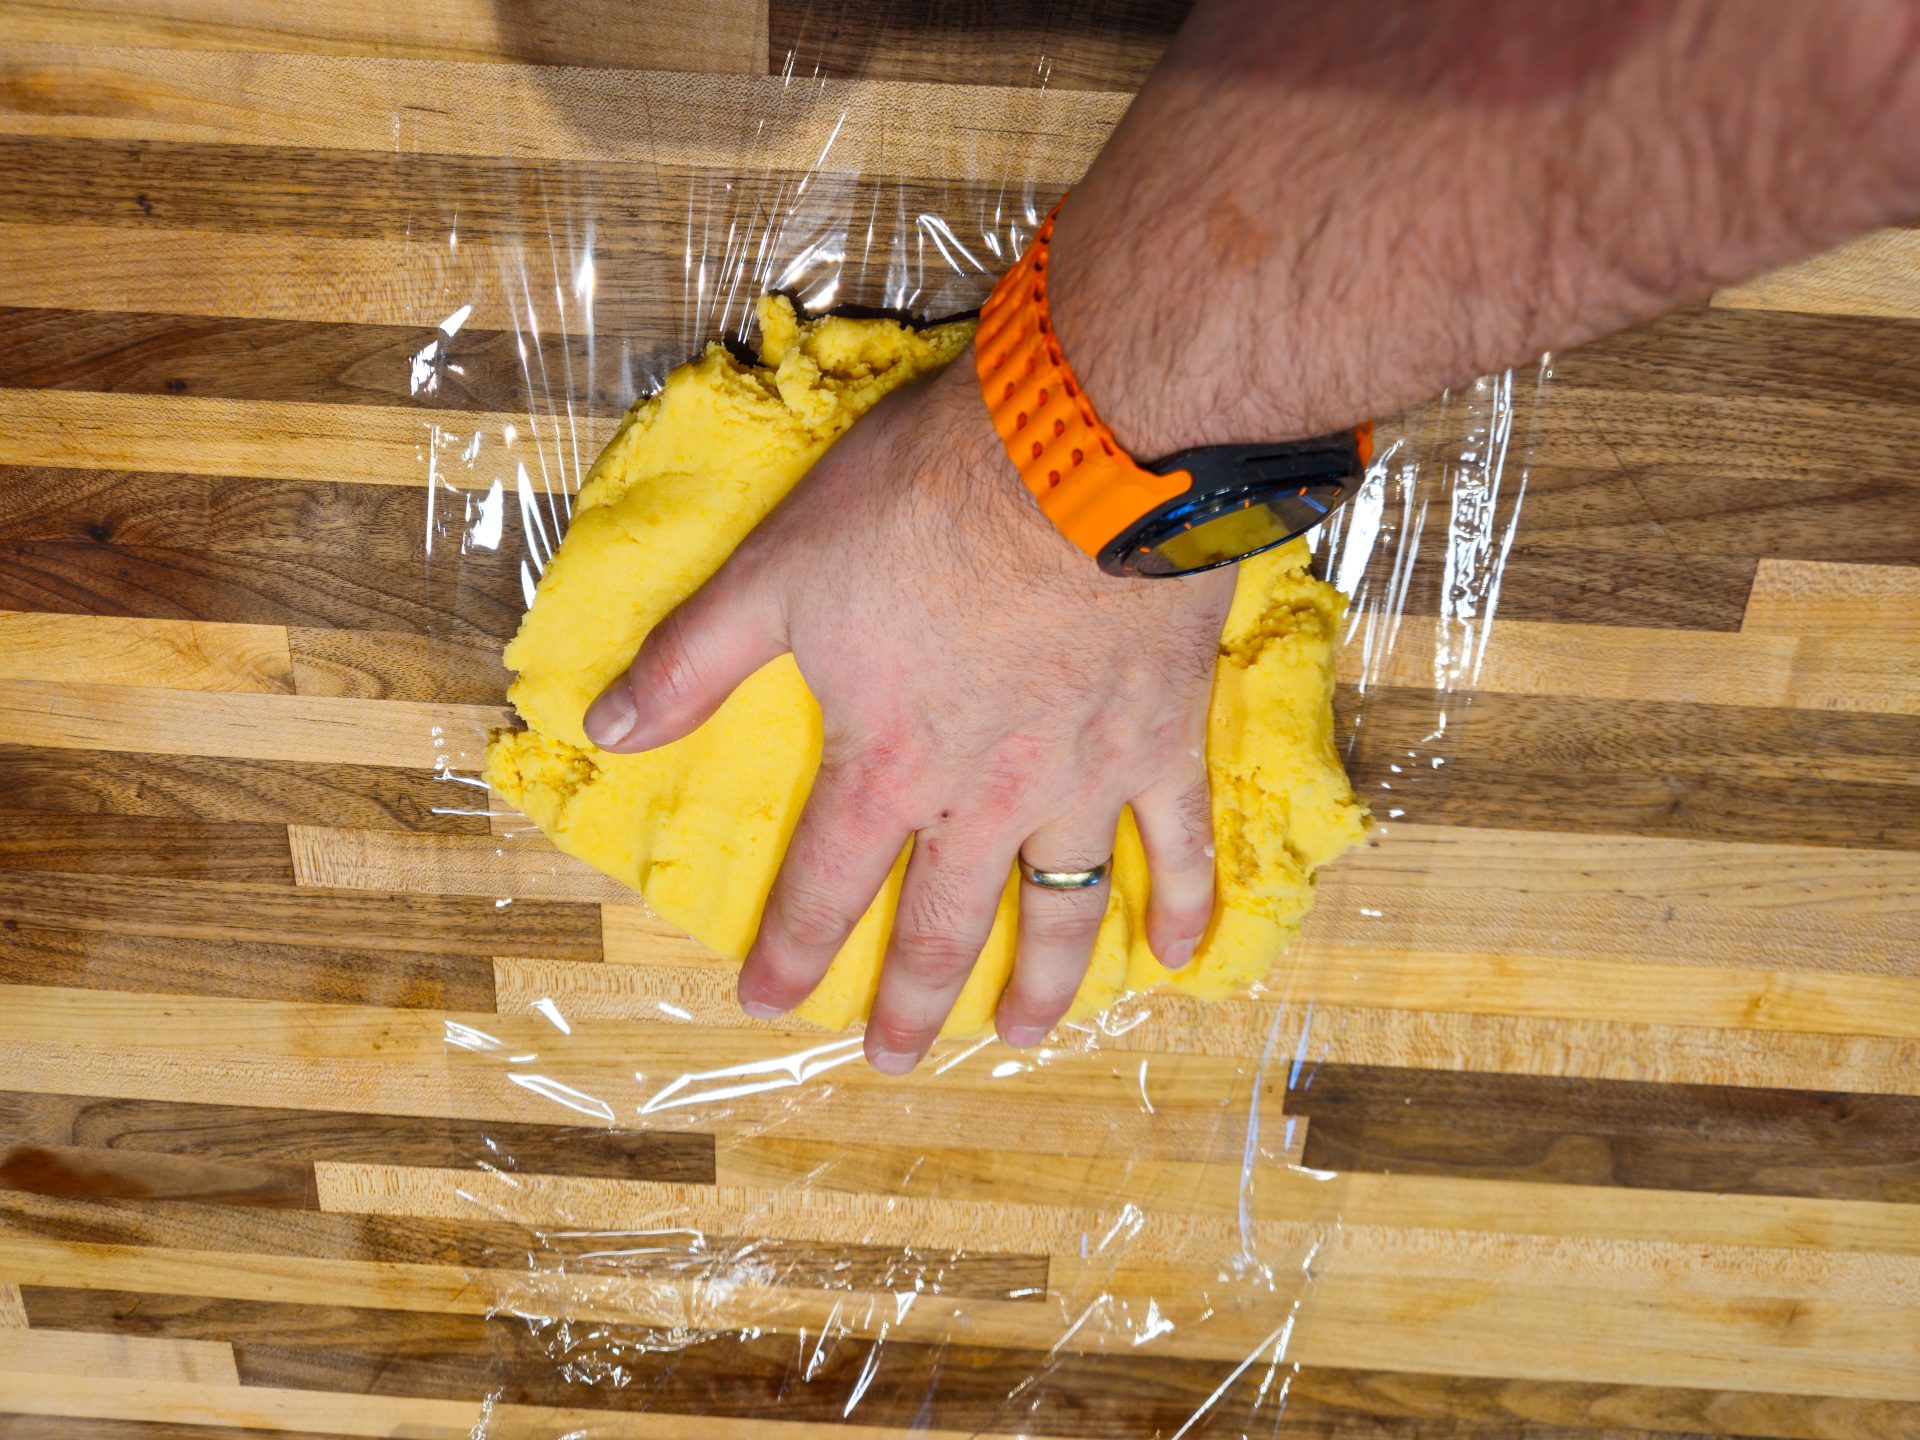
1.3. Then increase the speed to medium-high and process until the dough is formed (about 2 – 3 minutes).

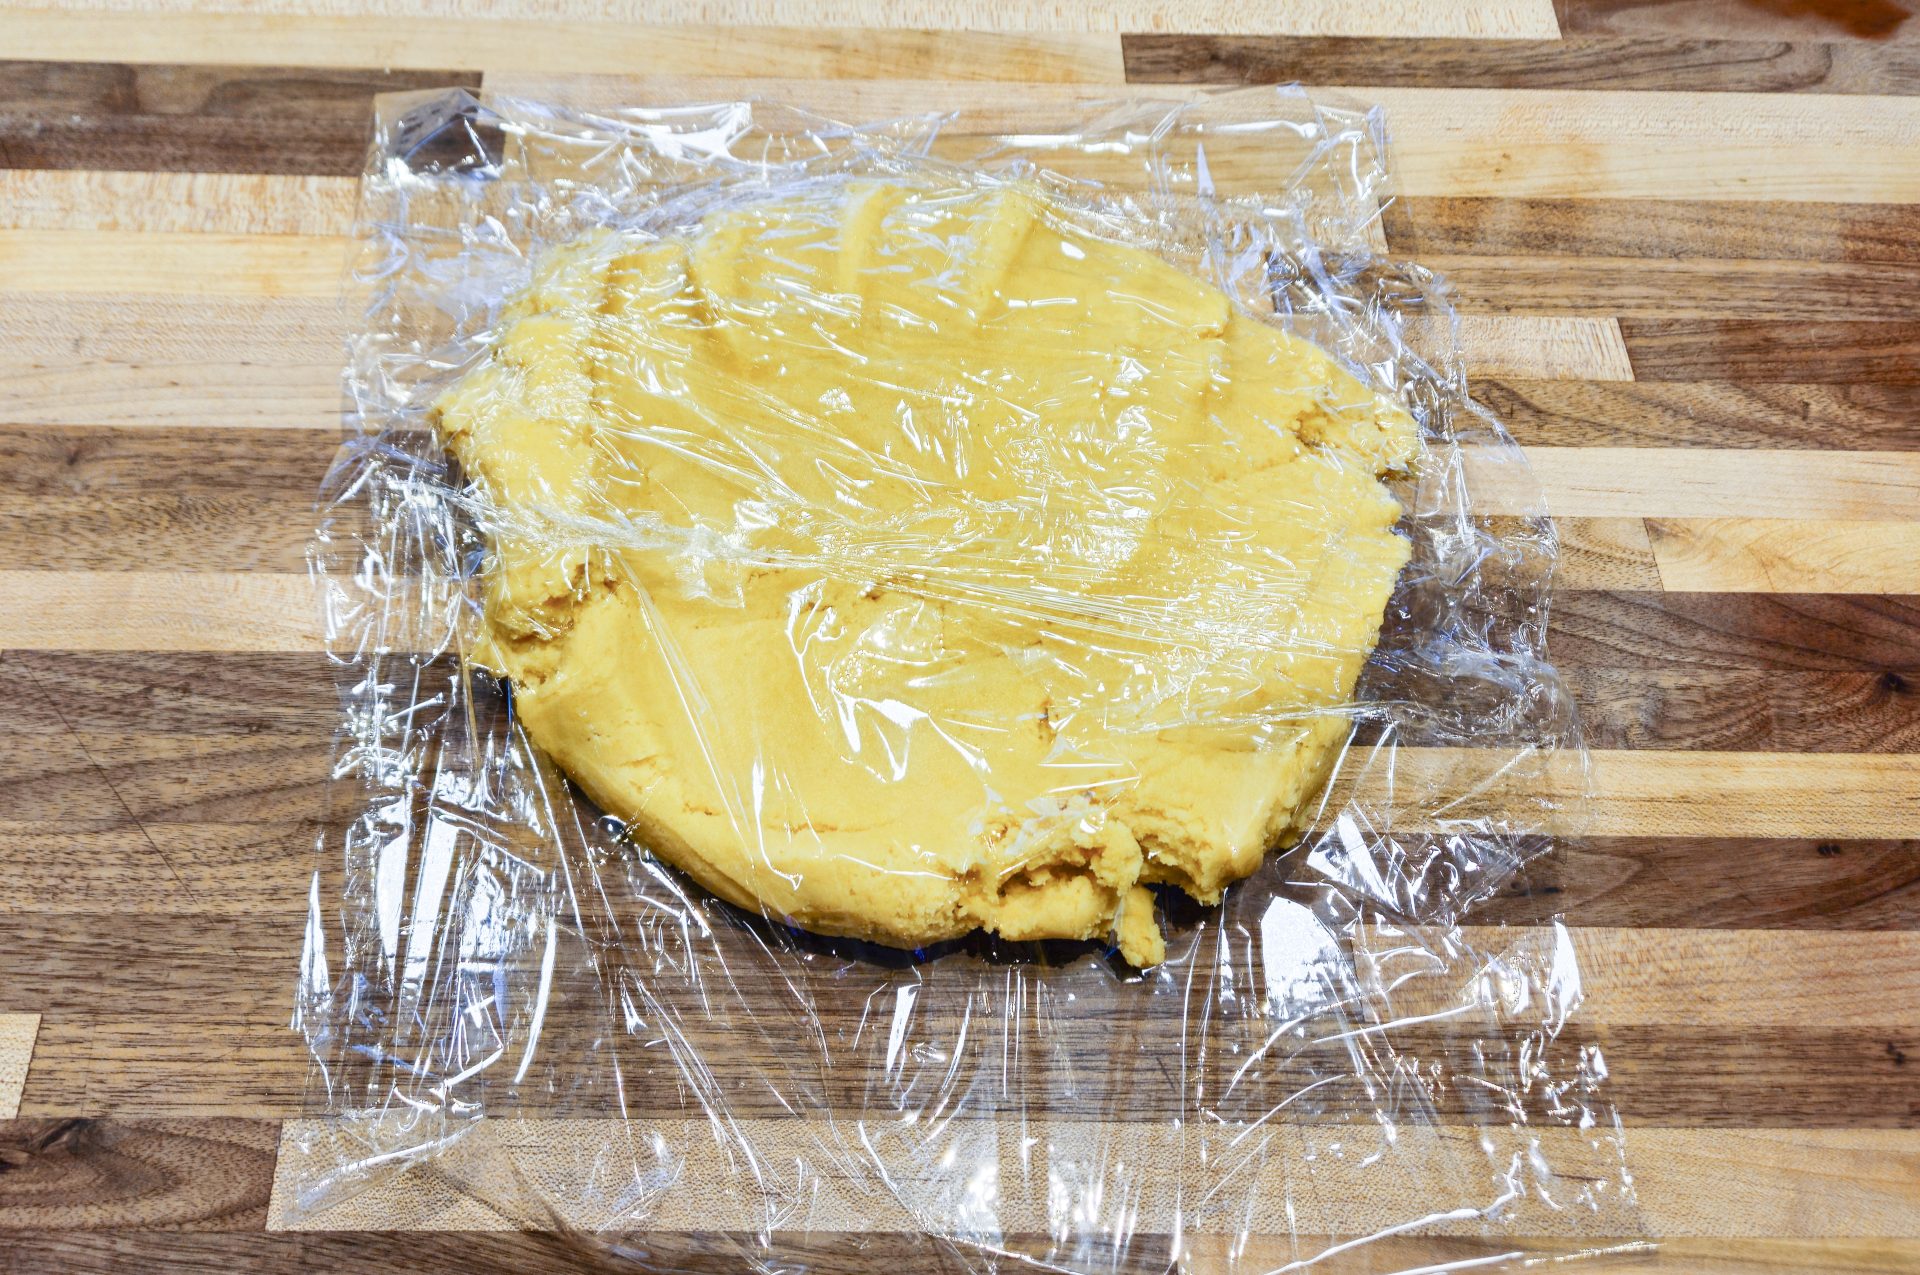
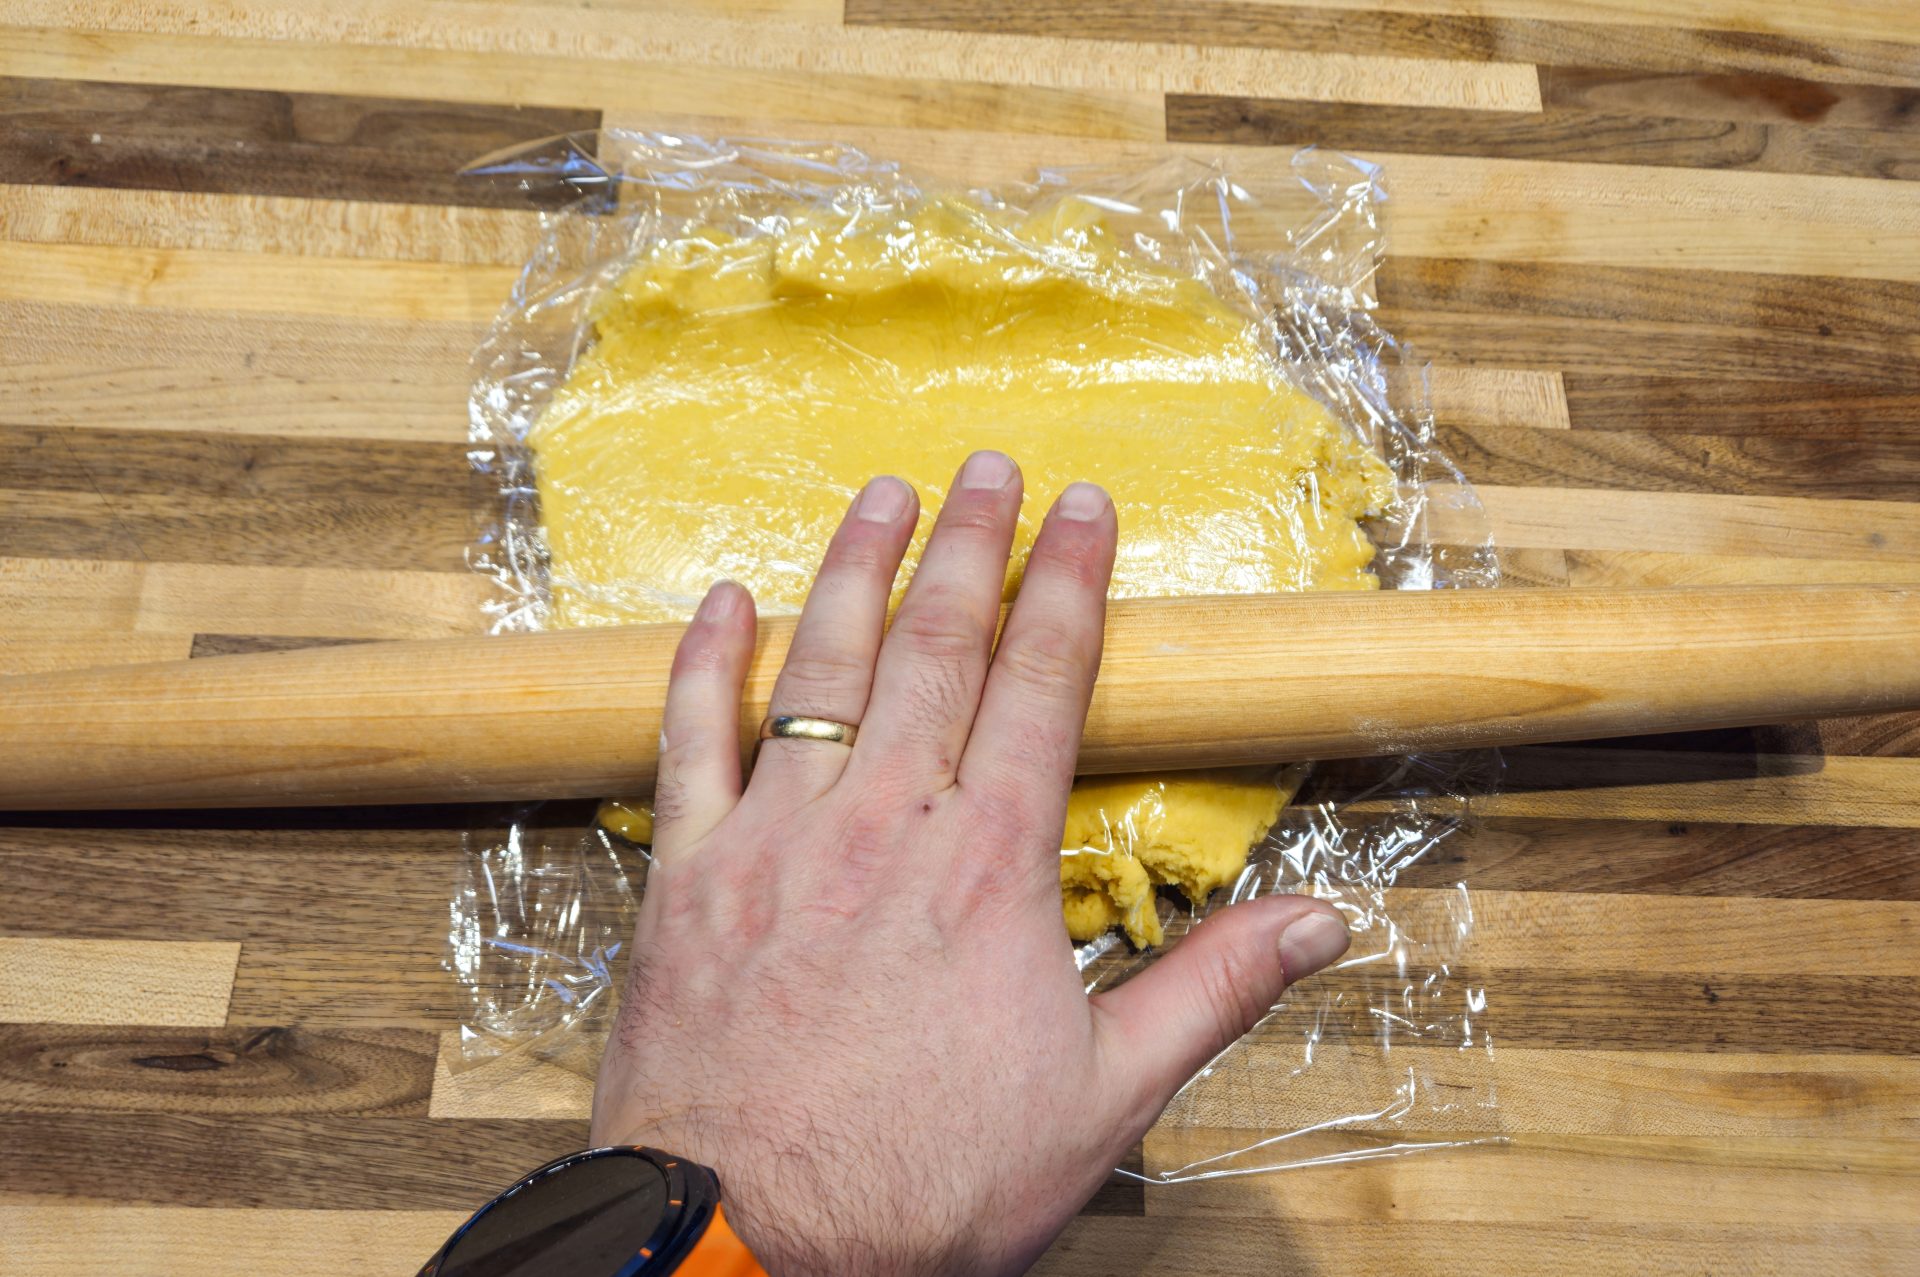
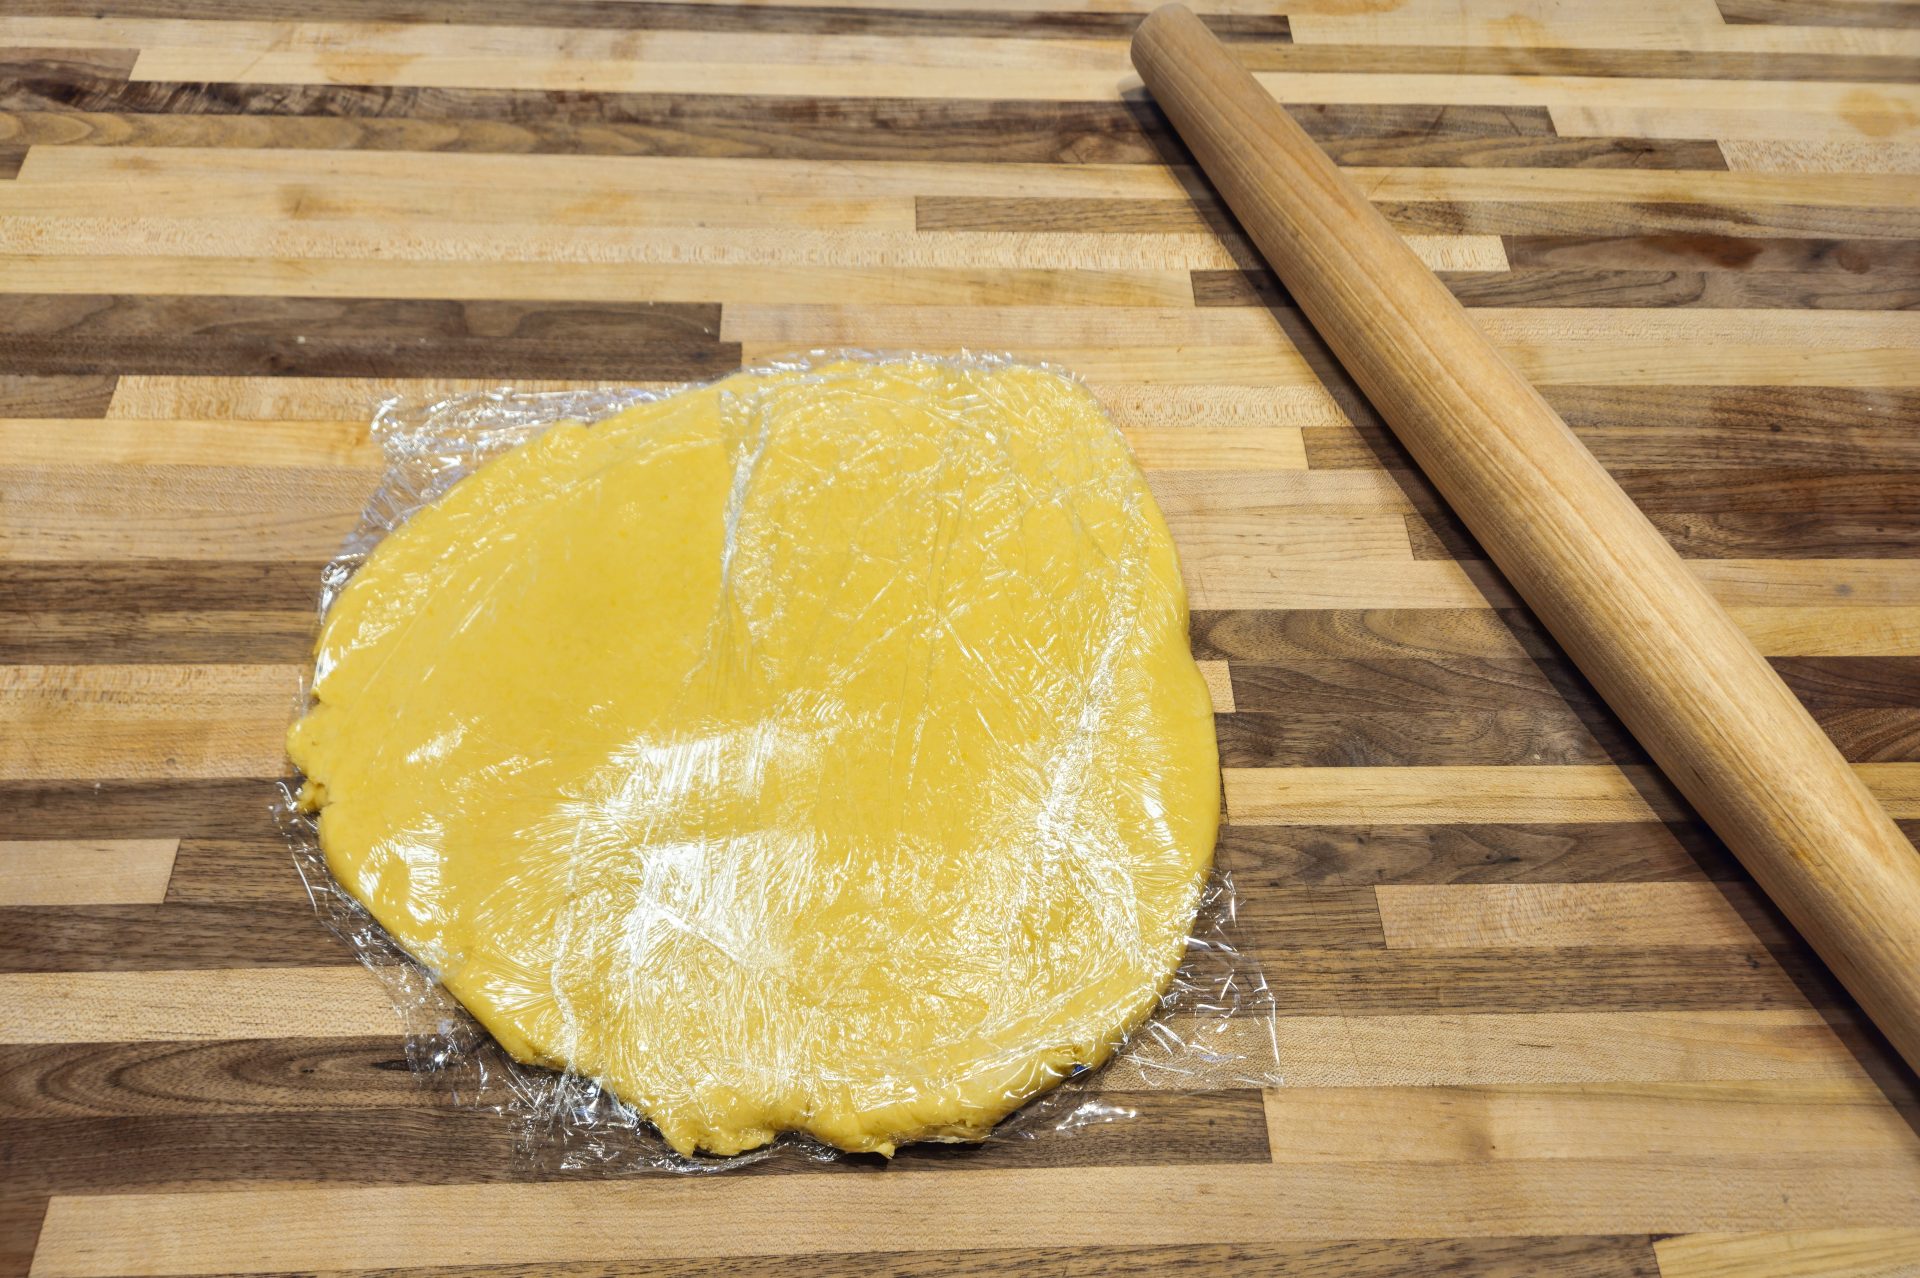
Note: The cookie dough will be sticky after processing. It will harden during the following resting time in the fridge.

Linzer Tarts Cookies Steps-08Linzer Tarts Cookies Steps-09Linzer Tarts Cookies Steps-10Linzer Tarts Cookies Steps-11

2. Resting Time:

2.1. Wrap the dough with plastic wrap (scoop it on the wrap and then cover it with the wrap).

Tip: If you want to work with the dough soon, form it into a disk, not into a roll shape.

Linzer Tarts Cookies Steps-12Linzer Tarts Cookies Steps-14Linzer Tarts Cookies Steps-15Linzer Tarts Cookies Steps-16

2.2. Let cool in the refrigerator until partially, but not totally, hardened (about 1 hour).

Important: If the dough in the refrigerator fully hardens (if left for a longer time, for example, overnight), remove from the refrigerator about an hour before cookie cutting.

3. Set Oven to Preheat:

3.1.

Set oven to preheat to 350°F.

Linzer Tart Heart Steps-01

Heart Shape Template

Download it by clicking below.

4. Cut the Linzer Tart Heart:

Notes:

  • Work one by one on a floured surface.
  • The dough needs to always sit on a floured surface during flattening to be able to separate the cut cookies that are ready to bake.
  • Each large heart cookie consists of two cookies (one top and one bottom, like a sandwich). Make sure that you cut an even number of cookies.

4.1.

Place the dough on a floured surface and lightly flour the top of the dough.

Linzer Tarts Cookies Steps-18Linzer Tarts Cookies Steps-20

4.2.

Using a rolling pin, flatten the dough into about ¼” – 3/8” thickness (based on your preference). If the dough starts sticking, add flour.

Linzer Tarts Cookies Steps-21Linzer Tarts Cookies Steps-22Linzer Tarts Cookies Steps-23Linzer Tarts Cookies Steps-24

4.3.

Cut the dough into heart shapes using the template below the recipe or your templates.

Linzer Tart Heart Steps-03Linzer Tart Heart Steps-10Linzer Tart Heart Steps-11Linzer Tart Heart Steps-12Linzer Tart Heart Steps-13Linzer Tart Heart Steps-14Linzer Tart Heart Steps-15Linzer Tart Heart Steps-16

4.4. To create the best visual effect, use small and medium cookie cutters to cut openings in the top part of each heart.

Important: Keep a matching bottom part for each heart without any openings cut.

Tip: Bake and keep the shapes you cut out from each heart because they can be glued onto the hearts as a final step with extra preserves for an even better visual effect!

Linzer Tart Heart Steps-18Linzer Tart Heart Steps-19

4.5. Gently place cut hearts on a baking sheet with parchment paper using an icing spatula.

Important: Make sure they are not touching each other.

Tip: From the dough leftovers, cut a few bonus cookies for the baker 😊. Or, to make it even easier, place the leftover dough on the baking sheet and bake it along with the hearts (they will not look as pretty, but they will taste just the same).

5. Bake:

5.1.

Bake in a preheated oven until fully baked. The surface turns from a doughy texture to solid but slightly fluffy (about 12 – 15 minutes).

Linzer Tart Heart Steps-20

5.2. Rotate the baking sheets in the middle of baking.

Note: Right after baking, the cookies have a soft texture, which can make some people confused and think it is a sign of underbaking; this is why some people tend to extend the baking time and overbake cookies. To ensure cookies are properly baked, watch the surface texture and bake the cookies for at least 10 minutes to reach the best results.

5.3. Let totally cool on the baking sheet before assembly.

Note: The heart shapes are very large, which makes them more fragile than smaller cookies. Not moving them before they are fully cooled will prevent cracking.

Linzer Tart Heart Steps-21

6. Assemble the Linzer Tart Hearts:

6.1. Spread some preserve on the bottom parts of heart cookie and slowly and carefully cover it with the top part (top parts are those that have cut-outs from the small and medium cookie cutters).

Tip: Use an icing spatulas for easy manipulation, especially with the top parts.

Linzer Tart Heart Steps-27Linzer Tart Heart Steps-28

6.2.

Then, using an offset spatula or a dull knife, scoop a small amount of preserves and gently spread it onto each of the small and medium cookies that were cut out from the top part of the heart. Place them (glue them) around the perimeter of the larger cookie.

Linzer Tart Heart Steps-29Linzer Tart Heart Steps-30

6.3. For best results, let rest in the refrigerator for at least one hour before serving.

Note: After that, the cookies do not have to be stored in the refrigerator.

6.4.

Sprinkle it with confectioners’ sugar right before serving or wrap in cellophane for the perfect gift.

About the Author:
Tom the ChefFounder
# 1
  • Published Recipes: 278
  • Av. Recipe Evaluation:
  • Location: Iowa, USA
  • Member since: 2023-02-02

Comments

Disclaimer

  1. General Information Content on this page above, including the content provided on www.CookingHub.com, including all recipes, articles, and other materials, is for general informational purposes only. This content reflects the personal opinions and experiences of its authors and is not intended to provide professional dietary, medical, legal, or political advice. Please consult a qualified professional before making any decisions based on the information presented here.
  2. Content Ownership and Use Content on this page above, including content published on CookingHub.com is owned by the individual authors who created it. Only the authors can access, modify, or delete their content from the platform. Our content may be embedded on third-party websites and blogs without modification. No reimbursement will be provided for this use. If an author removes content from CookingHub.com, it will no longer be available through any embedded links.
  3. Limitation of Liability Neither www.CookingHub.com (operated by the CookingHub Foundation) nor content authors are responsible for any outcome or consequence resulting from the use of information on this site. This includes, but is not limited to:
    • Food Safety: Any health risk related to food handling, food quality, or failure to follow USDA recommendations (including minimum safe cooking temperatures).
    • Preparation Safety: The proper and safe handling of cooking equipment or its suitability for any given task.
    • Recipe Outcomes: The final look, taste, or success of following a recipe.
    • Ingredients and Equipment: The sourcing of ingredients, tools, equipment, or anything else related to the preparation and consumption of food.
    • Nutritional and Dietary Information: The accuracy of nutritional data. This information is provided as a courtesy and should not replace advice from a medical provider. You are responsible for verifying that a diet is suitable for your personal health needs.
    • Errors and Omissions: Any potential errors, typos, or unclear directions in articles and recipes.
  4. User Responsibility All readers, visitors, and users of embedded content are solely responsible for evaluating recipes and articles. You must make your own decisions about whether to follow the steps and recommendations provided. It is your responsibility to ensure that ingredients and preparation methods are safe and appropriate for your personal dietary restrictions and health conditions.