Ghee Recipe
2 ½ cups
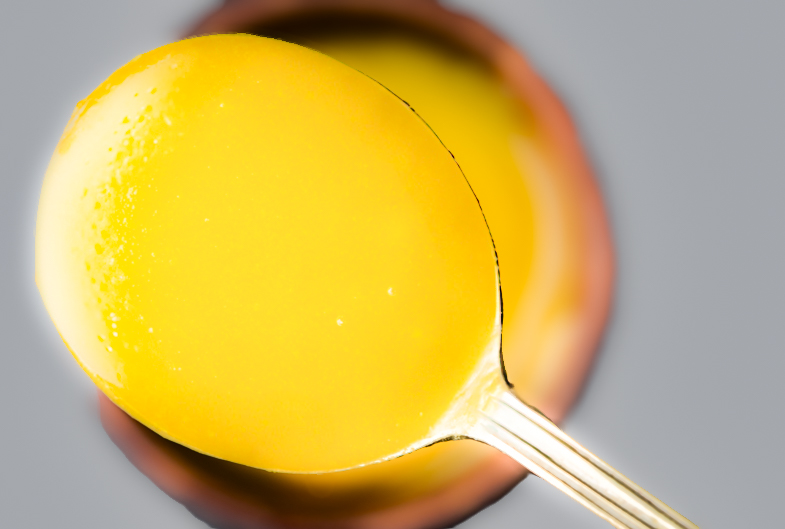
Ghee is a delicious pure cooking fat with much nutrition and an irresistible nutty aroma. It is common not just for Indian cuisine but also in other cuisines, such as Czech, where it is called “přepuštěné máslo” which means in direct translation “clarified butter”. You can purchase ghee ready to...
Read more... use in a jar, but it is cheaper and is also not too hard to prepare your own ghee. All you need is unsalted butter and a little bit of time. It will work great for pan frying, shallow frying, or even deep frying, and it also has a nice and very pleasant nutty aroma. It will make any dishes you use it in have a nice light buttery undertone. Try my ghee recipe.
Read lessx saved
 Tom the Chef Founder
January 30, 2024
Ingredients:
- 6 sticks of unsalted butter (1 ½ LB, optionally cut into small pieces to speed up future melting)
Tools:
- 1x Measuring Cups
- 1x Medium Sauce Pan (4QT)
- 1x Wooden Spoon or High-Temperature Silicone Spatula
- 1x Medium Mixing Bowl (3 – 4 QT)
- 1x Fine Mesh Strainer, Fine Mesh Sieve (large)
- 1x Cheese Cloths or paper towel
- 1x A few small clean jars for further storing
Directions:
Common mistake with Ghee Recipe
Be patient and do not rush. Especially at point 3, keep cooking at a medium-low temperature even if you should extend the cooking time if needed. If you increase the temperature, you will still get usable ghee, but it may have a darker color because it may get burned during the process. If you end up with darker ghee, you can still use it, but it may get a little bitter (only in some cases), and it may not perform as stable (it will tend to burn a little bit or foam while cooking).
1. Melt Butter:
Let’s start with the preparation of a ghee recipe.
1.1. Place a medium pot on medium heat and add:
6 sticks of butter
And let fully melt with occasional stirring (about 3 – 5 minutes).
2. Bring It To a Light Simmer:
2.1.
After the butter fully melts, keep cooking with occasional stirring until a light simmer appears, and you will also start hearing sizzling (about 2 – 3 minutes).
3. Cook the Ghee:
3.1. Reduce the temperature to medium-low and cook with occasional stirring until the butter turns to ghee – gets clarified: the butter turns from a milky yellow color to a clear golden translucent color (usually about 10 – 20 minutes).
Important:
- During cooking, the water will evaporate, and the milky solids will start settling to the bottom of the pan – the milky solids on the bottom are one of the signs of a ready ghee.
- If you notice that the color starts turning dark, immediately reduce the temperature even more to prevent burning. You can still use the slightly burned ghee, it may end up performing well and will be optimal for reusing.
- Be patient during this process and rather extend the cooking time than increase the temperature.
- During this process the foam will appear (first thick and then less thick) which is a sign that the liquid is evaporating from the butter. After the ghee is completed, it should have a little to no foam and if foam is present, it should be a weak one.
- No need to remove part of the foam during cooking.
- Final ghee has a nice nutty aroma.
4. Filter the Ghee:
4.1.
Filter over a fine sieve with a cheesecloth or paper towel into a medium mixing bowl.
4.2. Then pour into small and clean jars with lids.
Note:
- The ghee will harden after being fully cooked, so be sure to use a jar that has easy access to spoons.
- If you plan to cook with your ghee ASAP, you do not need to wait until the ghee hardens, and you can cook immediately after completion.
5. Storing:
5.1.
Before closing your ghee with a lid, let it fully cool to prevent condensation.
5.2.
Tightly cover with a lid and store for up to 2 – 3 months in a pantry or store in a refrigerator (refrigeration is optional).
Reuse Your Ghee!
After deep frying or shallow frying, you can filter again over a sieve with cheesecloth. Place it in the jar to use in future cooking.
About the Author:
Tom the ChefFounder
# 1
210 Followers
- Published Recipes: 270
- Av. Recipe Evaluation:
- Location: Iowa, USA
- Member since: 2023-02-02
Recipes
Try Other Recipes from Same Category!
Easy Kimchi
 ChefLynn Cool Cook
Pie Crust Recipe
Quark Plain Cheese Tvaroh Recipe
Tom the Chef FounderPork Cracklings (Škvarky) & Lard (Sádlo) Recipe
Tom the Chef FounderItalian Sausage Recipe
Tom the Chef FounderVanilla Glaze
Tom the Chef FounderMarinara Sauce Recipe
Tom the Chef FounderPasta Dough
Tom the Chef FounderLo Mein Noodles from Scratch
Tom the Chef FounderThai Egg Noodles from Scratch
Tom the Chef FounderDisclaimer
- General Information Content on this page above, including the content provided on www.CookingHub.com, including all recipes, articles, and other materials, is for general informational purposes only. This content reflects the personal opinions and experiences of its authors and is not intended to provide professional dietary, medical, legal, or political advice. Please consult a qualified professional before making any decisions based on the information presented here.
- Content Ownership and Use Content on this page above, including content published on CookingHub.com is owned by the individual authors who created it. Only the authors can access, modify, or delete their content from the platform. Our content may be embedded on third-party websites and blogs without modification. No reimbursement will be provided for this use. If an author removes content from CookingHub.com, it will no longer be available through any embedded links.
- Limitation of Liability Neither www.CookingHub.com (operated by the CookingHub Foundation) nor content authors are responsible for any outcome or consequence resulting from the use of information on this site. This includes, but is not limited to:
- Food Safety: Any health risk related to food handling, food quality, or failure to follow USDA recommendations (including minimum safe cooking temperatures).
- Preparation Safety: The proper and safe handling of cooking equipment or its suitability for any given task.
- Recipe Outcomes: The final look, taste, or success of following a recipe.
- Ingredients and Equipment: The sourcing of ingredients, tools, equipment, or anything else related to the preparation and consumption of food.
- Nutritional and Dietary Information: The accuracy of nutritional data. This information is provided as a courtesy and should not replace advice from a medical provider. You are responsible for verifying that a diet is suitable for your personal health needs.
- Errors and Omissions: Any potential errors, typos, or unclear directions in articles and recipes.
- User Responsibility All readers, visitors, and users of embedded content are solely responsible for evaluating recipes and articles. You must make your own decisions about whether to follow the steps and recommendations provided. It is your responsibility to ensure that ingredients and preparation methods are safe and appropriate for your personal dietary restrictions and health conditions.
Share
Click on the icons below to share "Title of the item to share"