Cook, Learn, and Share to Fight Hunger.
Close up side shot Czech Rolls Rohliky Recipe on the dark platter, kitchen in the background
  • 30 min.
  • 3+ hours
  • 3/5

Ingredients:

Dough

Brushing mixture:

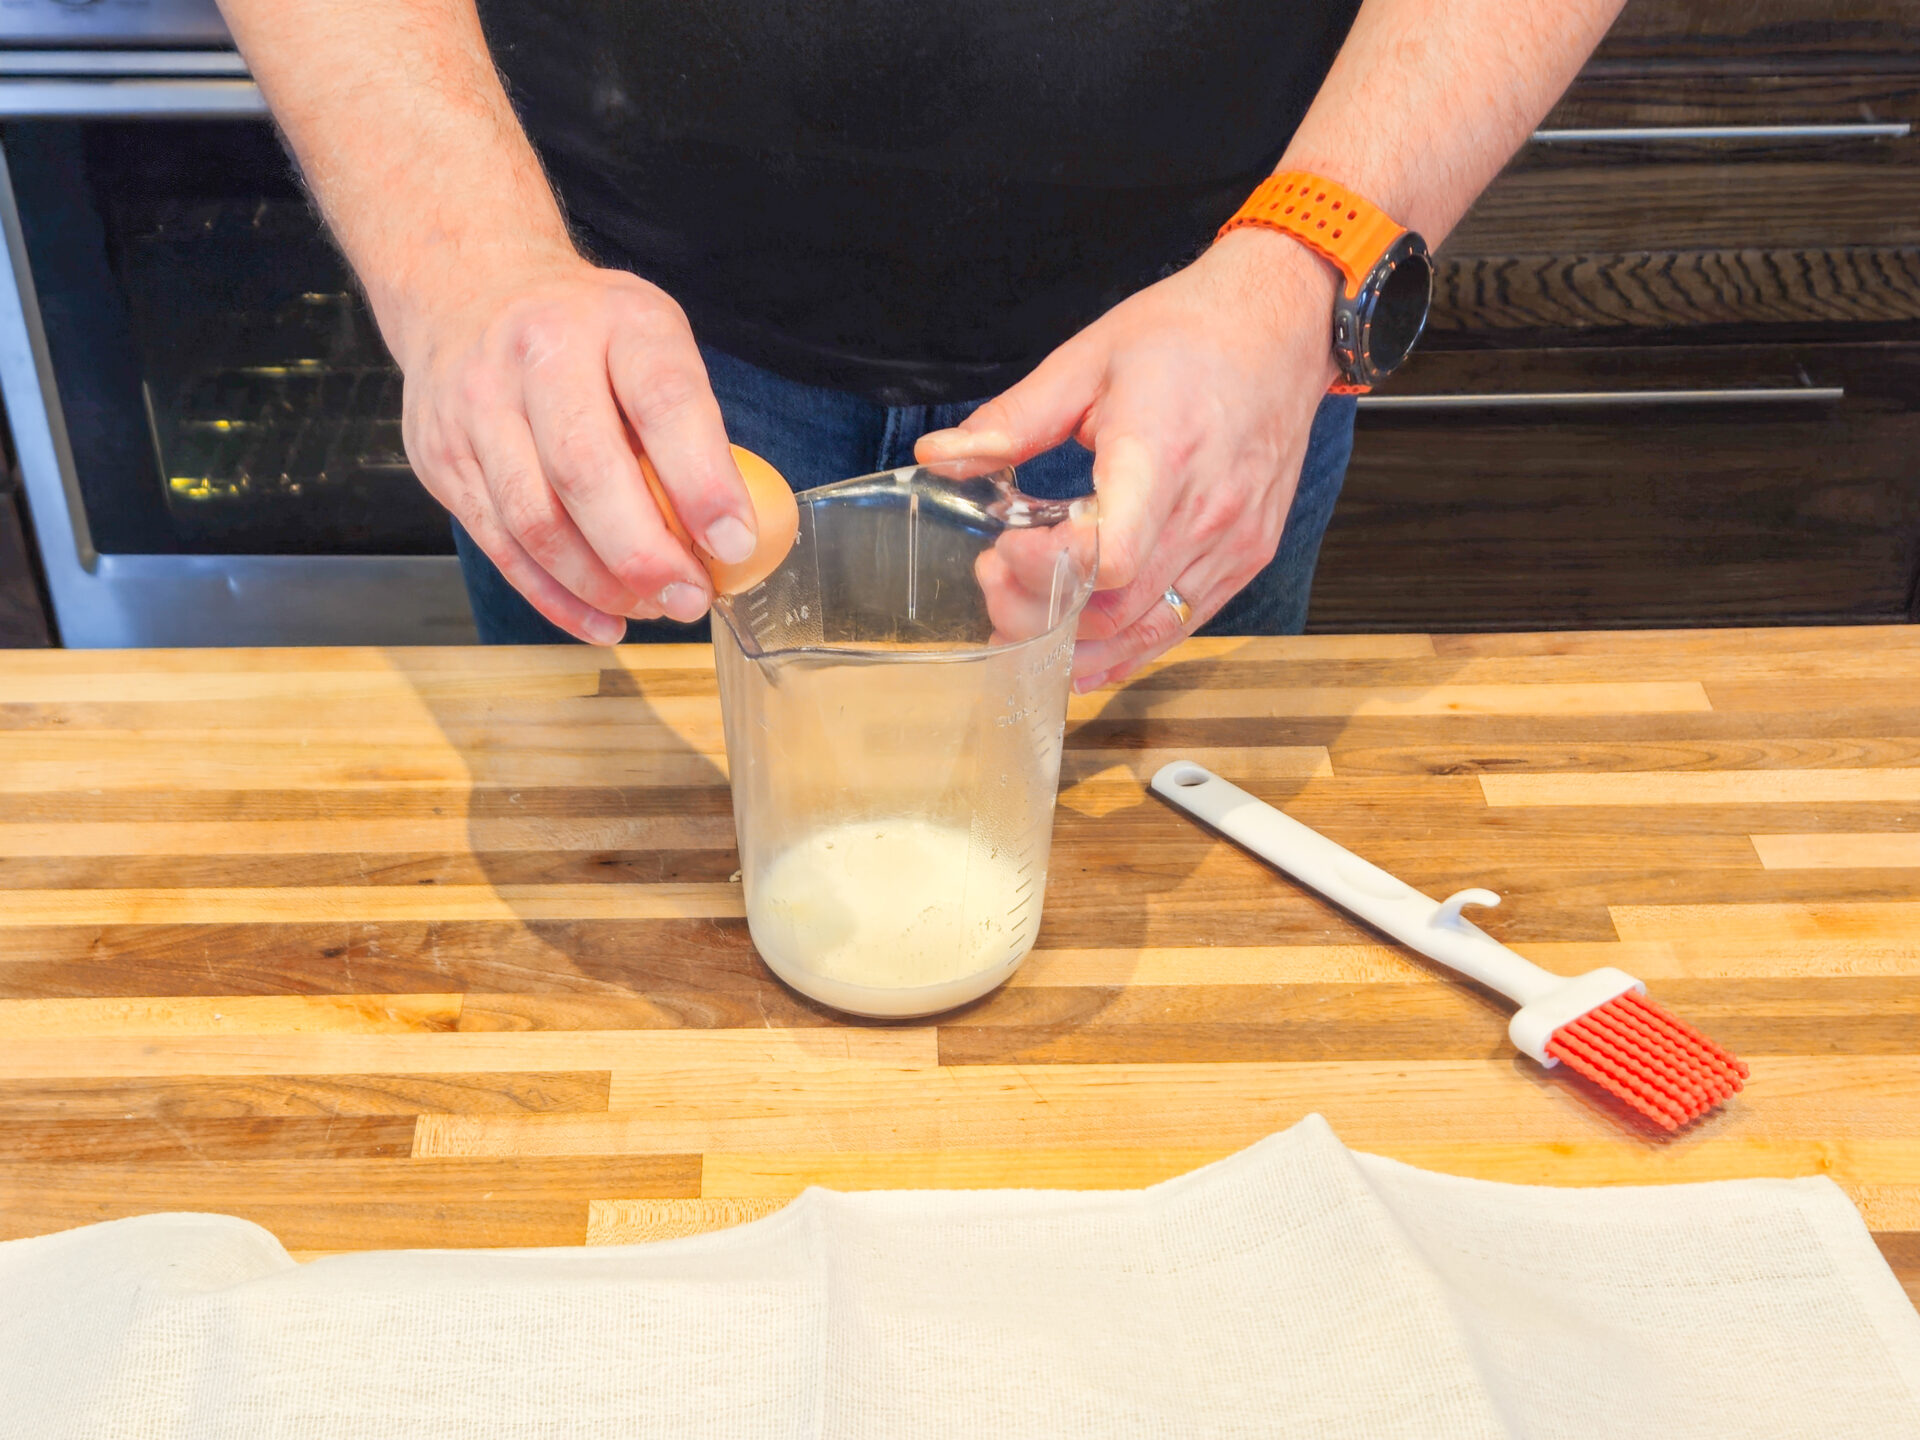
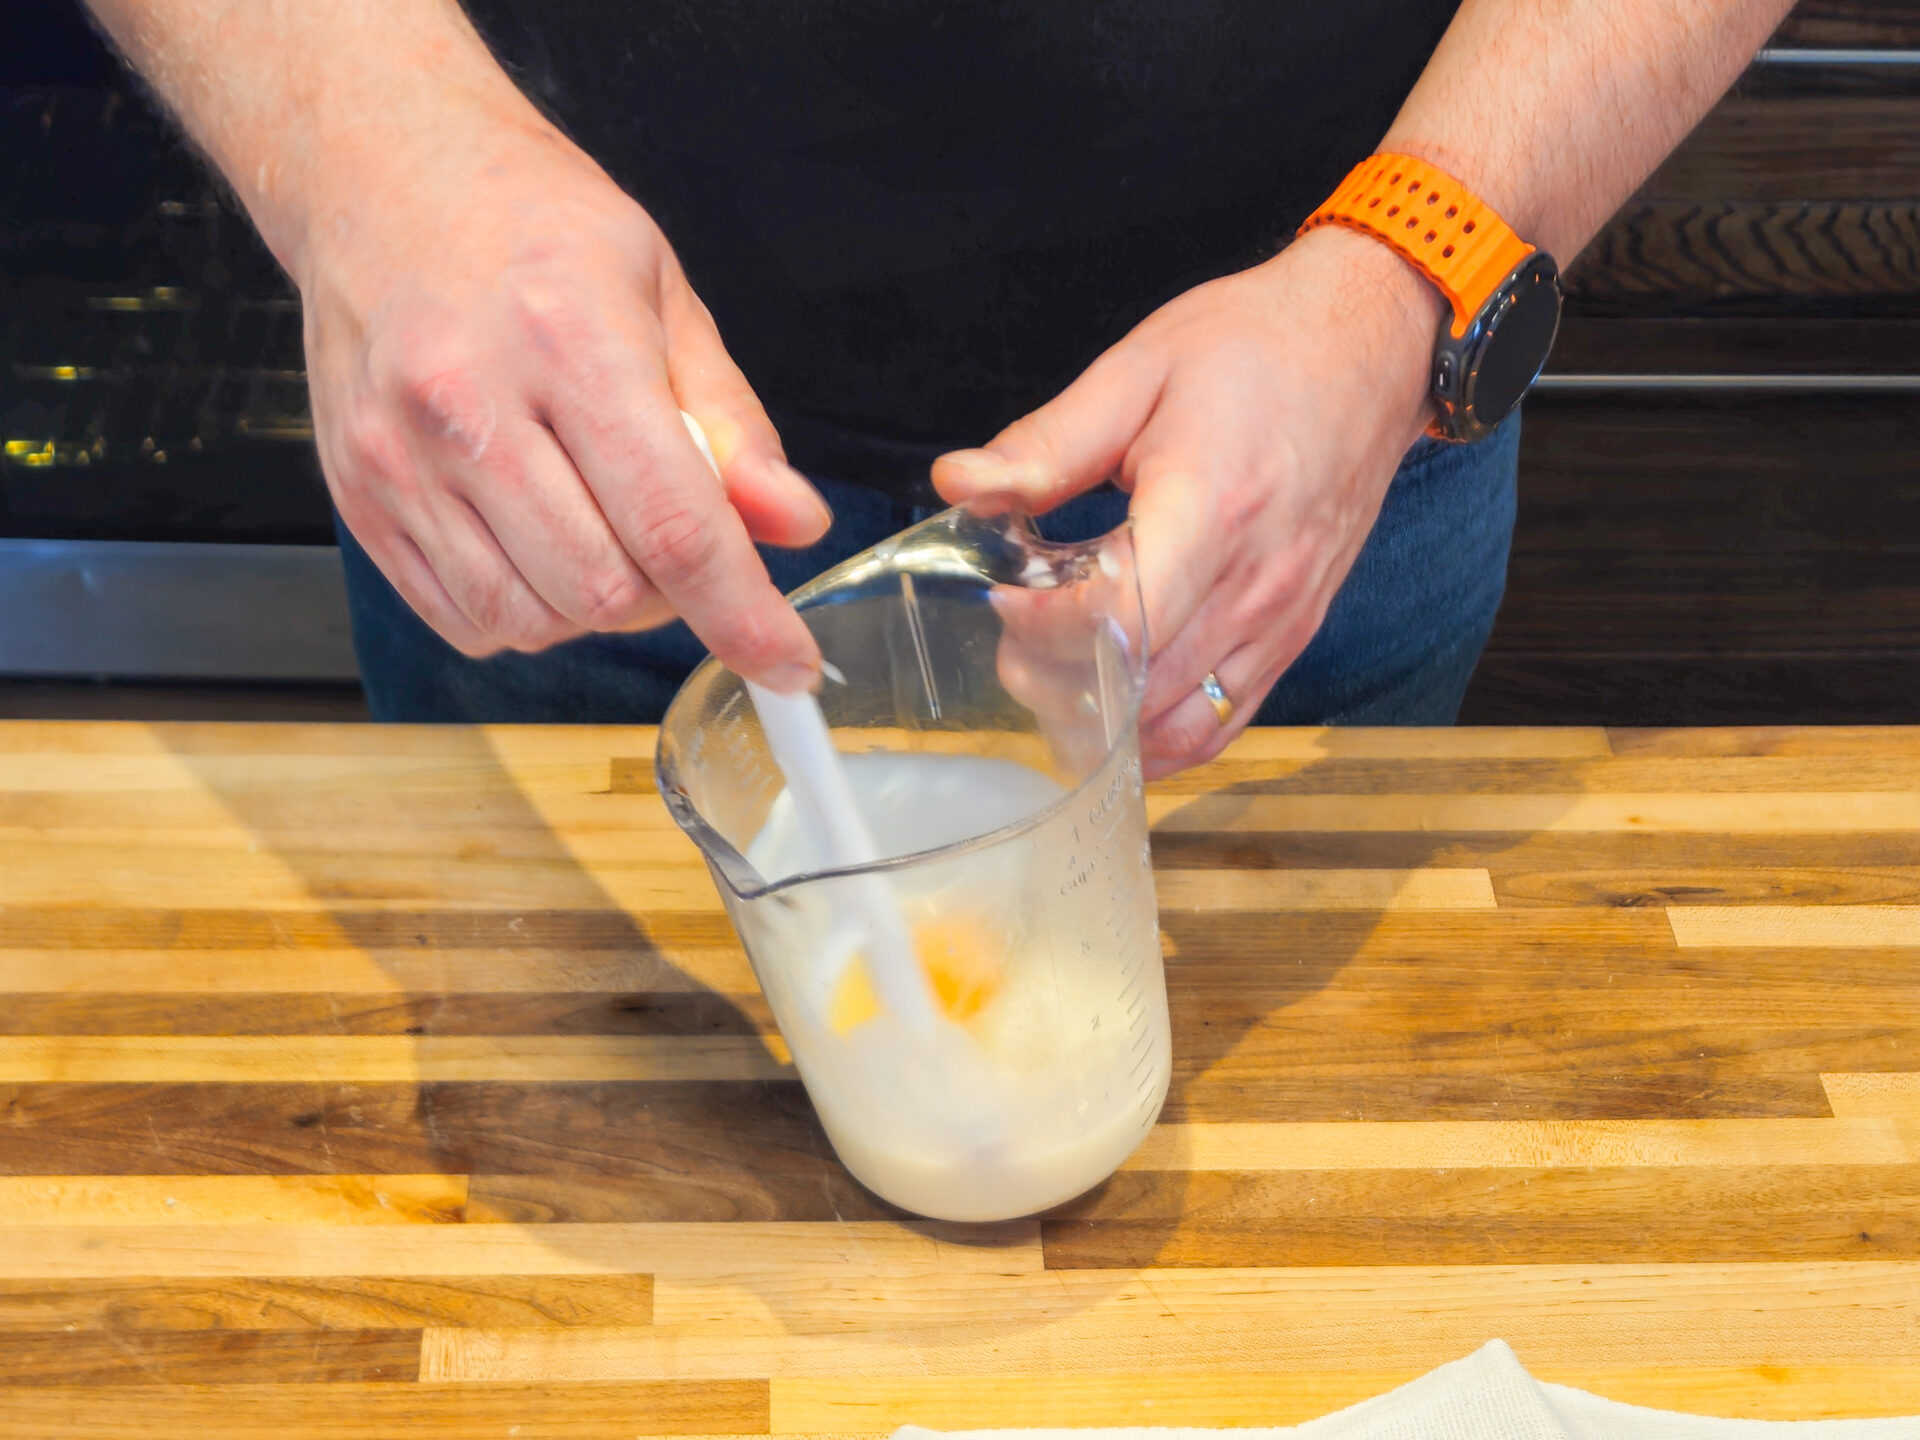
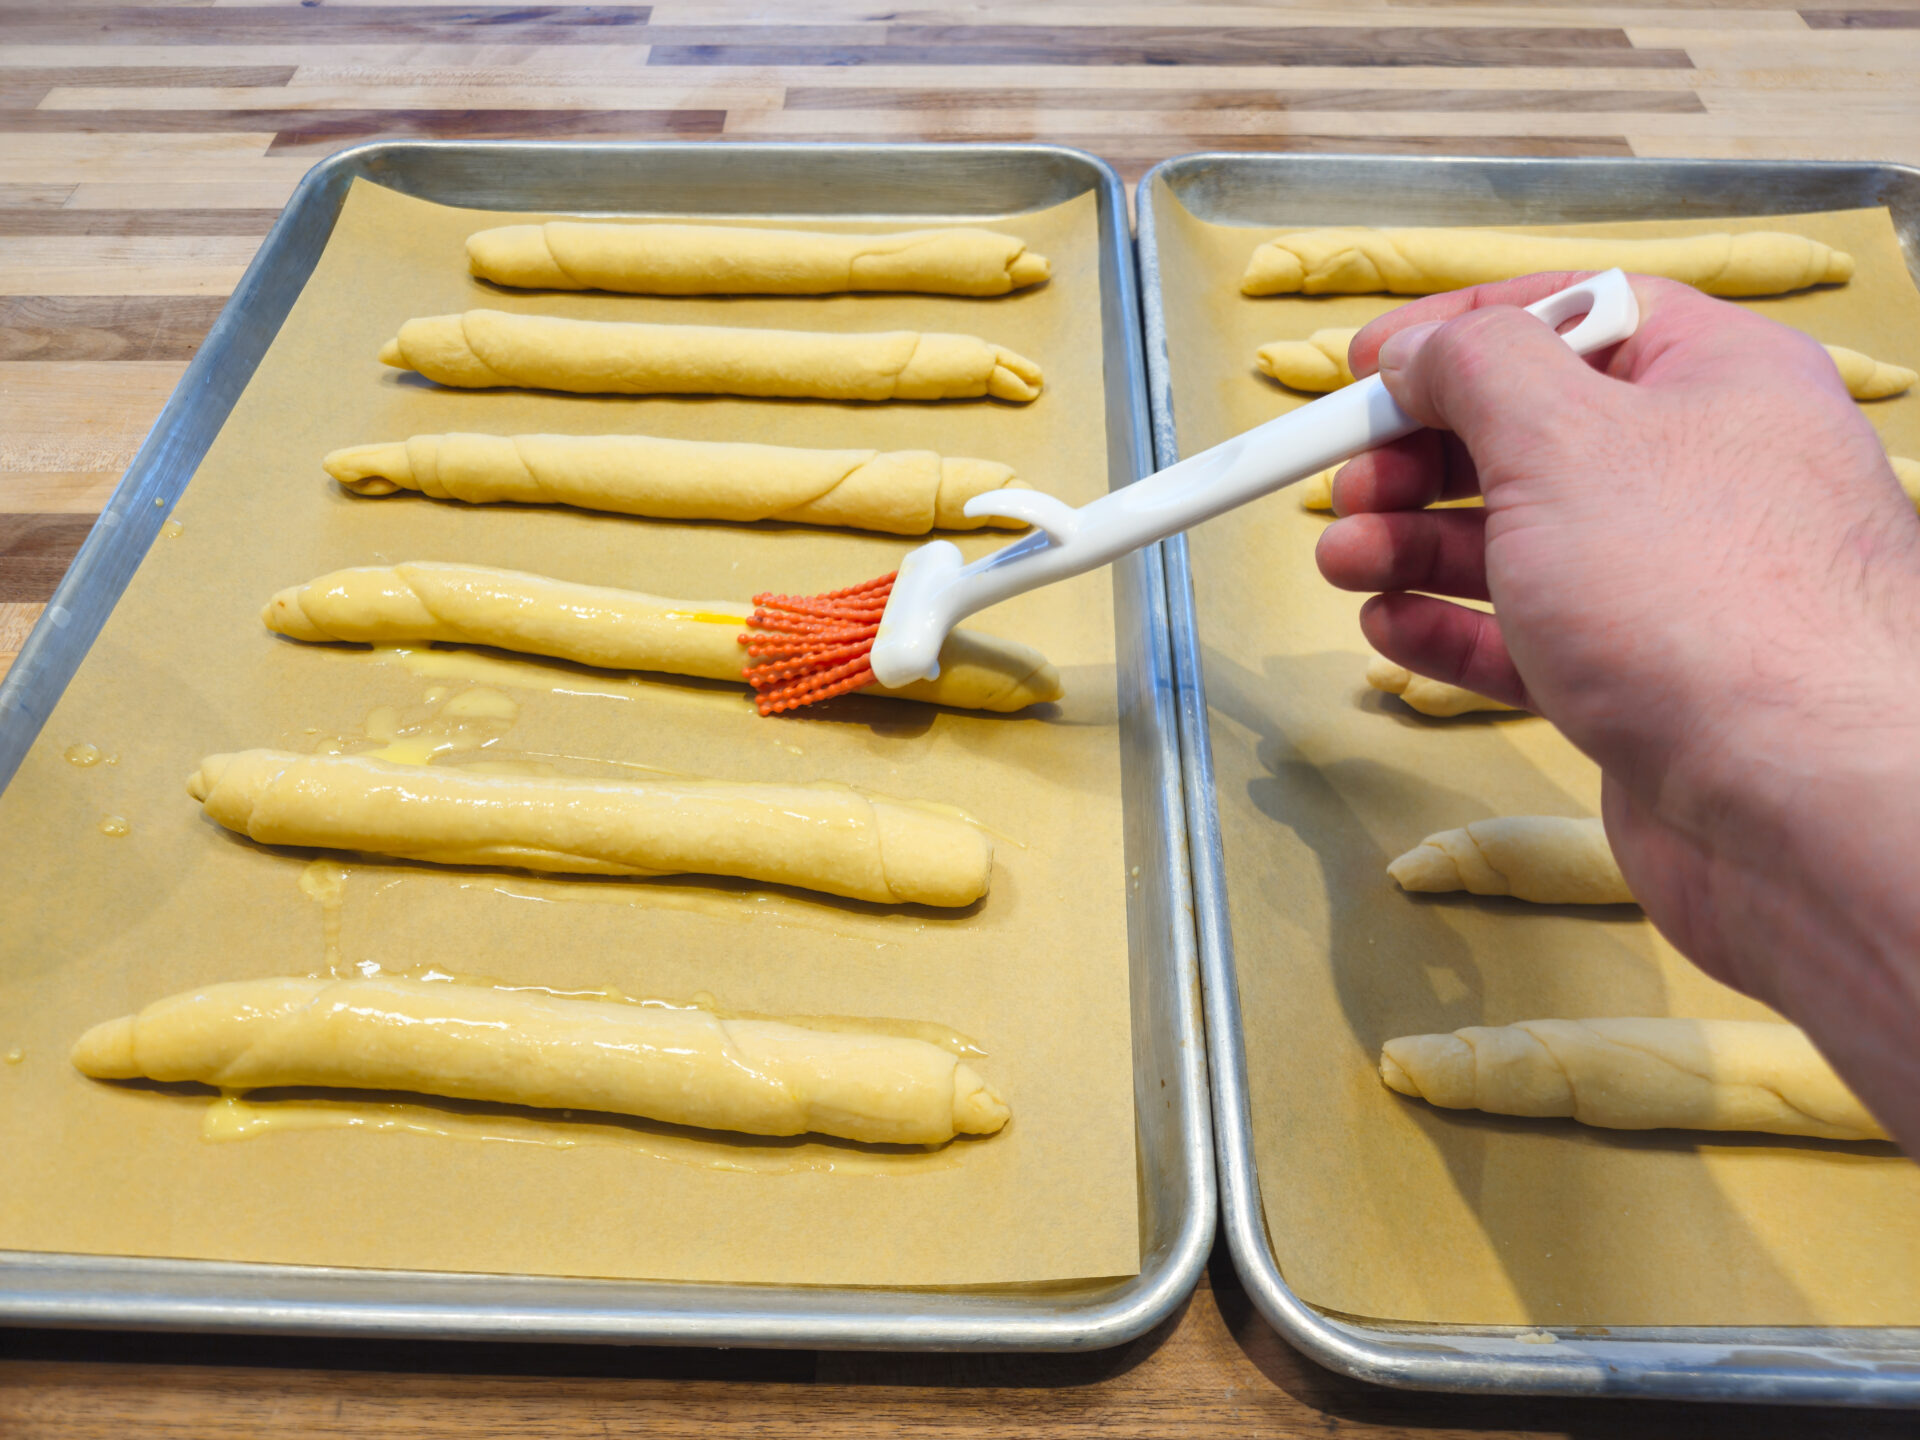
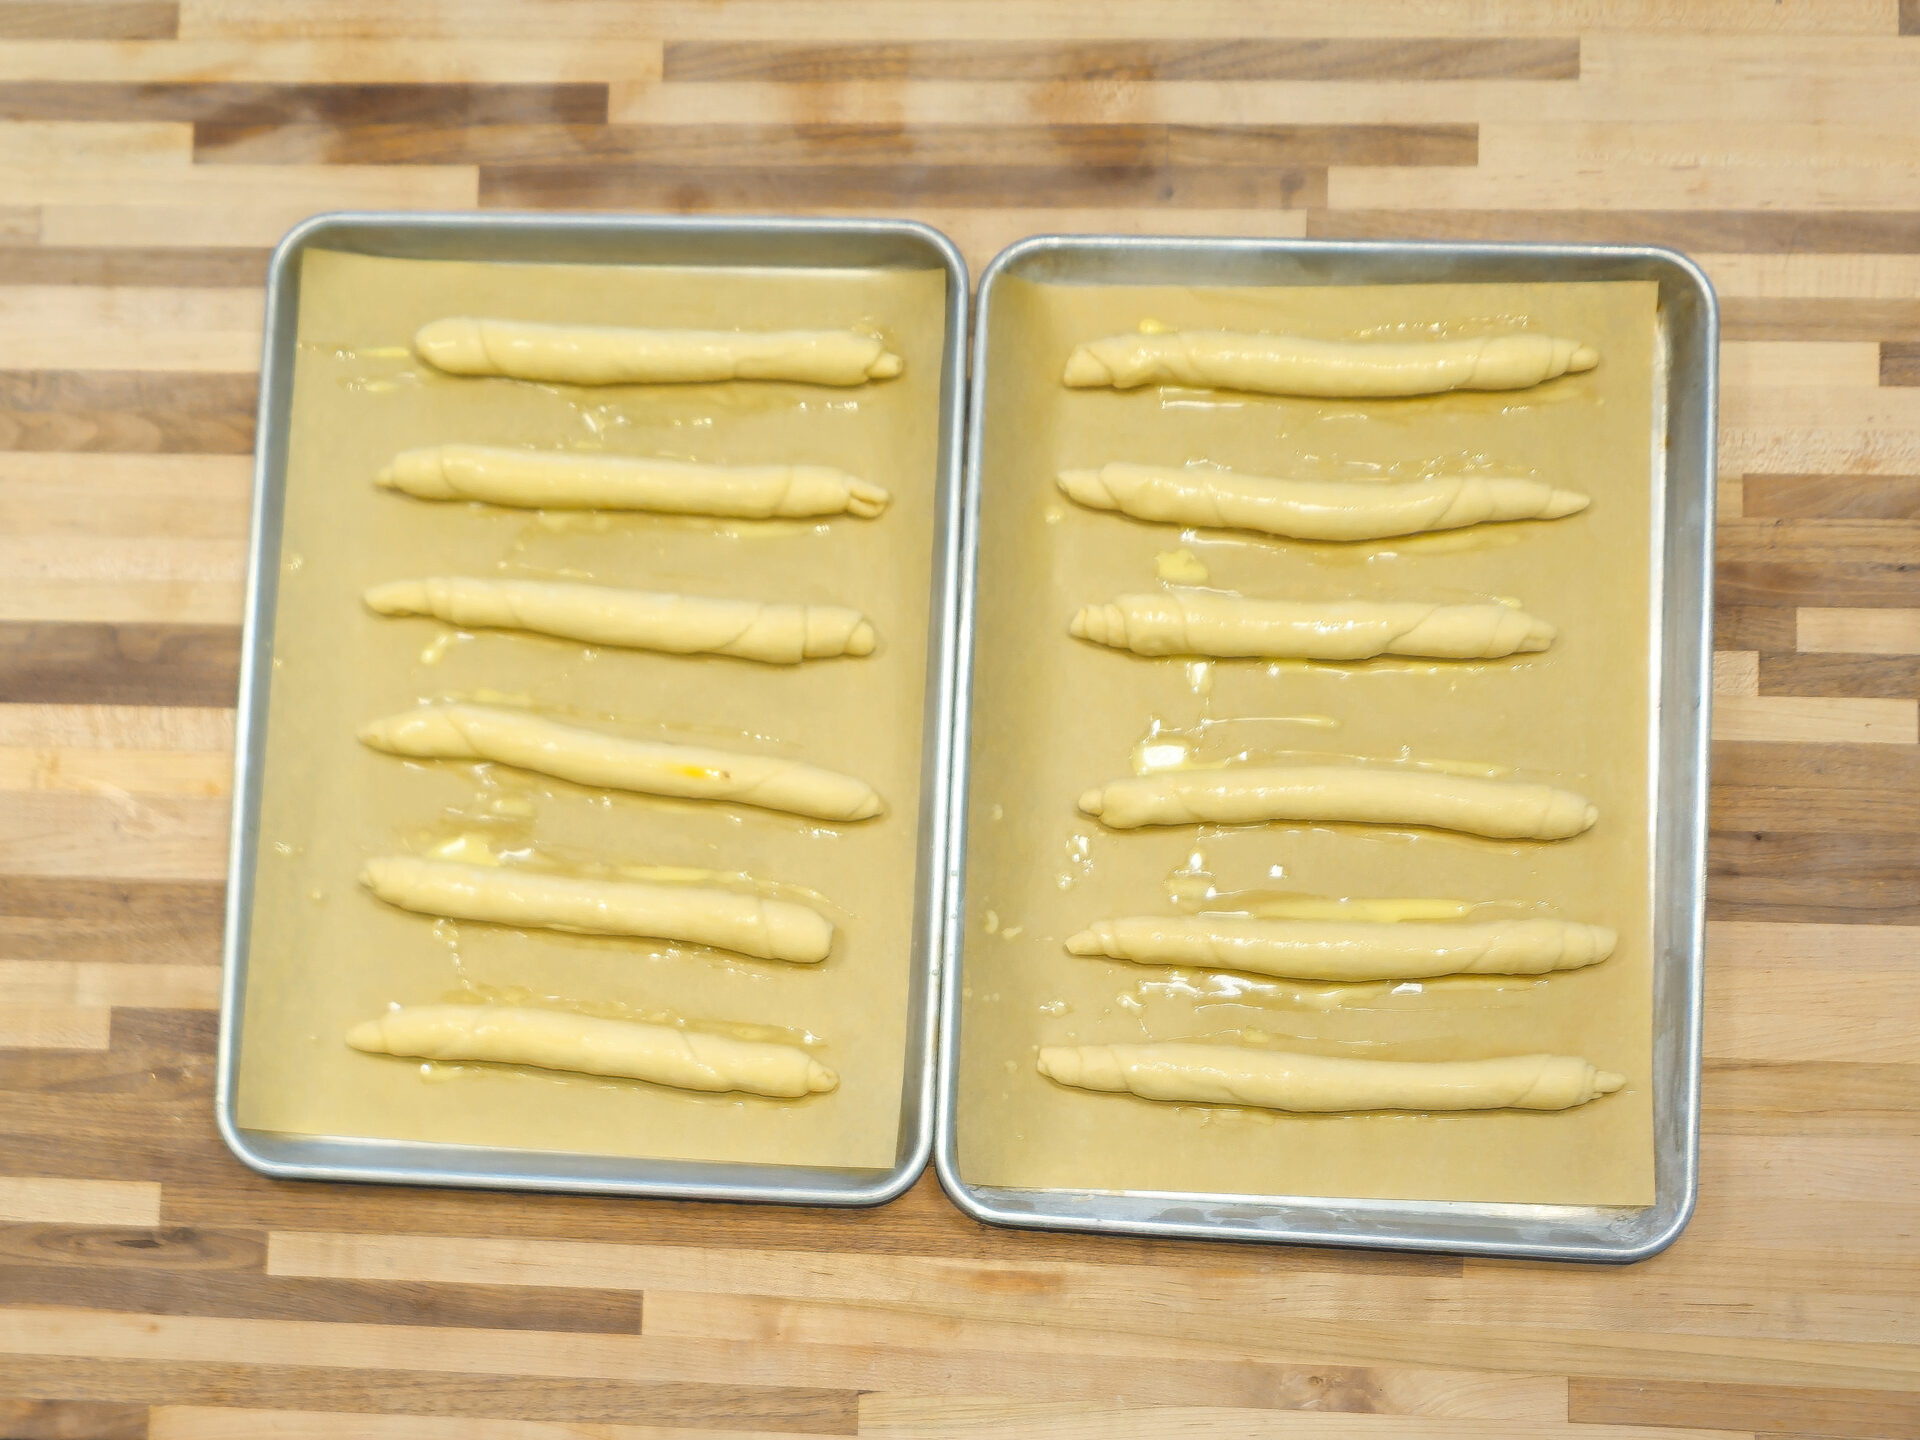
Optionally: Sprinkle with:
● Black and/or white sesame seeds
● Crushed pepper flakes
● Poppyseeds
● Sunflower seeds or any other kind of seeds
● Sea salt (do not use if you are going to freeze or refrigerate the rolls; it will make them soggy)
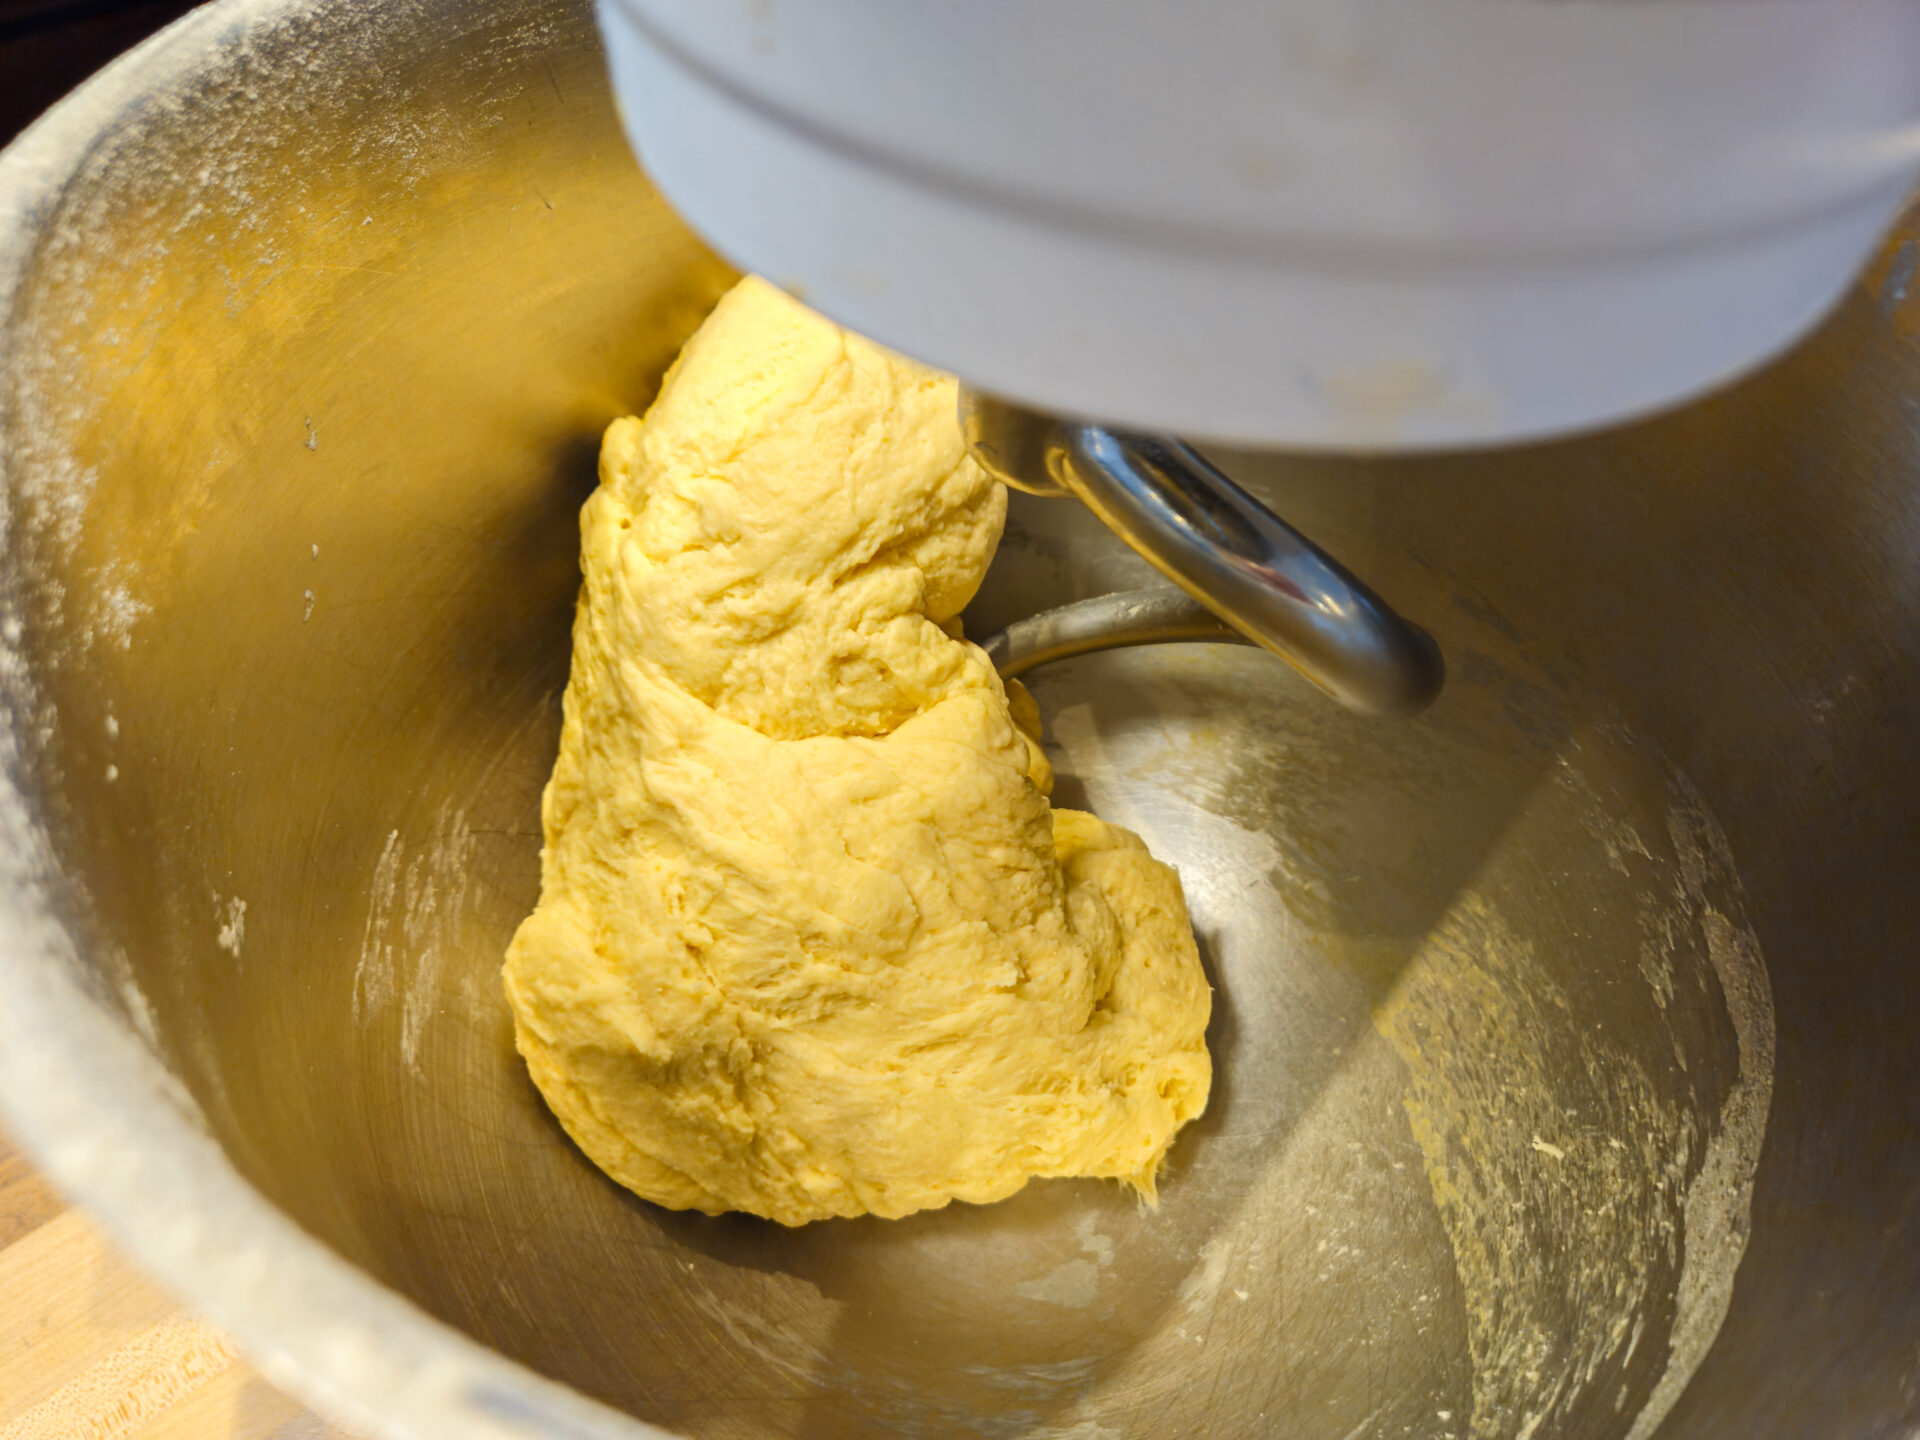
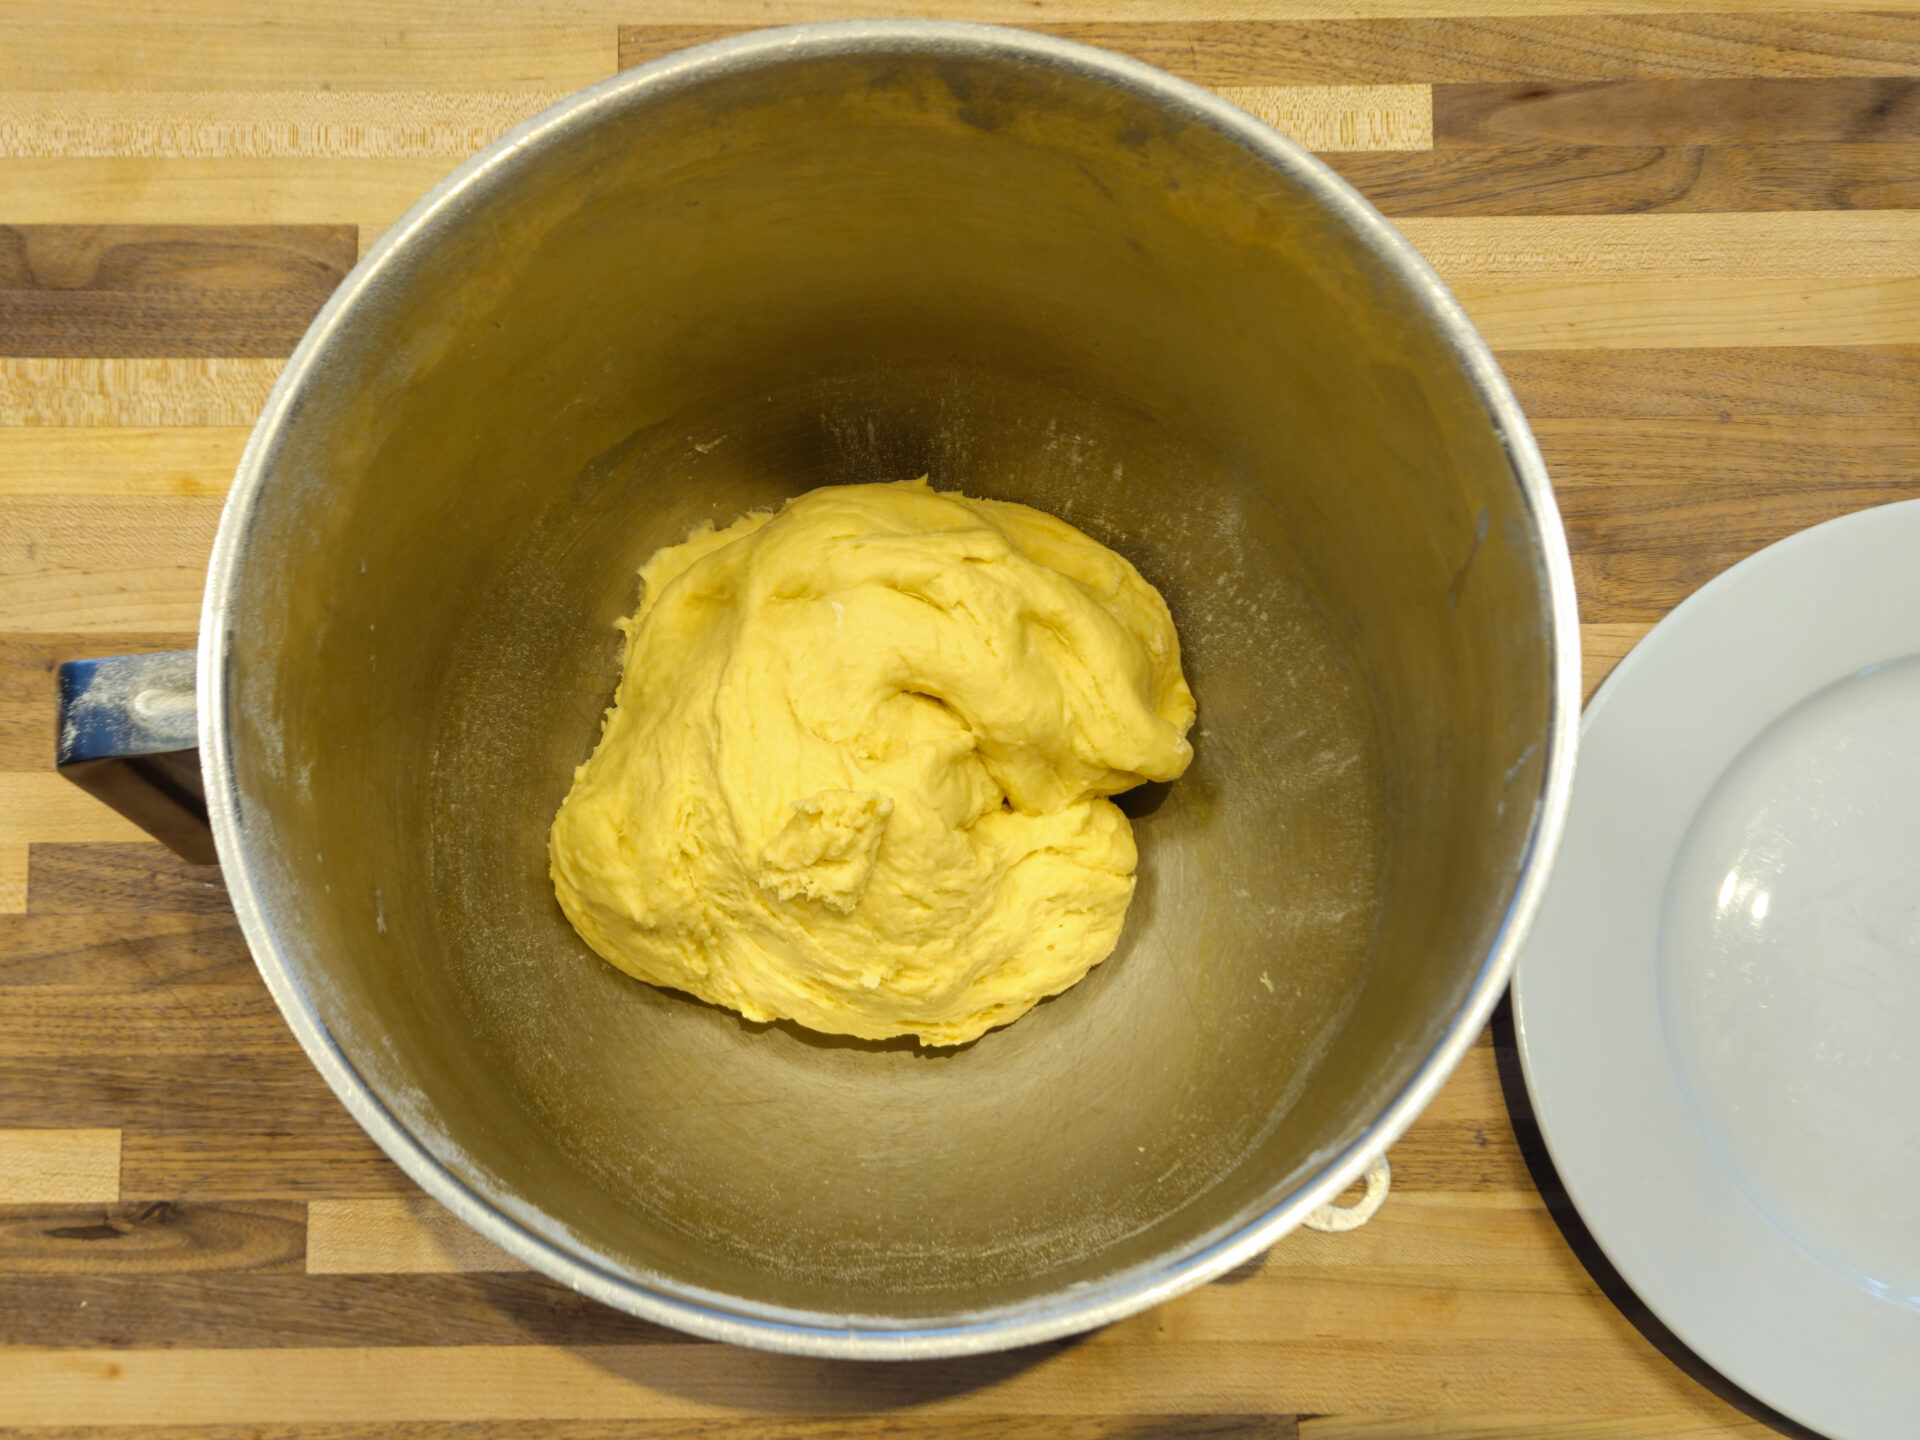
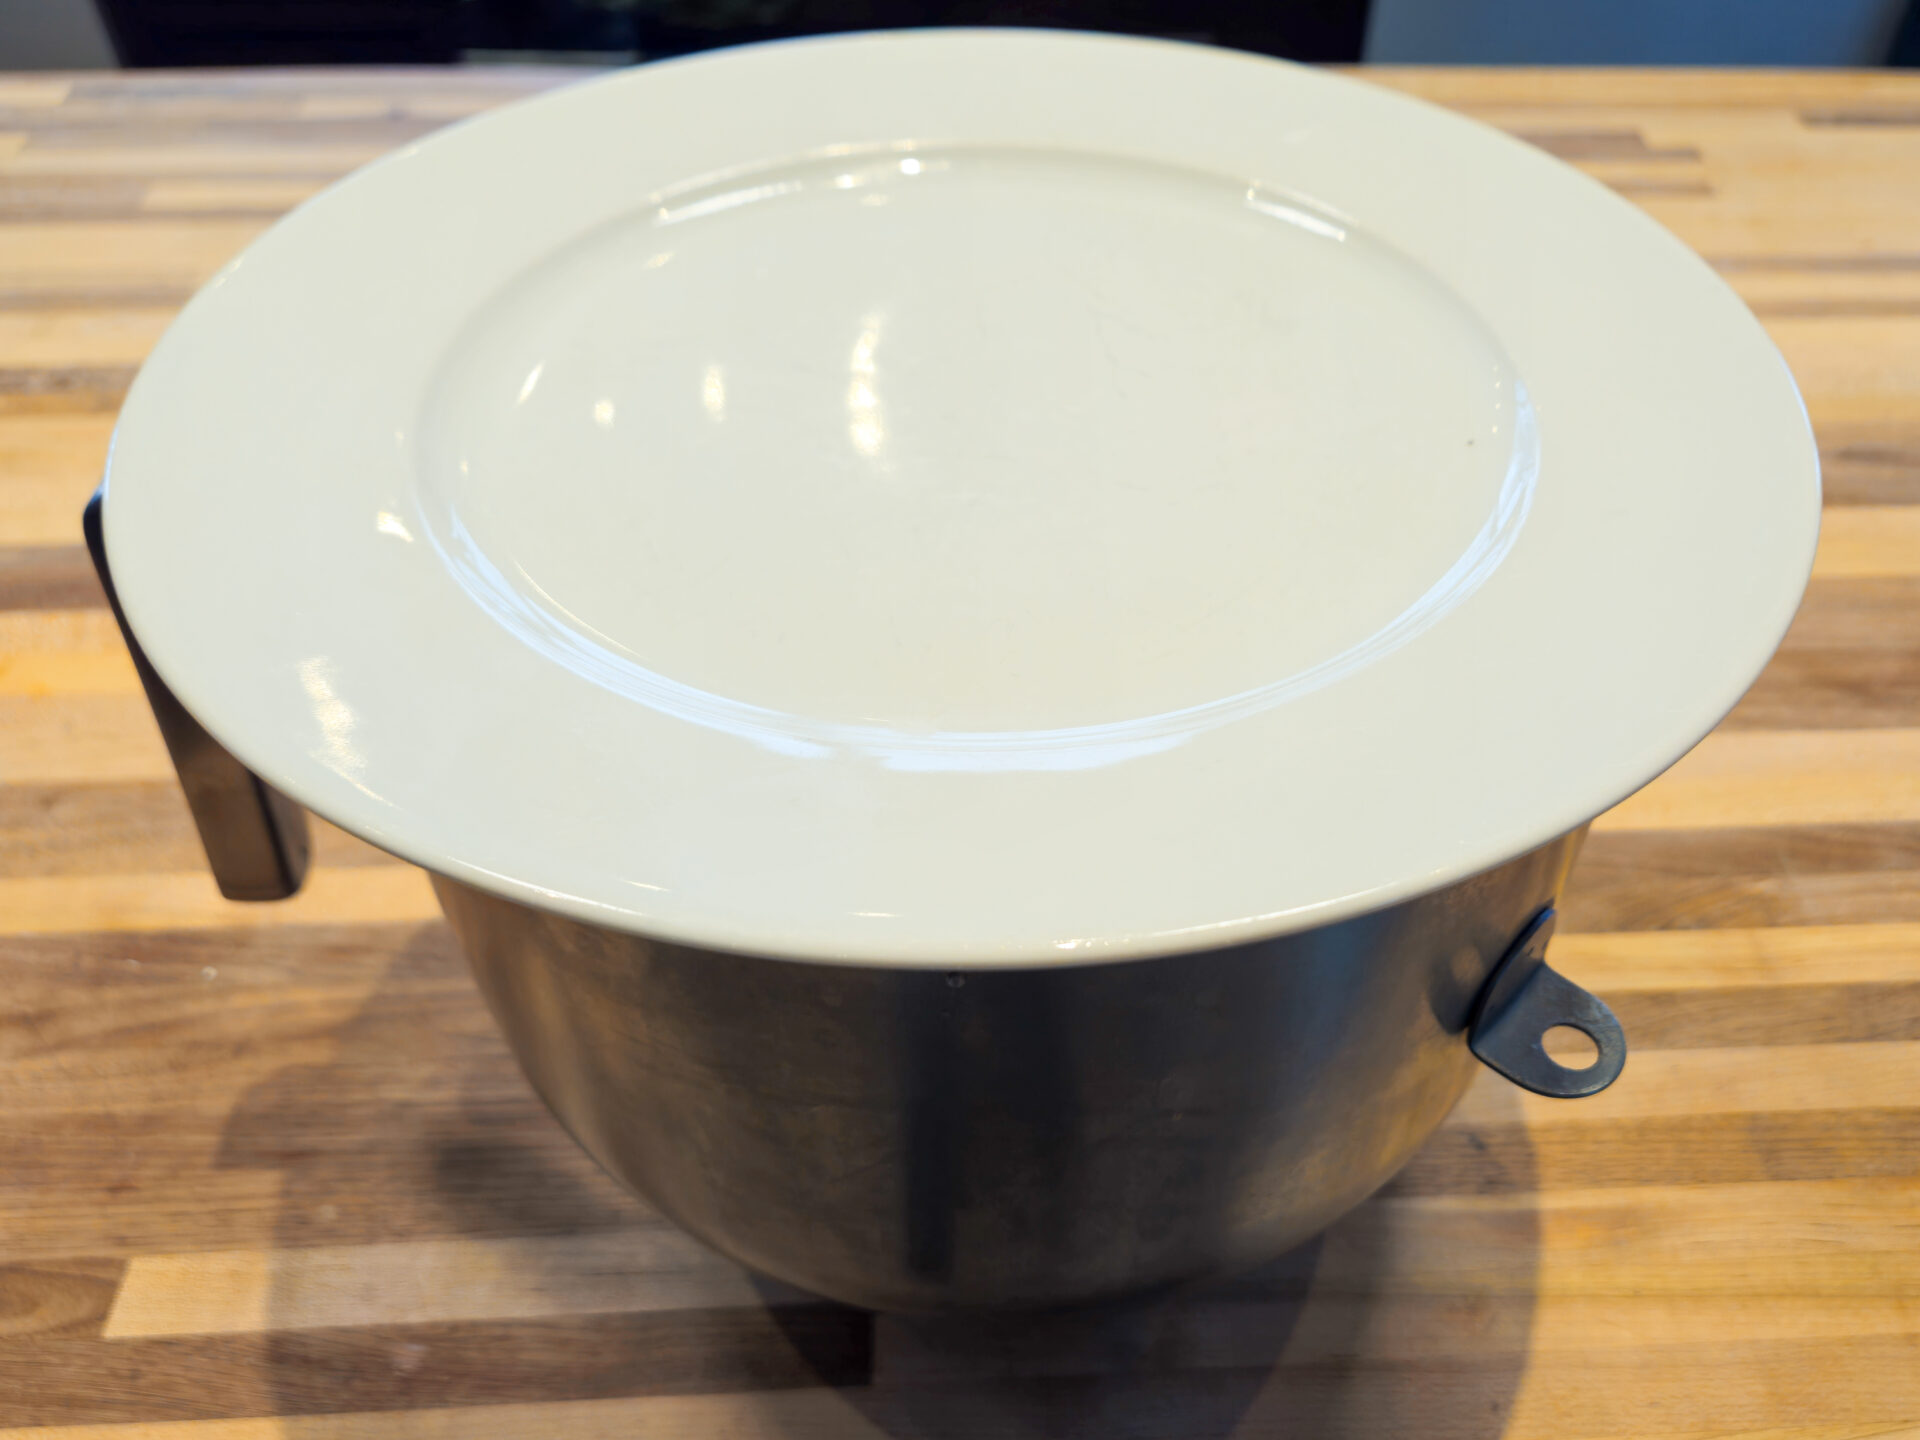
Recipes

Best served with:

Directions:

1. Dough For Czech Rolls Rohliky Recipe:

Let’s start the preparation of the Czech Rolls Rohlíky recipe.

1.1. Place into a kitchen mixer with a hook attachment:

4 cups of bread flour
1 TBSP of active dry yeasts
1 TBSP of granulated sugar
2 TSP of salt

Shortly stir with a hand whisk just enough to combine all ingredients (about 1 minute).

1.2. Add:

1 ¾ cups of lukewarm water
¼ cup of cooking oil

Knead on low speed until all ingredients are partially incorporated (about 30 seconds).

1.3.

Then increase the speed to medium-high and knead until all ingredients are fully combined, and the dough is formed (about 3 – 4 minutes).

Czech Rolls Rohliky Steps-01Czech Rolls Rohliky Steps-02

2. Rising the Dough:

2.1.

Remove the bowl from the kitchen mixer and cover it with a plate or plastic wrap.

Czech Rolls Rohliky Steps-03

2.2.

Let it rise in a warm place until it has tripled in size (about 1 – 2 ½ hours).

Czech Rolls Rohliky Steps-04

3. Pre-shape the Dough:

3.1.

Place the dough on a surface without flour and separate it into 12 even pieces, about 3.2 OZ each using a bowl scraper and scale.

Czech Rolls Rohliky Steps-05Czech Rolls Rohliky Steps-06Czech Rolls Rohliky Steps-07Czech Rolls Rohliky Steps-08Czech Rolls Rohliky Steps-09Czech Rolls Rohliky Steps-10Czech Rolls Rohliky Steps-11

3.2.

Optionally, form each piece of dough into compact dough balls with your hands (to make further forming slightly easier).

3.3.

Cover the balls with a dish towel and let them rest for about 10 minutes before the next step.

Czech Rolls Rohliky Steps-12Czech Rolls Rohliky Steps-13

4. Shape the Rolls:

Before you proceed:

  • Make sure that the surface is perfectly clean (no residue of food, ingredients, etc.).
  • Shape the rolls one by one on a surface that does NOT have flour.
  • Since the dough includes oil, it should not stick to the surface if prepared properly.
  • If your dough occasionally and slightly sticks to the surface, consider using a bowl scraper to release it.
  • If the dough sticks to the surface, it most likely means it rose for a little too long. In that case, lightly flour the surface and, optionally, also the top of the dough to prevent stickiness.

4.1.

Using a rolling pin, flatten each piece of dough into a long shape (approximately 3 – 4” x 5 – 8”).

Czech Rolls Rohliky Steps-18Czech Rolls Rohliky Steps-19Czech Rolls Rohliky Steps-20Czech Rolls Rohliky Steps-21

4.2.

Then, using your hands, roll the dough into a roll shape:

4.2.1.

Hold both ends of the dough and start rolling and stretching it to the sides at the same time.

Czech Rolls Rohliky Steps-23Czech Rolls Rohliky Steps-24Czech Rolls Rohliky Steps-25Czech Rolls Rohliky Steps-26

4.2.2.

Then, roll the roll with both hands on a work surface to a final thickness of about ¾”.

Czech Rolls Rohliky Steps-27Czech Rolls Rohliky Steps-28Czech Rolls Rohliky Steps-29Czech Rolls Rohliky Steps-30Czech Rolls Rohliky Steps-31Czech Rolls Rohliky Steps-32Czech Rolls Rohliky Steps-33Czech Rolls Rohliky Steps-35Czech Rolls Rohliky Steps-37Czech Rolls Rohliky Steps-38

4.2.3.

Place on a baking sheet and repeat with the remaining dough balls.

Czech Rolls Rohliky Steps-39Czech Rolls Rohliky Steps-45

5. Proofing:

5.1.

Prepare a brushing mixture by briefly hand-whisking 1 egg with ¼ cup of milk in a measuring pitcher (for whisking, you can also use a silicone brush) to create a brushing mixture, and then brush all the rolls (keep the rest for the second brushing).

Czech Rolls Rohliky Steps-14Czech Rolls Rohliky Steps-15Czech Rolls Rohliky Steps-47Czech Rolls Rohliky Steps-49

5.2. Then let it proof in a warm place until it has doubled in size (usually about 20 minutes to 1 hour}.

Important:
Watch carefully to prevent overproofing.

Czech Rolls Rohliky Steps-51Czech Rolls Rohliky Steps-52

6. Set Oven to Preheat:

6.1.

Set oven to preheat at 420°F.

Czech Rolls Rohliky Steps-53

7. Baking Czech Rolls Rohliky Recipe:

6.1.

Gently brush again all the rolls with the remaining brushing mixture right before baking (when proofing to the final shape is completed).

Czech Rolls Rohliky Steps-55Czech Rolls Rohliky Steps-57Czech Rolls Rohliky Steps-58Czech Rolls Rohliky Steps-59

6.2.

Optionally, sprinkle with sesame seeds, crushed pepper flakes, sea salt, or poppy seeds.

6.3.

Bake in a preheated oven until a nice golden color is reached, which means the rolls are done (about 12 -15 minutes).

6.4.

Rotate the baking sheets in the middle of baking.

Czech Rolls Rohliky Steps-60

6.5.

Test with a toothpick.

6.6.

Then cool on a baking sheet or on a cooling grate.

Czech Rolls Rohliky Steps-61Czech Rolls Rohliky Steps-62Czech Rolls Rohliky Steps-63Czech Rolls Rohliky Steps-64

Tips:

  • You can increase the rising time for up to four hours based on your convenience.
  • You can bake more rolls than you need and freeze them for later usage (they stay great in the freezer for up to a half year). Defrost in only two hours.
Ingredients

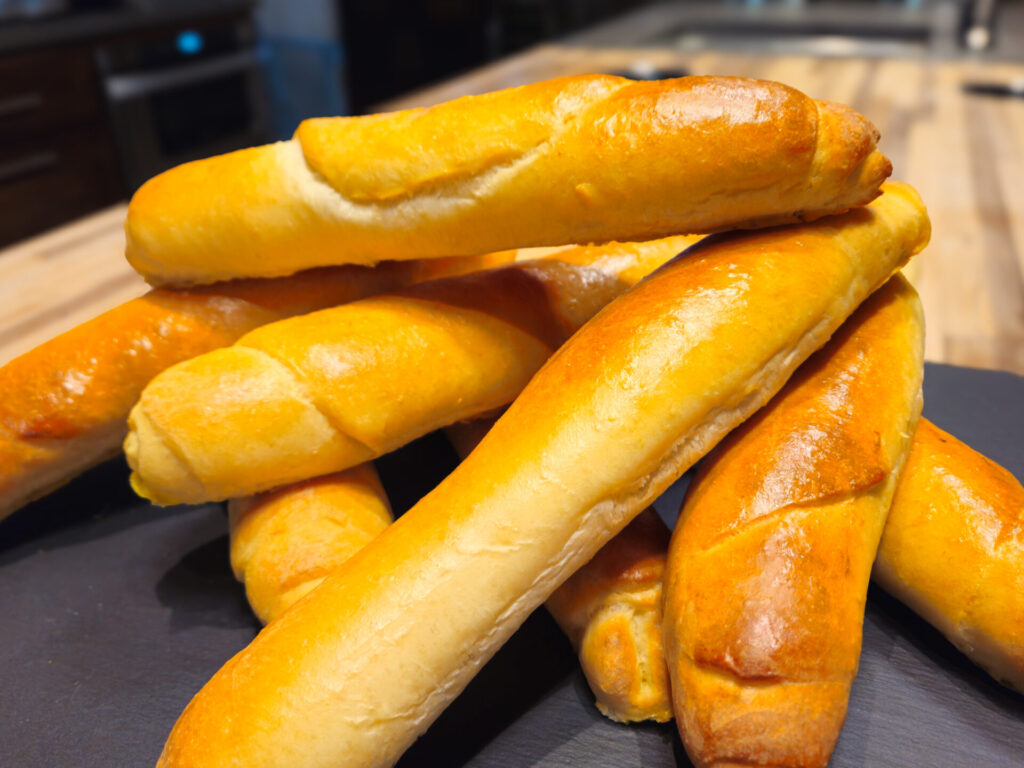
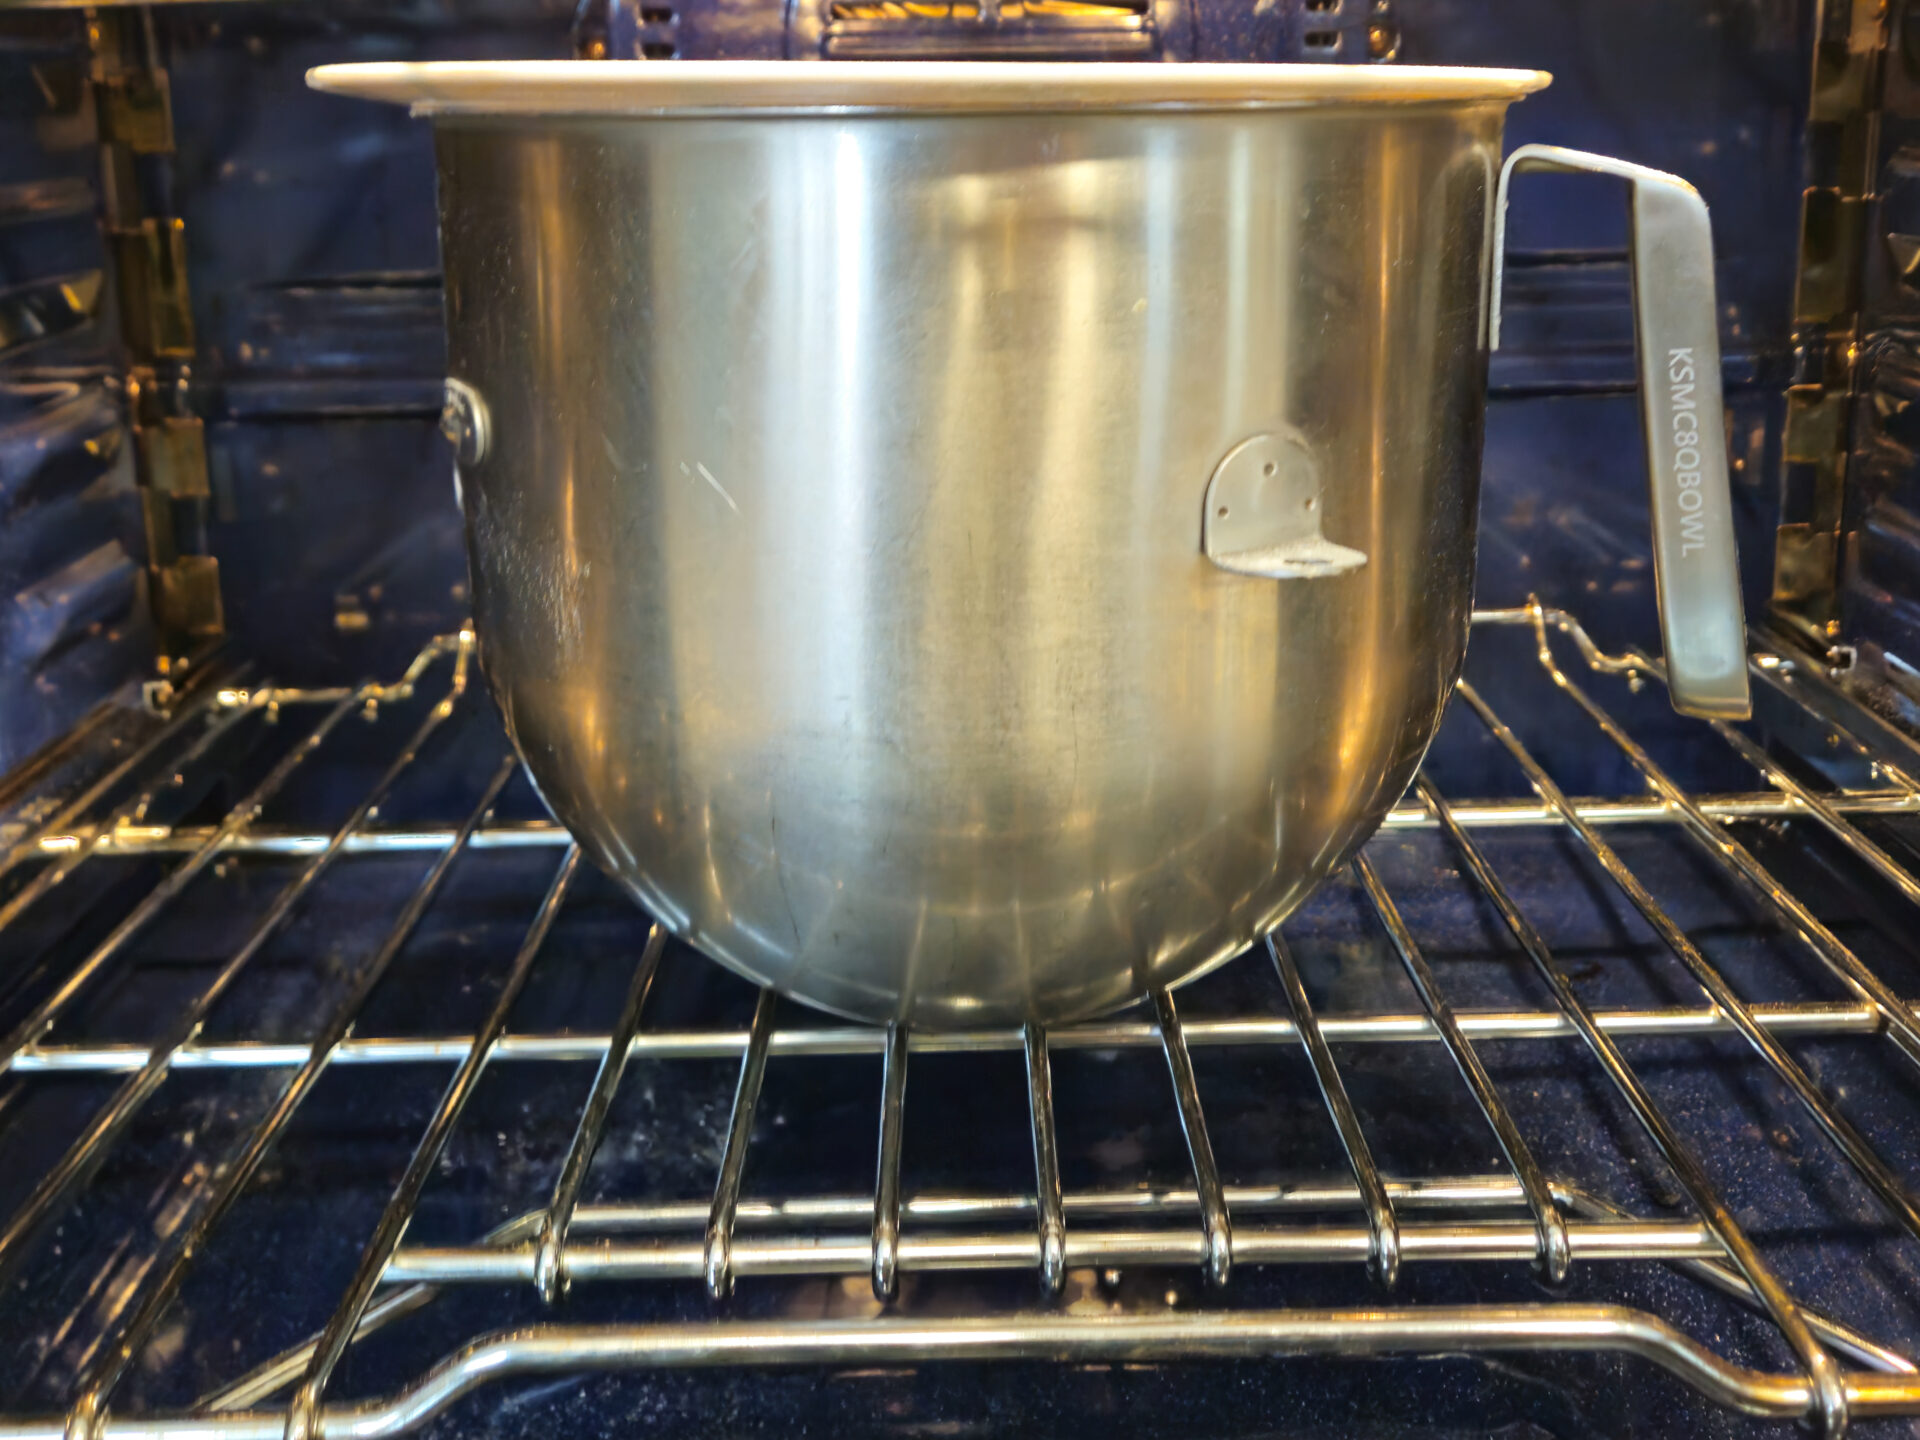
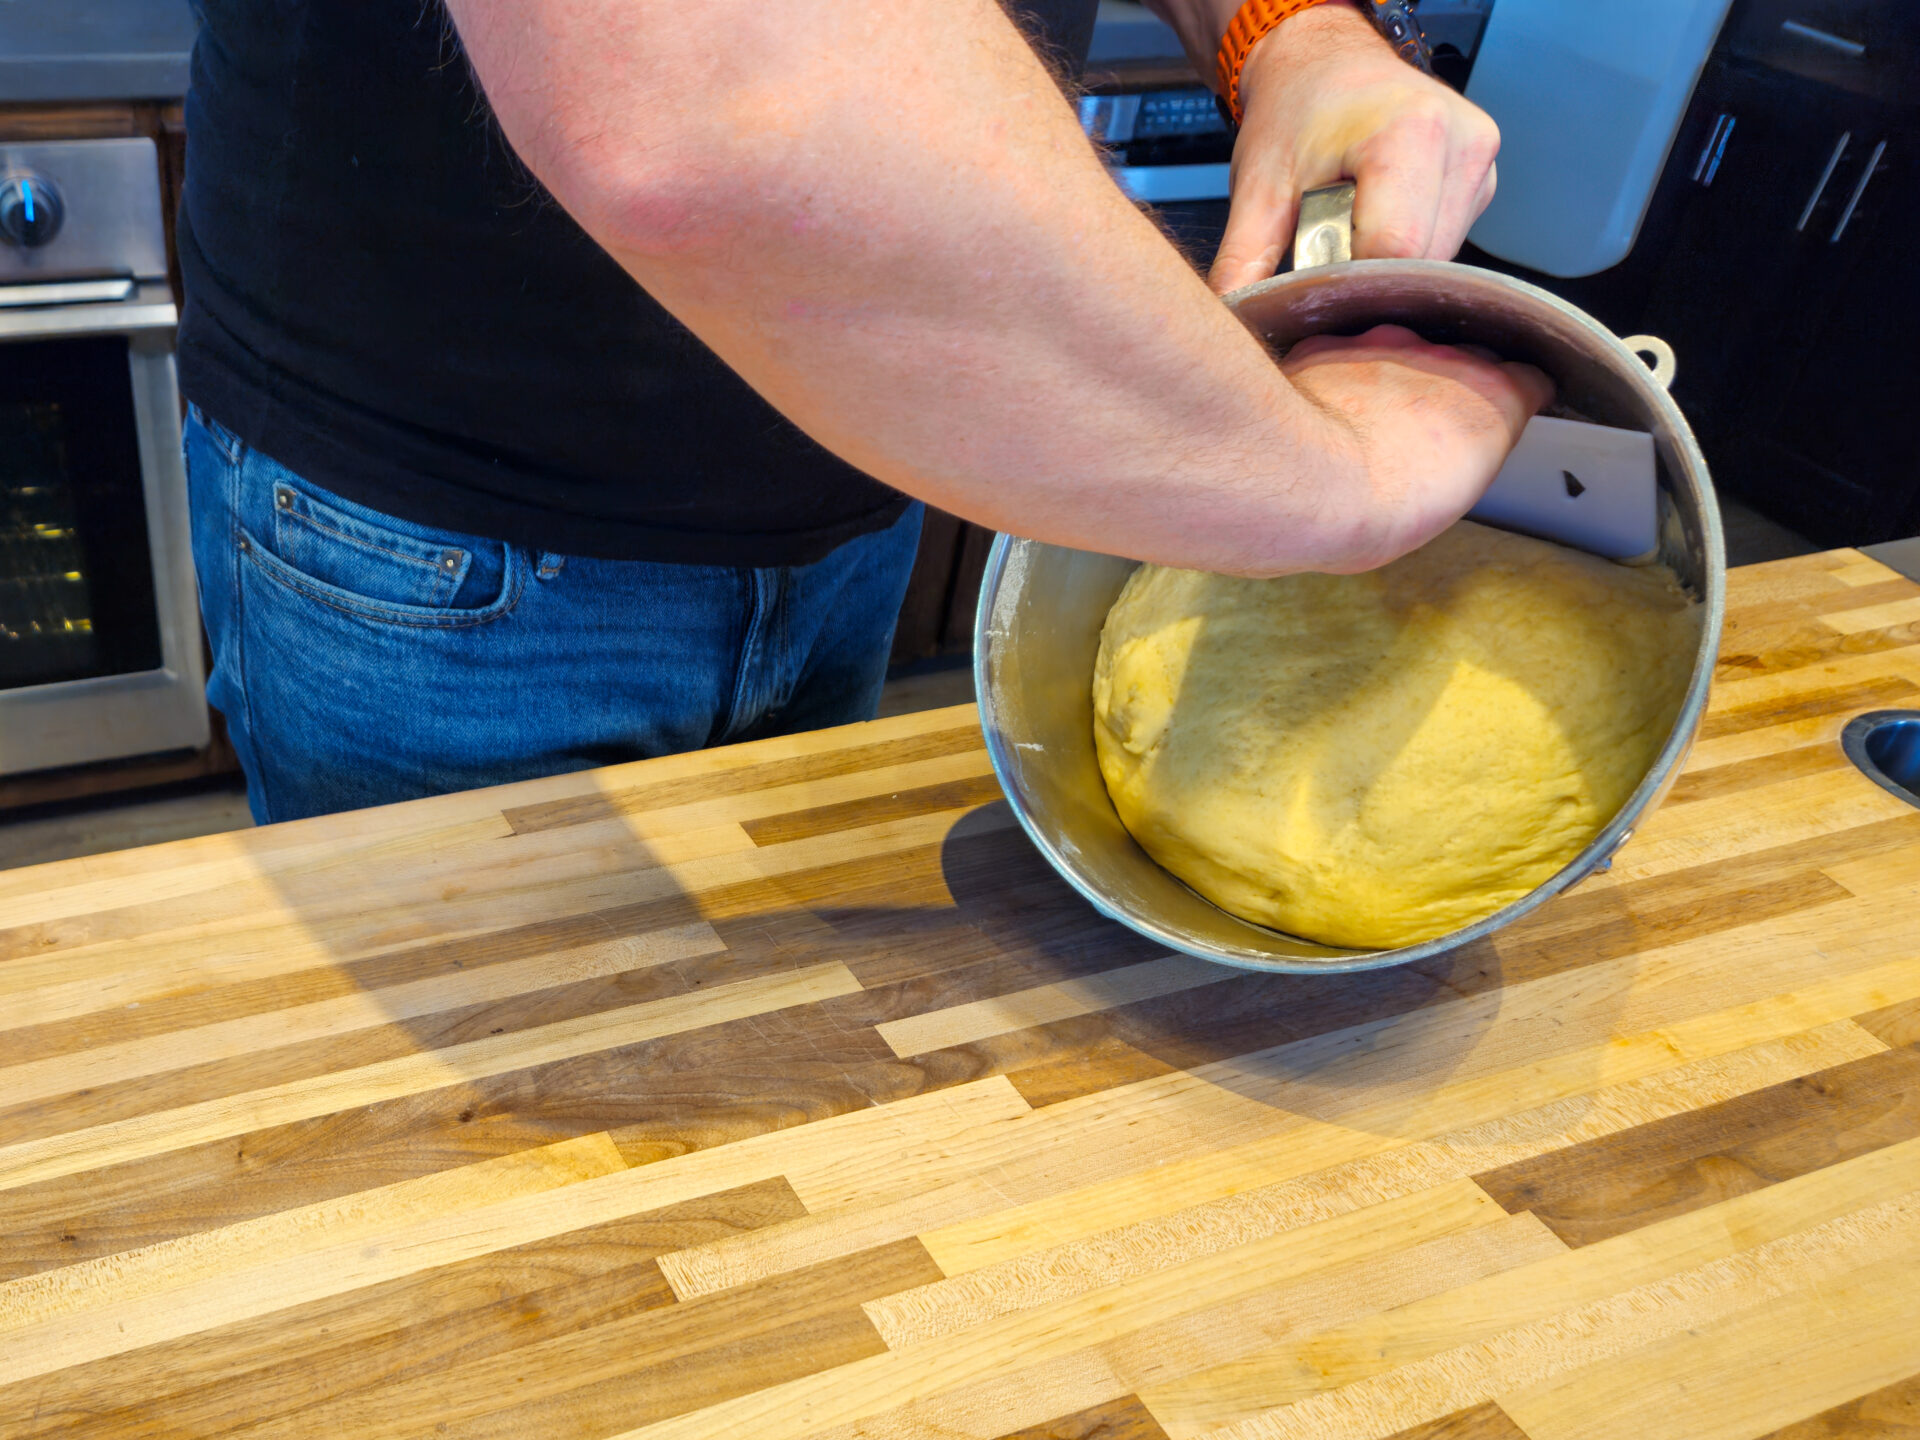
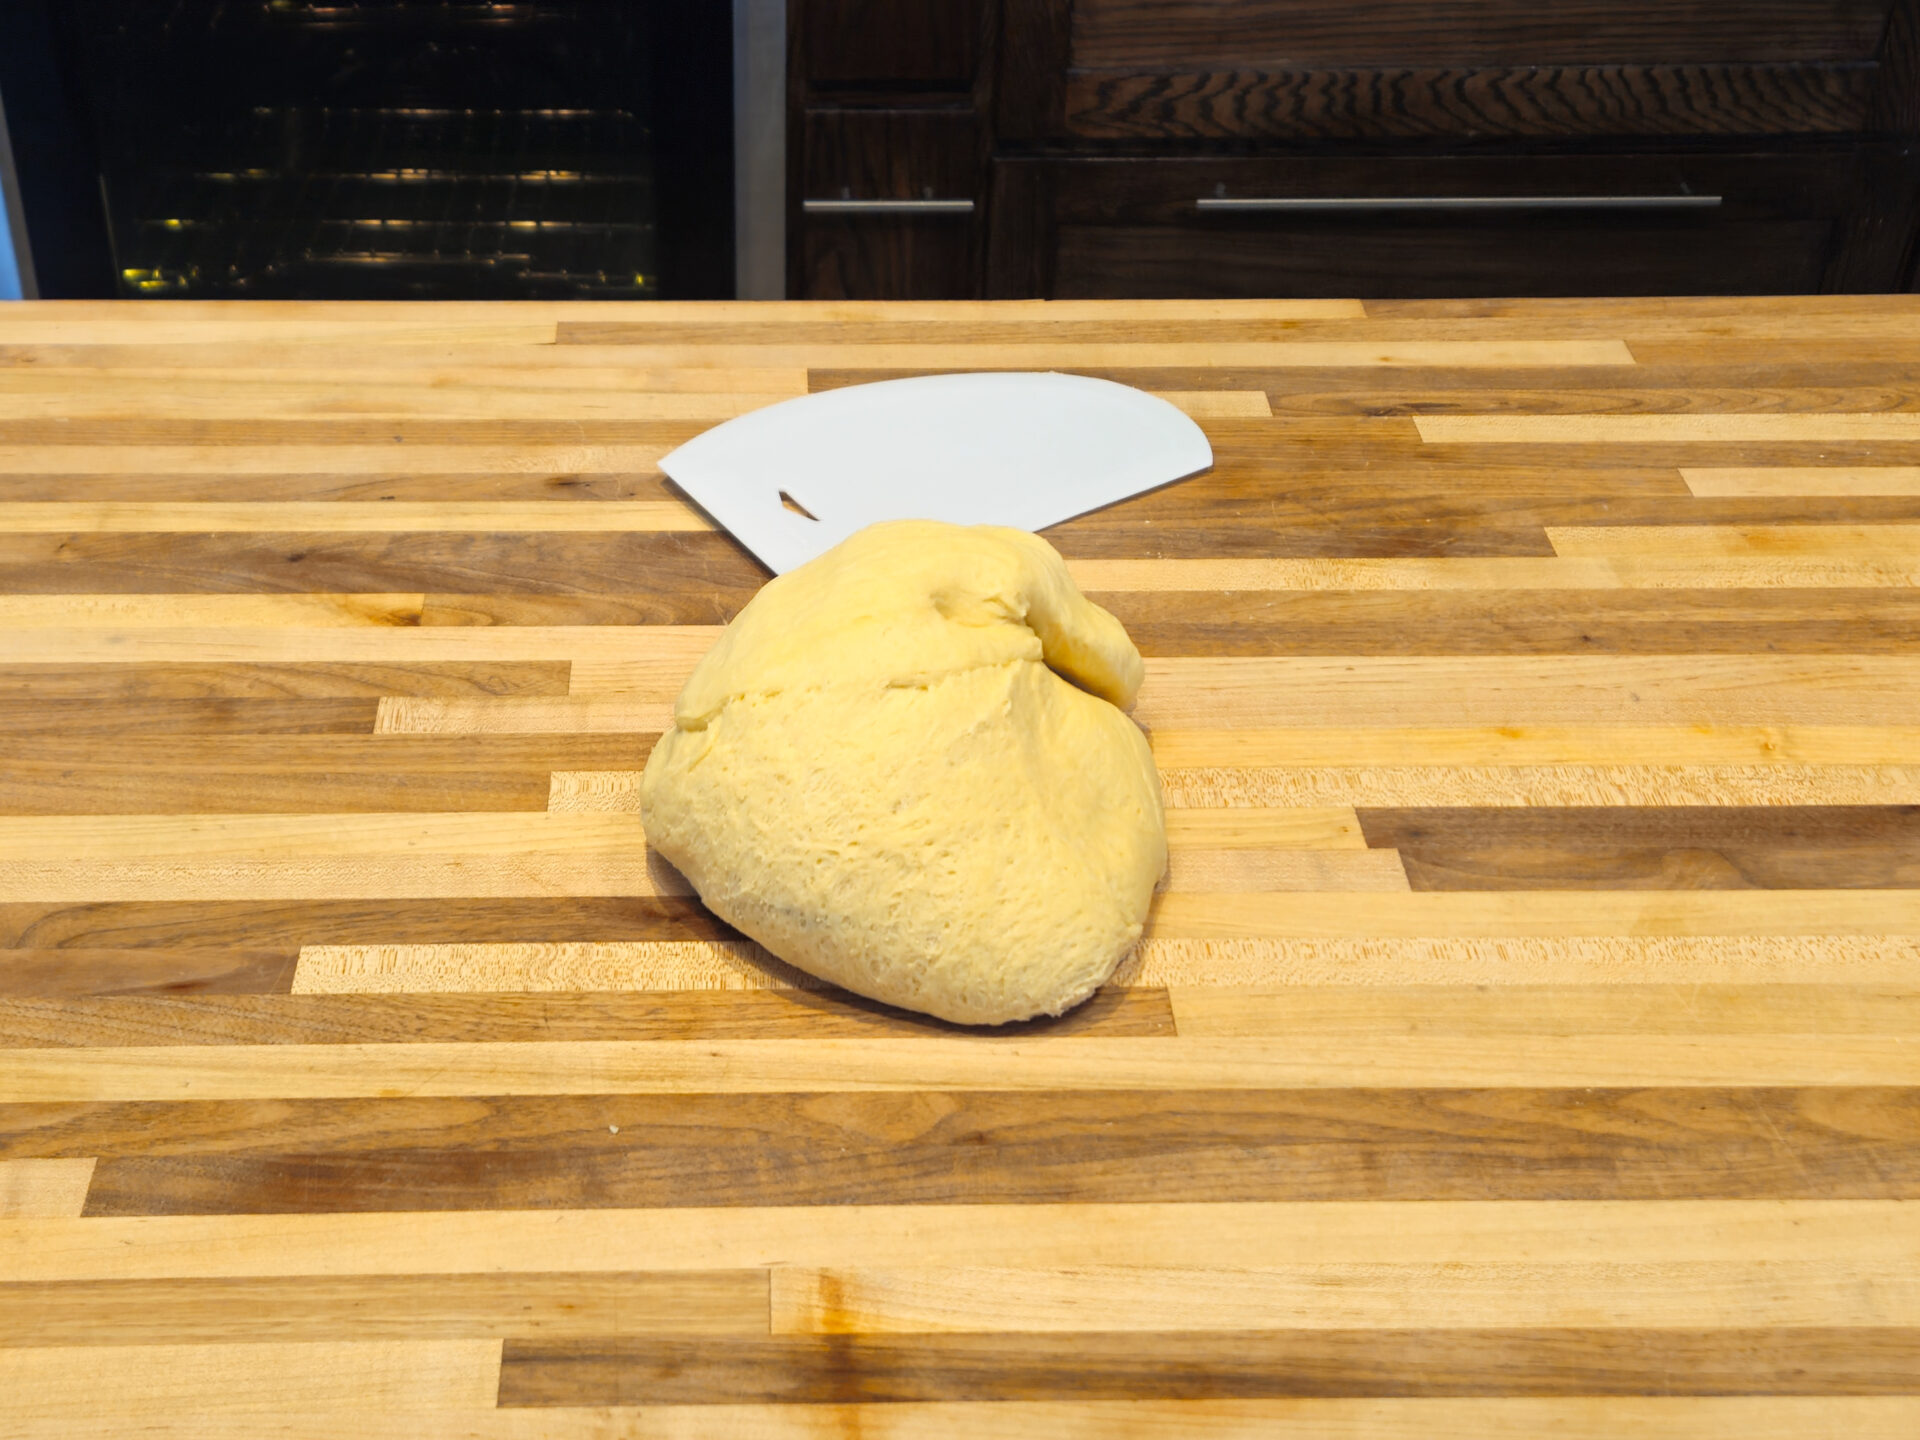
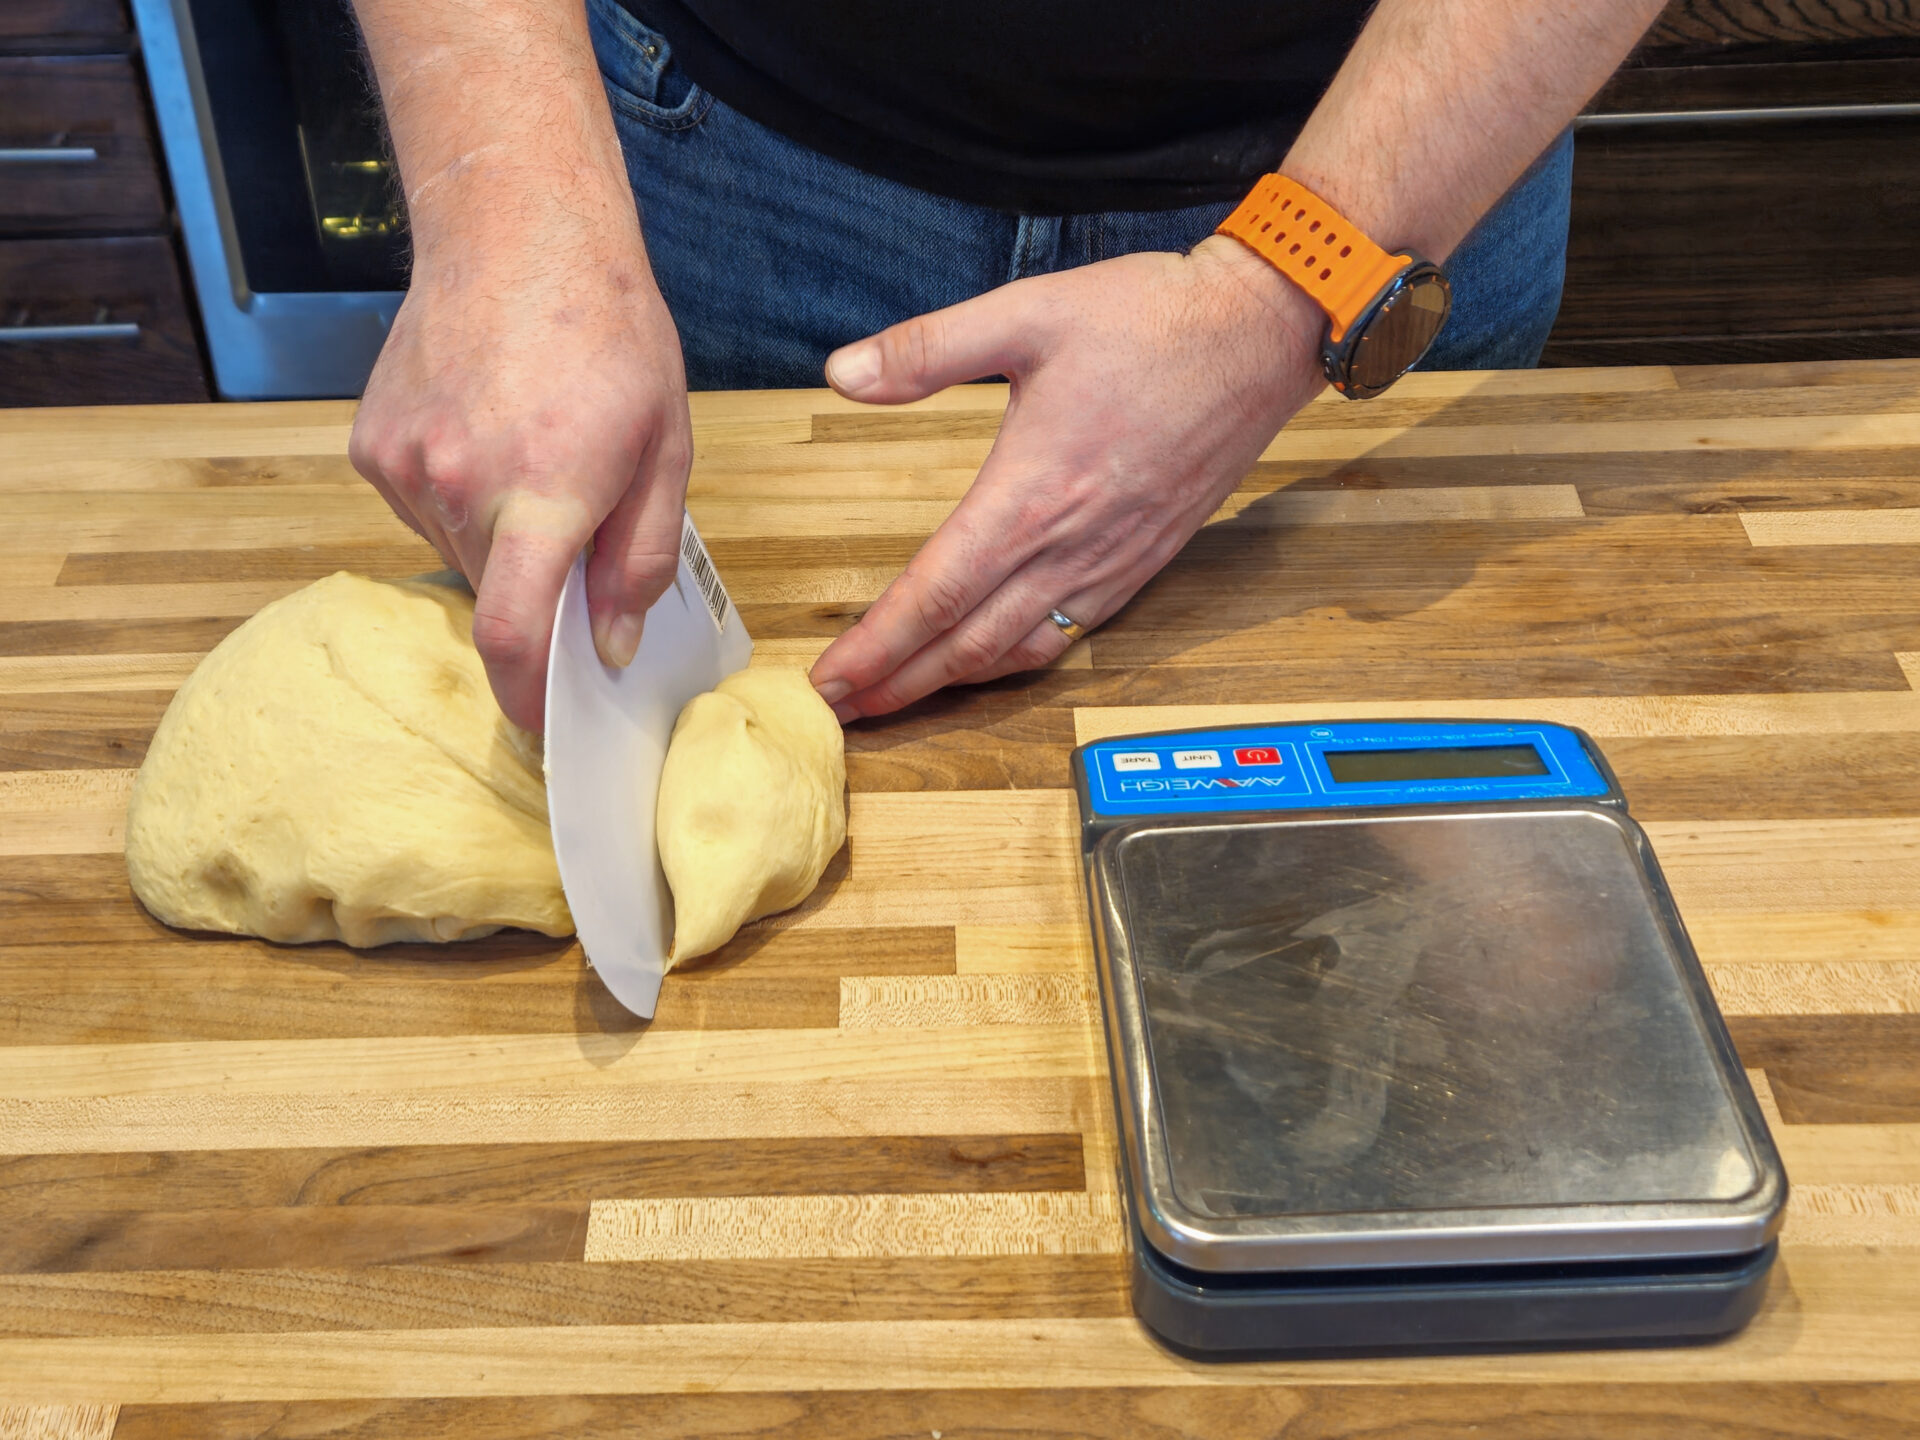
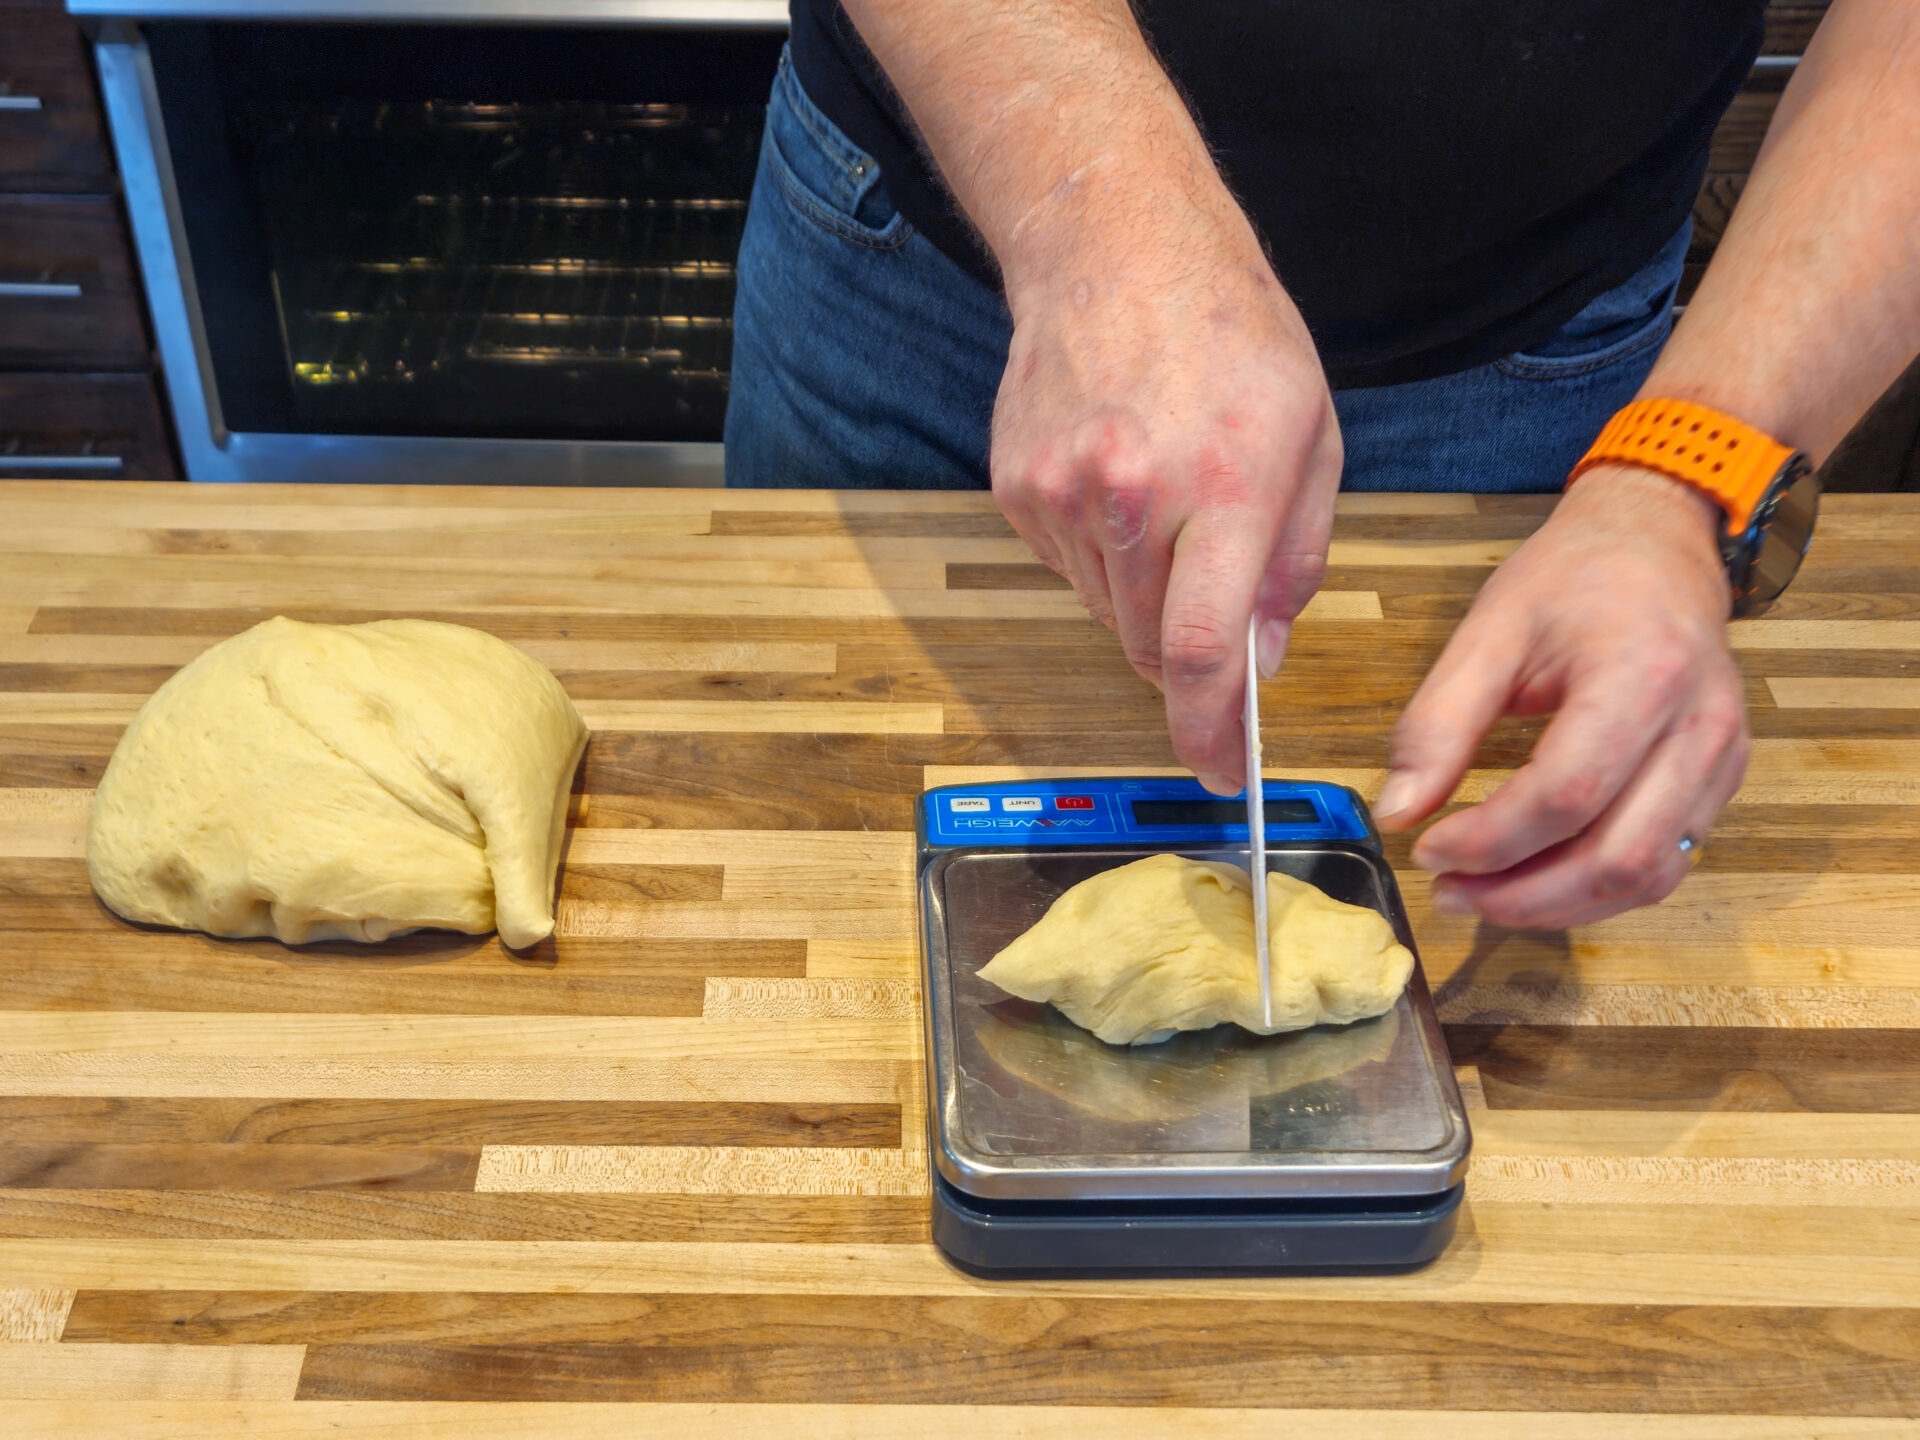
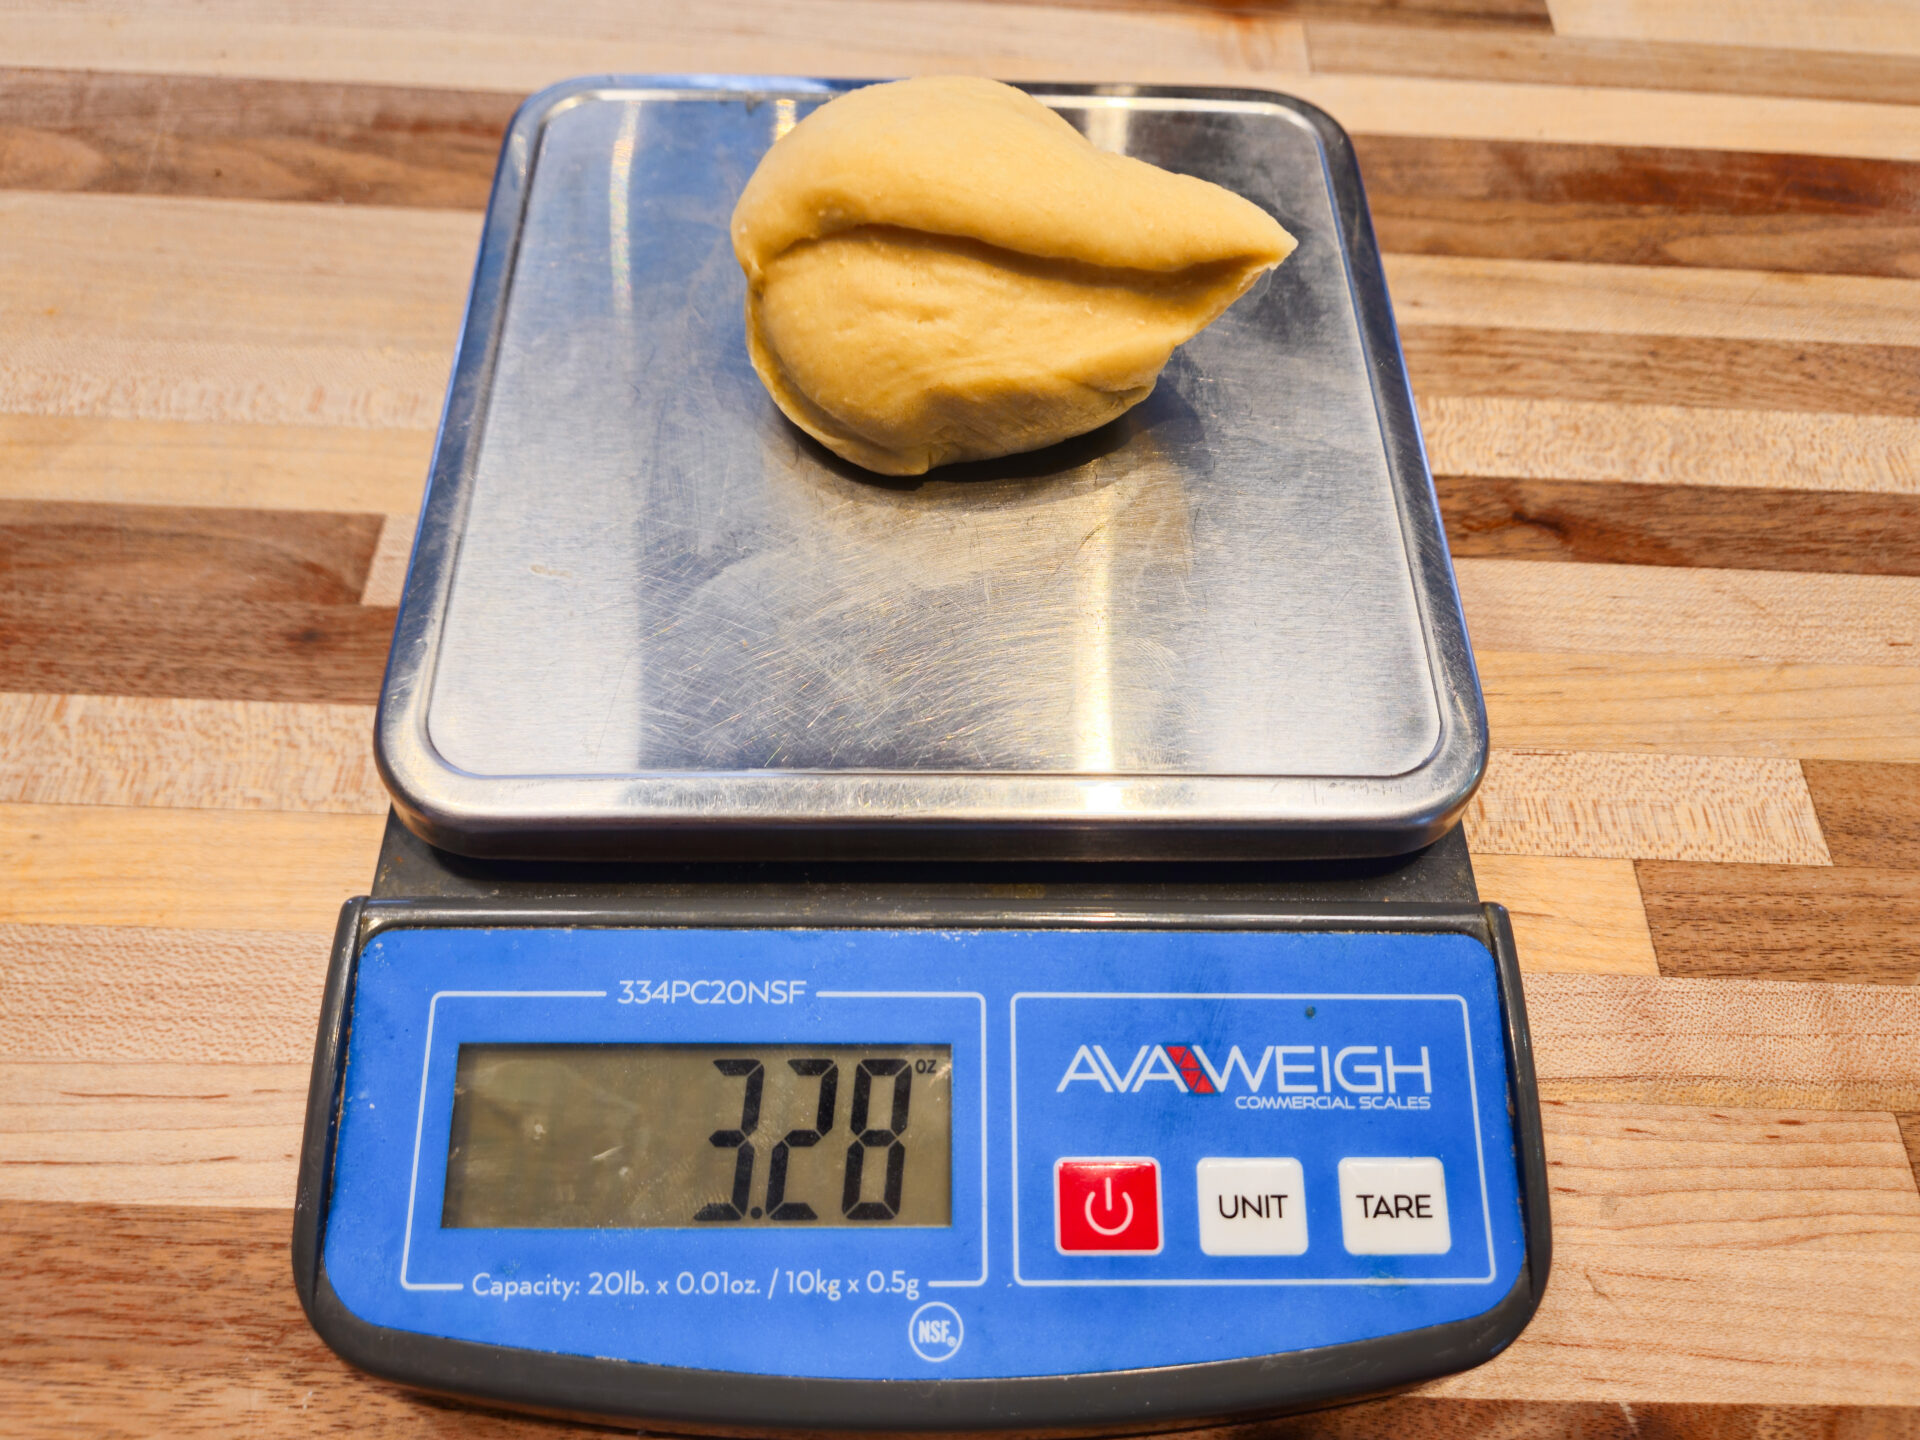
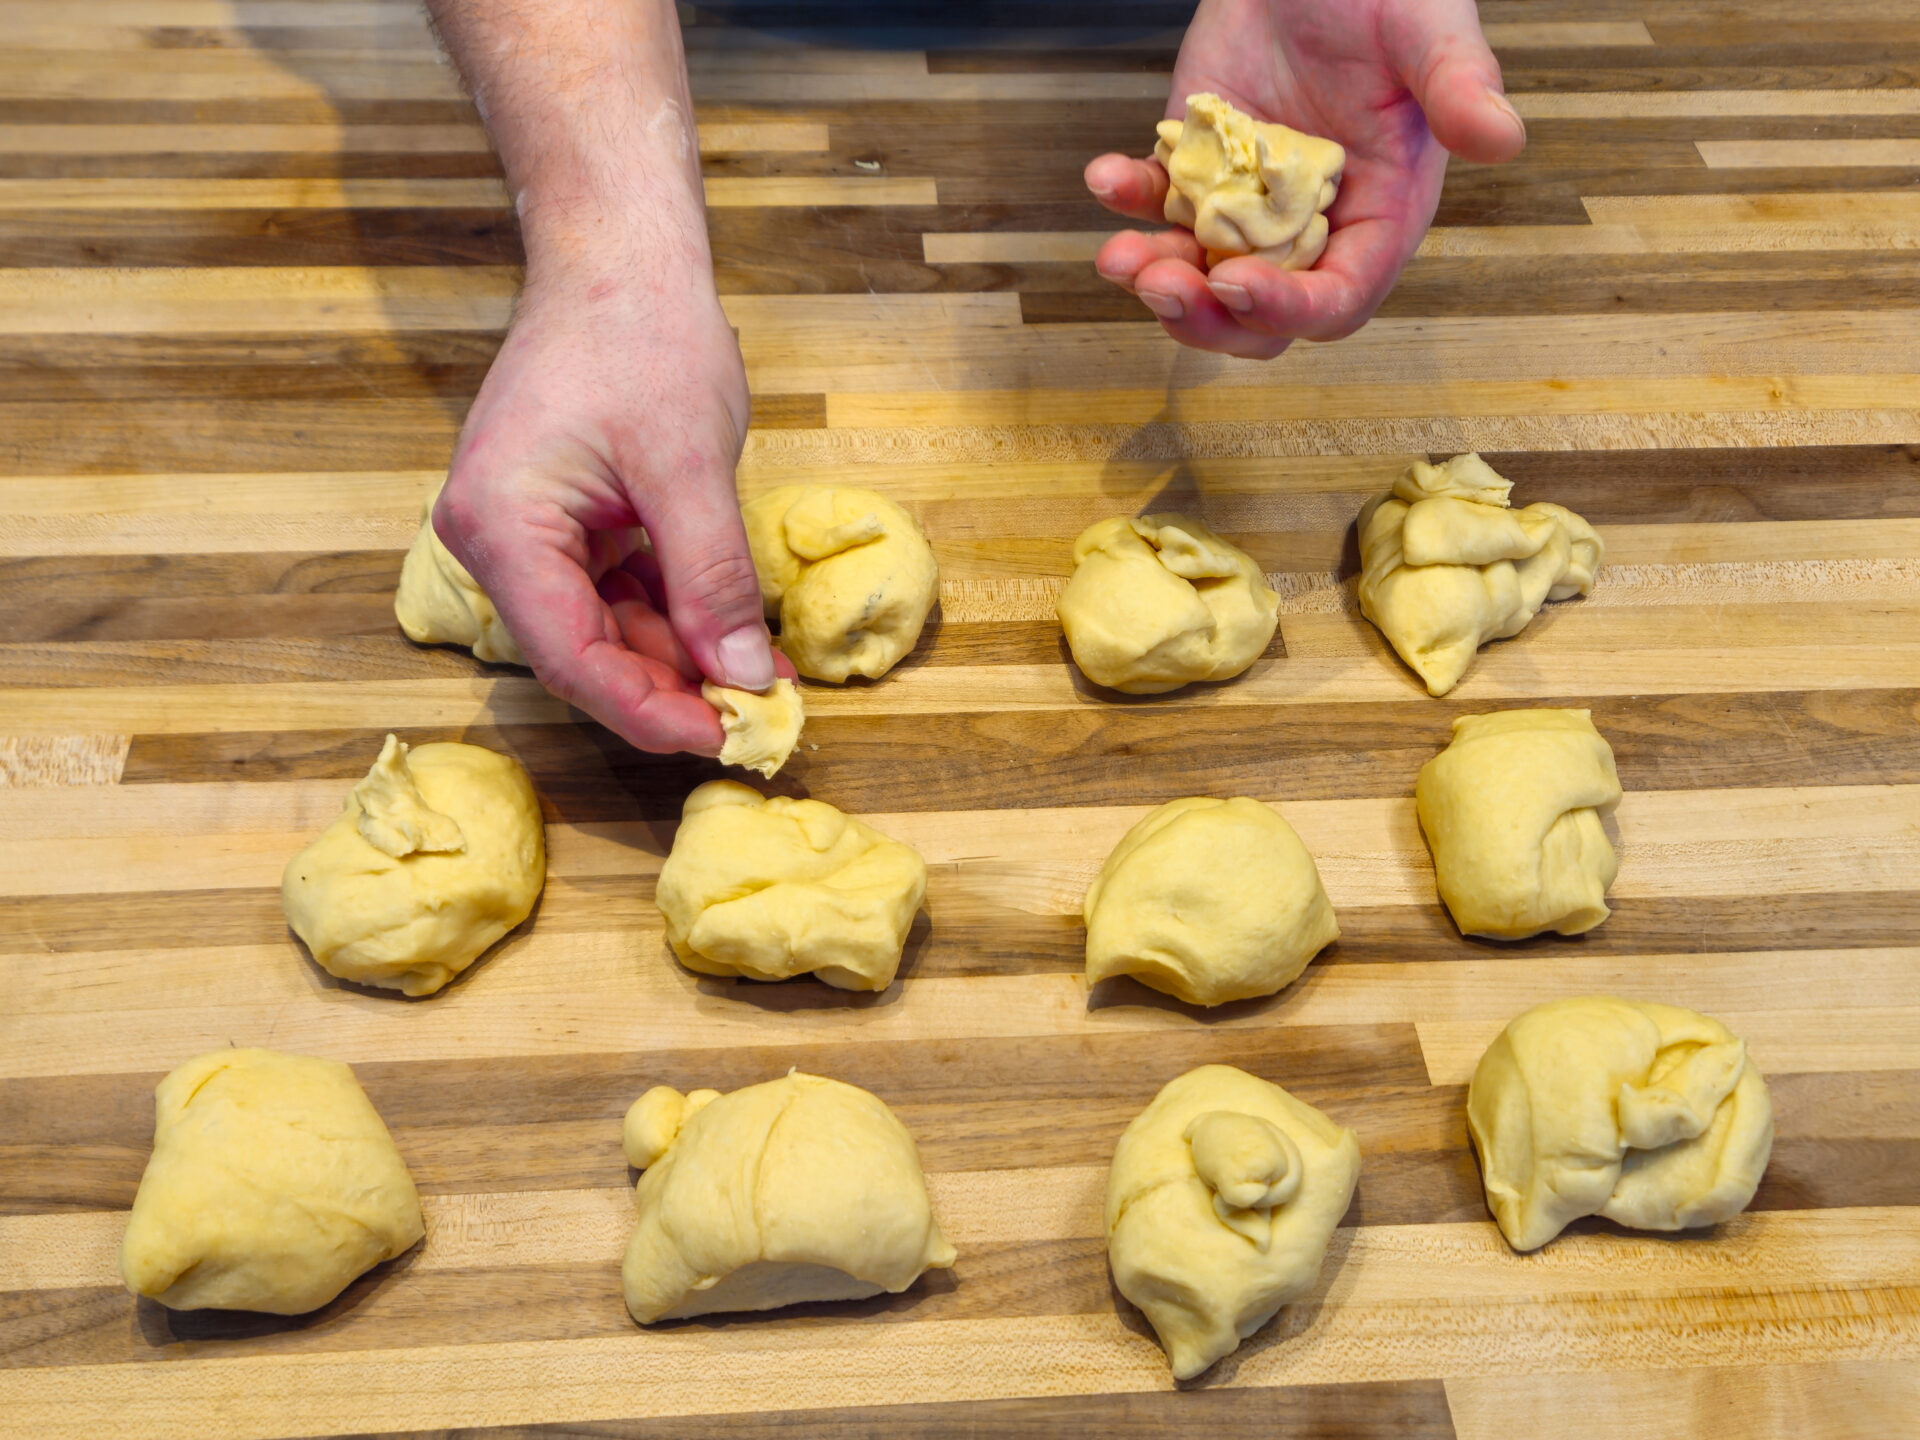
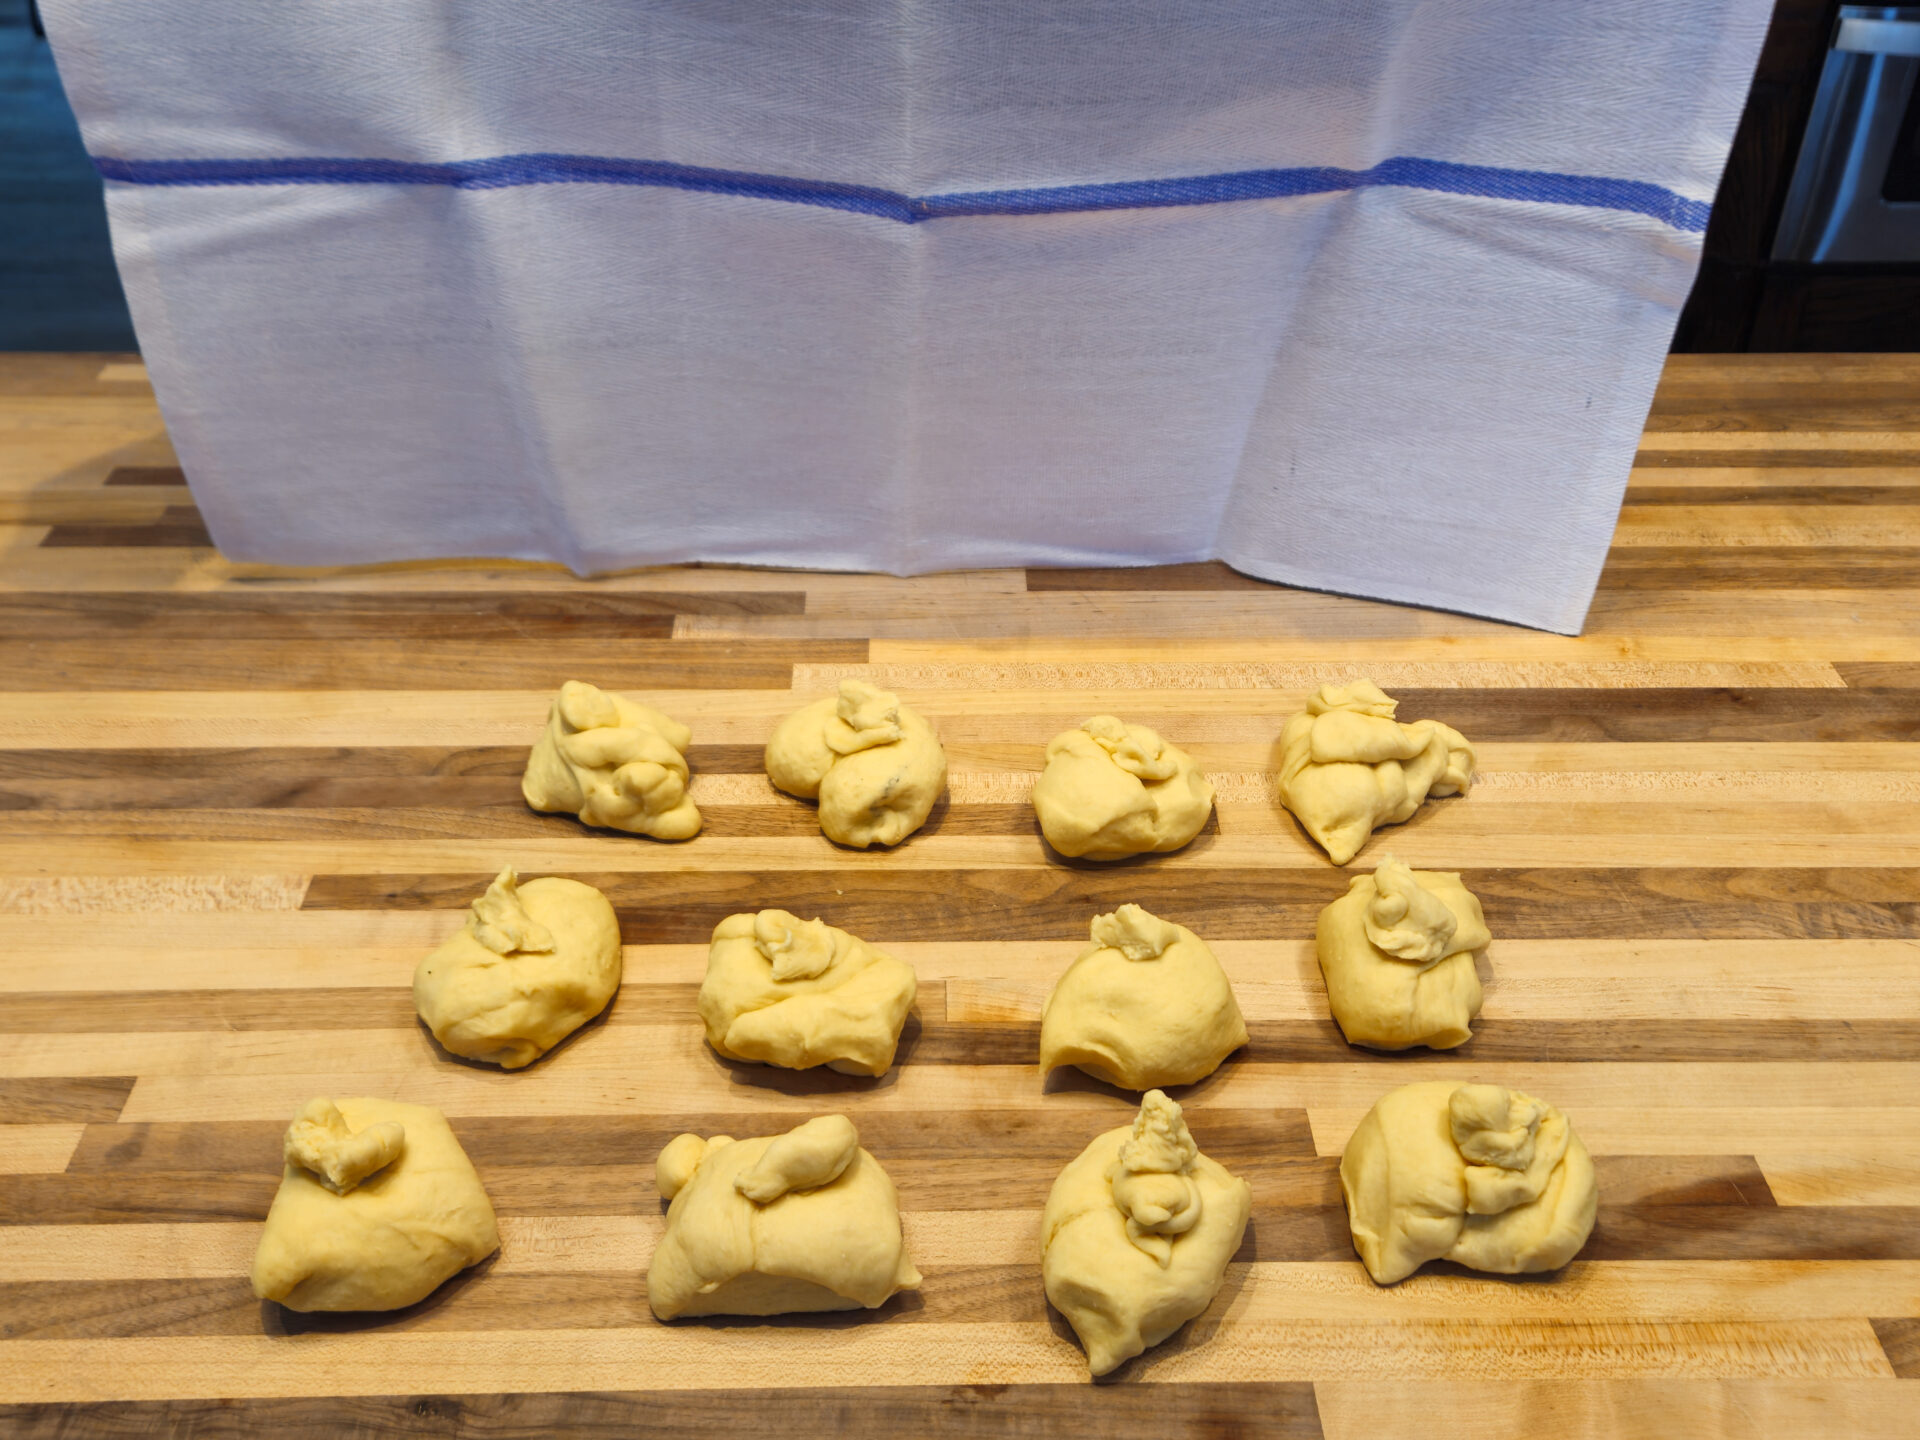
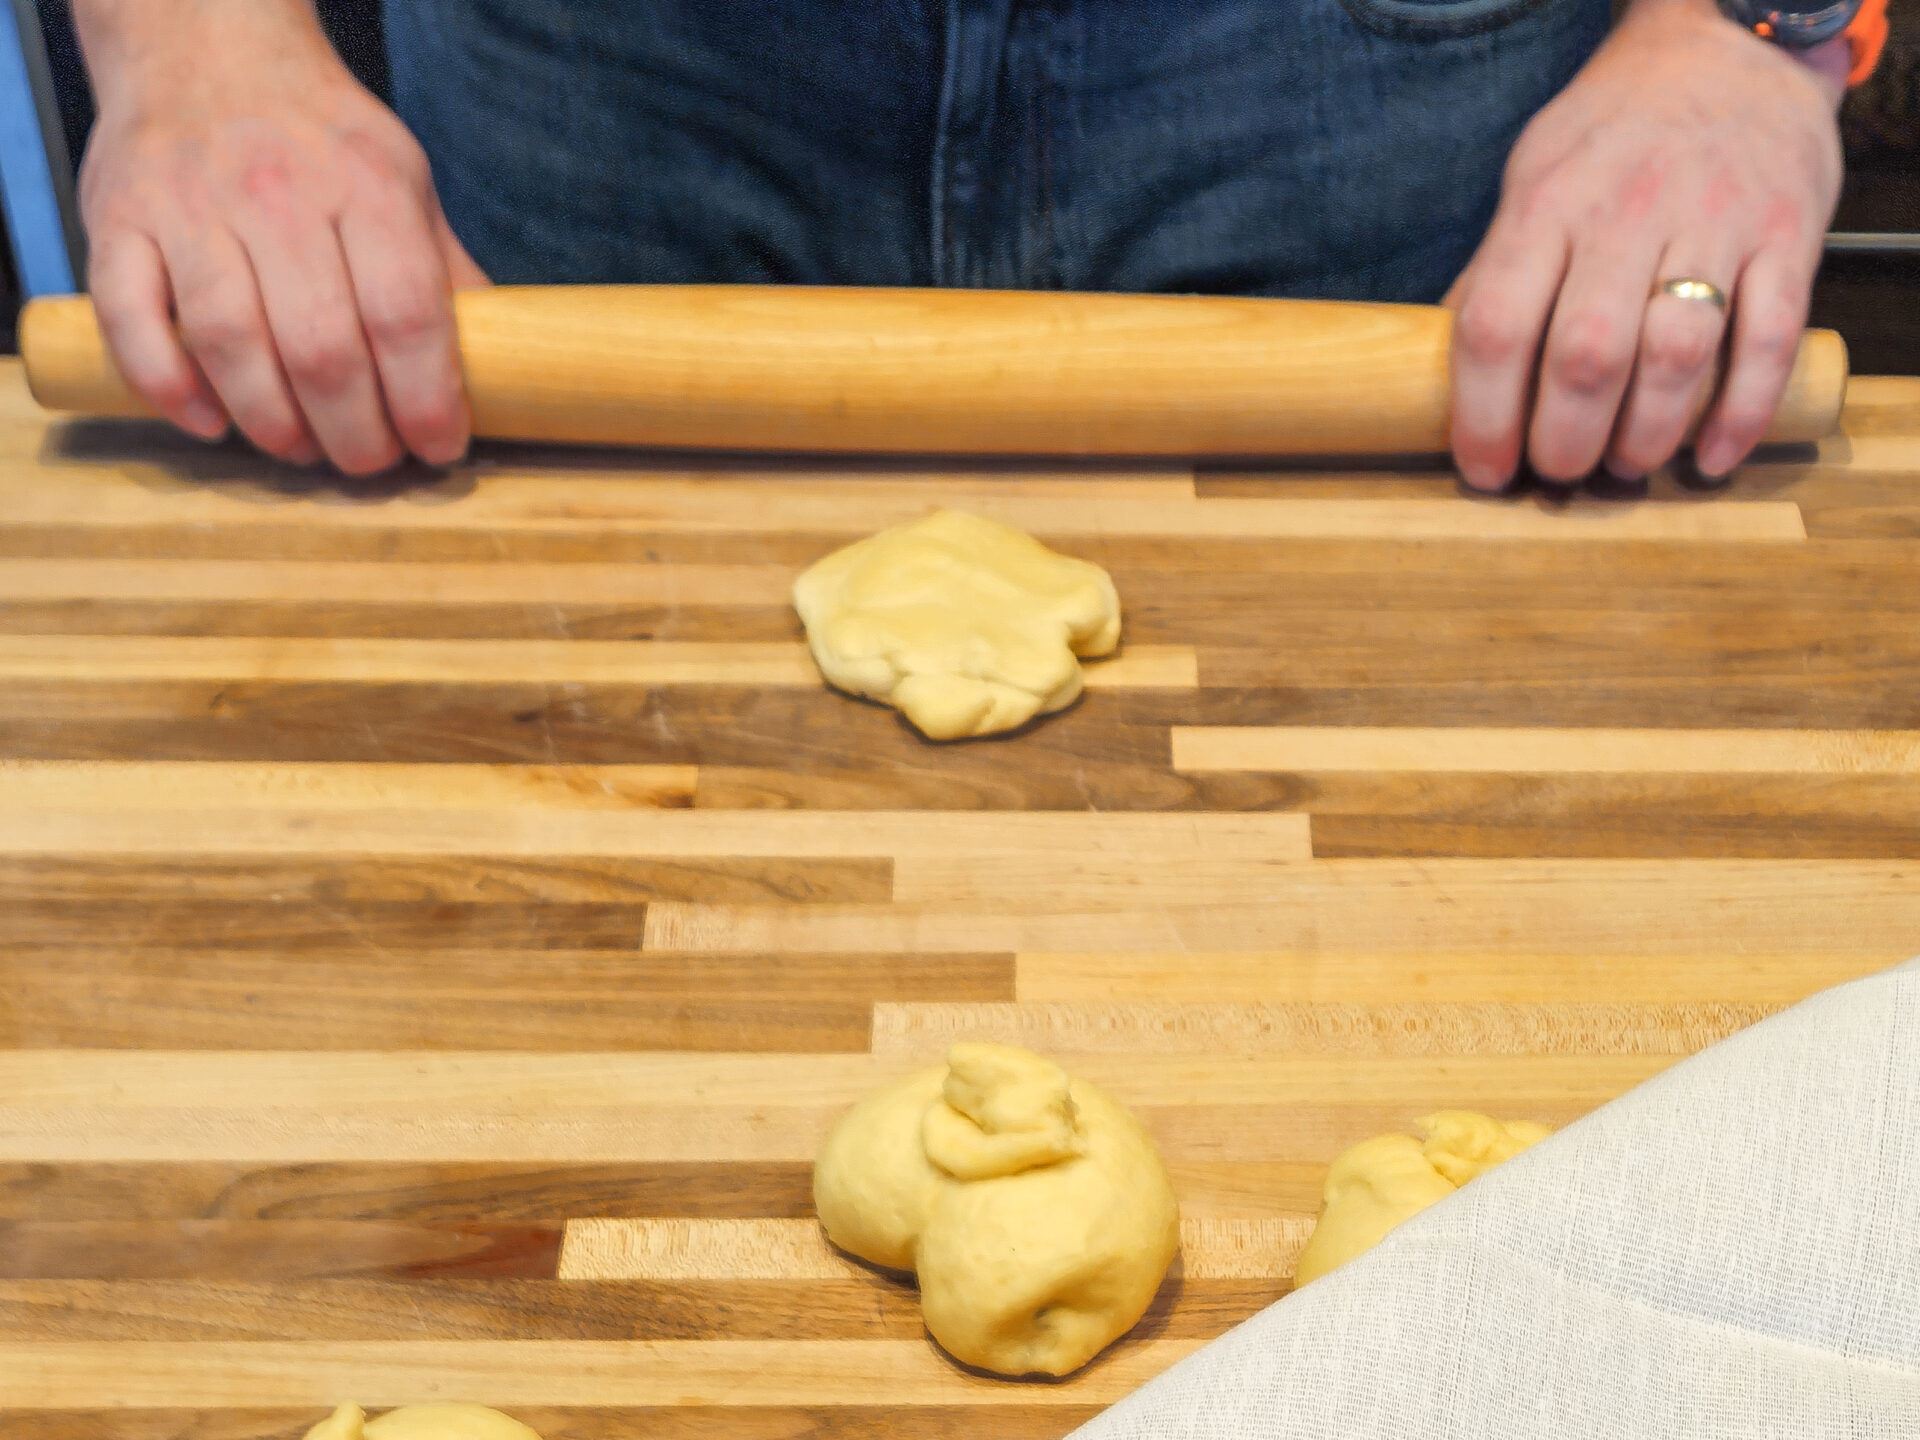
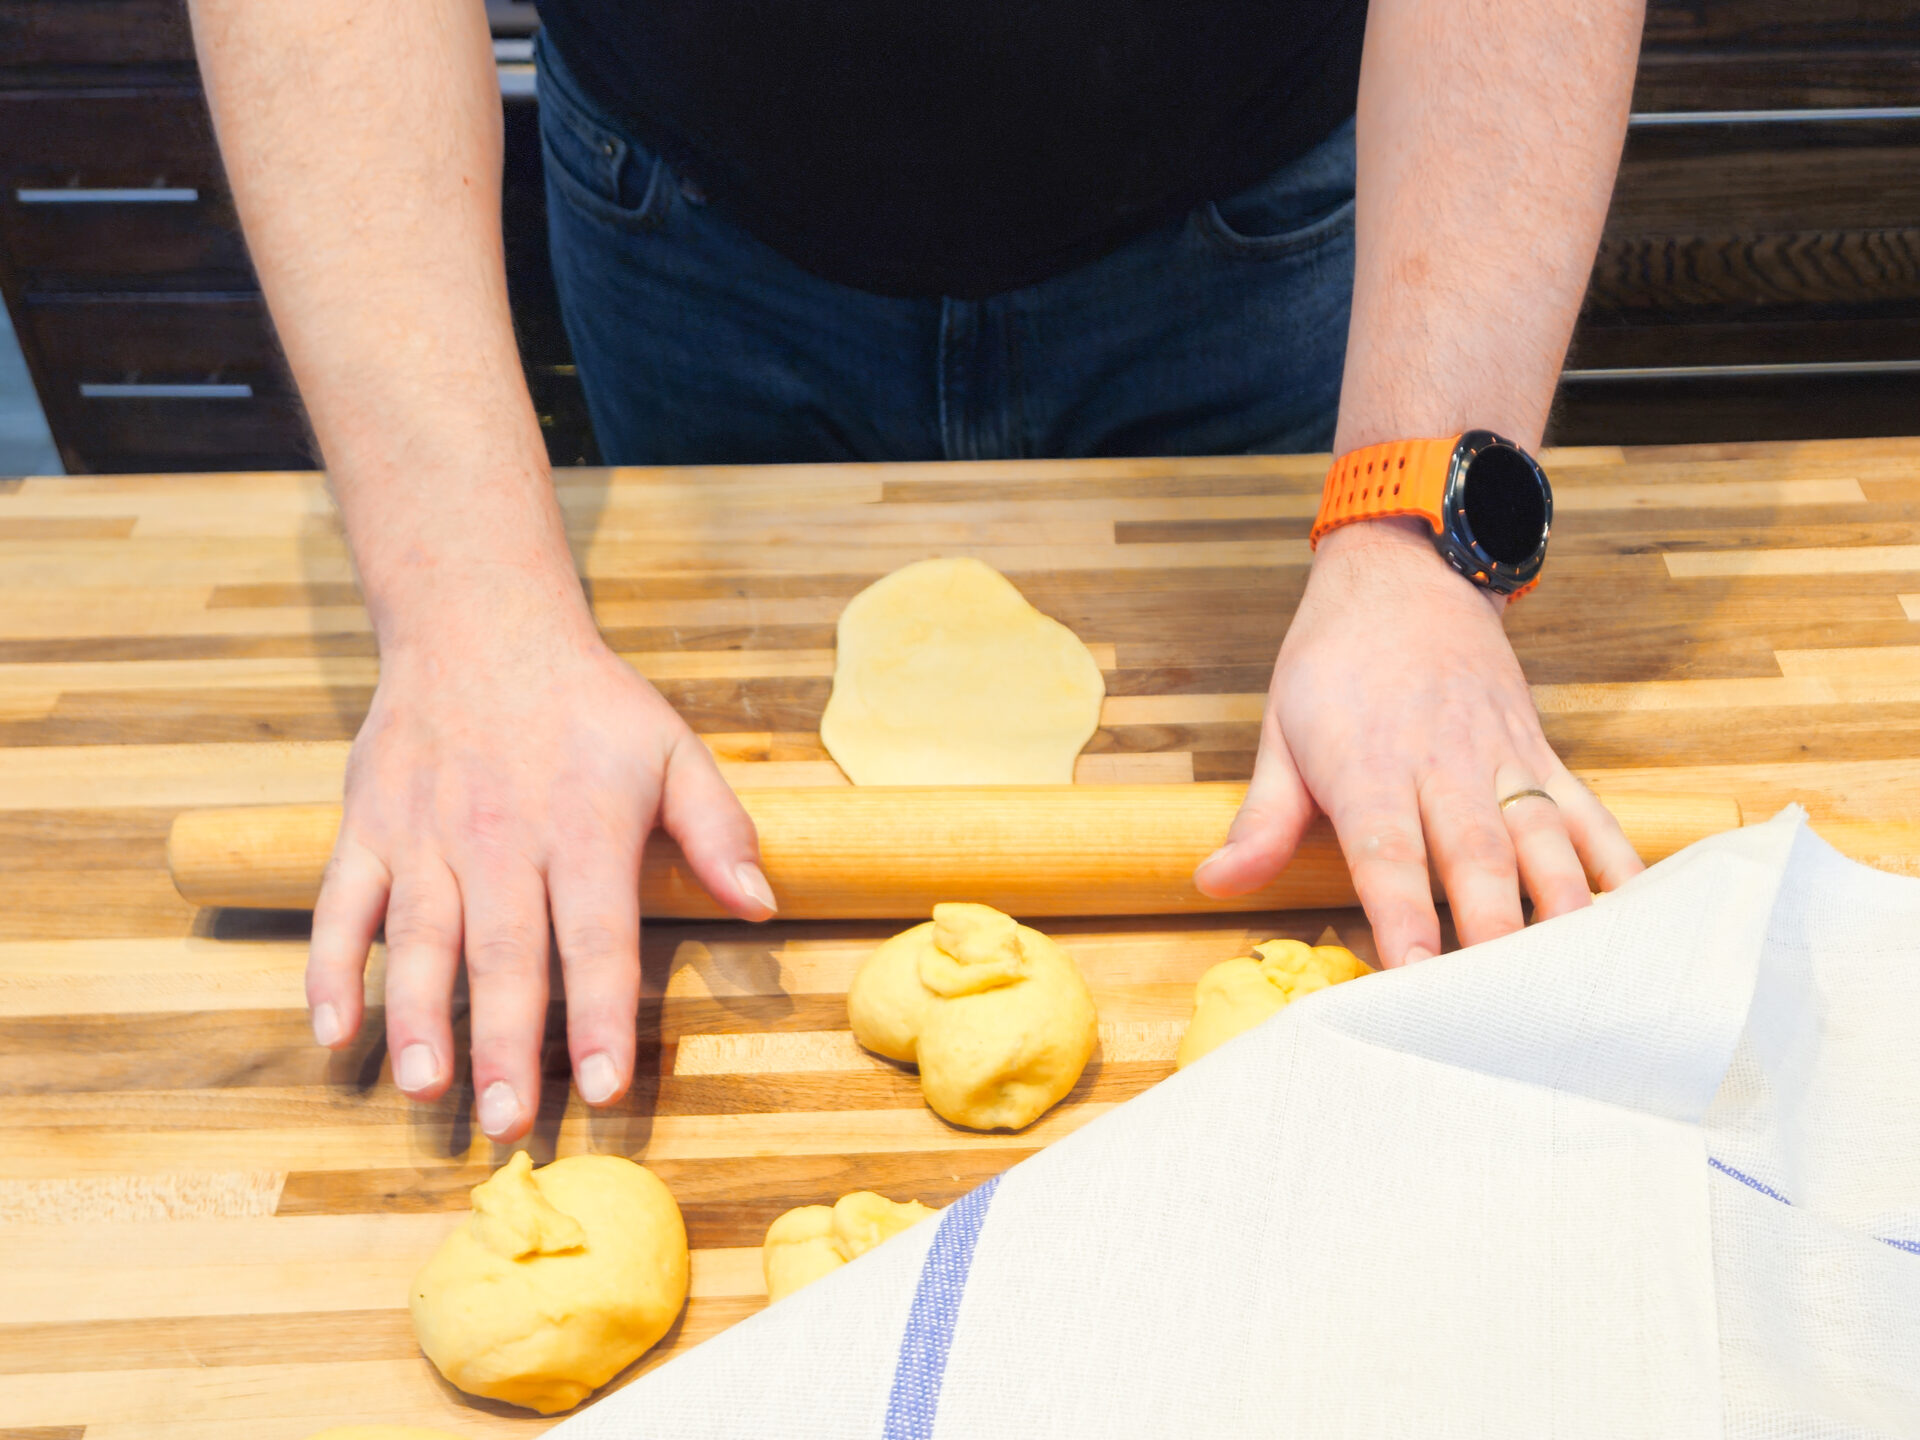
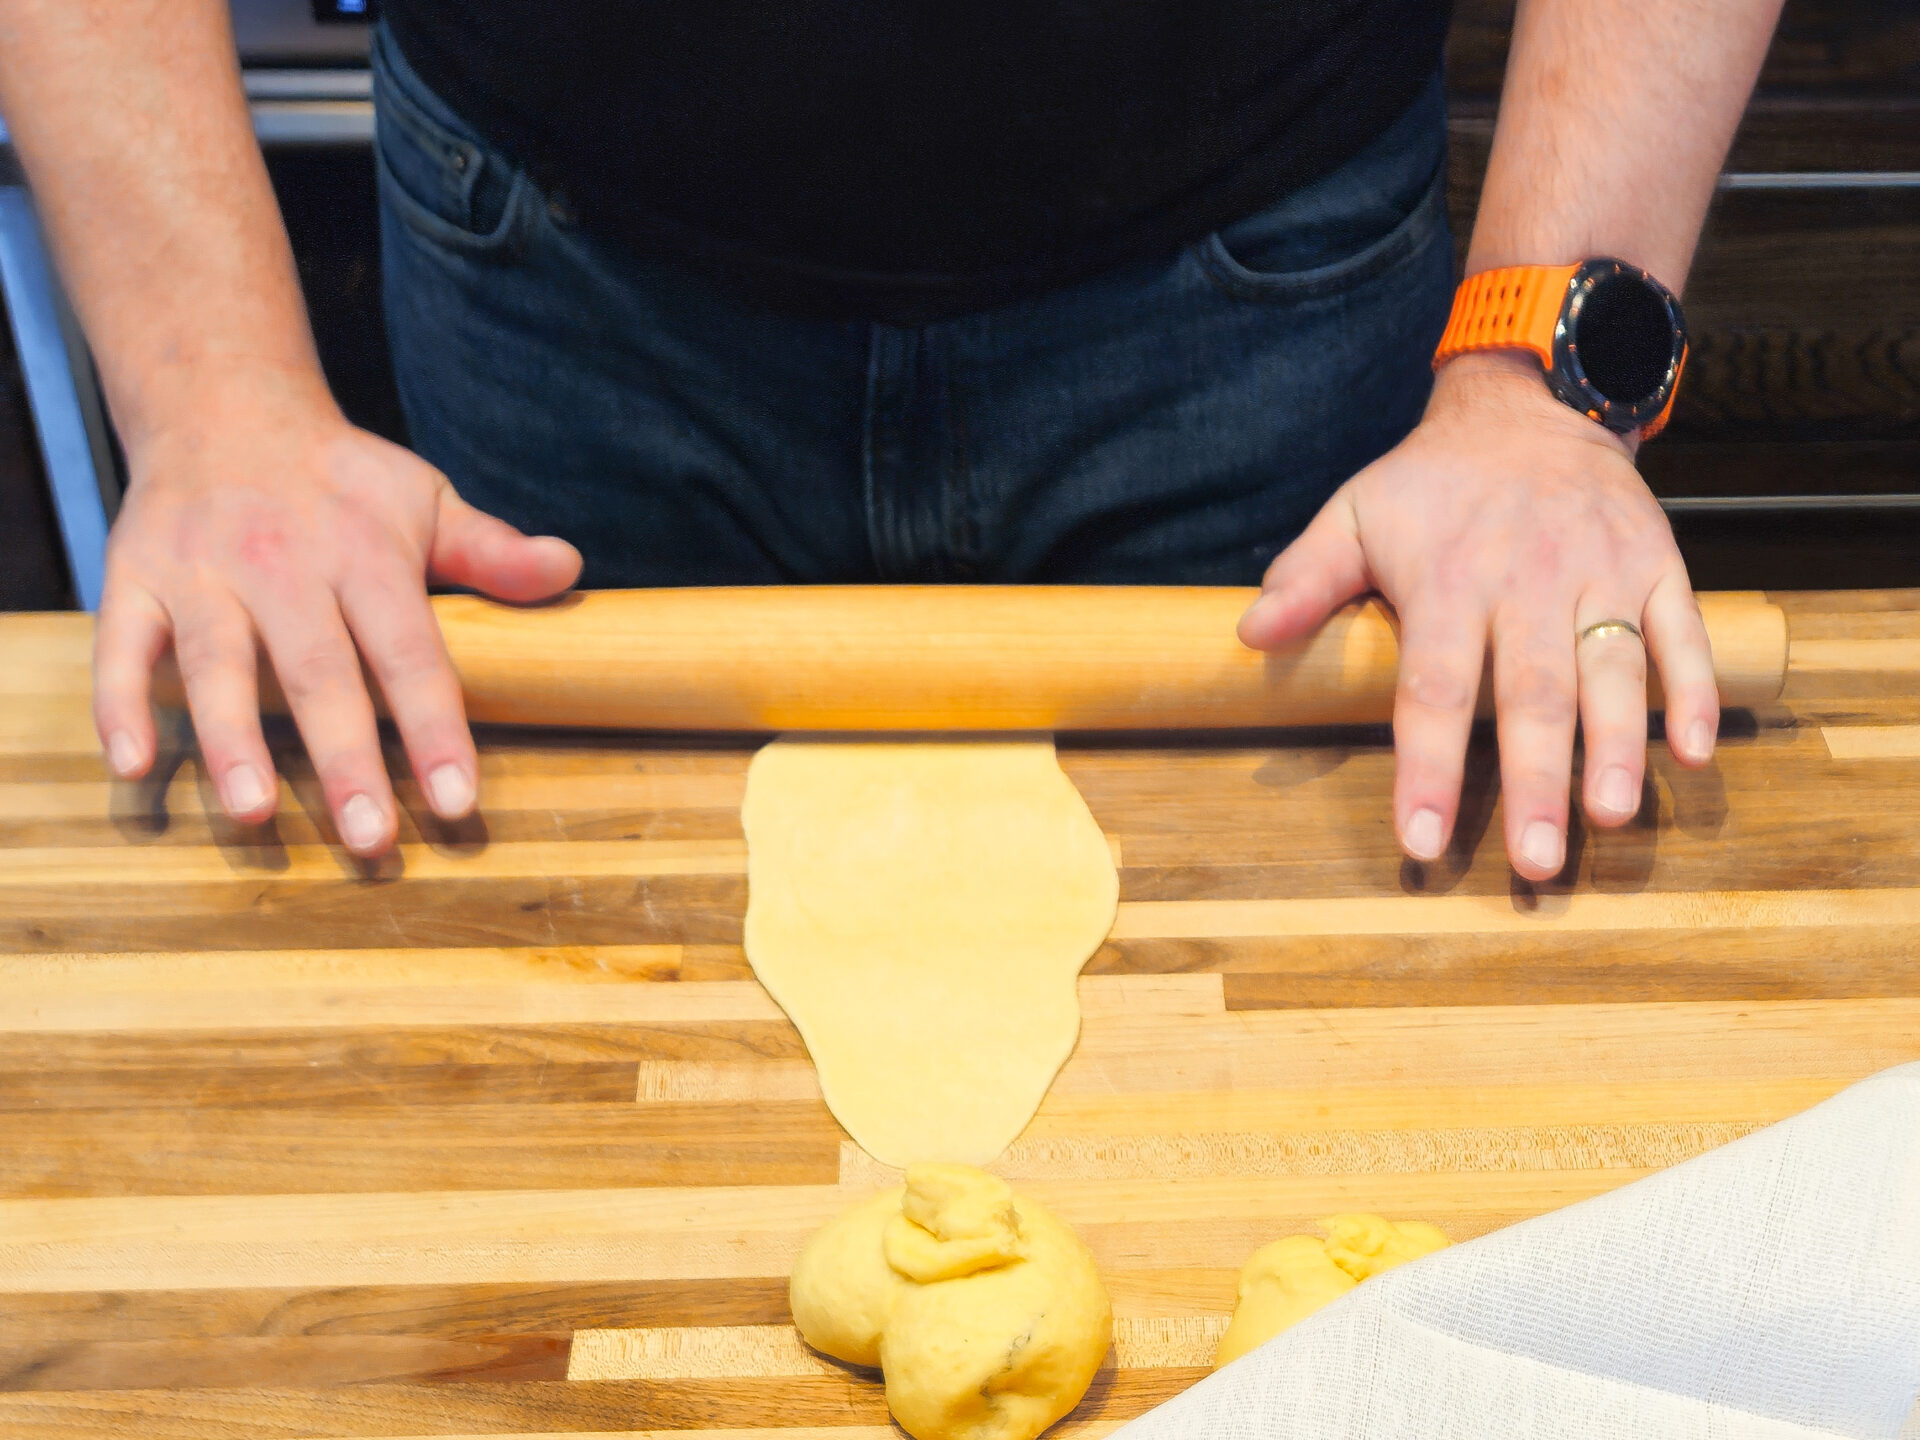
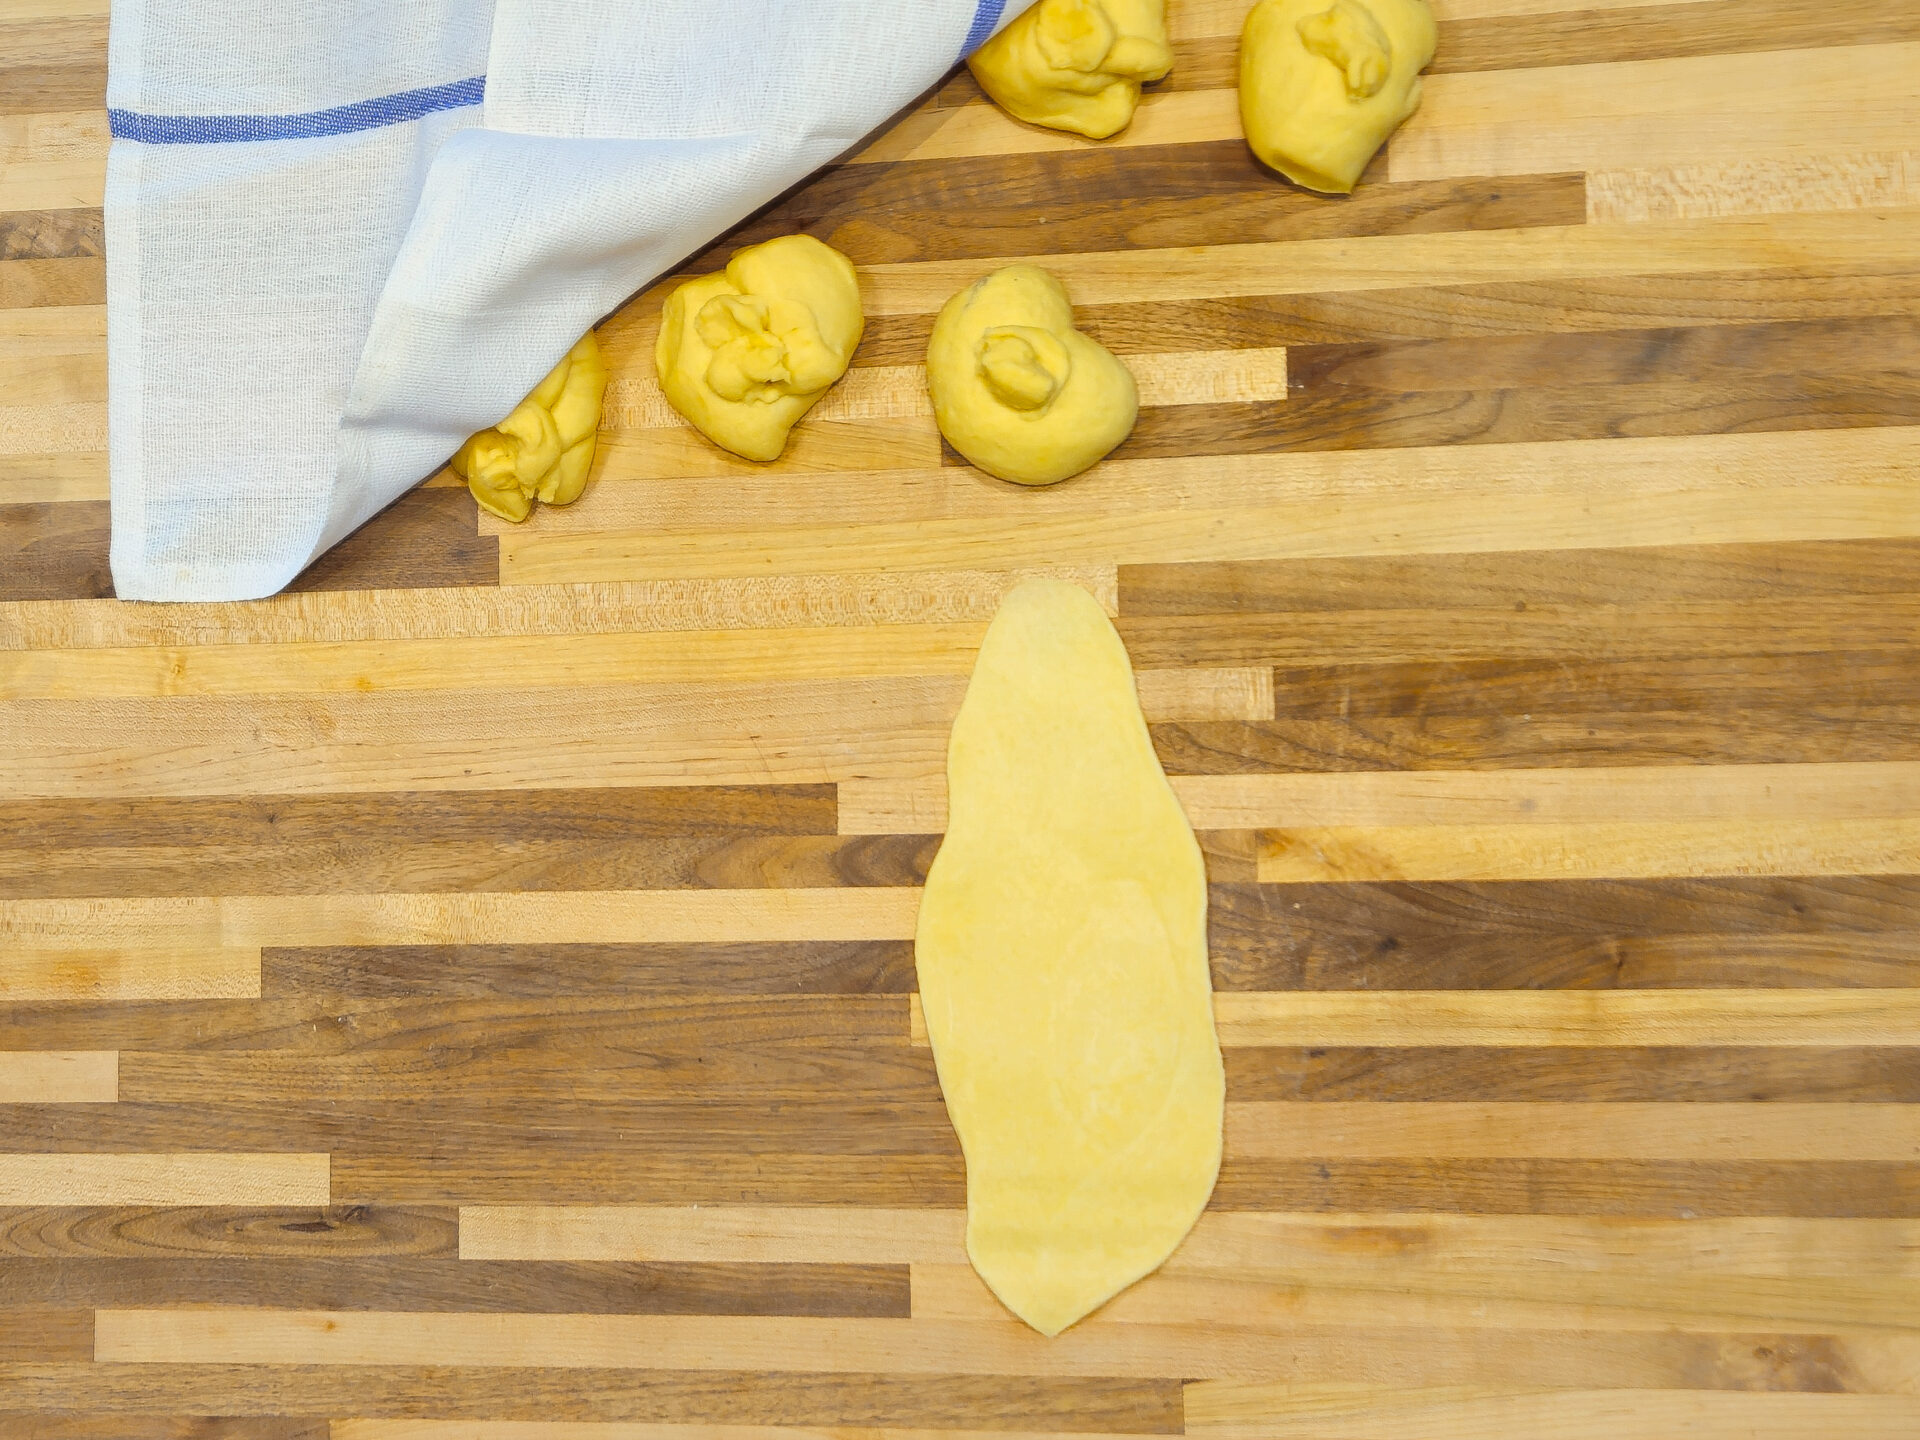
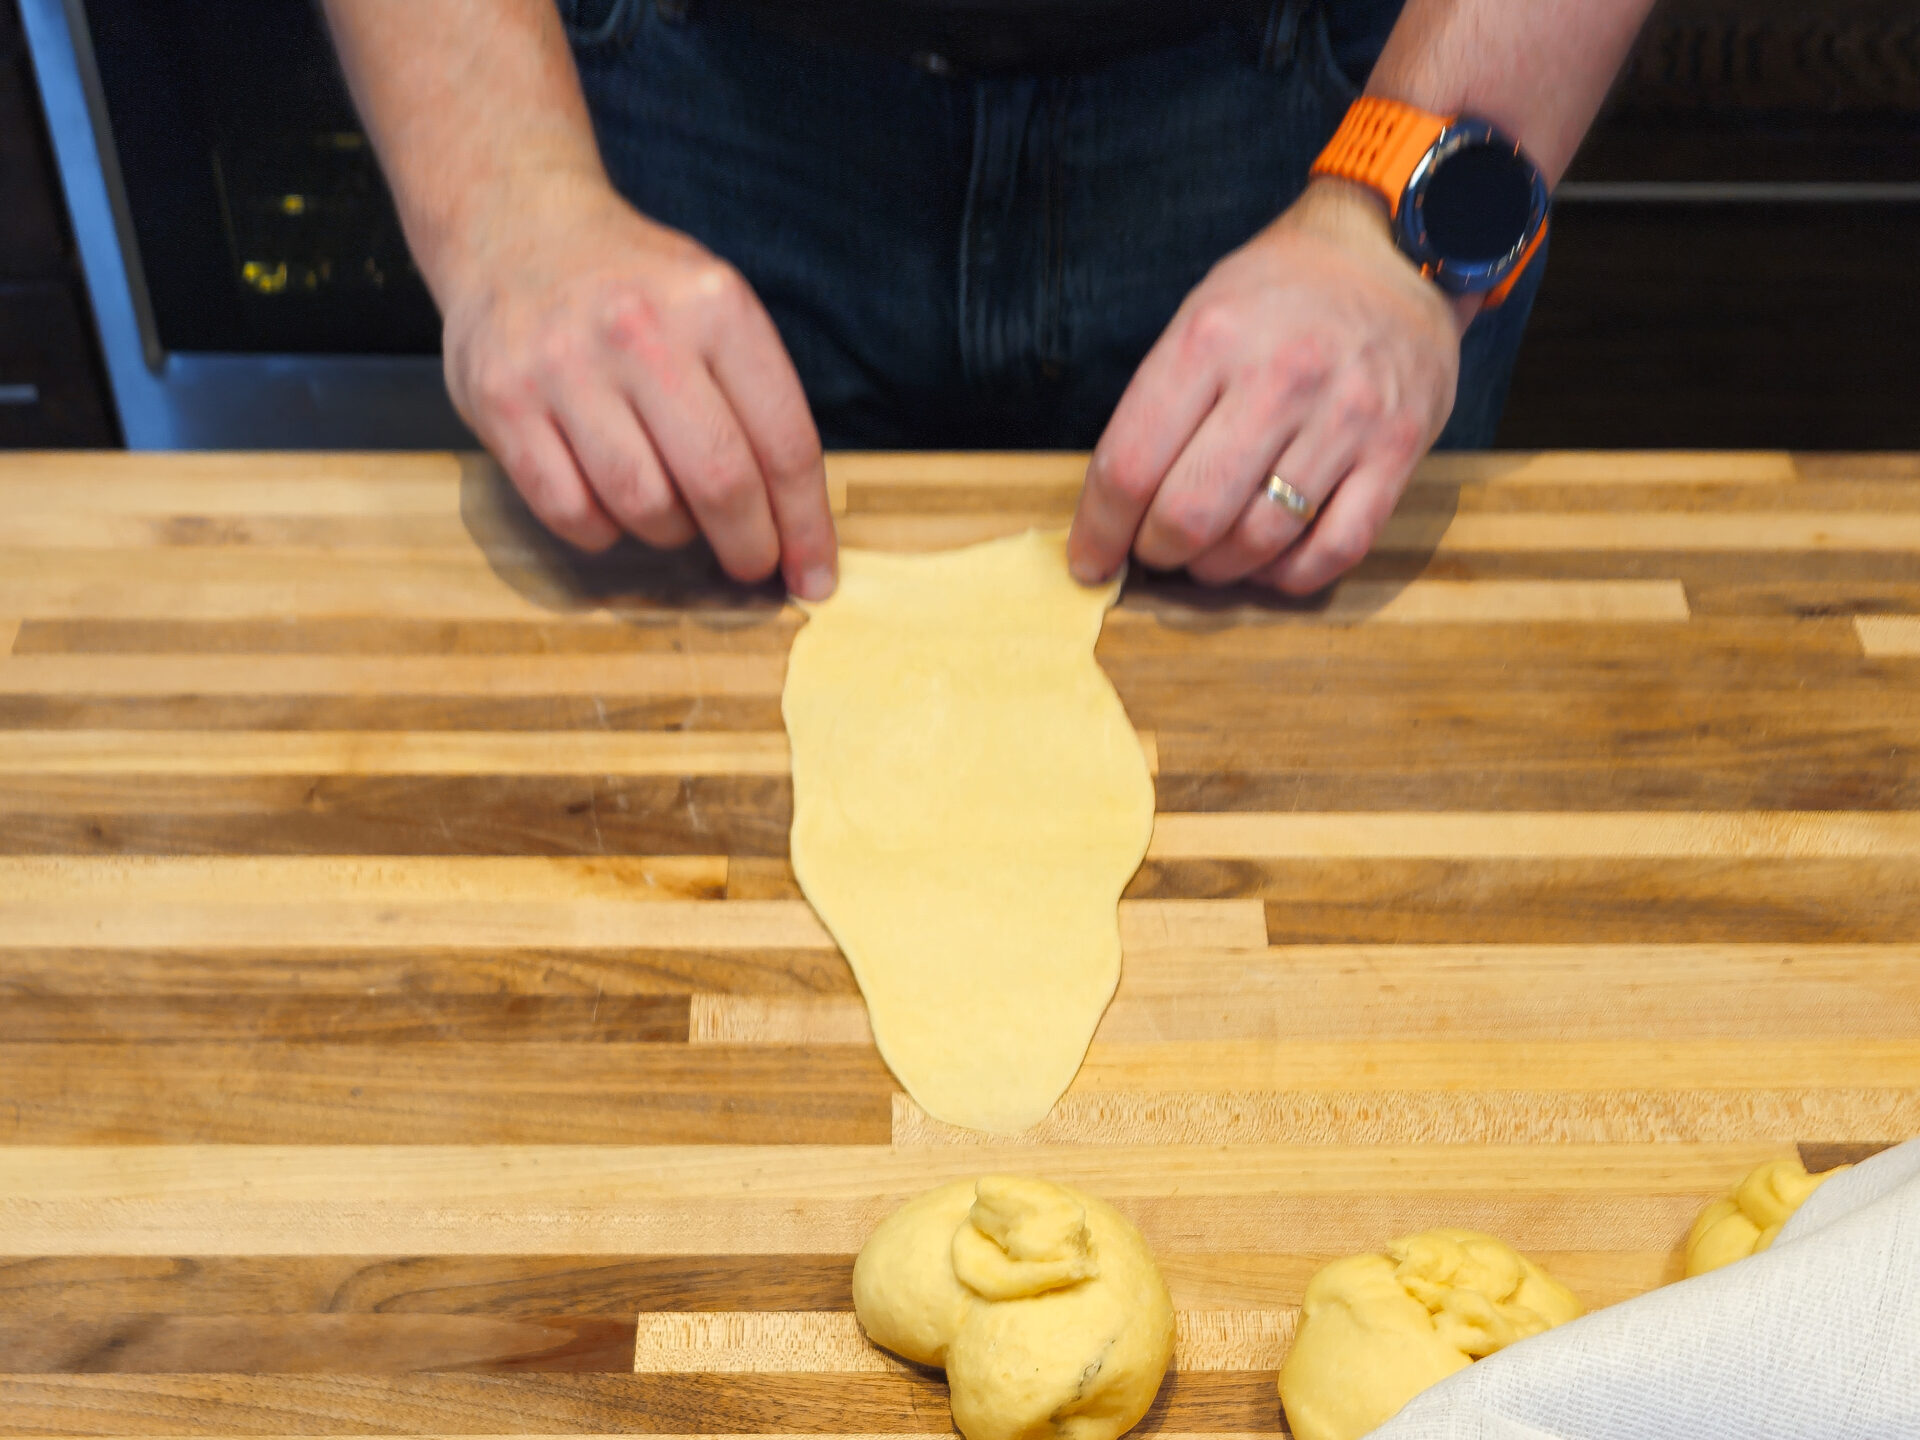
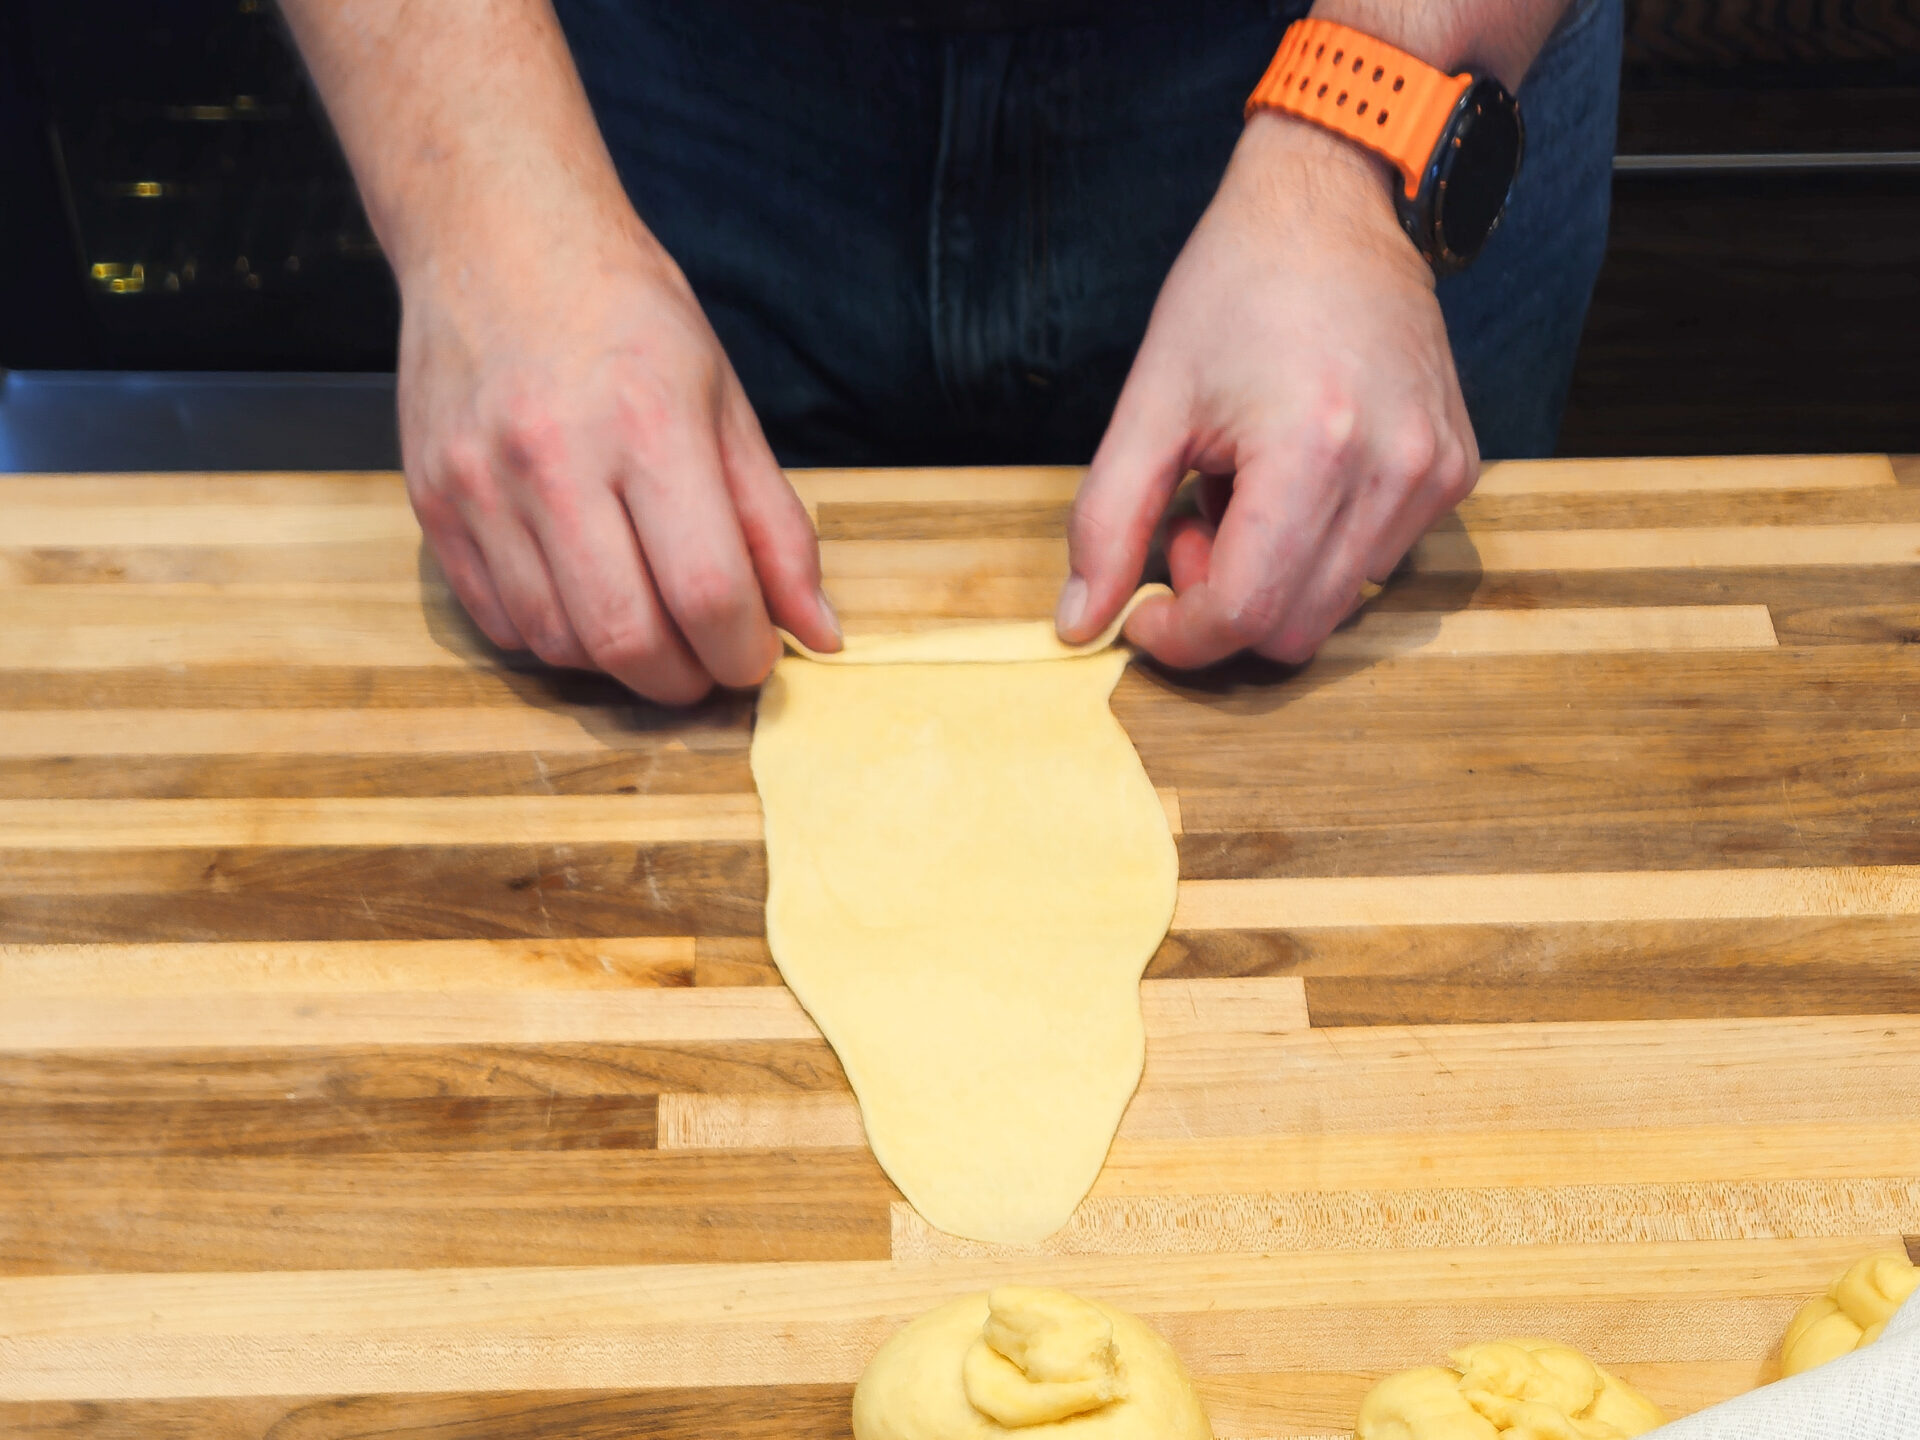
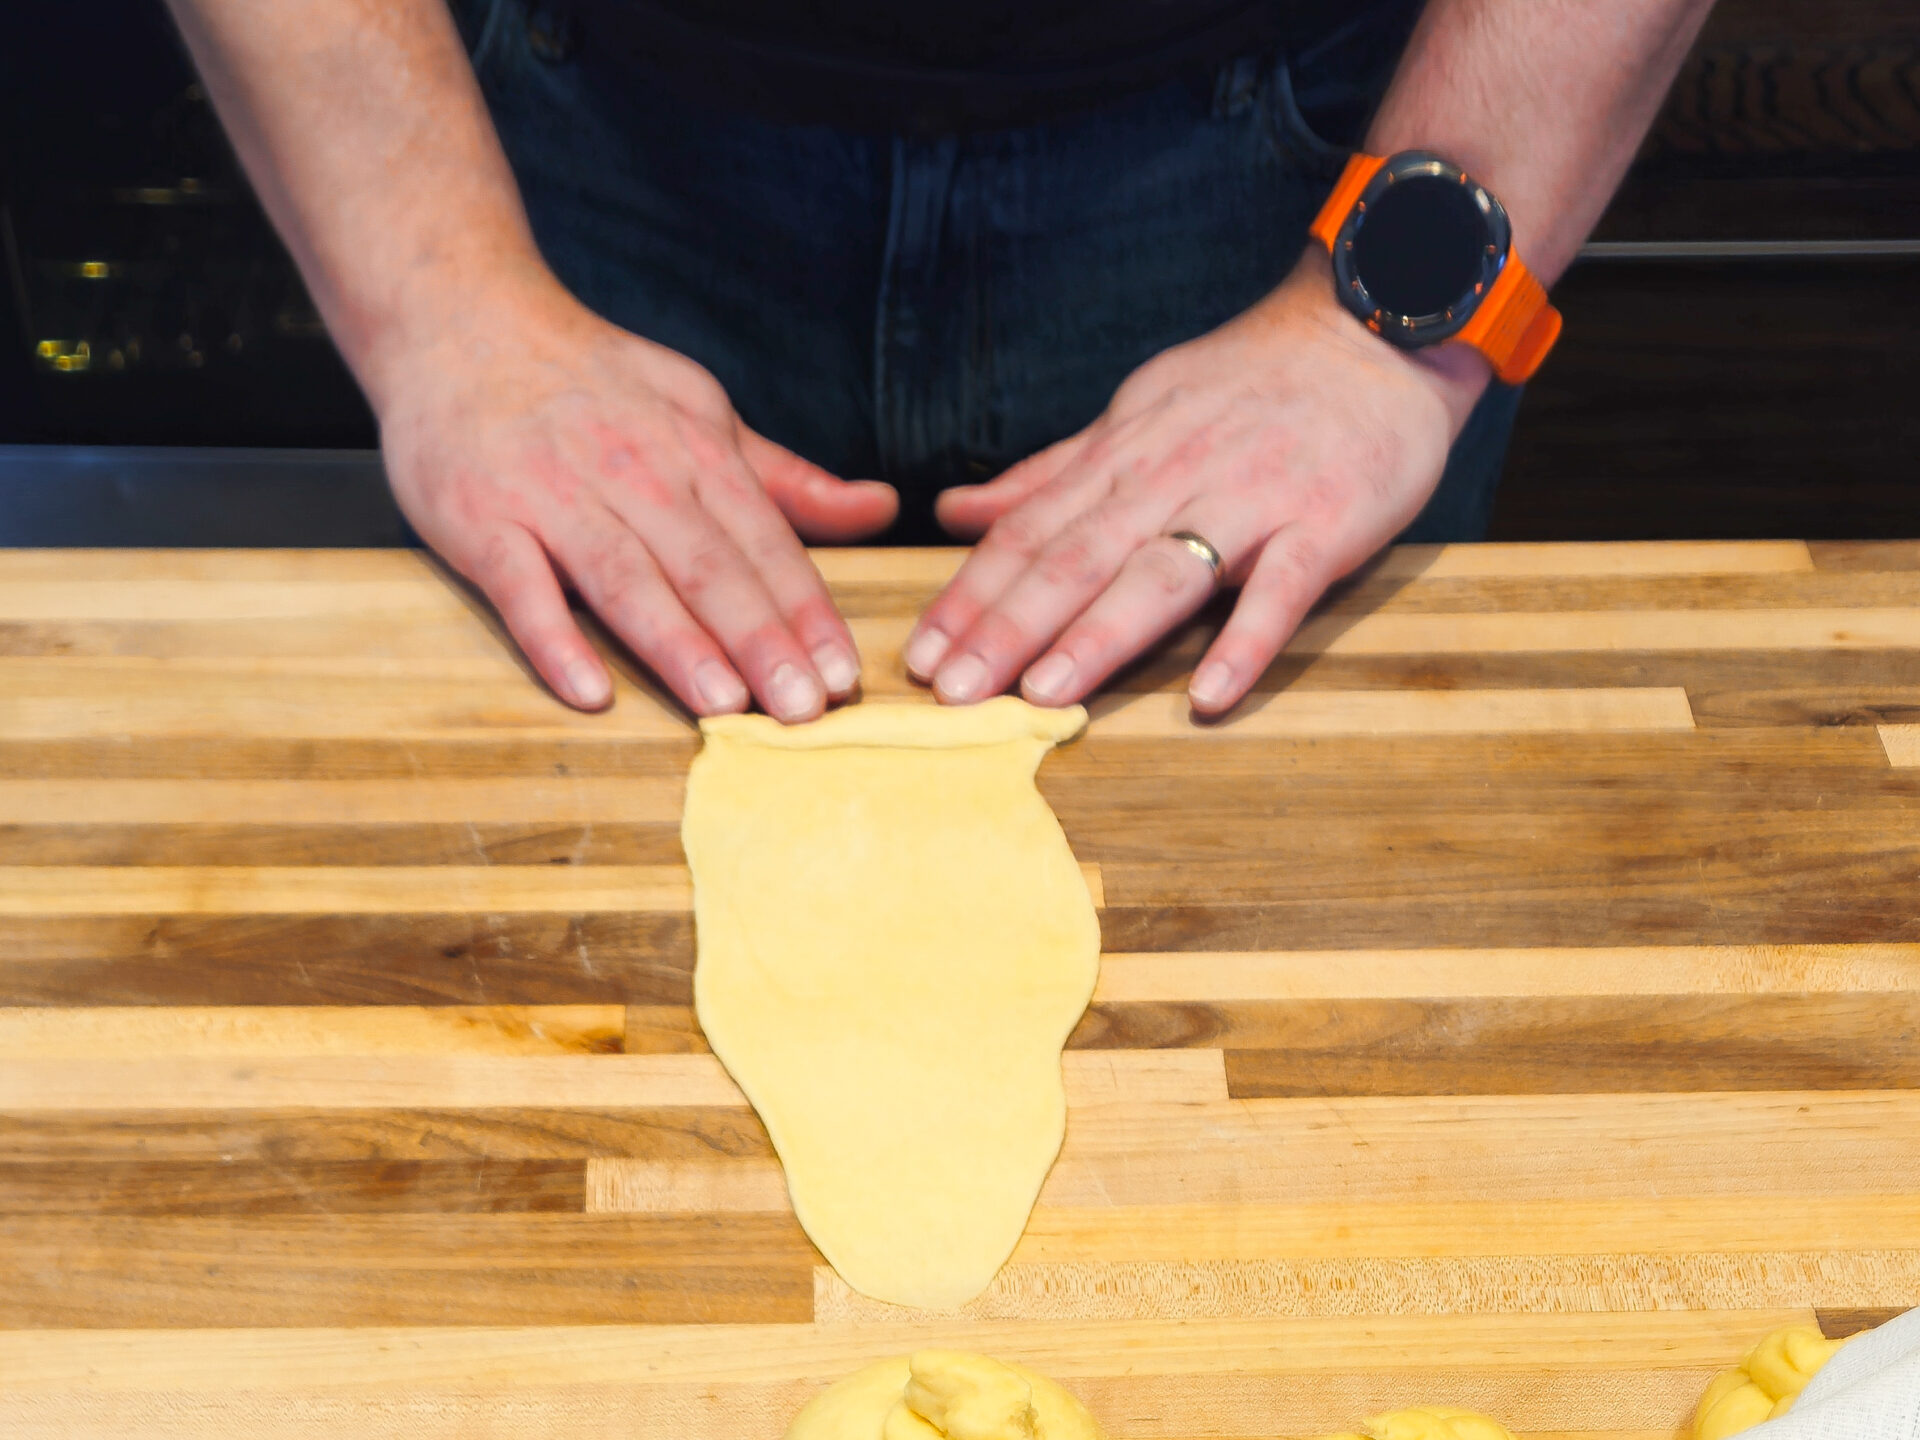
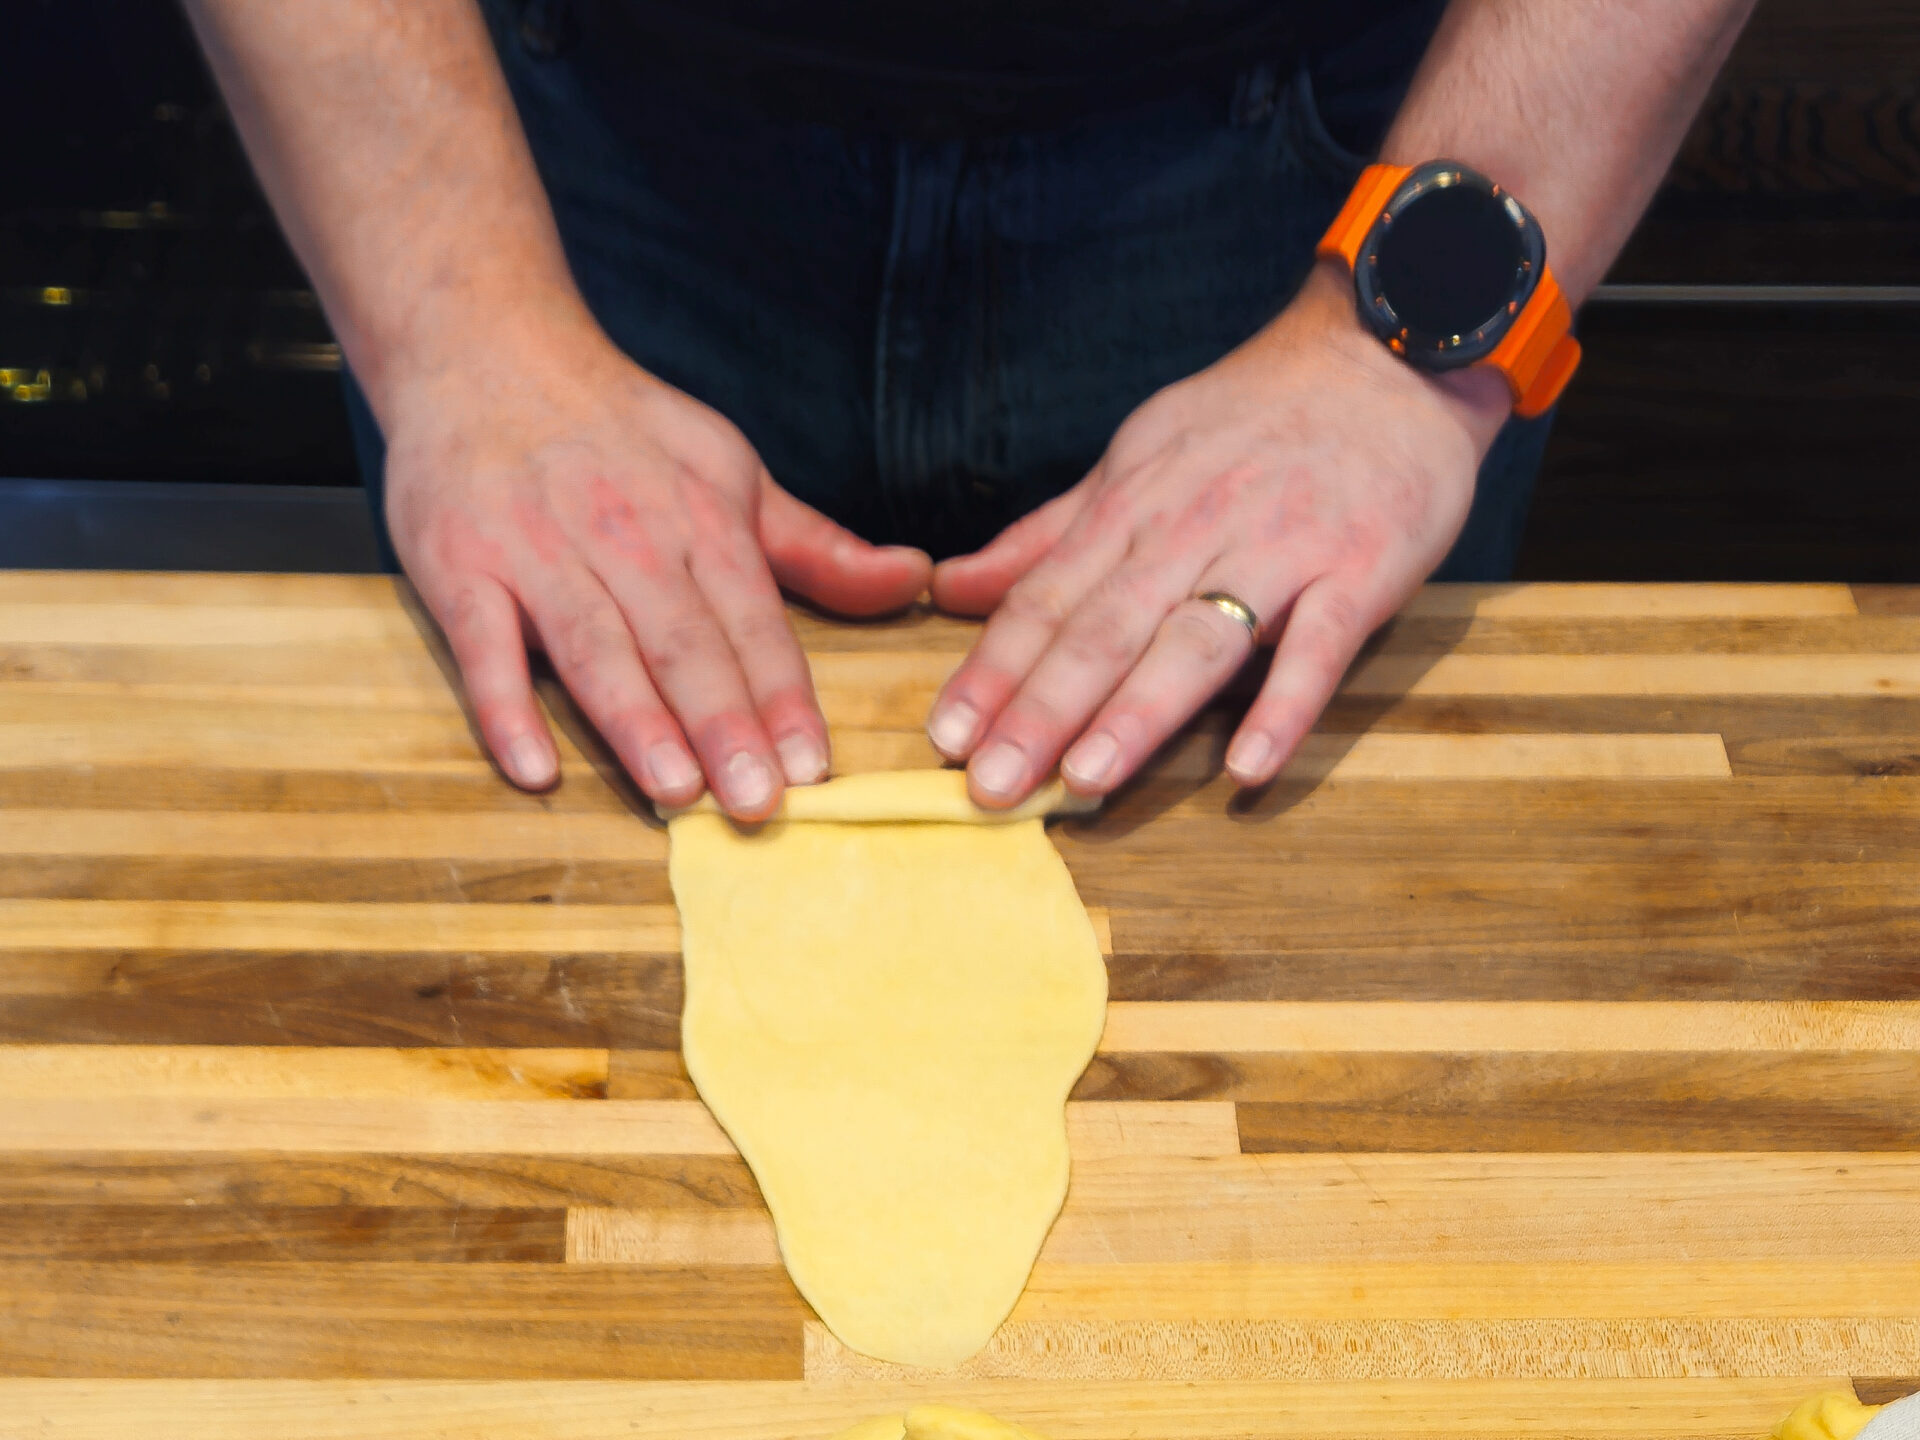
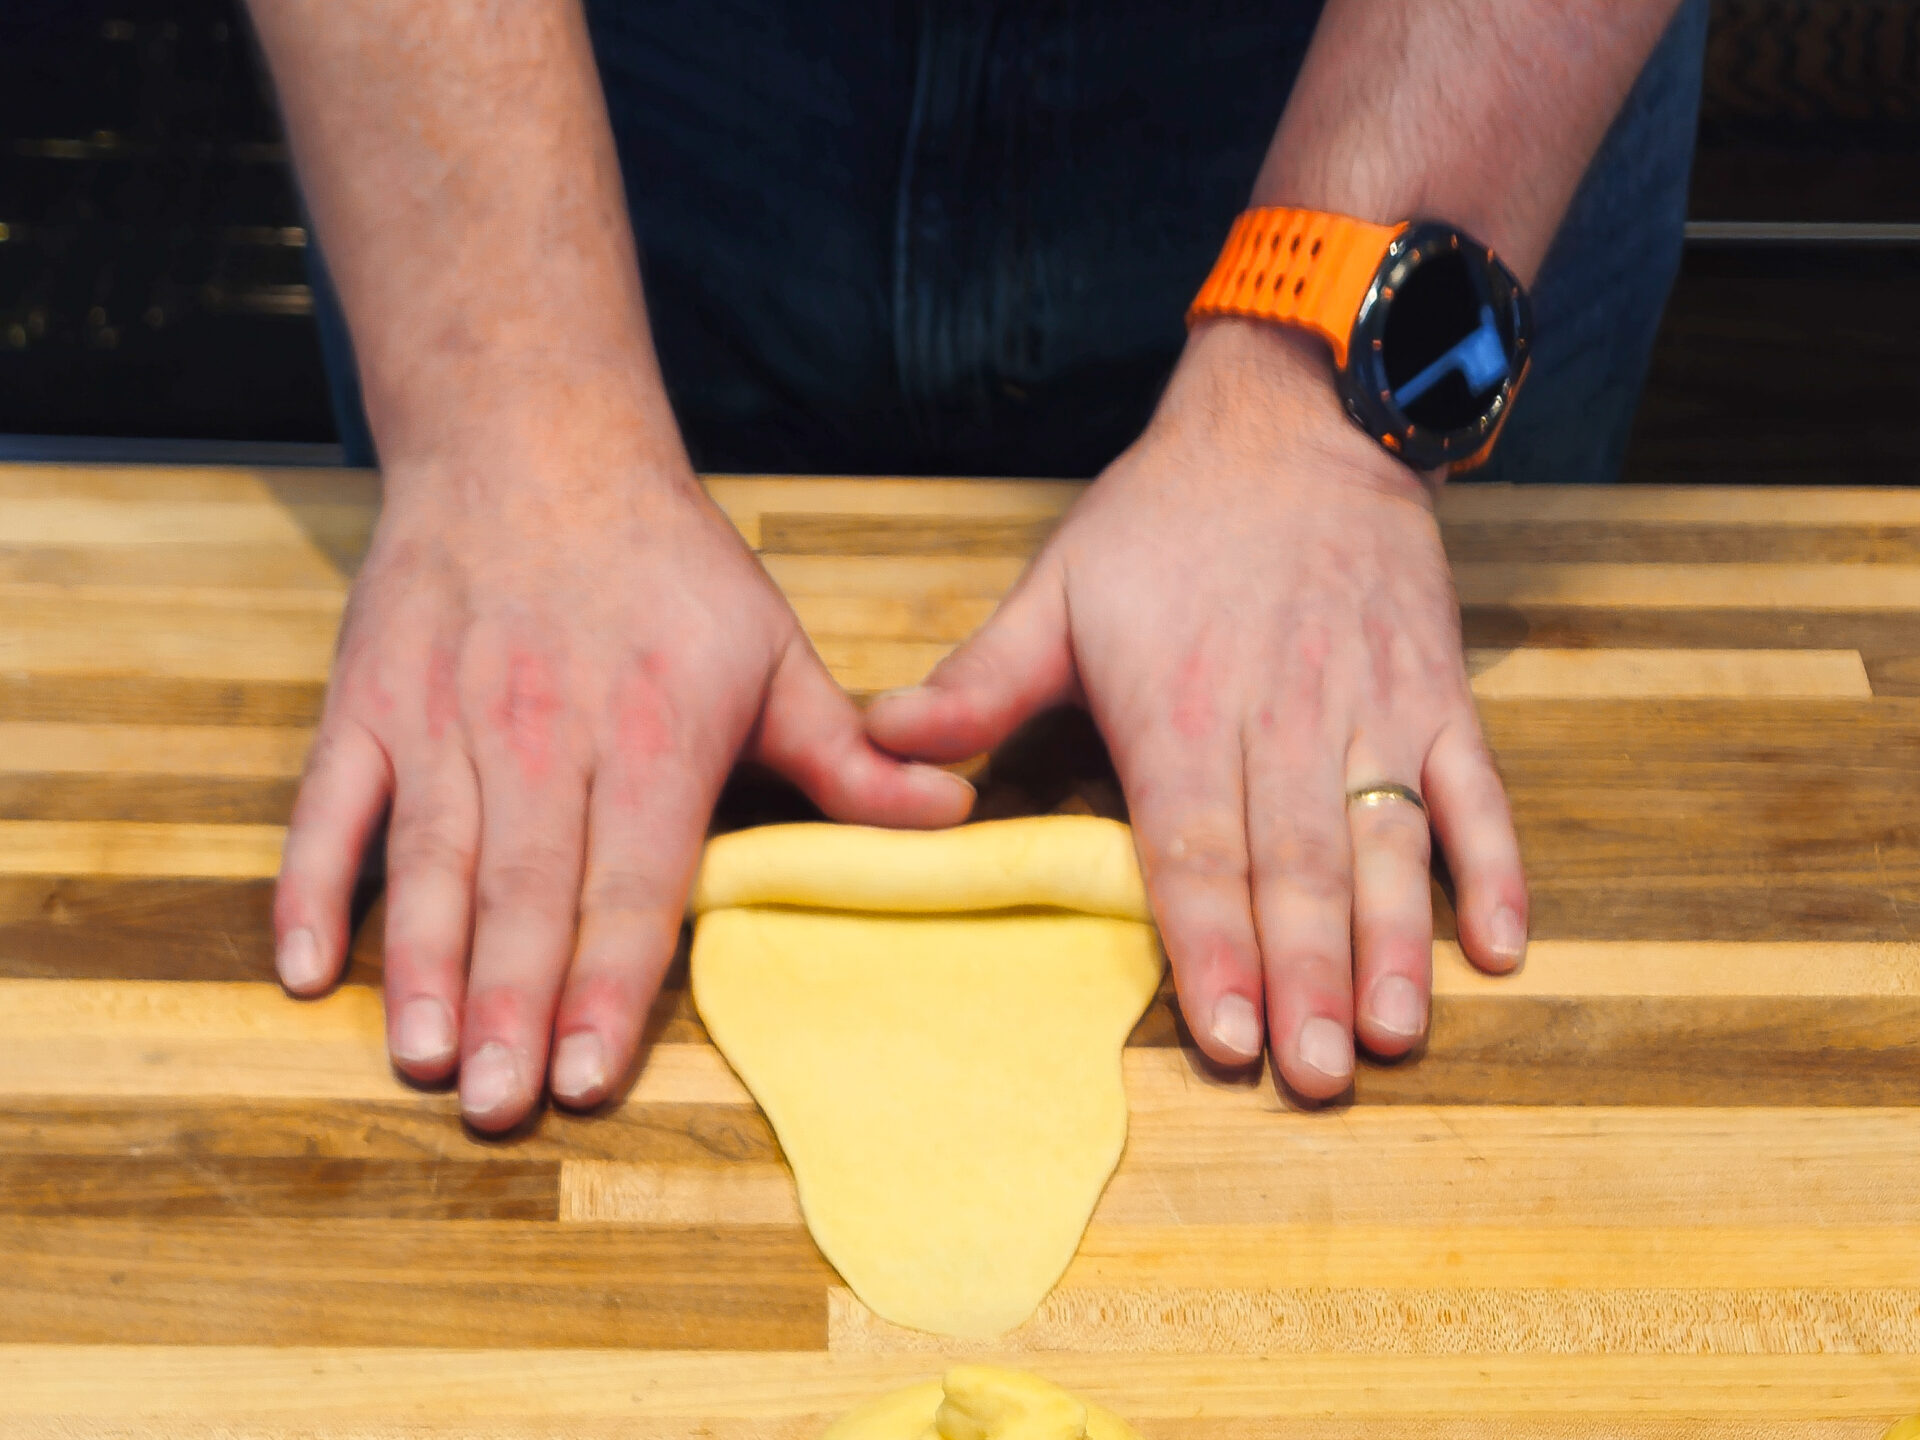
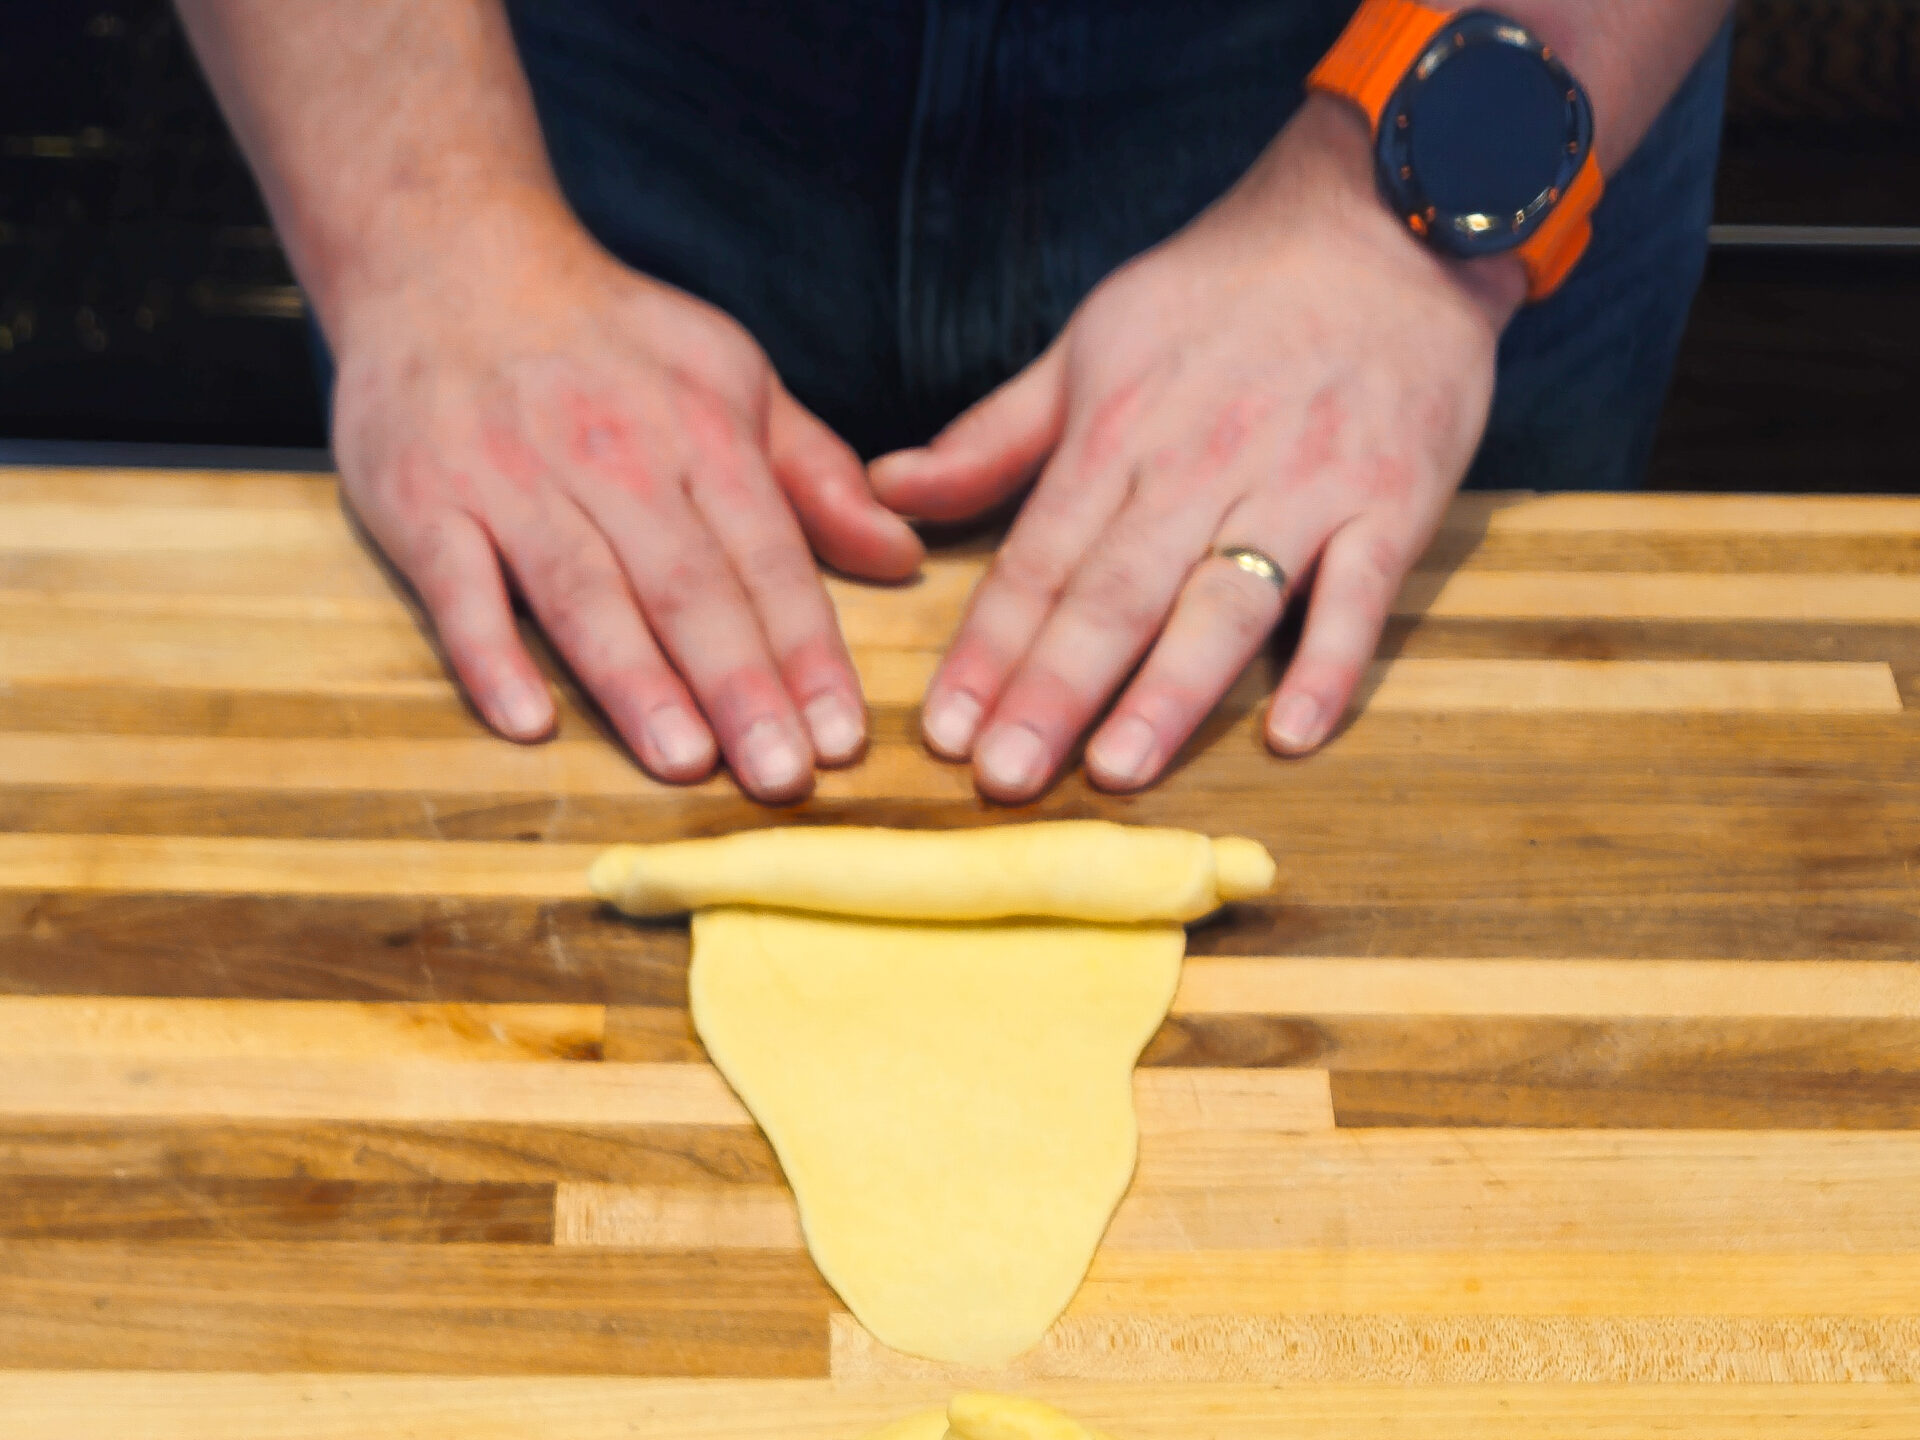
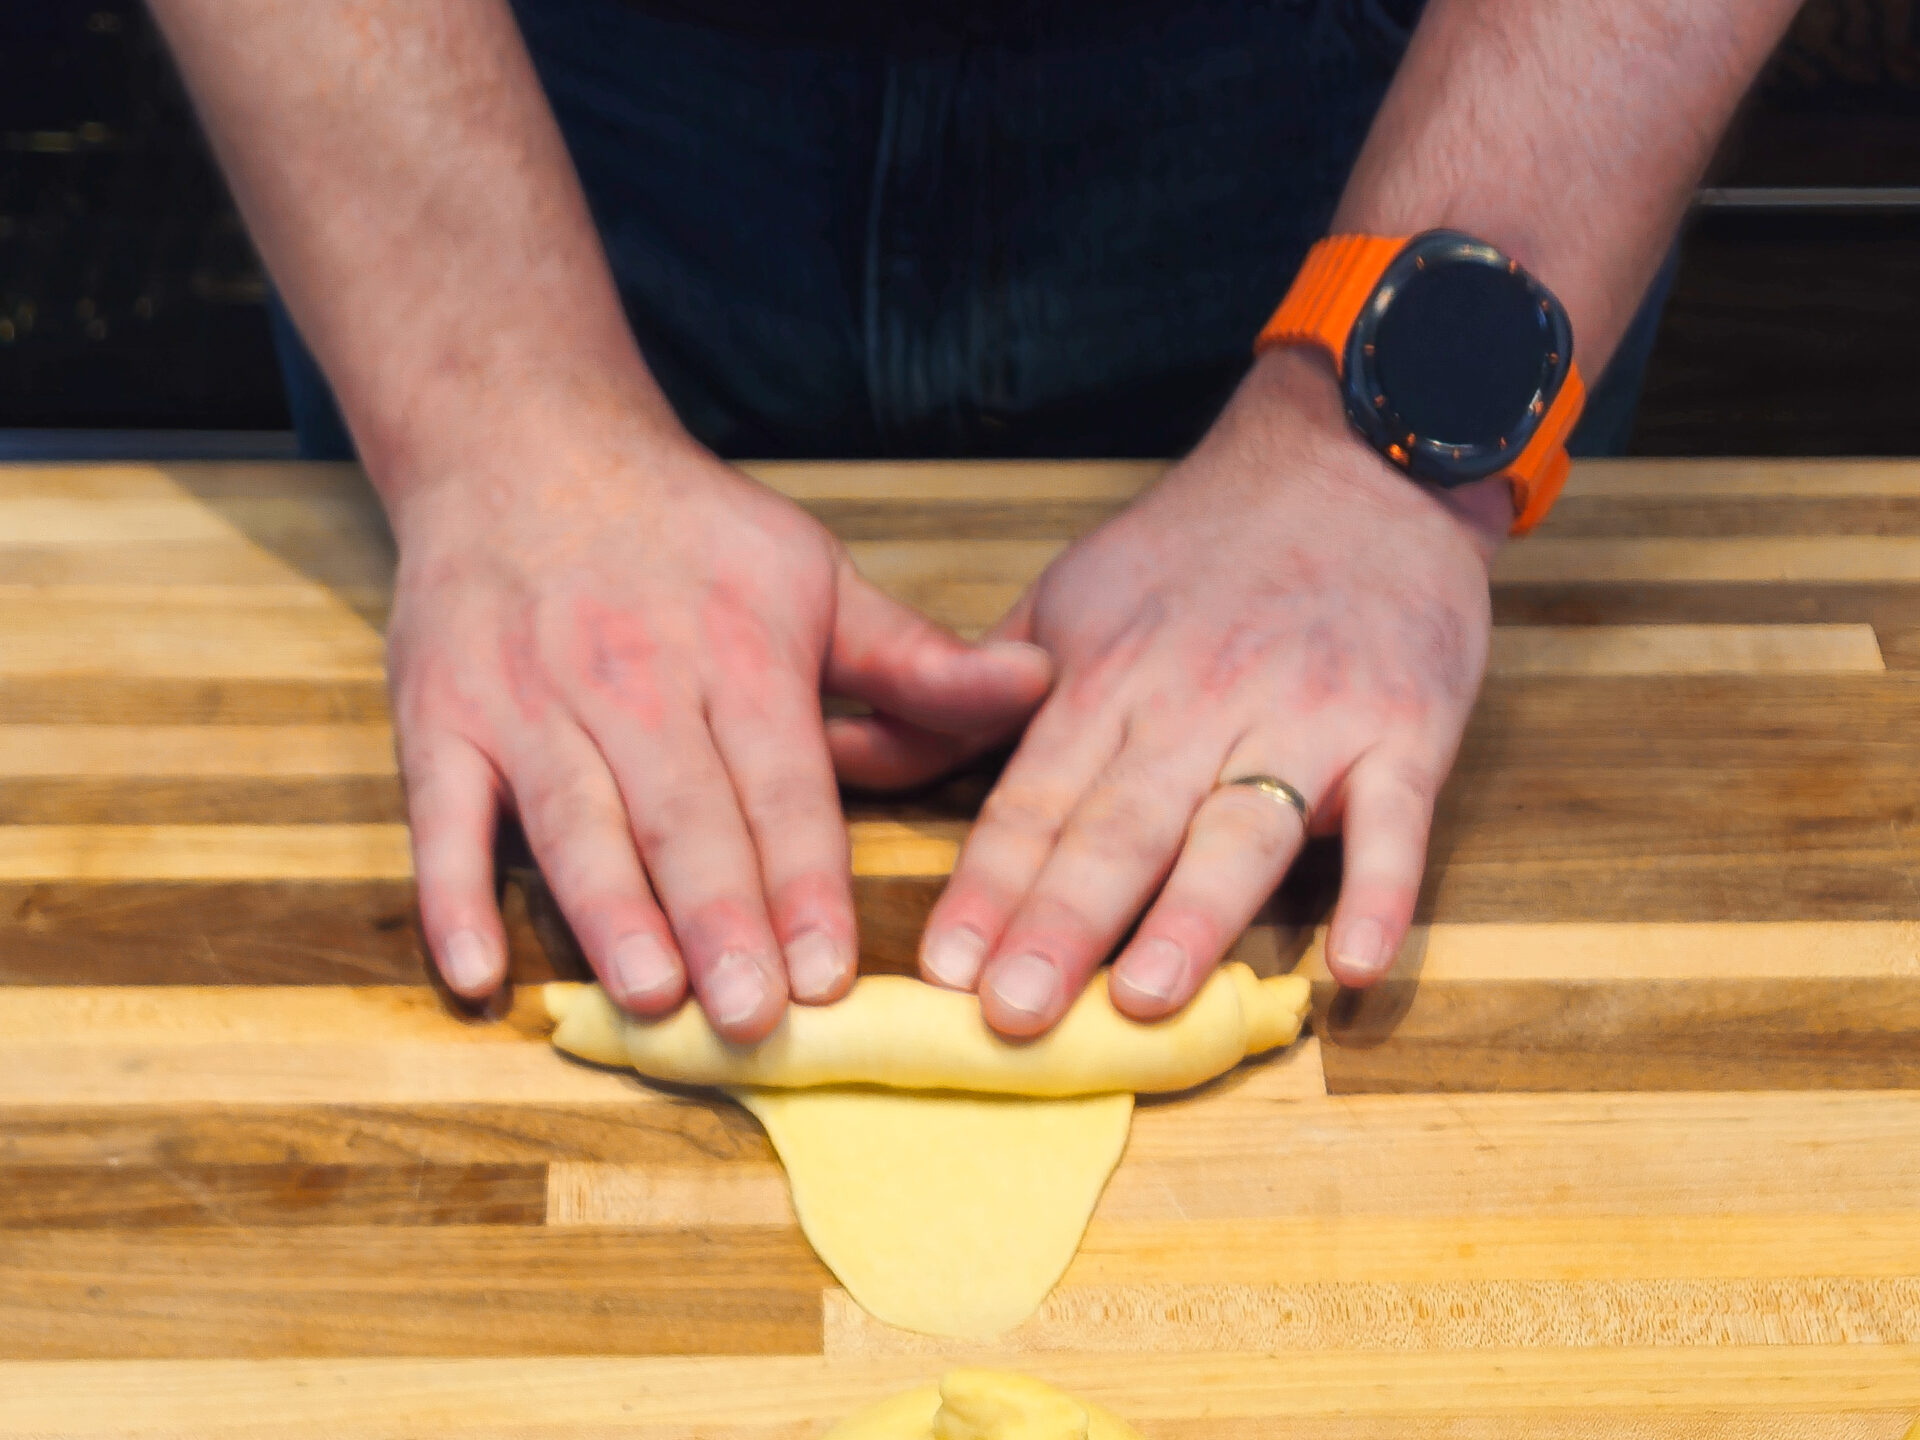
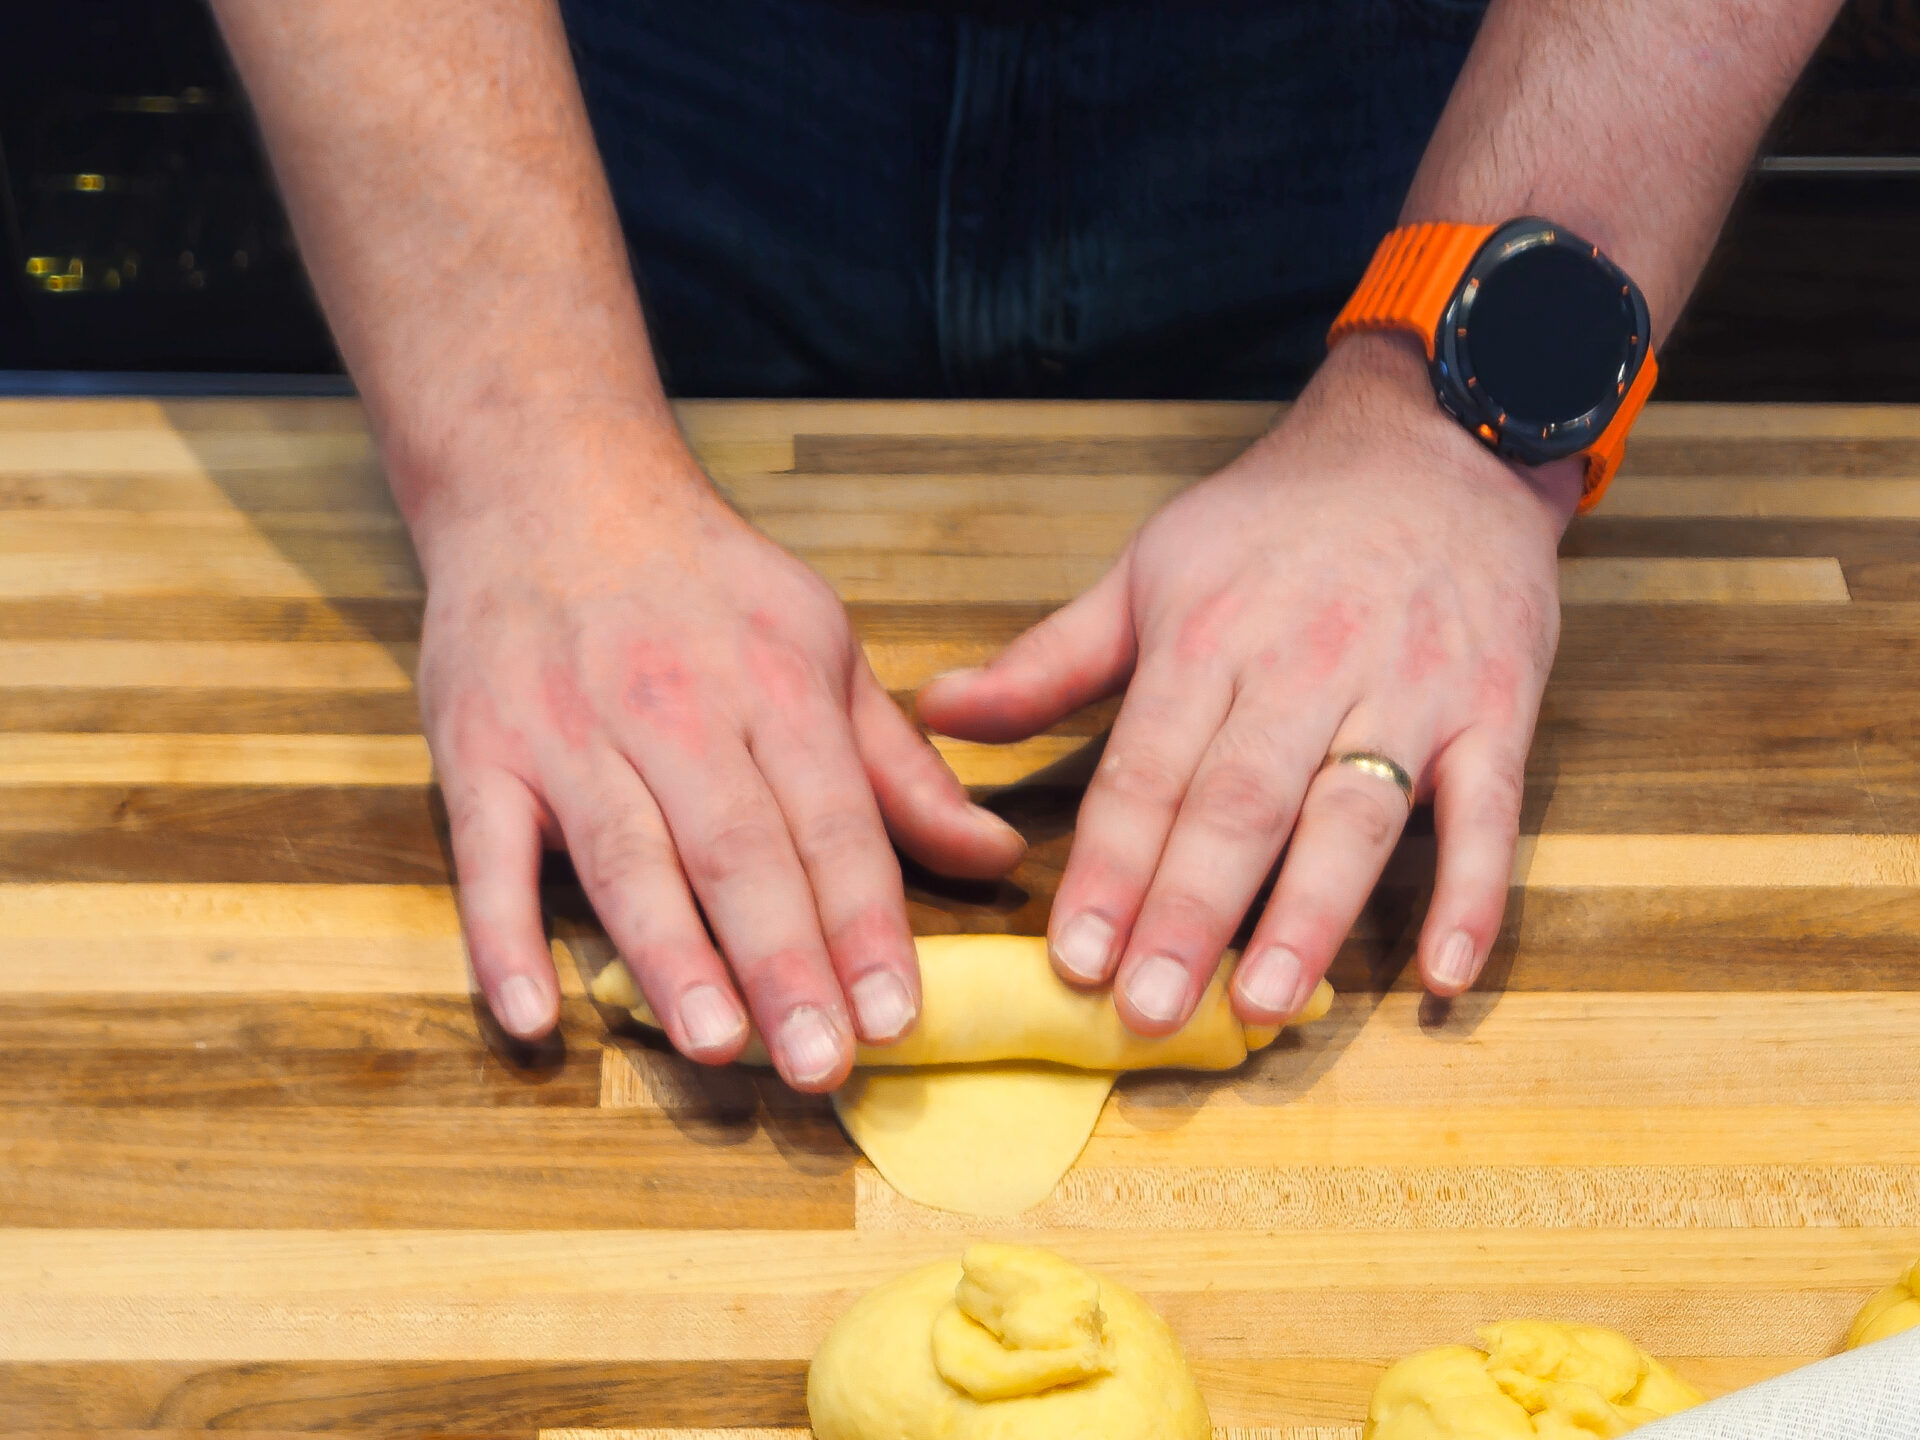
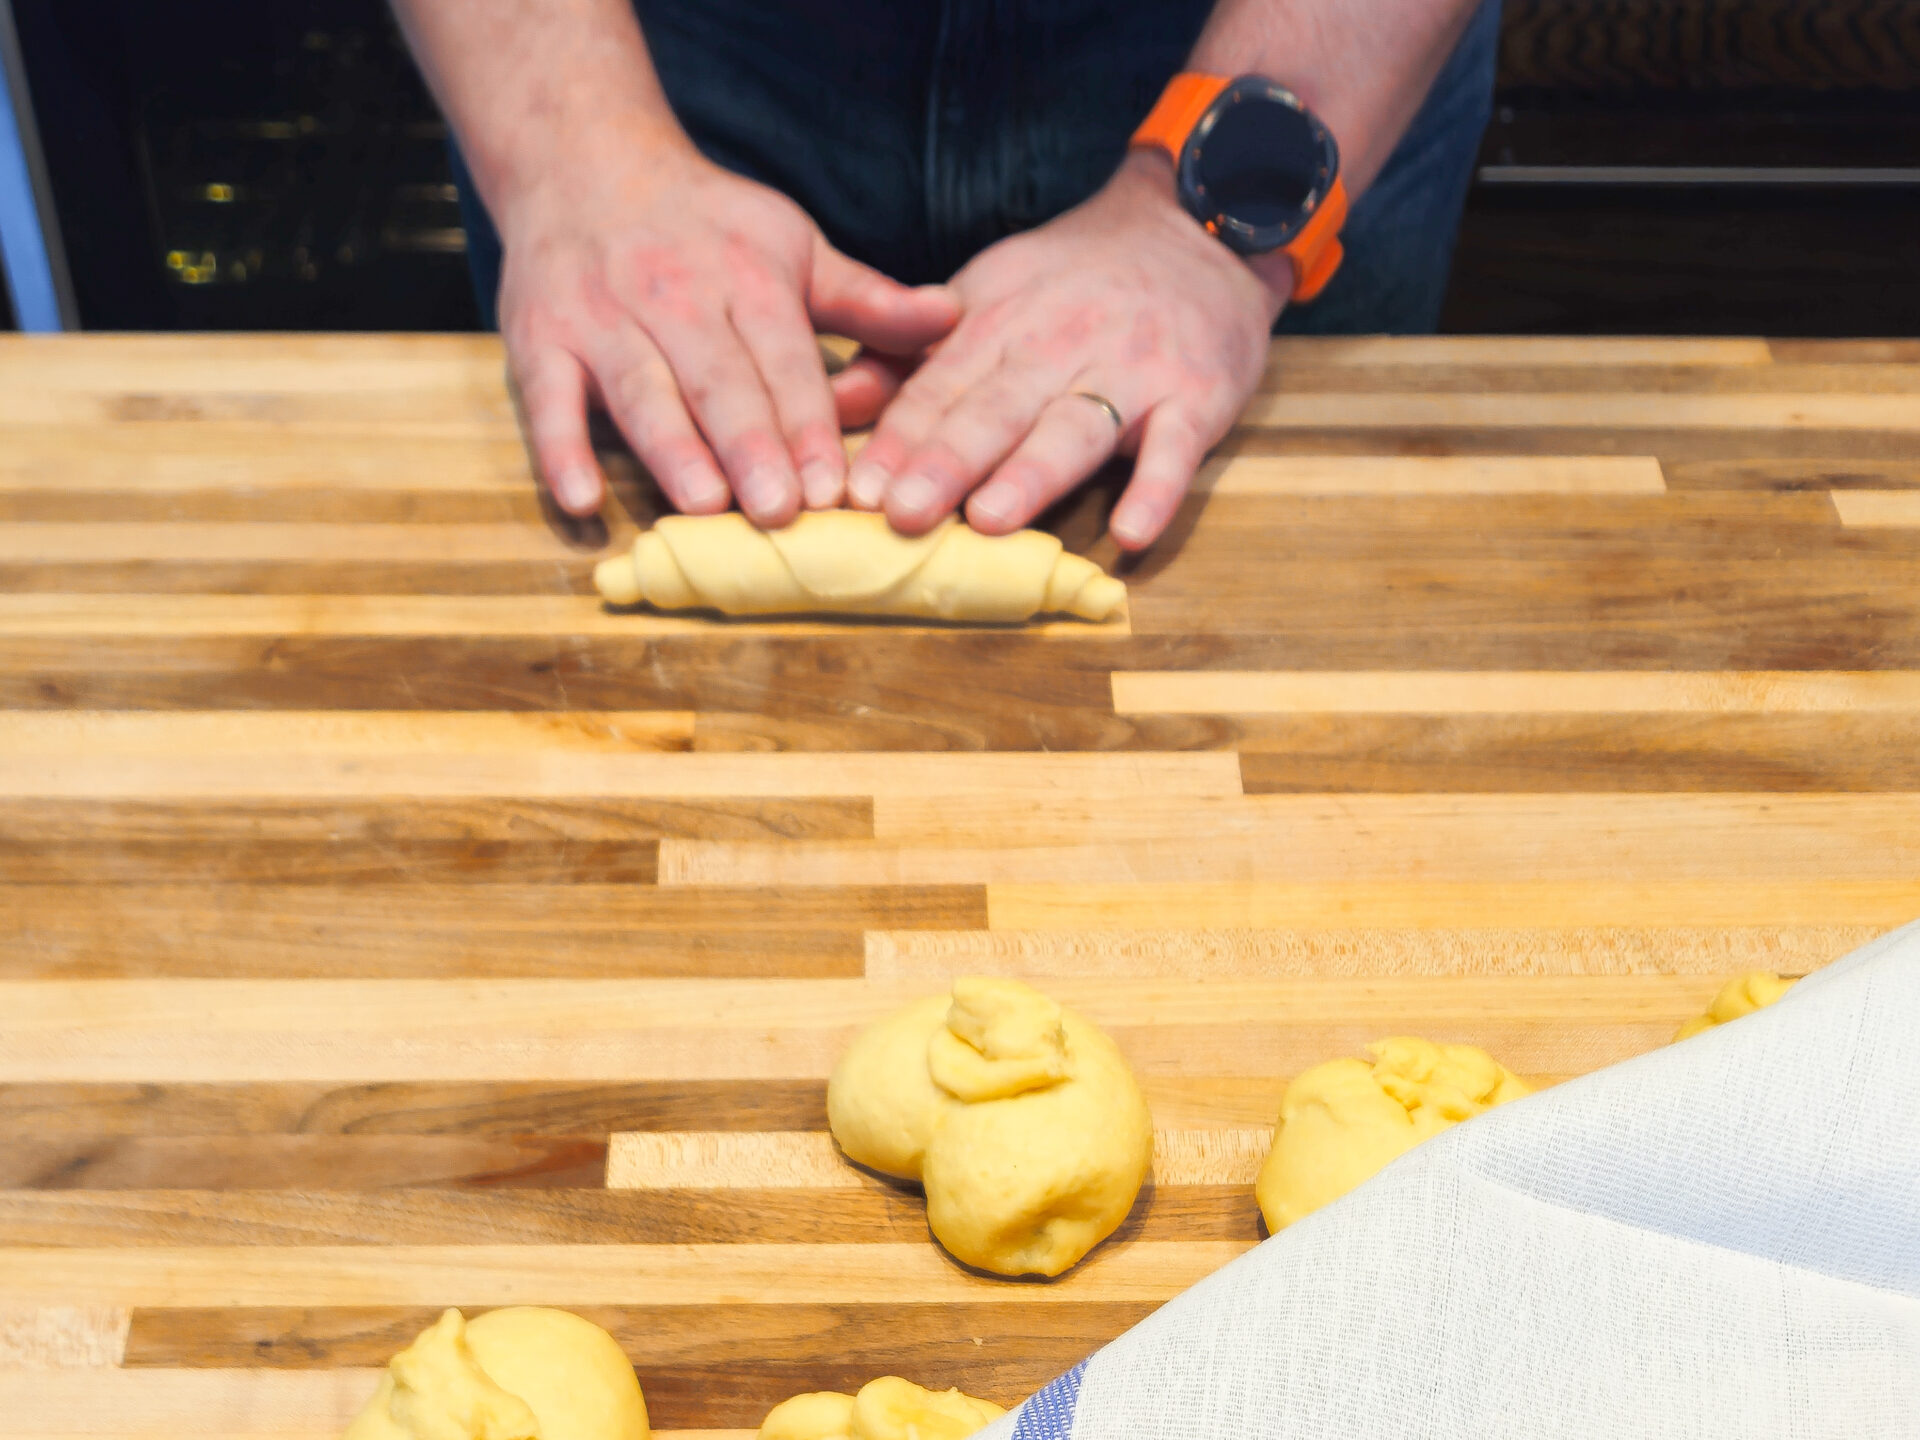
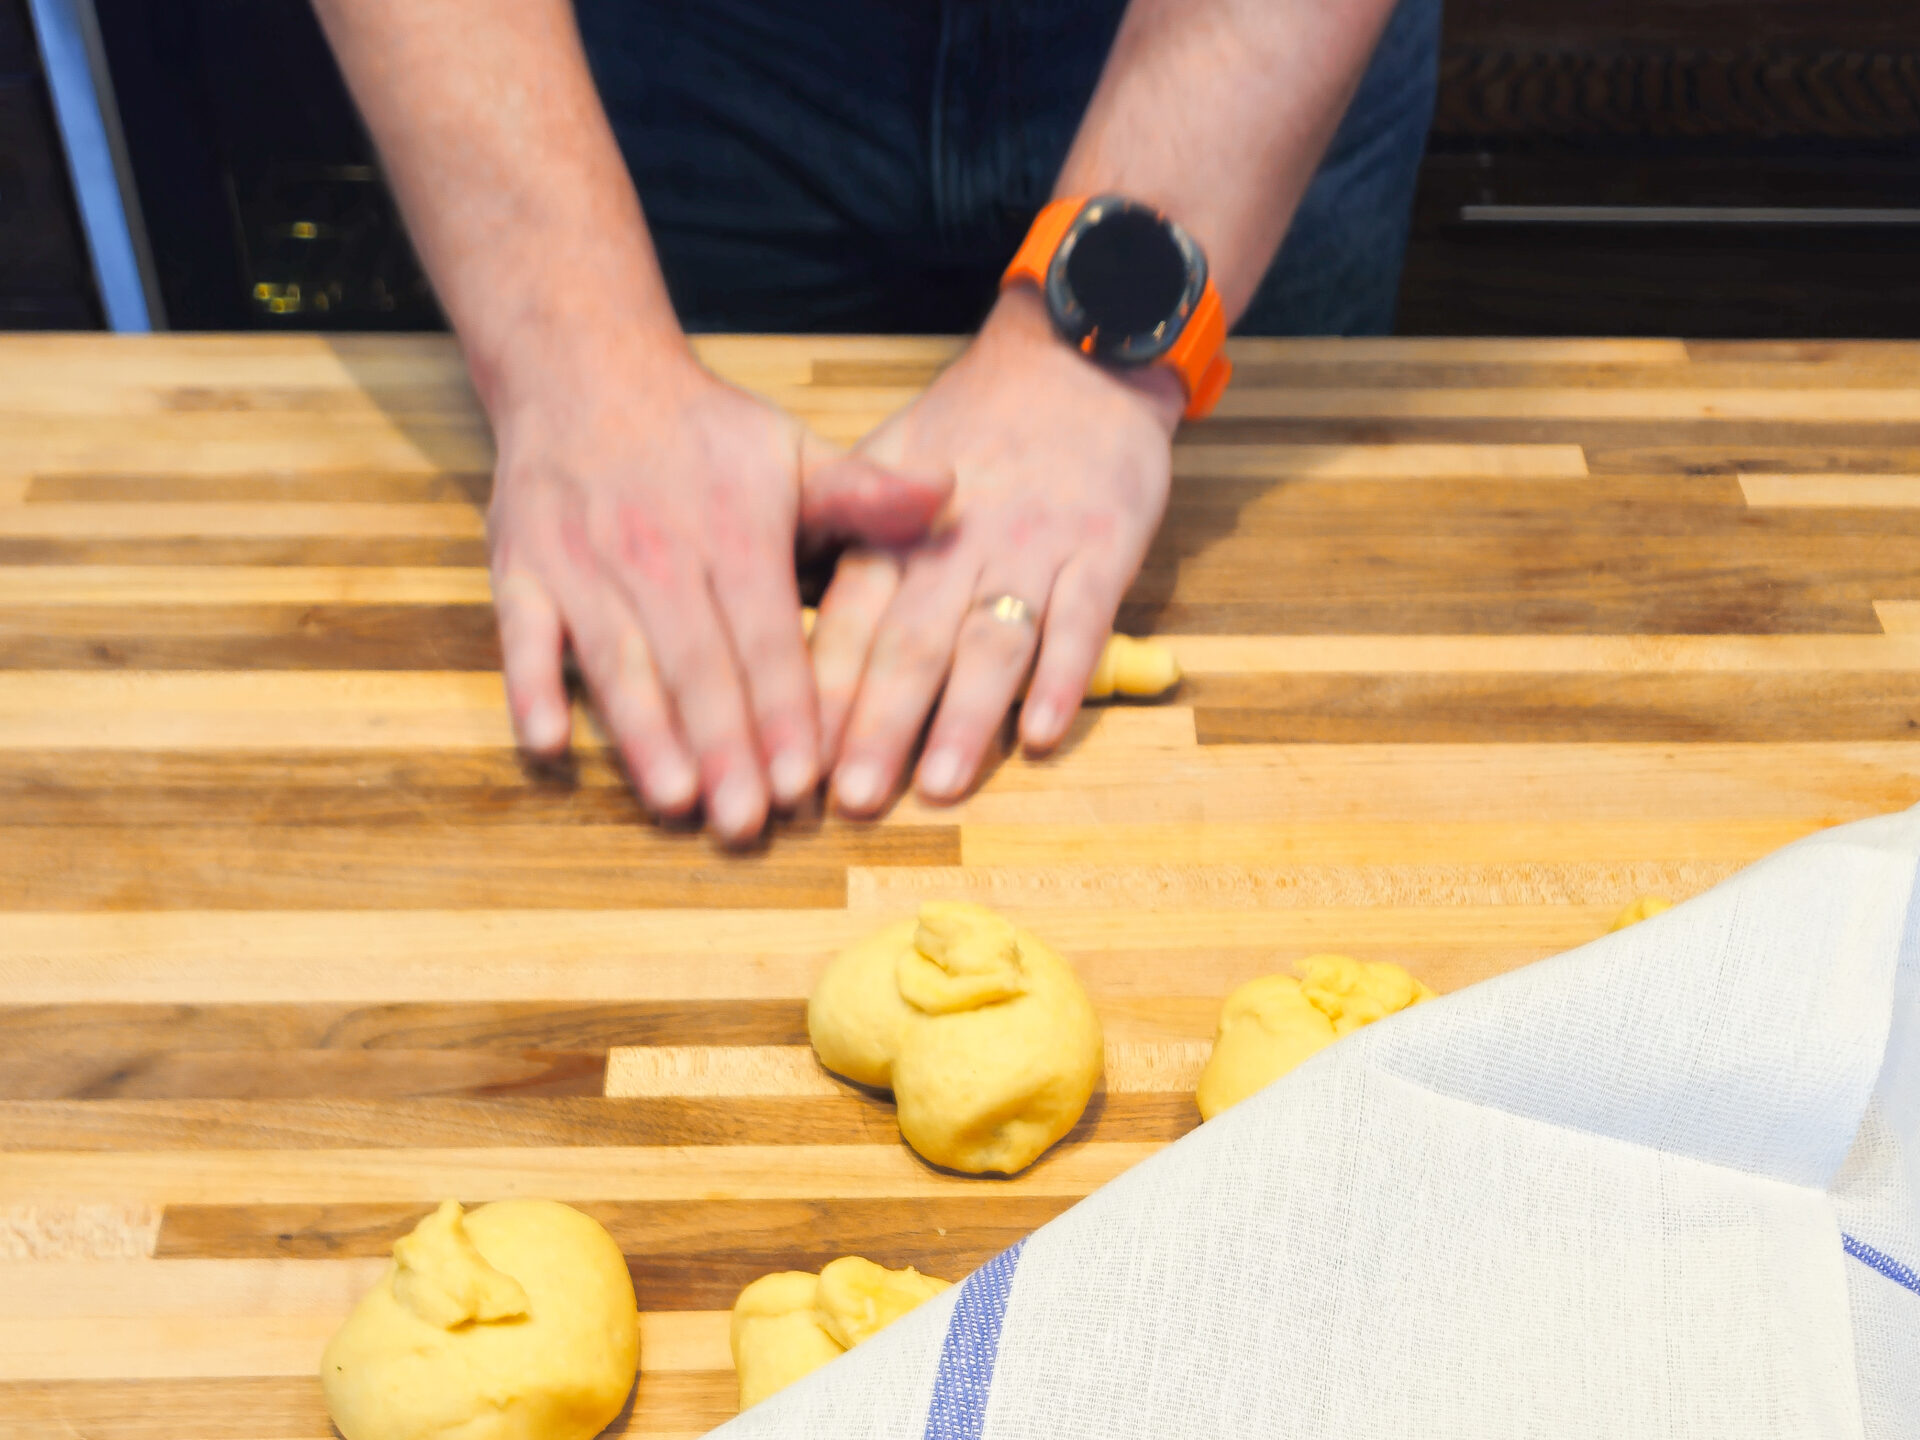
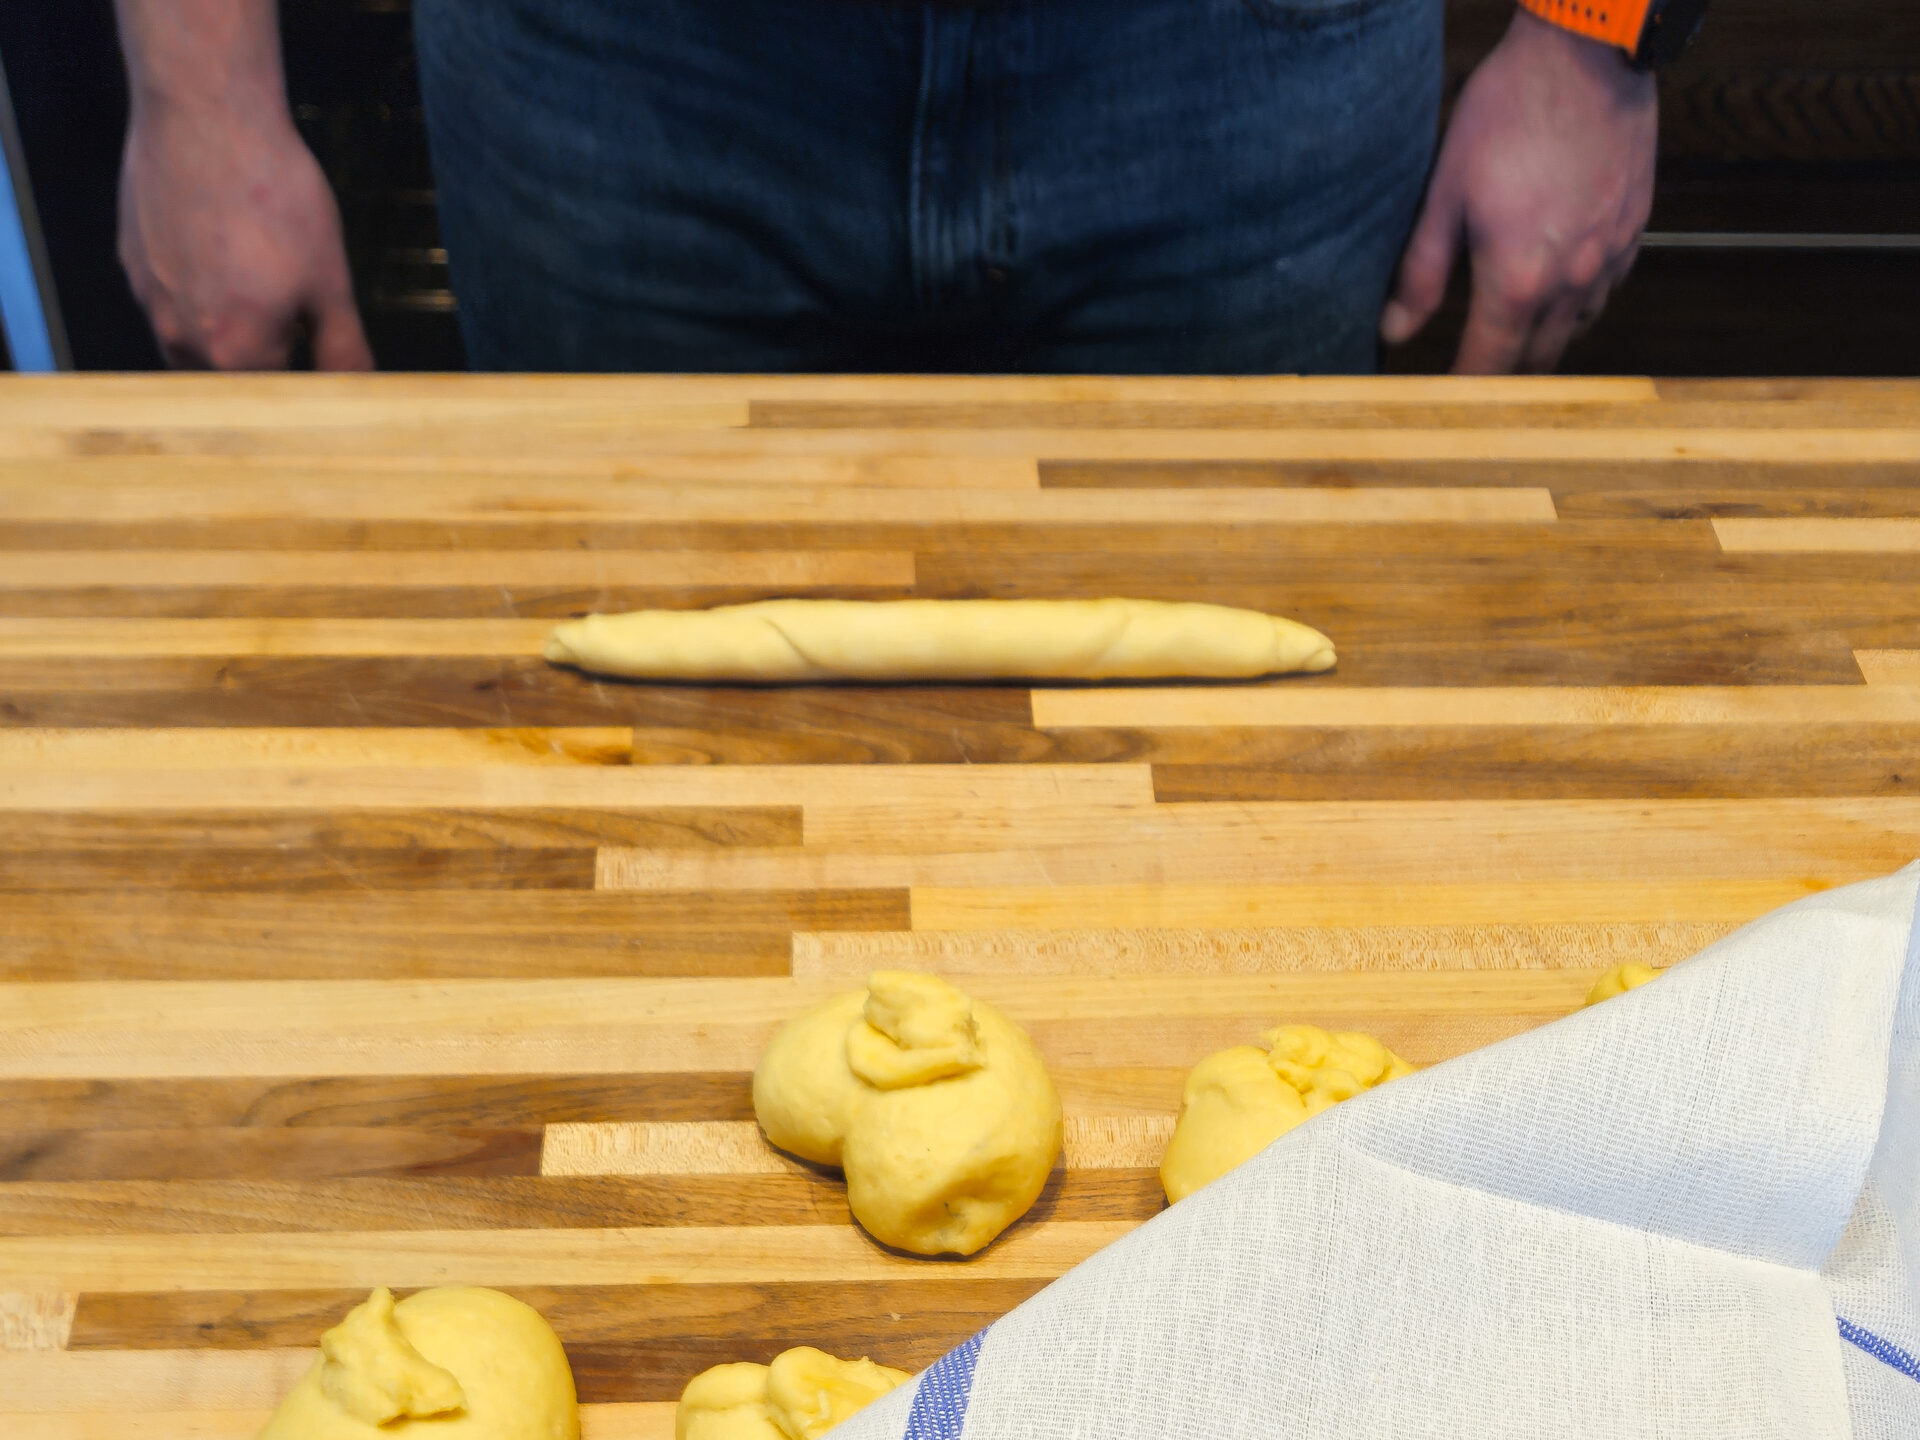
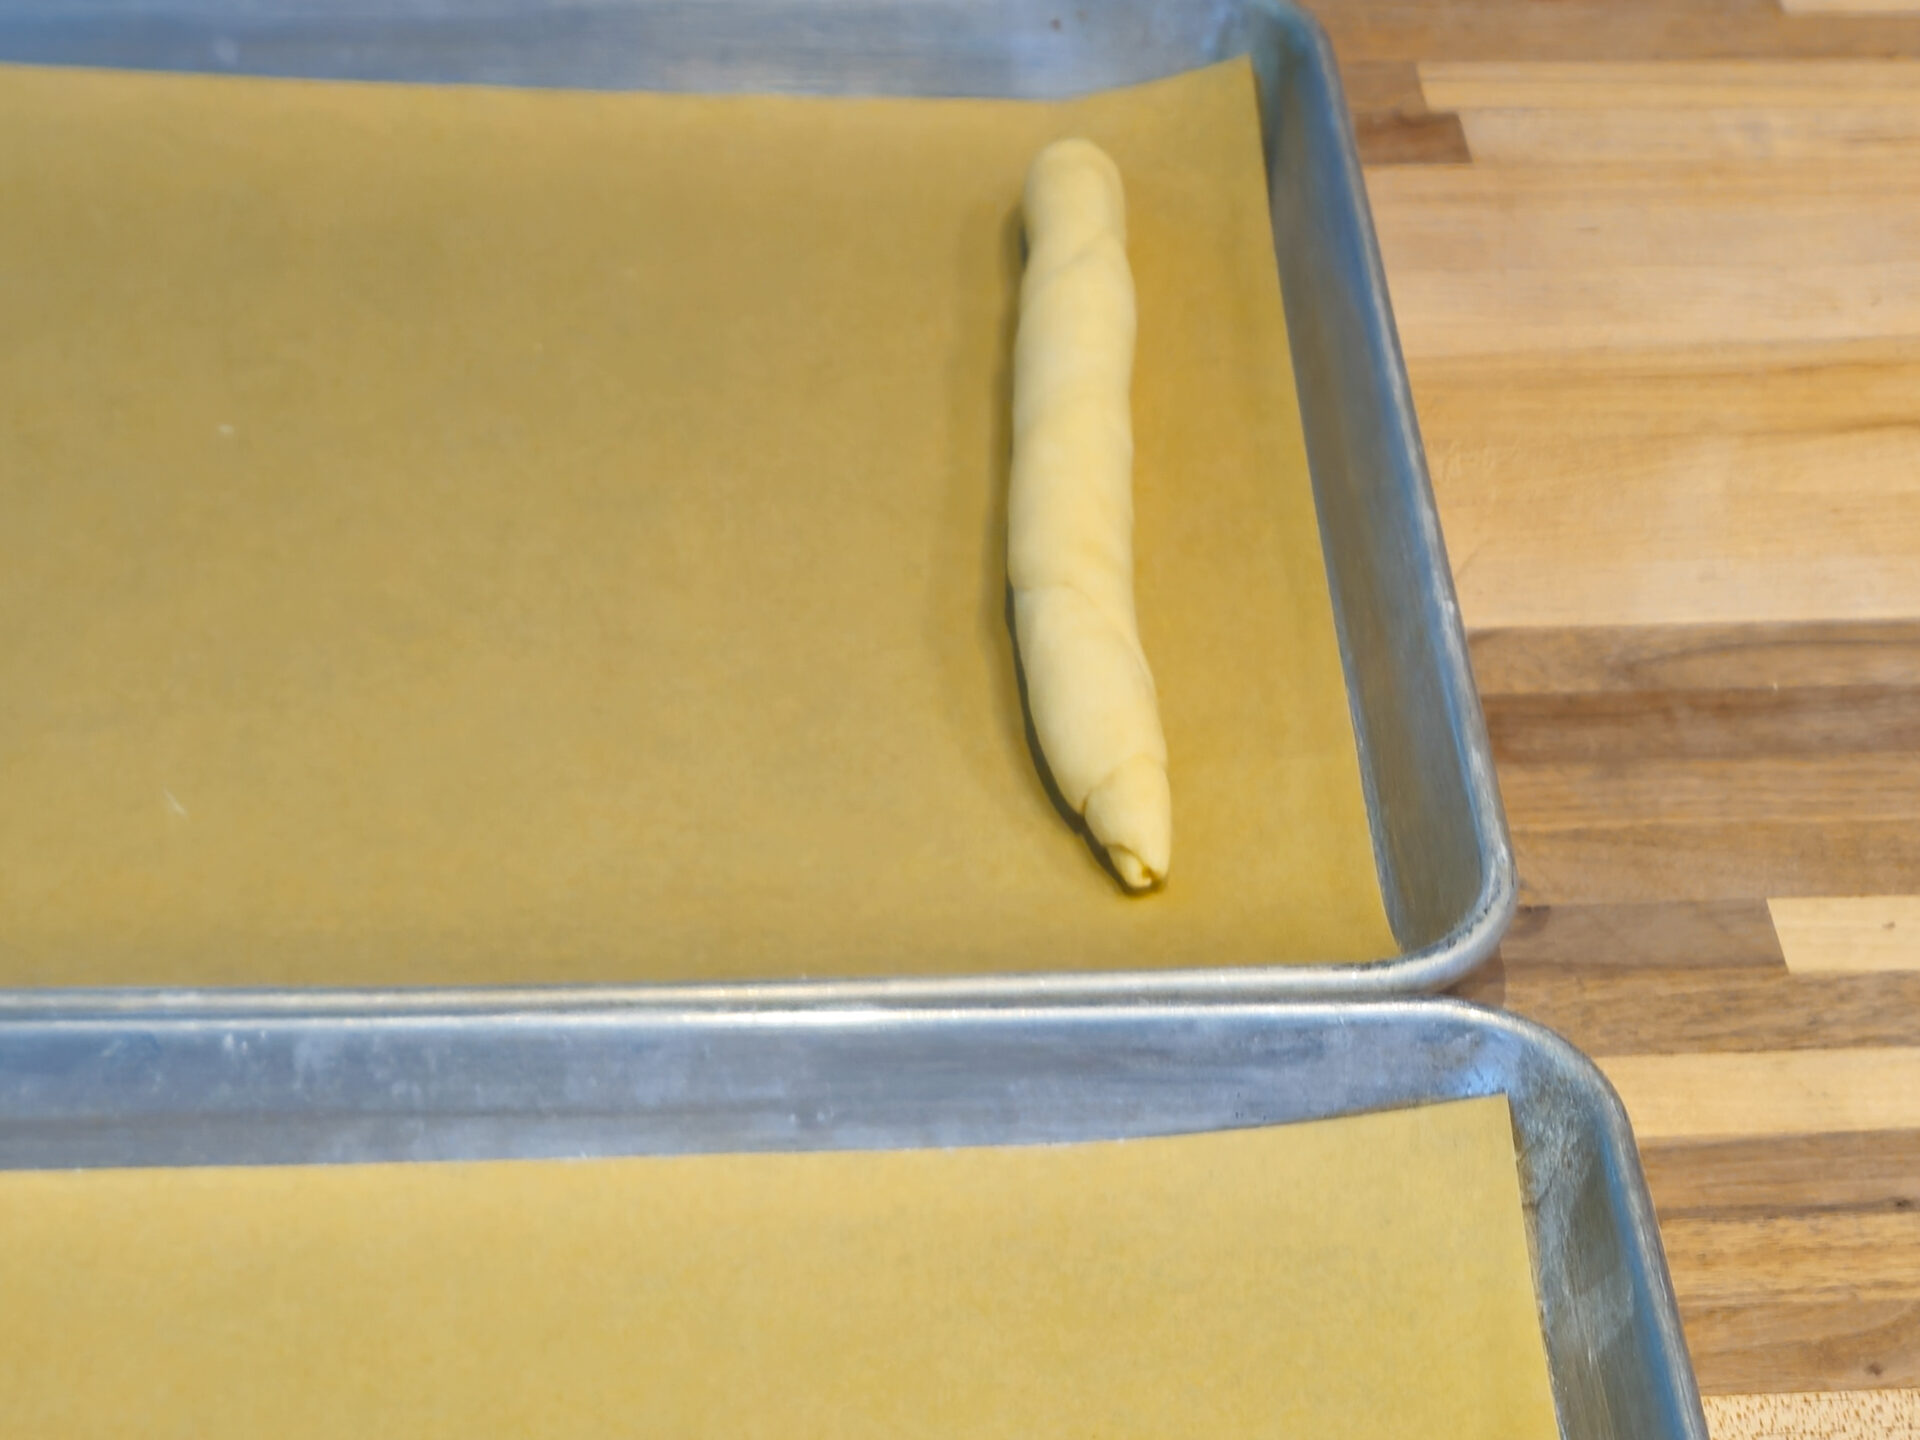
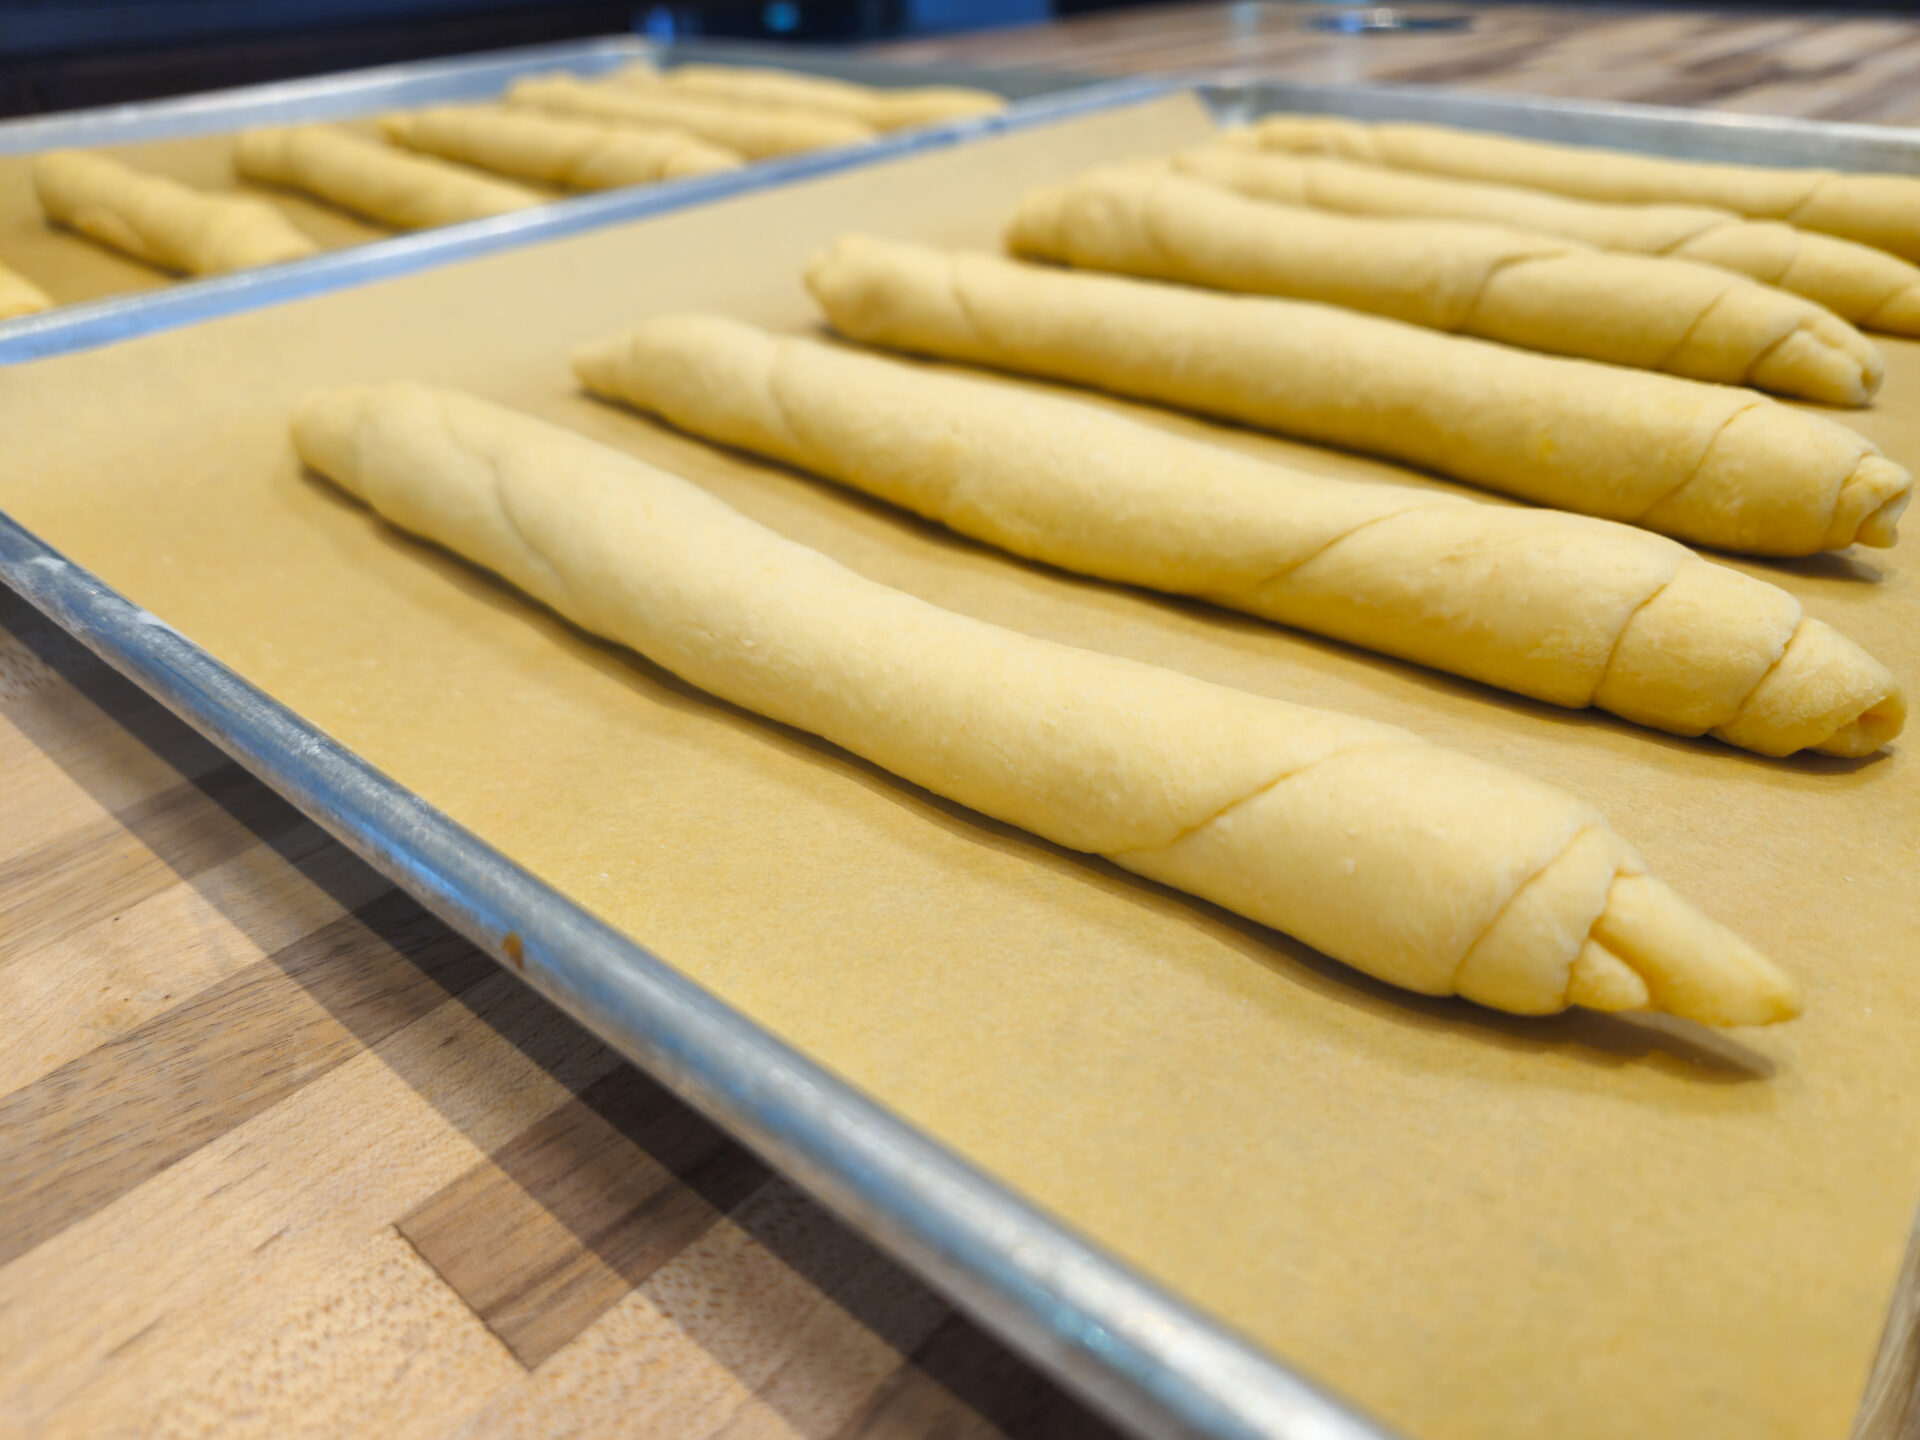
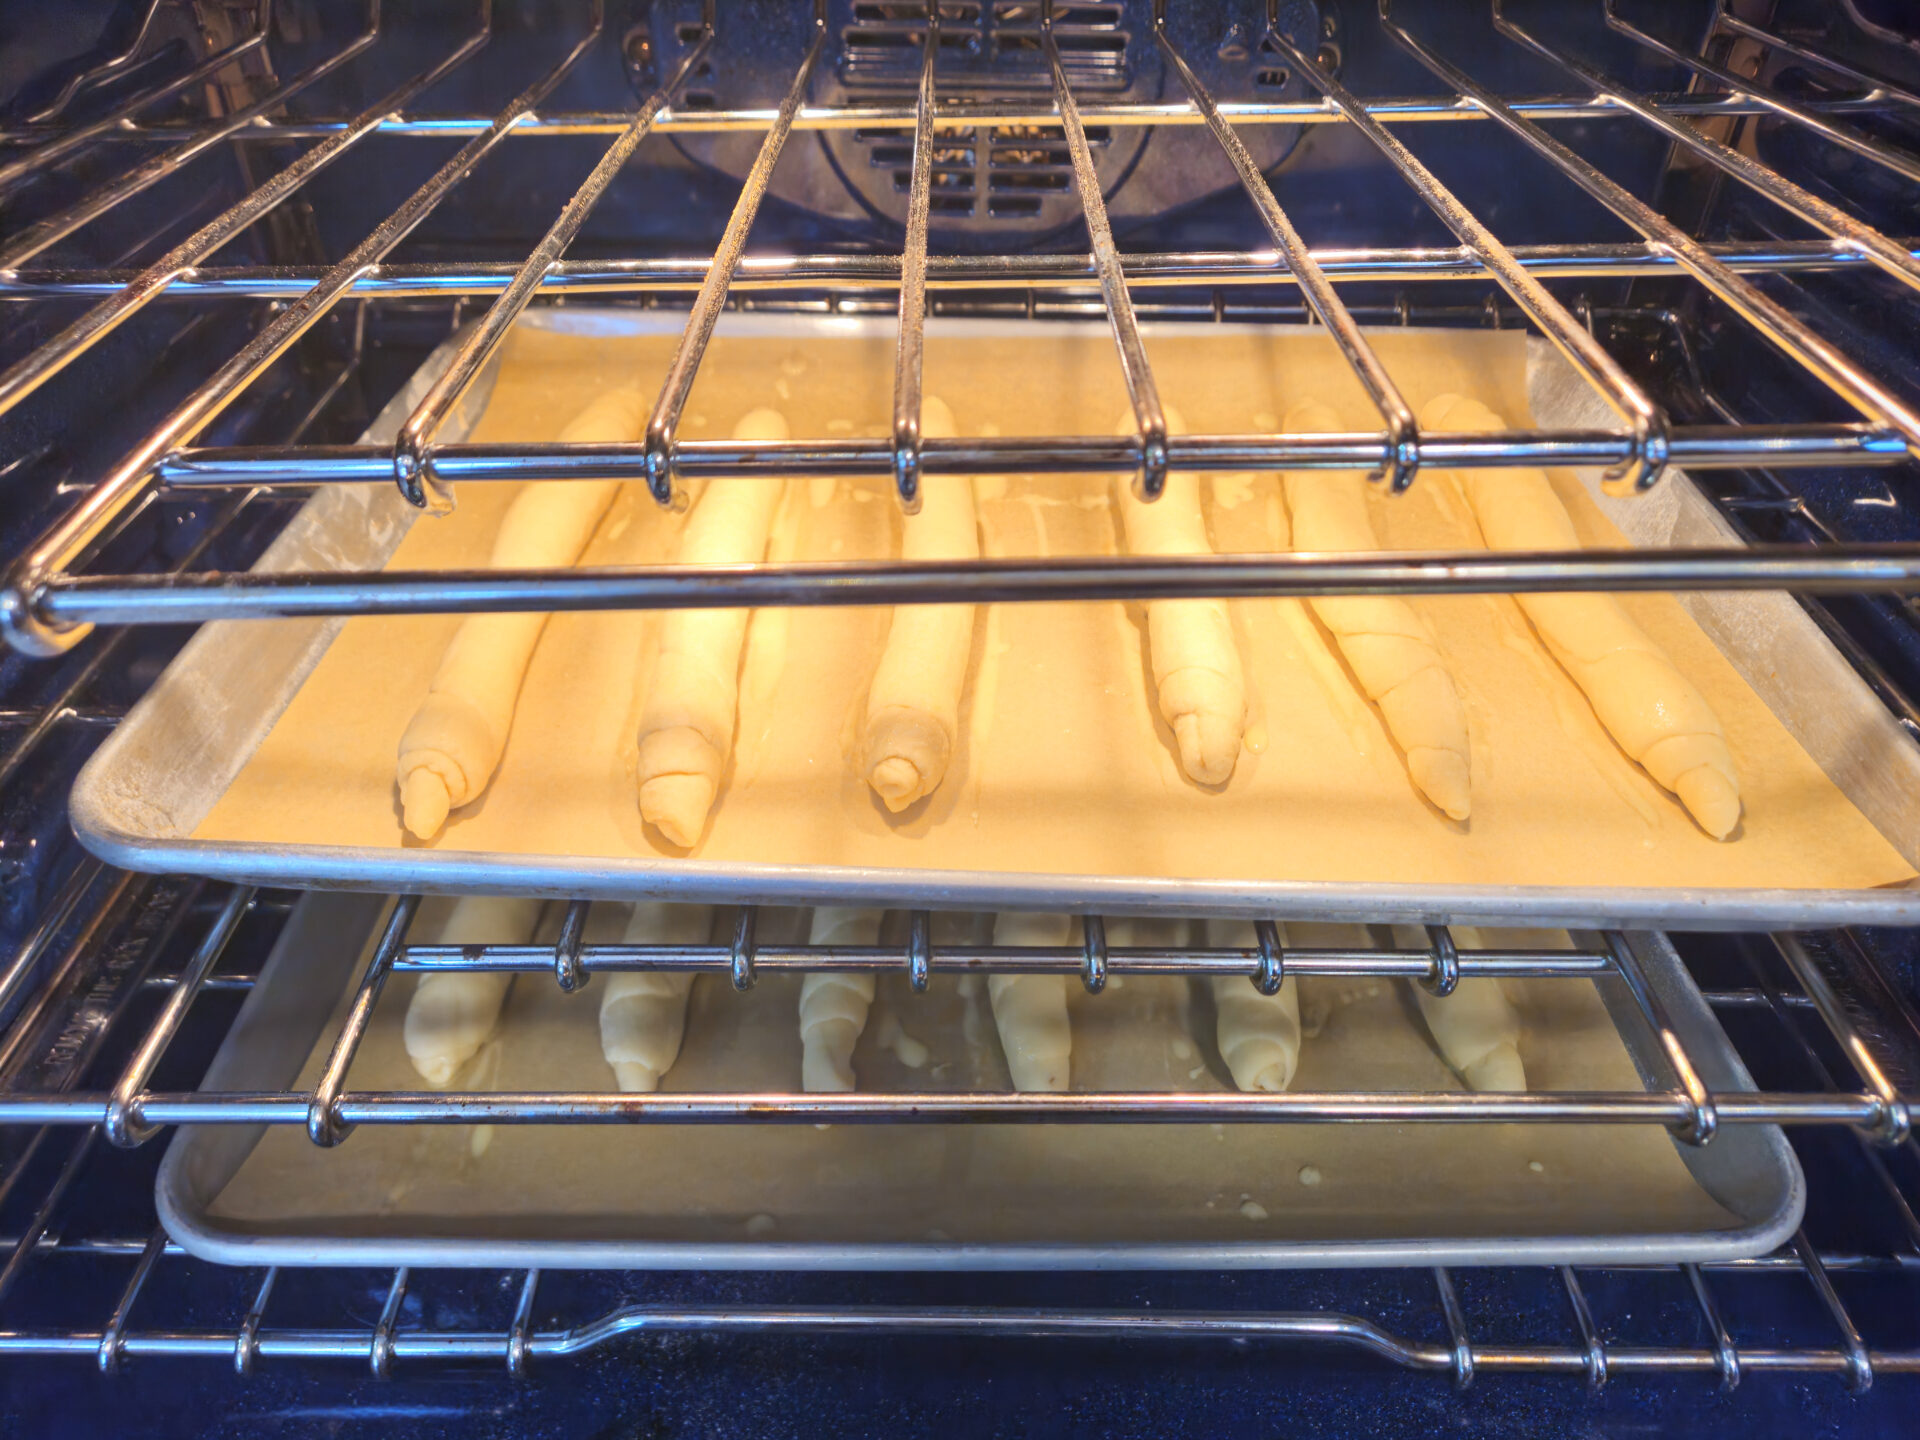
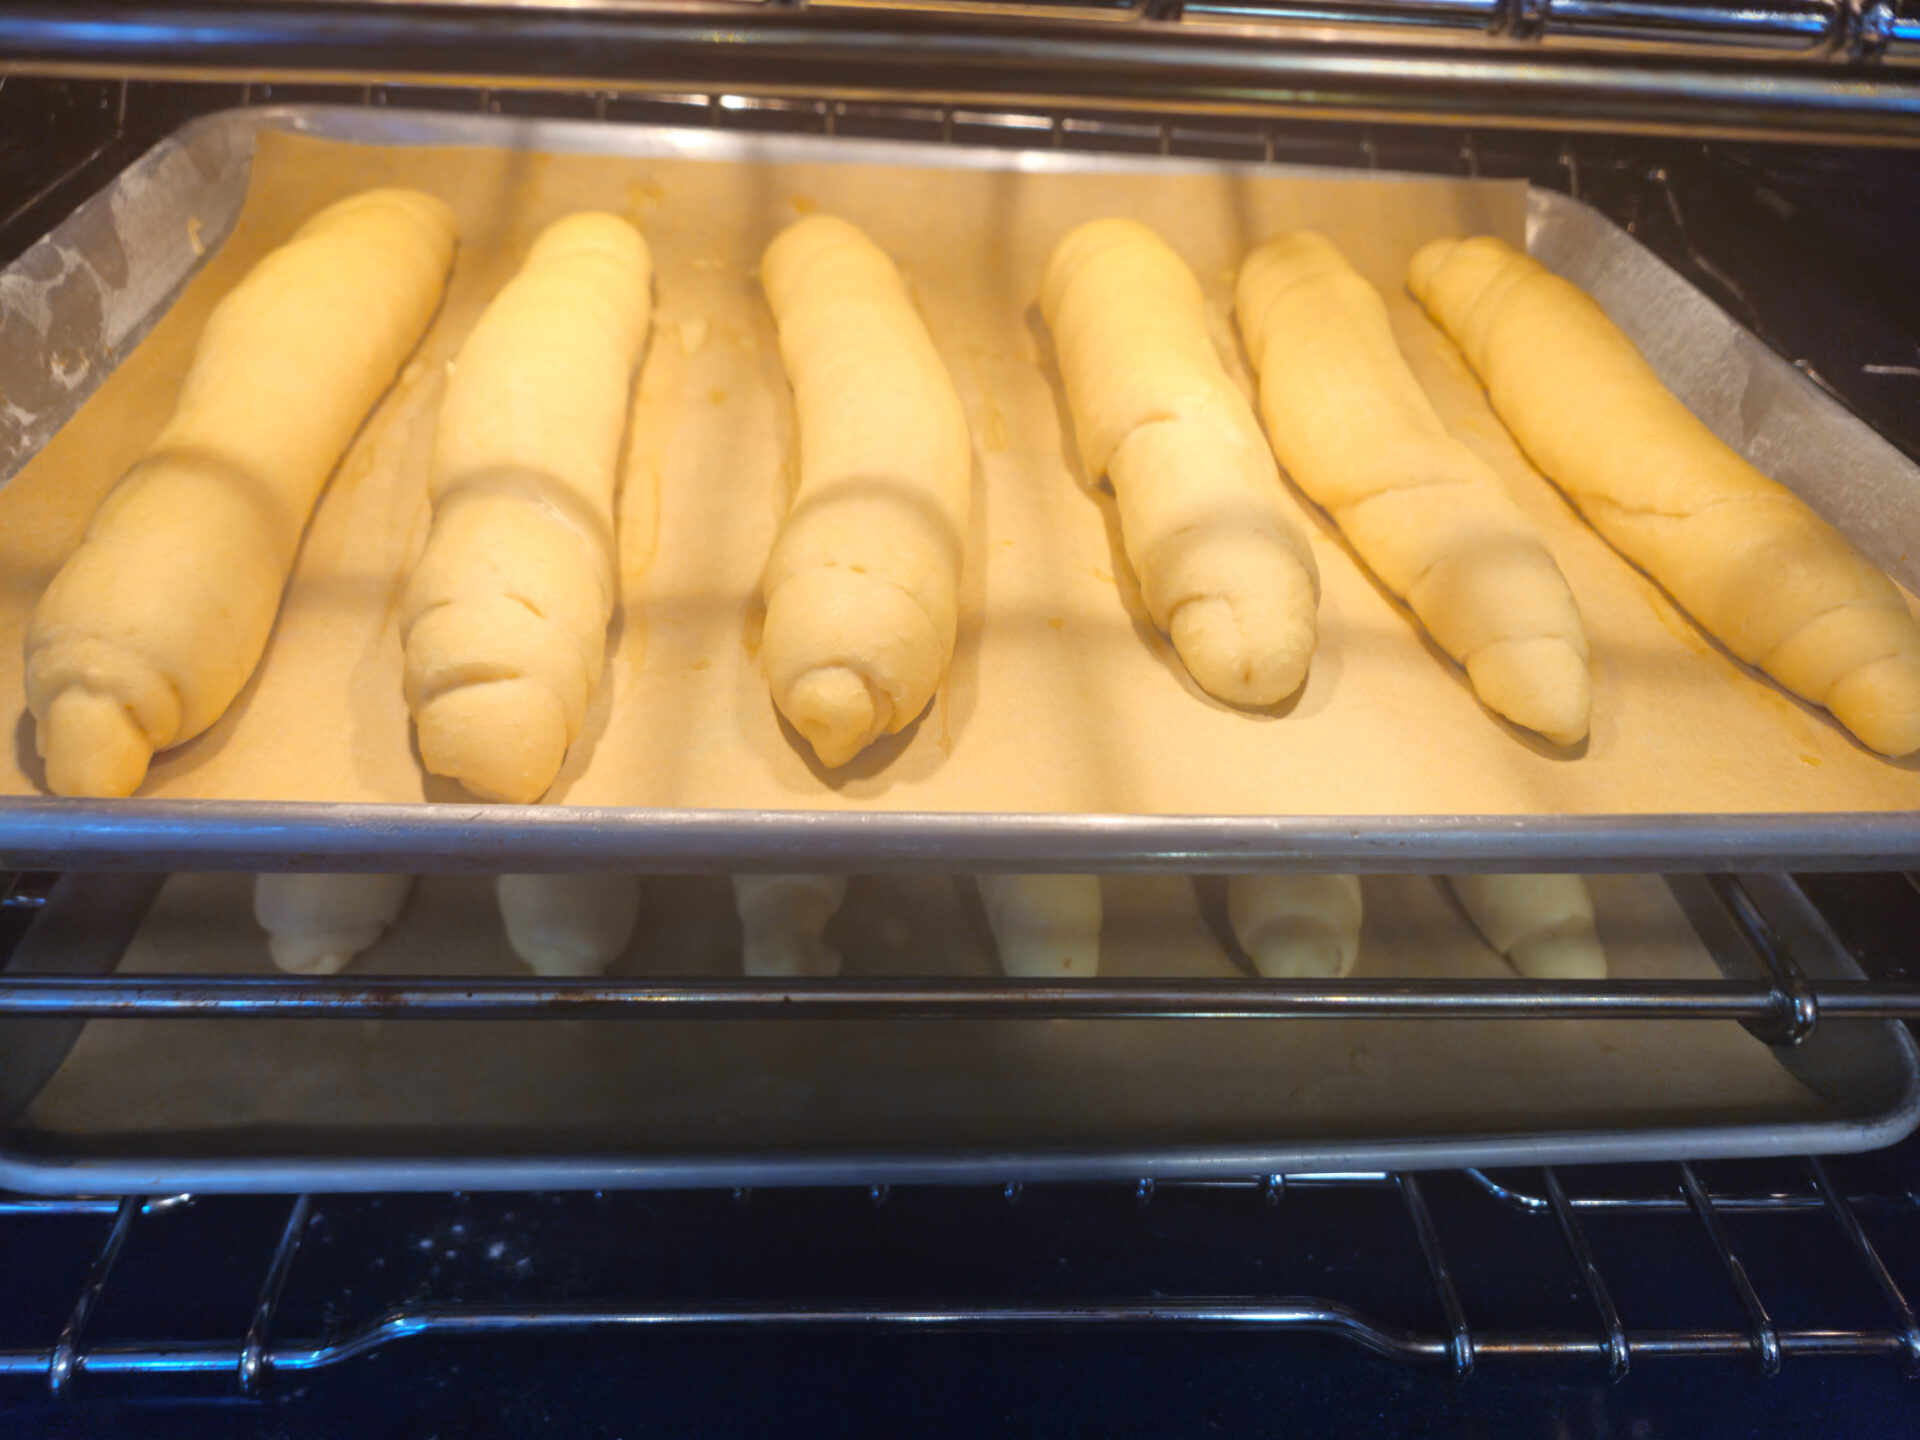
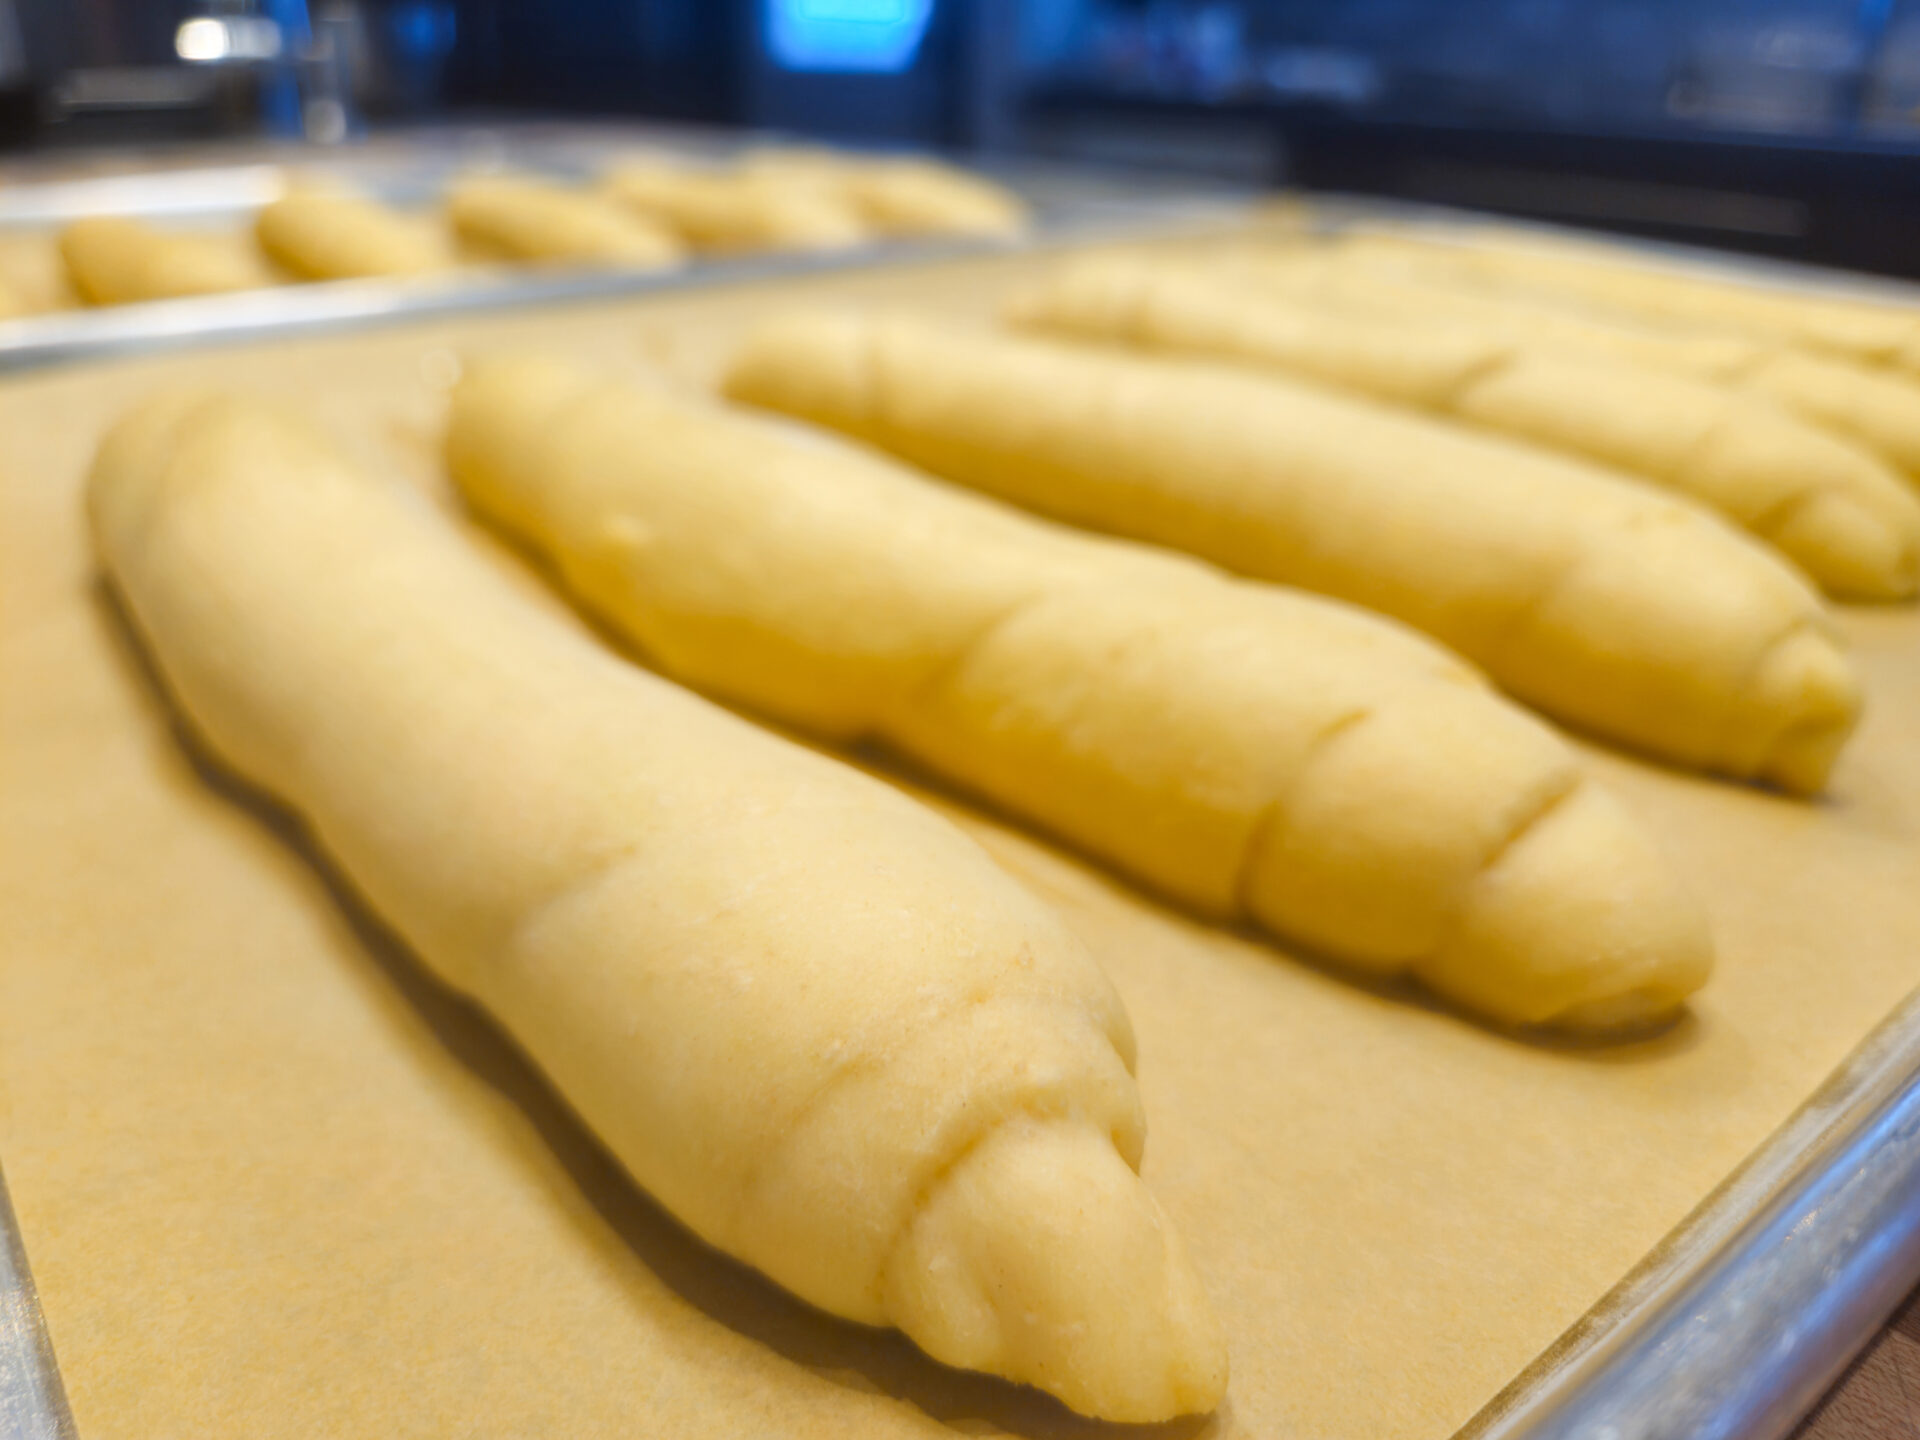
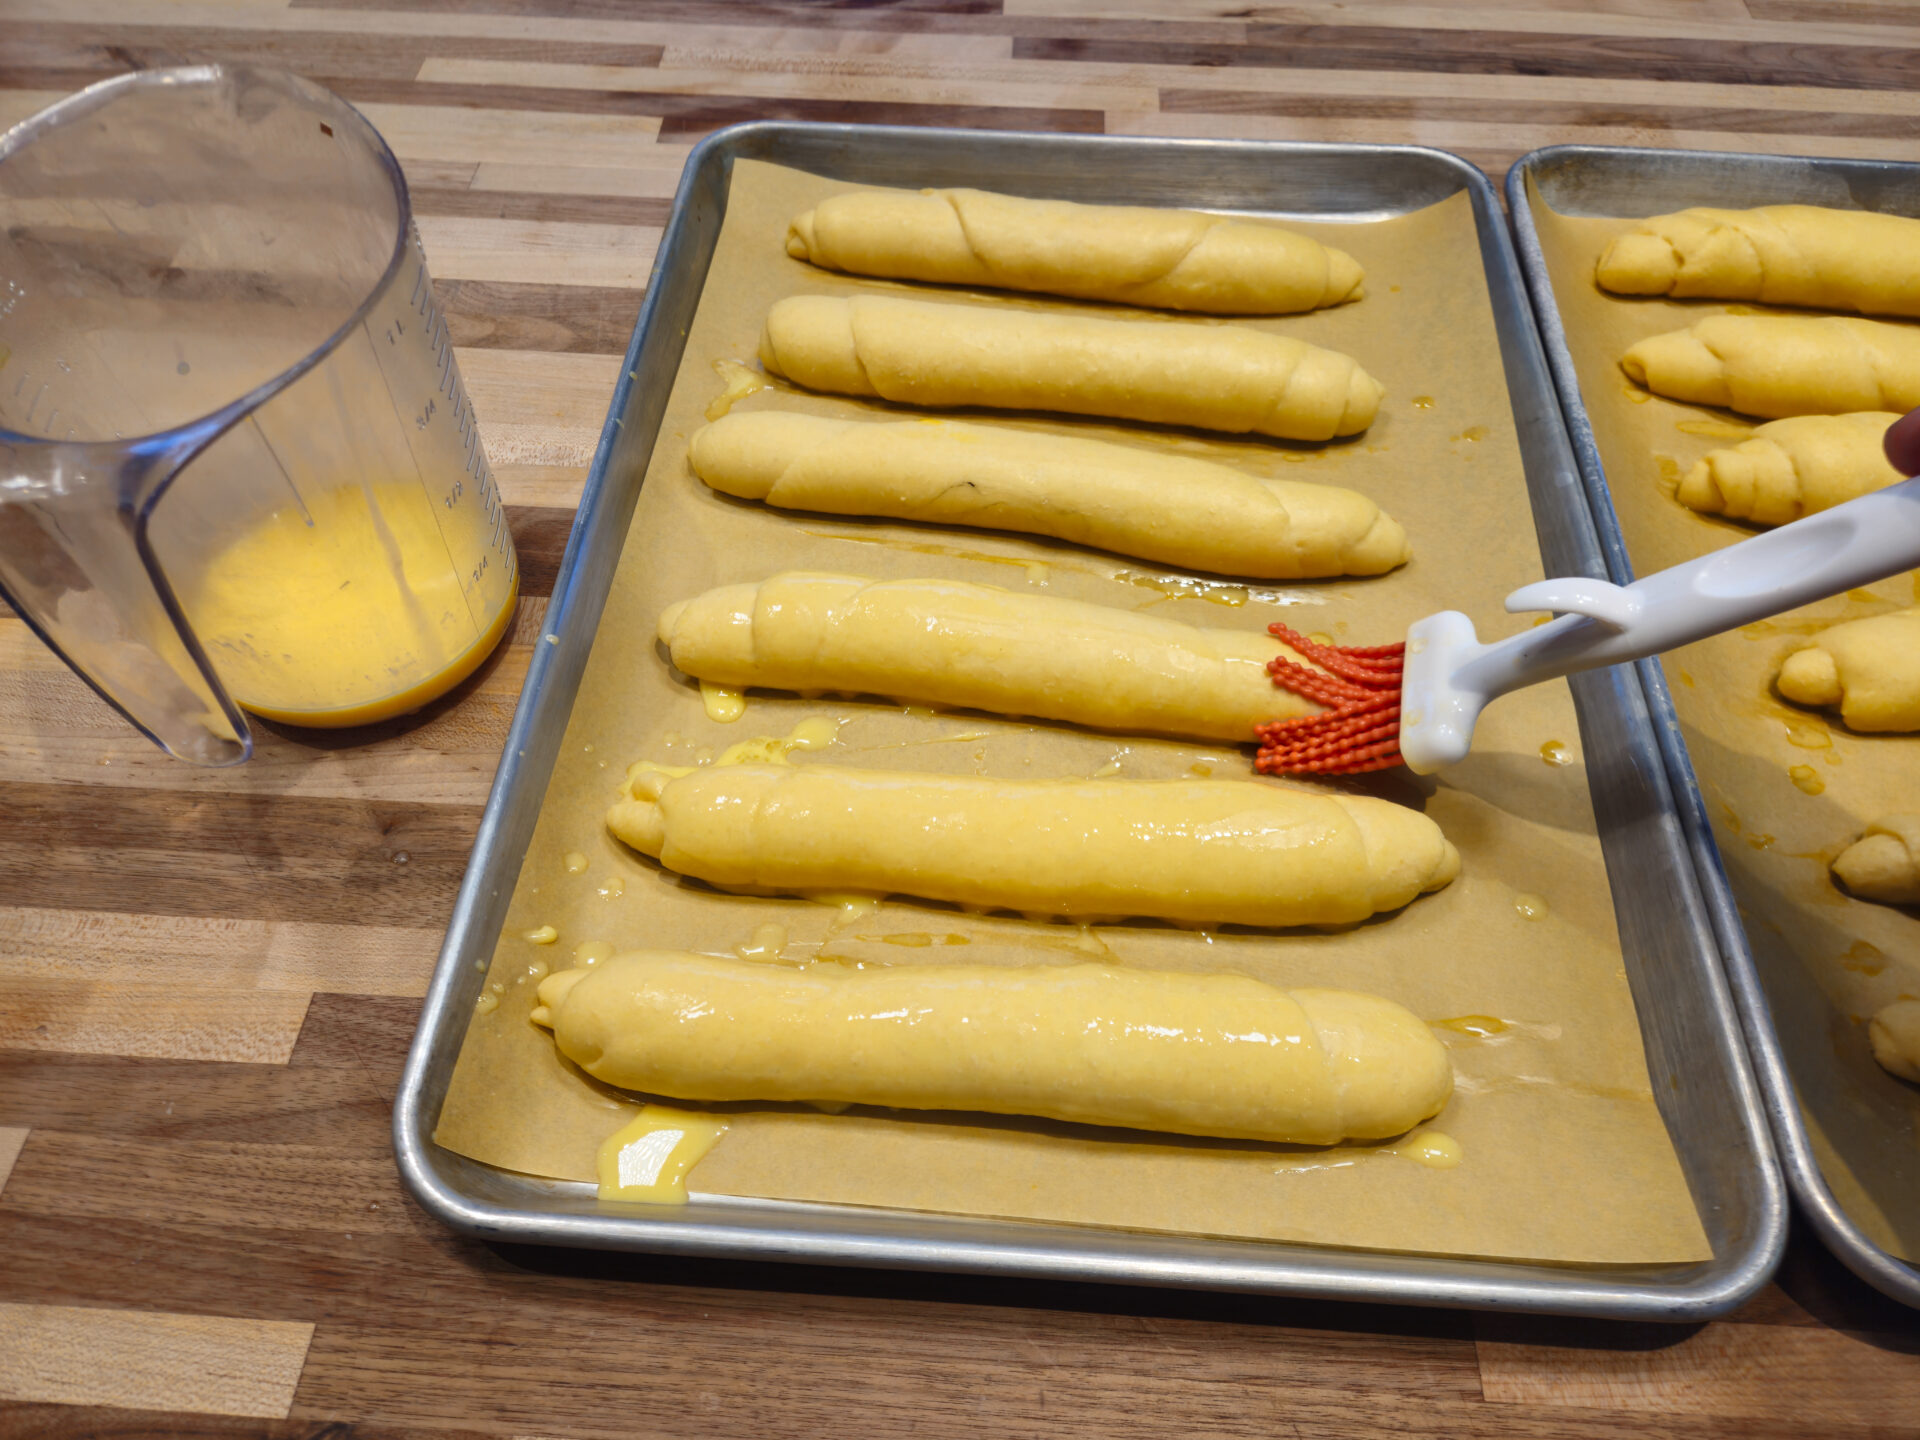
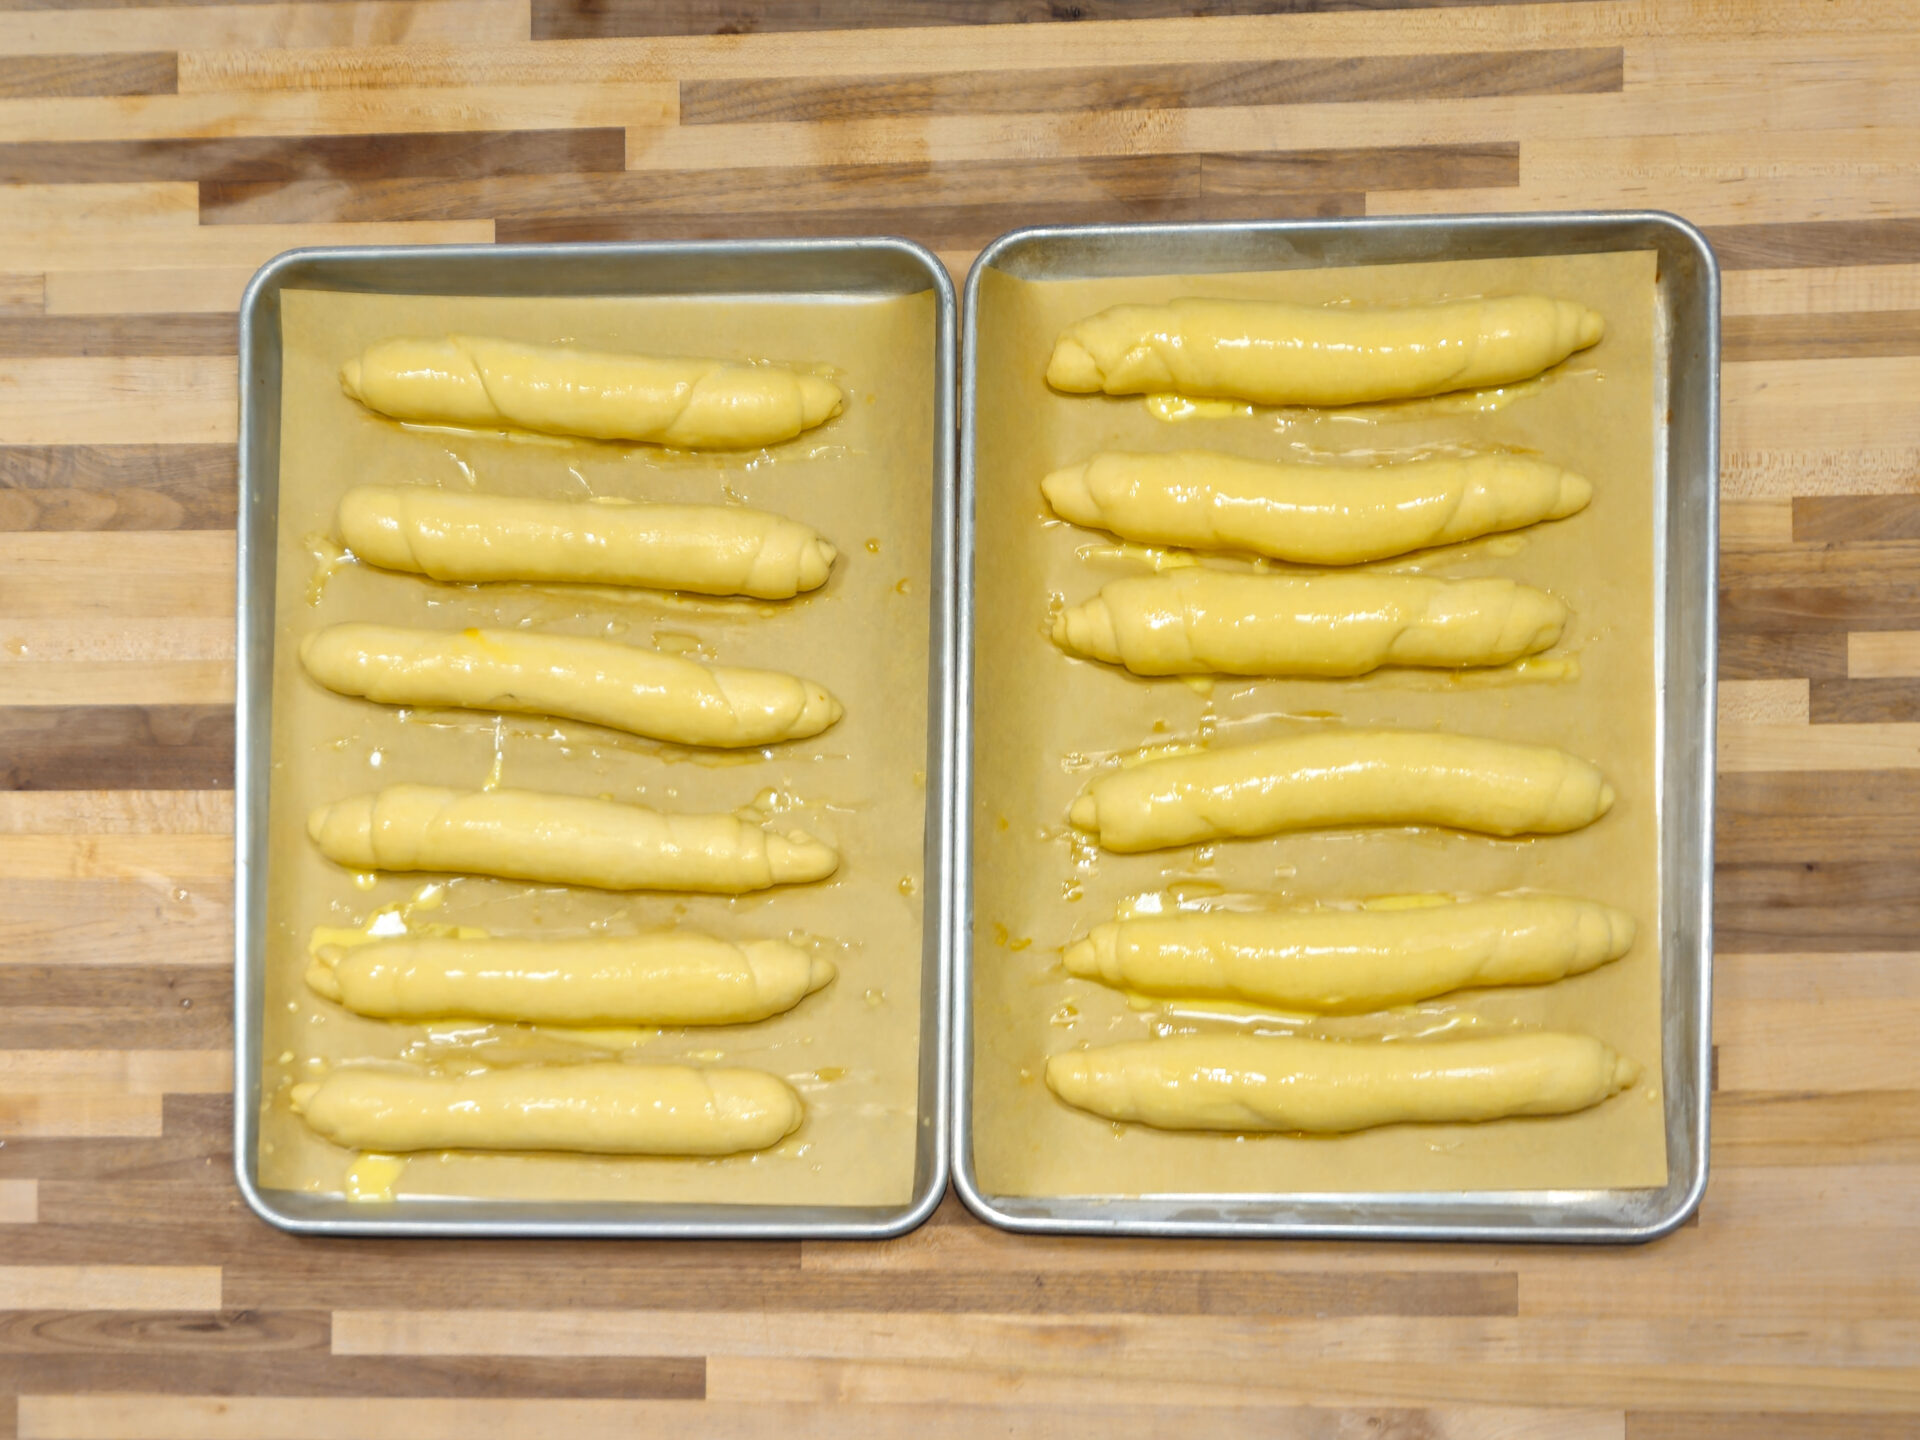
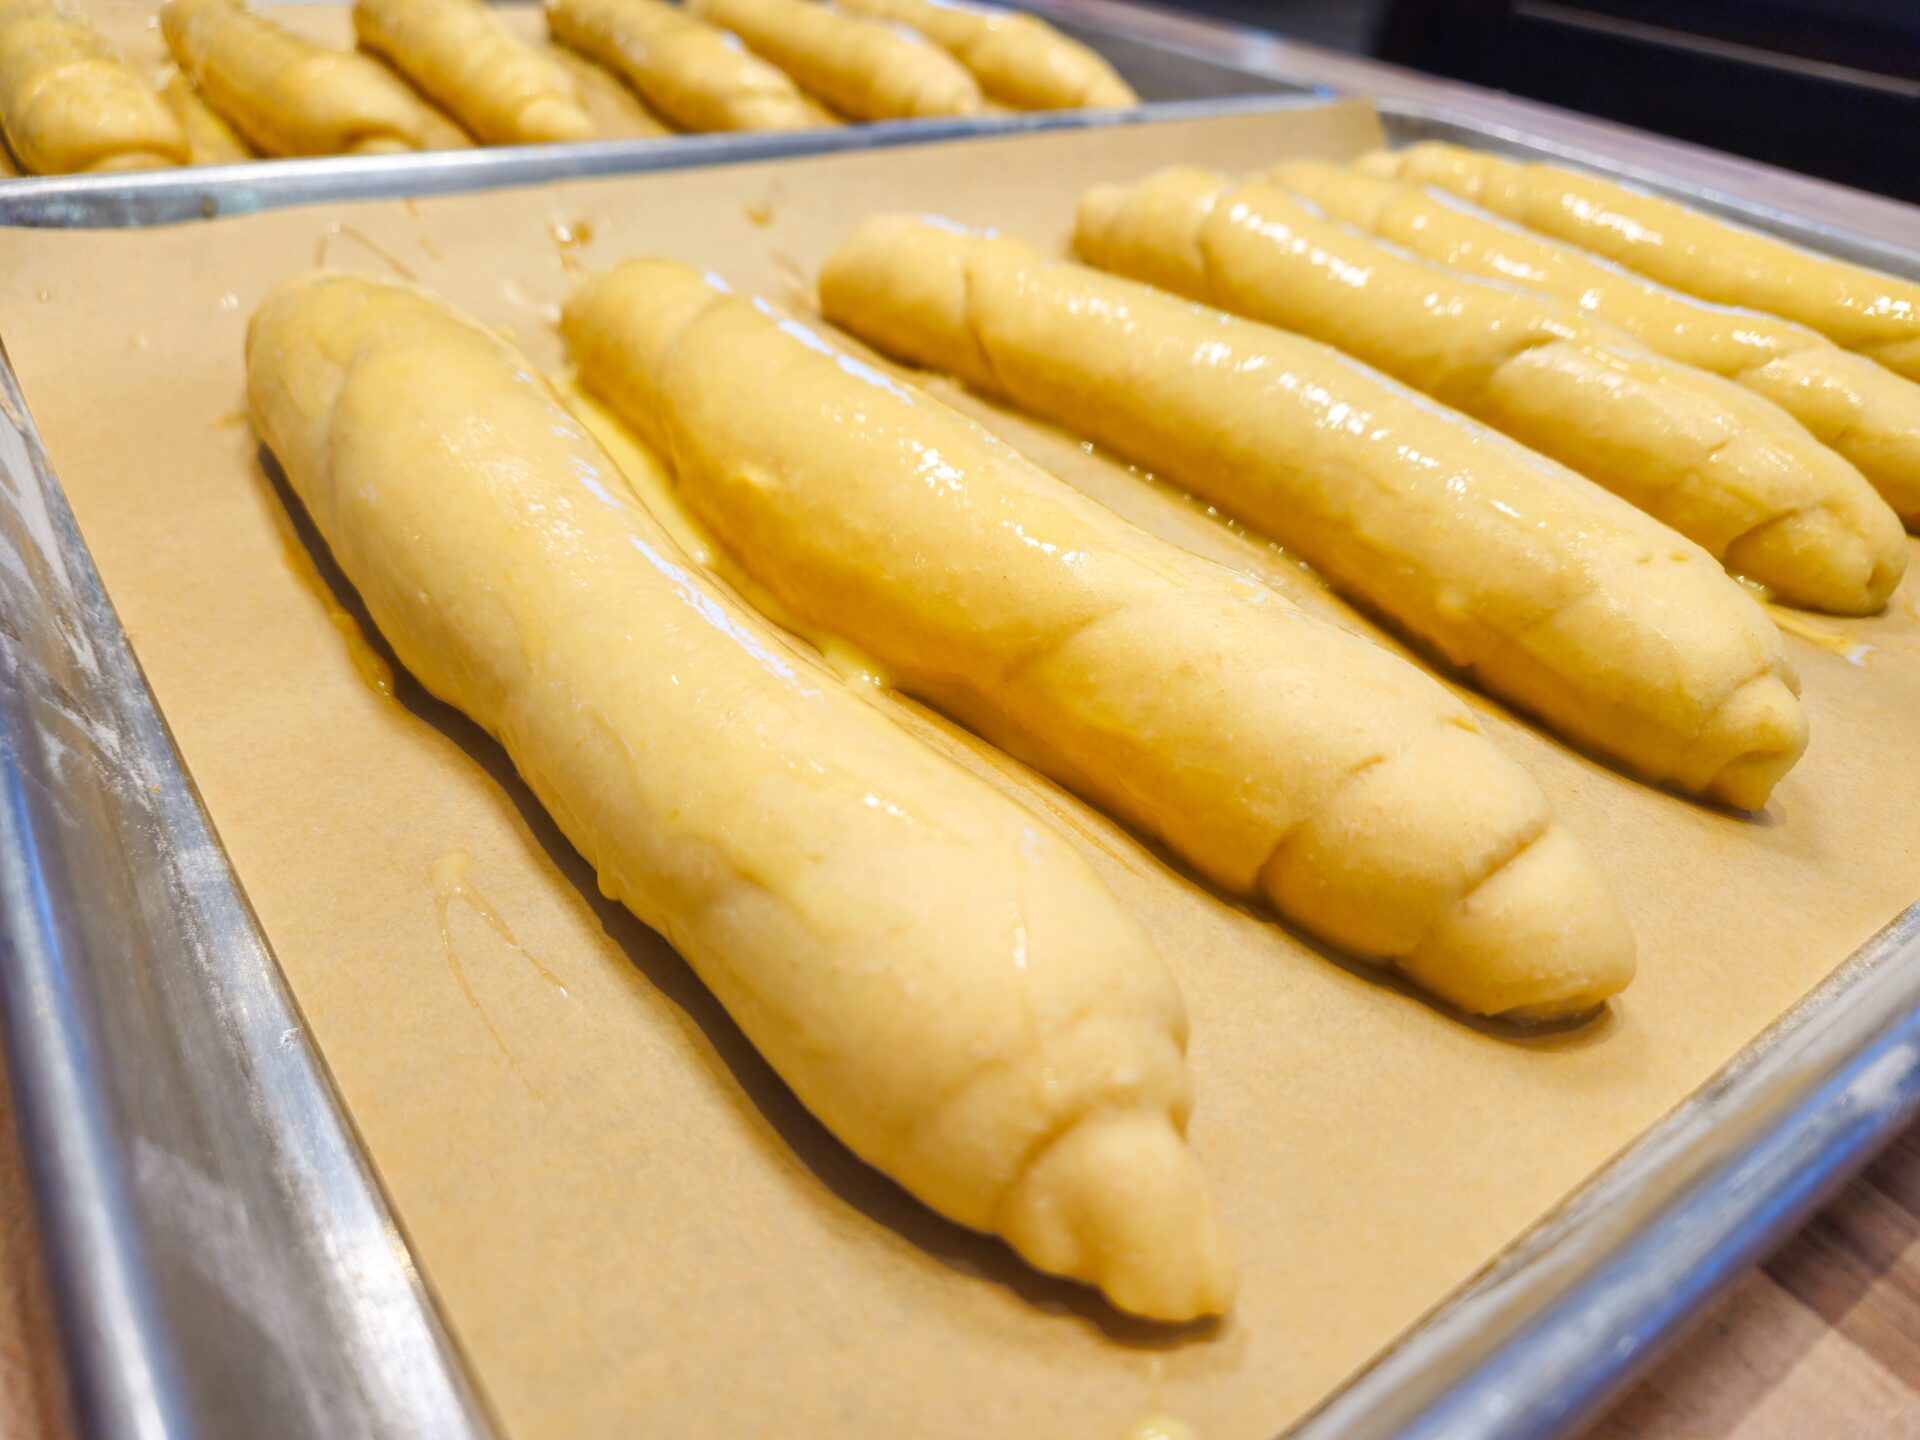
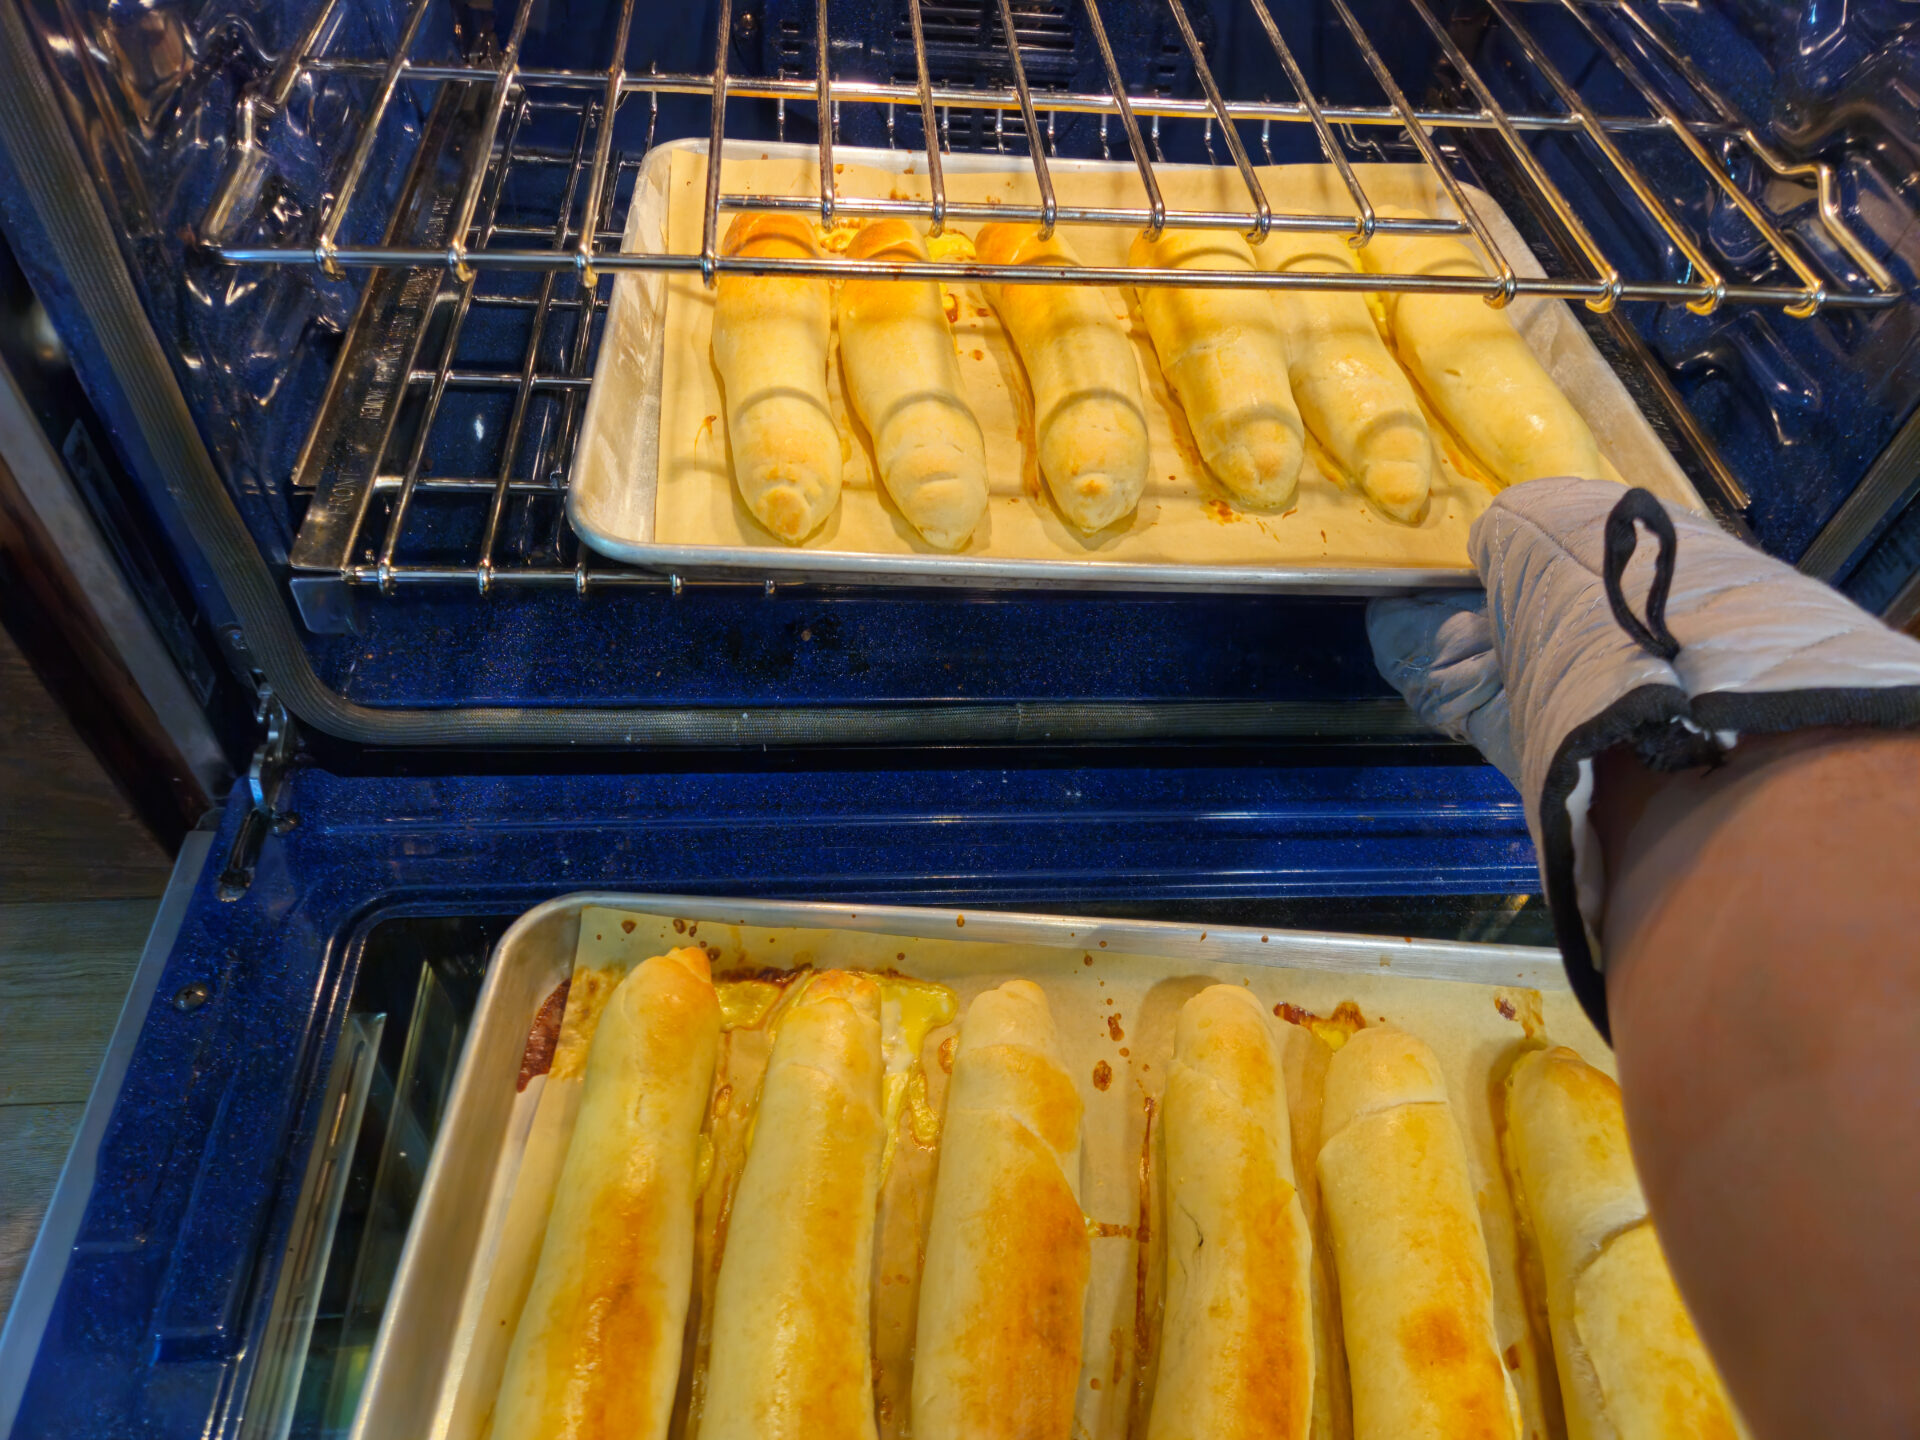
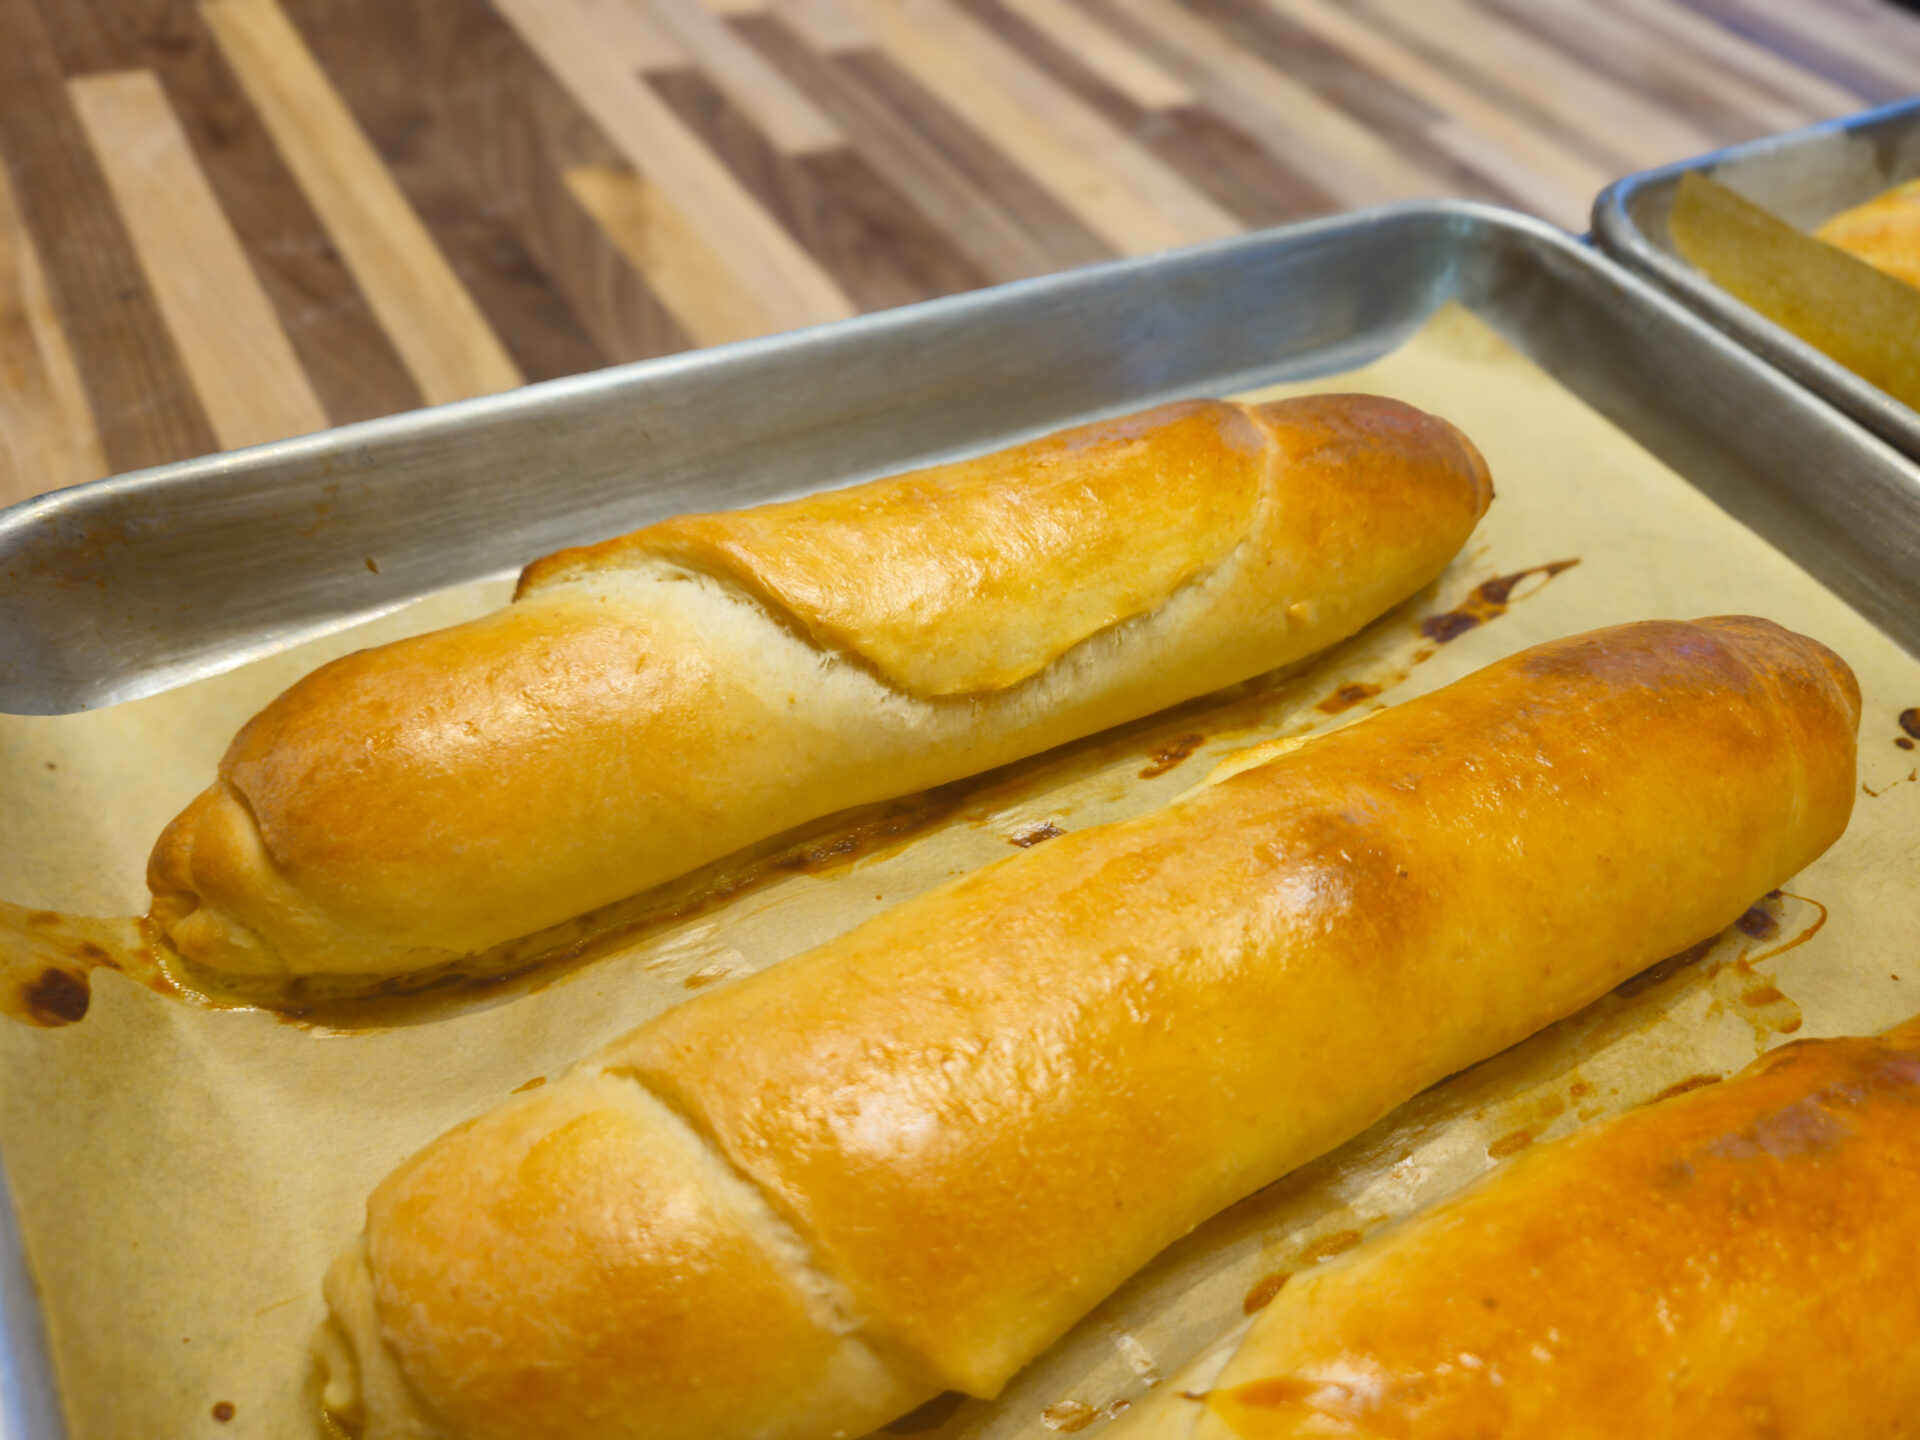
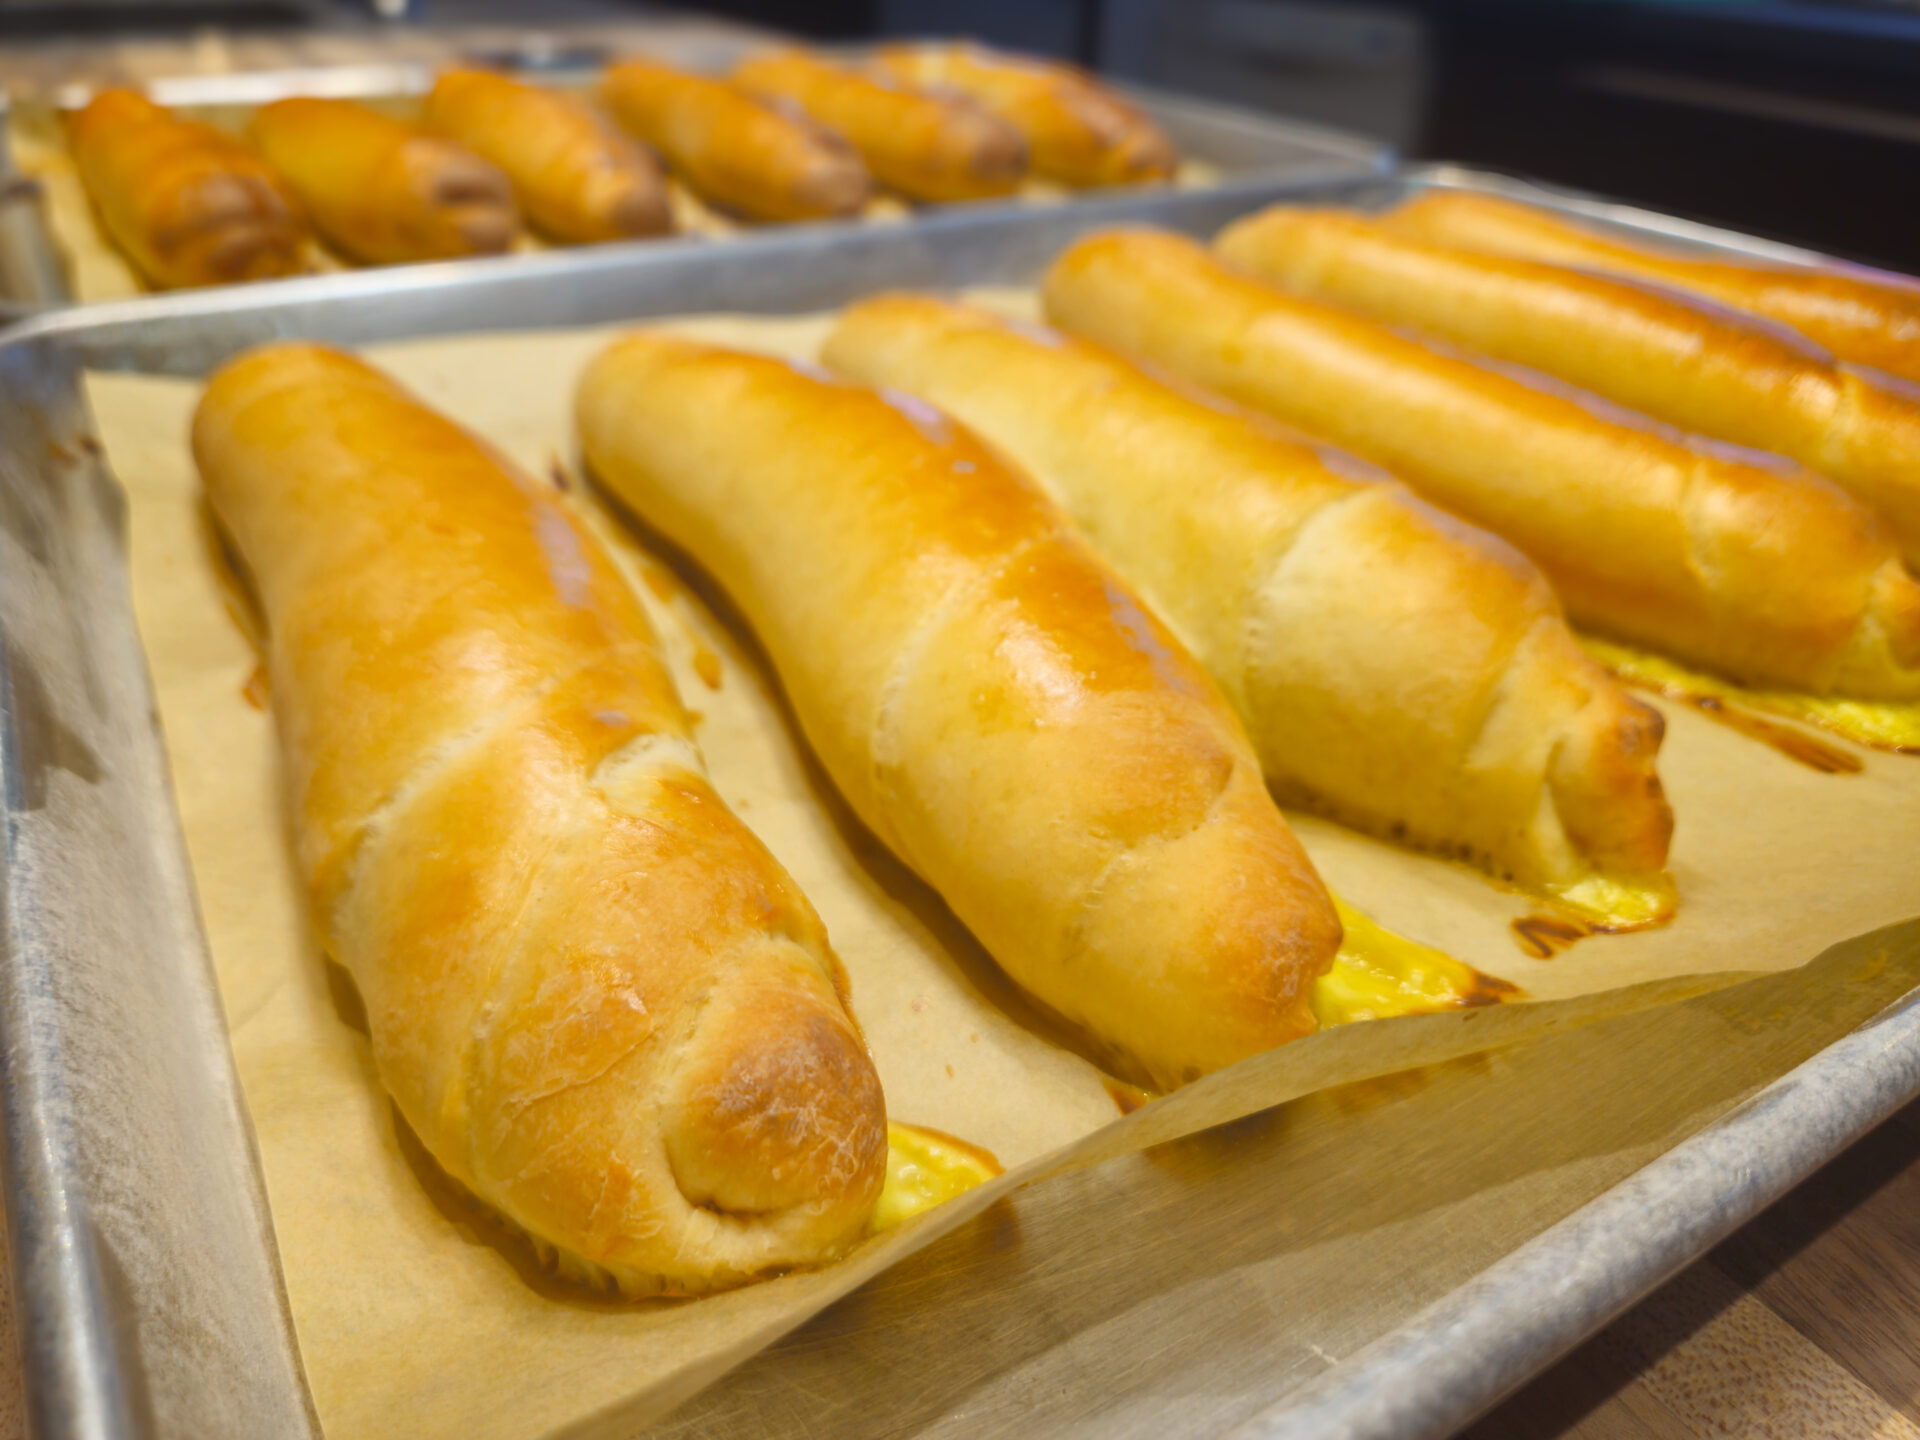
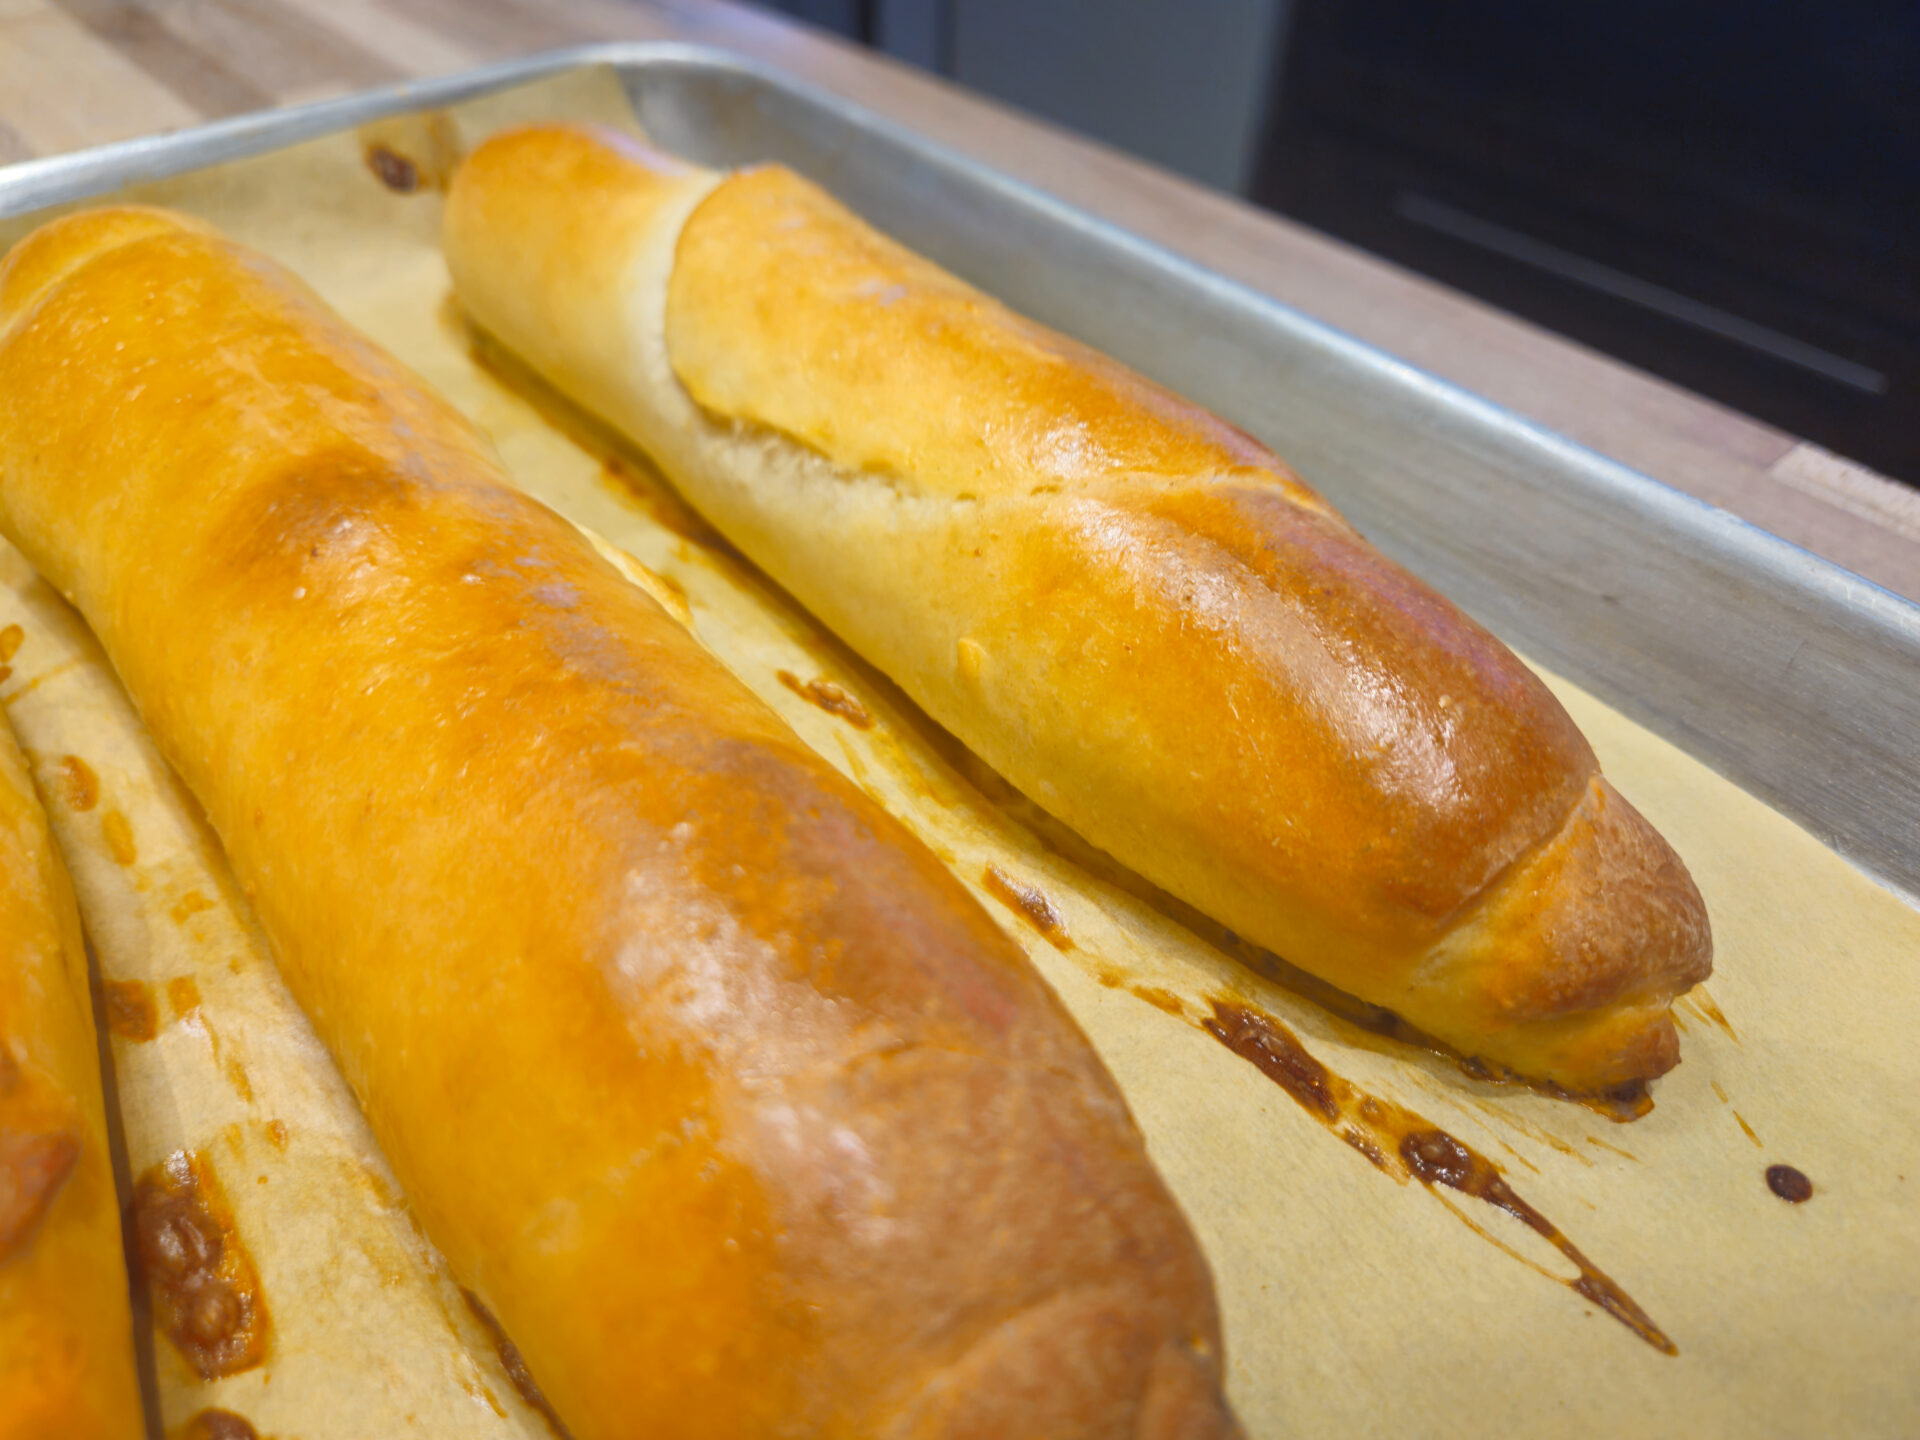
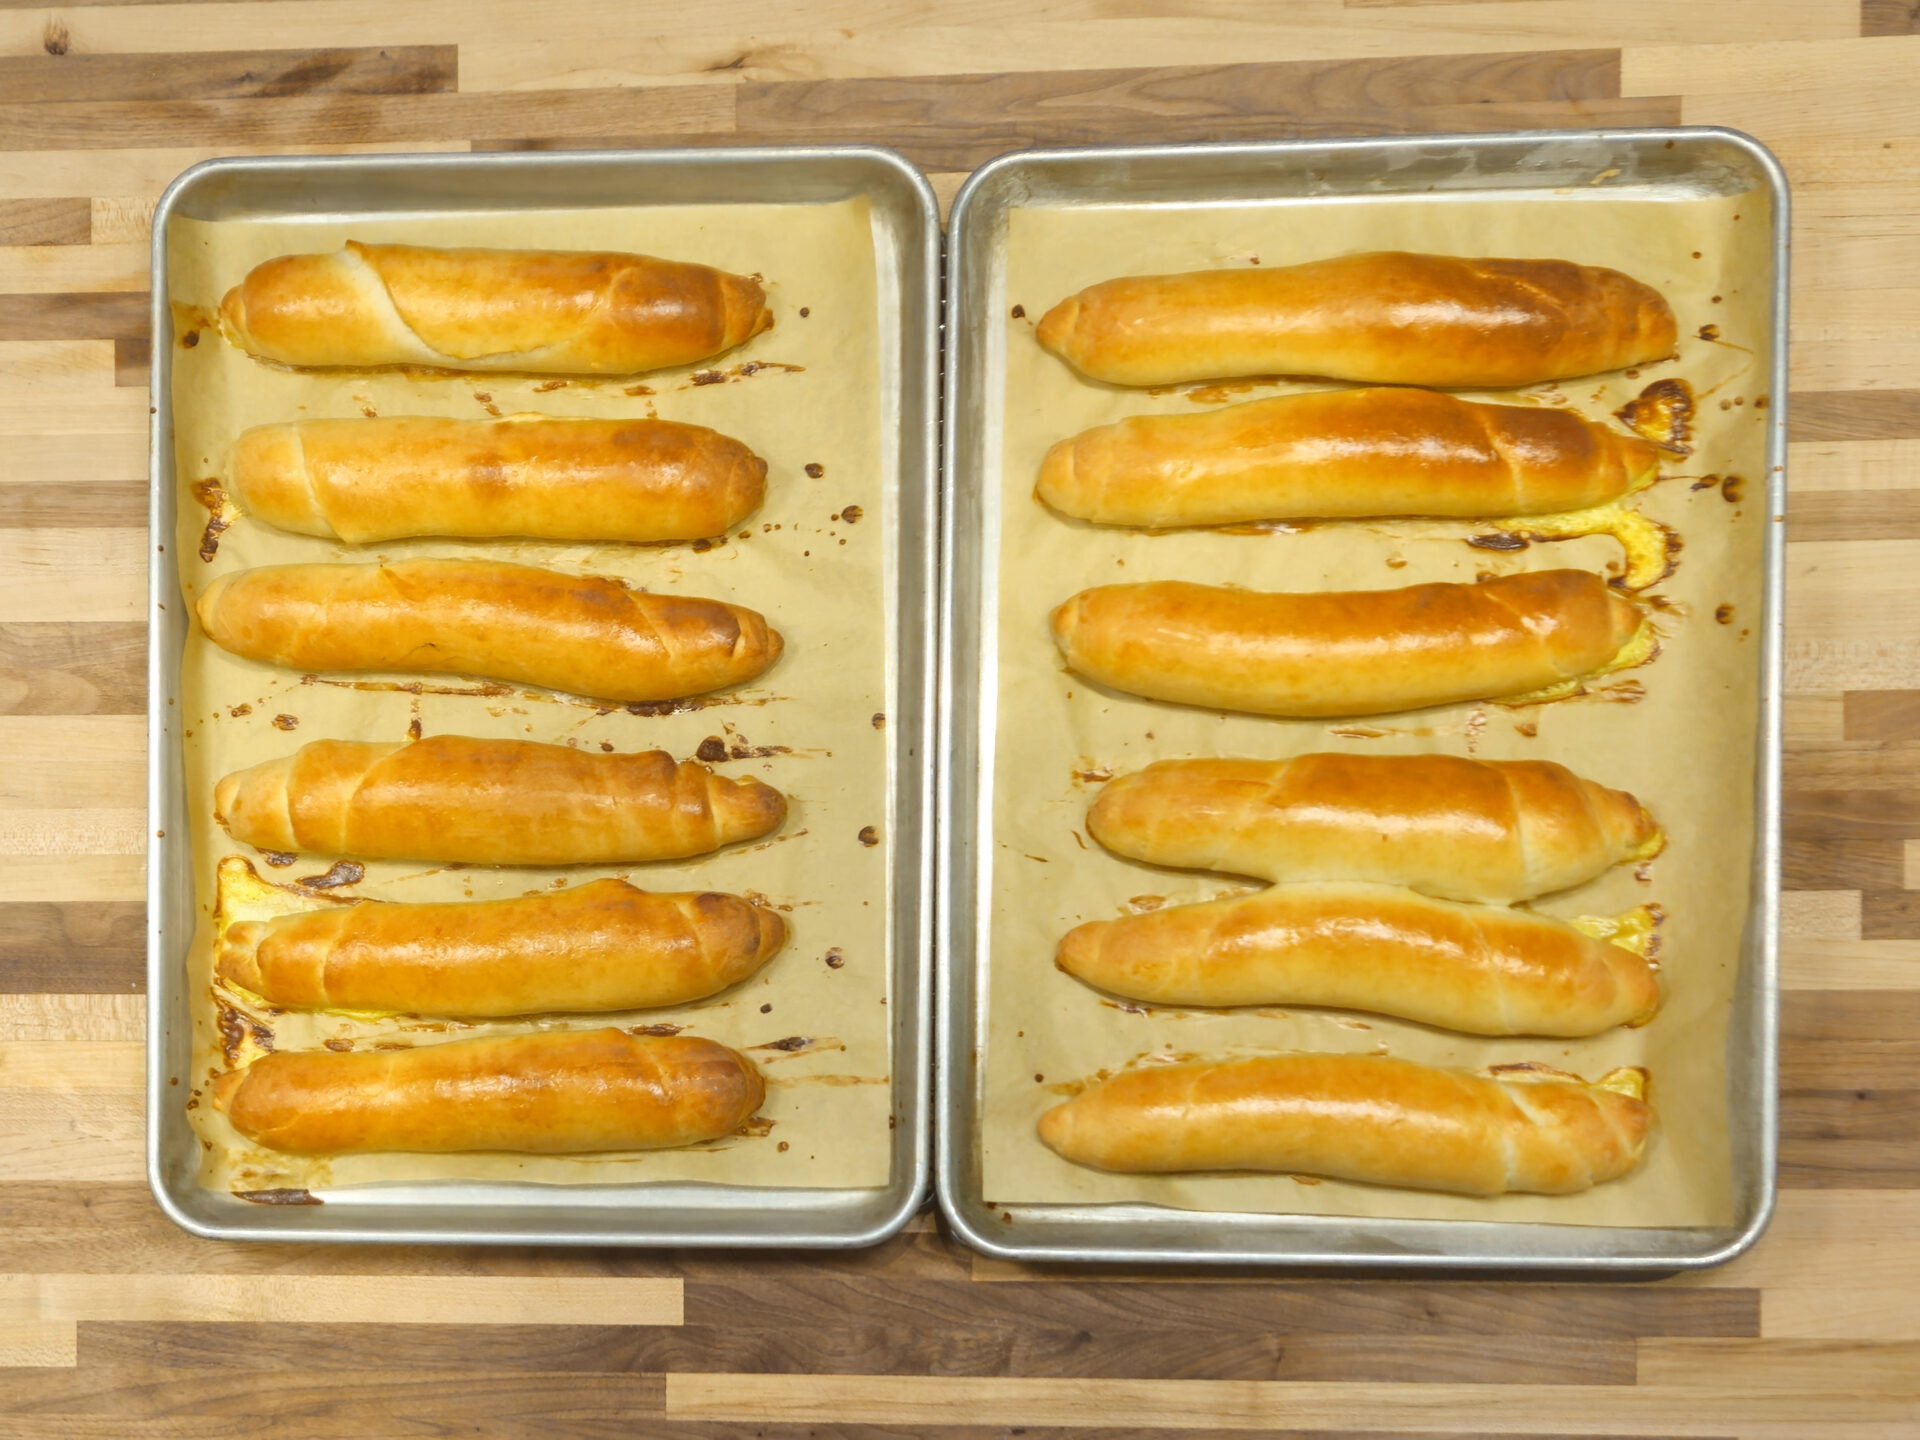
The Czech roll, or rohlik as it’s known in its native Czech Republic, is bread roll cherished for its crisp exterior, soft interior, and subtle, slightly sweet flavor. This unassuming bread roll has been a staple in Czech cuisine for centuries, gracing breakfast tables, afternoon snacks, and even festive celebrations. Read more about these delicious rolls here.

About the Author:
Tom the ChefFounder
# 1
  • Published Recipes: 269
  • Av. Recipe Evaluation:
  • Location: Iowa, USA
  • Member since: 2023-02-02

Disclaimer

  1. General Information Content on this page above, including the content provided on www.CookingHub.com, including all recipes, articles, and other materials, is for general informational purposes only. This content reflects the personal opinions and experiences of its authors and is not intended to provide professional dietary, medical, legal, or political advice. Please consult a qualified professional before making any decisions based on the information presented here.
  2. Content Ownership and Use Content on this page above, including content published on CookingHub.com is owned by the individual authors who created it. Only the authors can access, modify, or delete their content from the platform. Our content may be embedded on third-party websites and blogs without modification. No reimbursement will be provided for this use. If an author removes content from CookingHub.com, it will no longer be available through any embedded links.
  3. Limitation of Liability Neither www.CookingHub.com (operated by the CookingHub Foundation) nor content authors are responsible for any outcome or consequence resulting from the use of information on this site. This includes, but is not limited to:
    • Food Safety: Any health risk related to food handling, food quality, or failure to follow USDA recommendations (including minimum safe cooking temperatures).
    • Preparation Safety: The proper and safe handling of cooking equipment or its suitability for any given task.
    • Recipe Outcomes: The final look, taste, or success of following a recipe.
    • Ingredients and Equipment: The sourcing of ingredients, tools, equipment, or anything else related to the preparation and consumption of food.
    • Nutritional and Dietary Information: The accuracy of nutritional data. This information is provided as a courtesy and should not replace advice from a medical provider. You are responsible for verifying that a diet is suitable for your personal health needs.
    • Errors and Omissions: Any potential errors, typos, or unclear directions in articles and recipes.
  4. User Responsibility All readers, visitors, and users of embedded content are solely responsible for evaluating recipes and articles. You must make your own decisions about whether to follow the steps and recommendations provided. It is your responsibility to ensure that ingredients and preparation methods are safe and appropriate for your personal dietary restrictions and health conditions.