Alpha Version
  • 15 min.
  • 30 min.
  • 1/5

Ingredients:

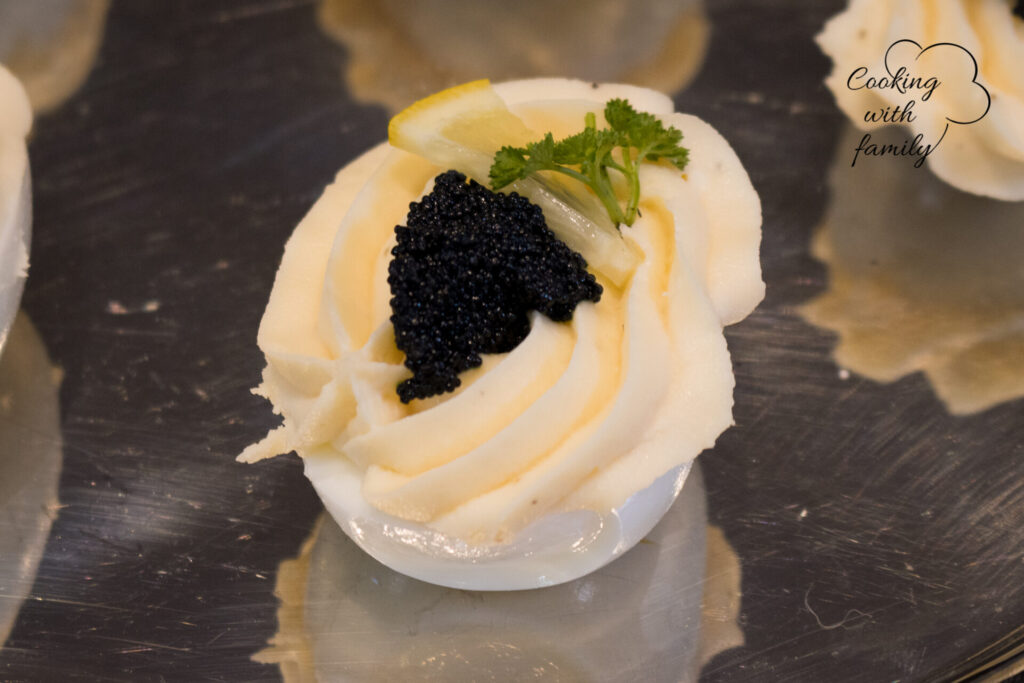
* The selection of caviar color, grade, and brand is up to you. From a color point of view, I use a combination of red and black to create a nice variation. In terms of grade and brand, you have a lot of choices. You can buy caviar very inexpensively and you can also select very costly and more delicious versions, so simply select what sounds right to you.

Recipes

Best served with:

Directions:

1. Creamy topping:

1.1. Place into a kitchen mixer with whisk attachment:

1 package of The Laughing Cow cream cheese
1 stick of butter – room temperature
Pinch of salt
Pinch of pepper

Whisk on a high speed until all ingredients get fully combined and a creamy texture is reached (about 2 – 4 minutes).

1.2.

Fill into a pastry bag with a pastry tip of your choice for the next step (do not let sit too long since the cream will harden – proceed immediately to the next step).

2 Assemble:

2.1.

Cut a thin slice about 1/16” from each of the two long sides of the eggs to provide better stability for your egg while serving later.

2.2.

Then, cut each egg in half.

2.3. Pipe out the creamy topping around the top part of the diameter or around each half of the egg.

Tip: If you have any creamy topping left, use it like a spread on your bread (same as you would with cream cheese).

2.4.

Then, place the small spoon of caviar in the middle of the egg (the part without cream). If you are using two different colors of caviar, place them next to each other.

2.5.

Decorate with a tiny slice of lemon and with a little piece of parsley.

3. Serve 2 halves of egg per serving together with a slice of bread, roll, or baguette.

If parts of the ingredients stick to the side of the mixer bowl during processing, stop the mixer, and using a spatula, add it back into the mixture. Then, continue processing.

About the Author:
TomFounder
# 1
  • Published Recipes: 194
  • Av. Recipe Evaluation:
  • Location: Iowa, USA
  • Member since: 2023-02-02

Add My Review

If you want to add your review, you must log in.

Disclaimer:

All steps in this recipe are just suggestions, and the author and/or publisher of this recipe is not responsible for the following:

  • outcome of preparation
  • any health risk related to the incorrect handling of food and/or not following USDA recommendations, such as but not limited to, following the minimum safe serving temperatures
  • provide health and dietary advice to readers
  • safety during preparation, including incorrect handling of equipment and the equipment’s suitability for food preparation, improper cooking techniques, sourcing of ingredients, and anything related to the preparation and consumption of the products of this recipe

All readers are responsible for evaluating if the recipe and its’ ingredients and steps fit with their dietary restrictions and can adjust accordingly.