 ChefLynn Cool Cook
Sweet Potato Pie
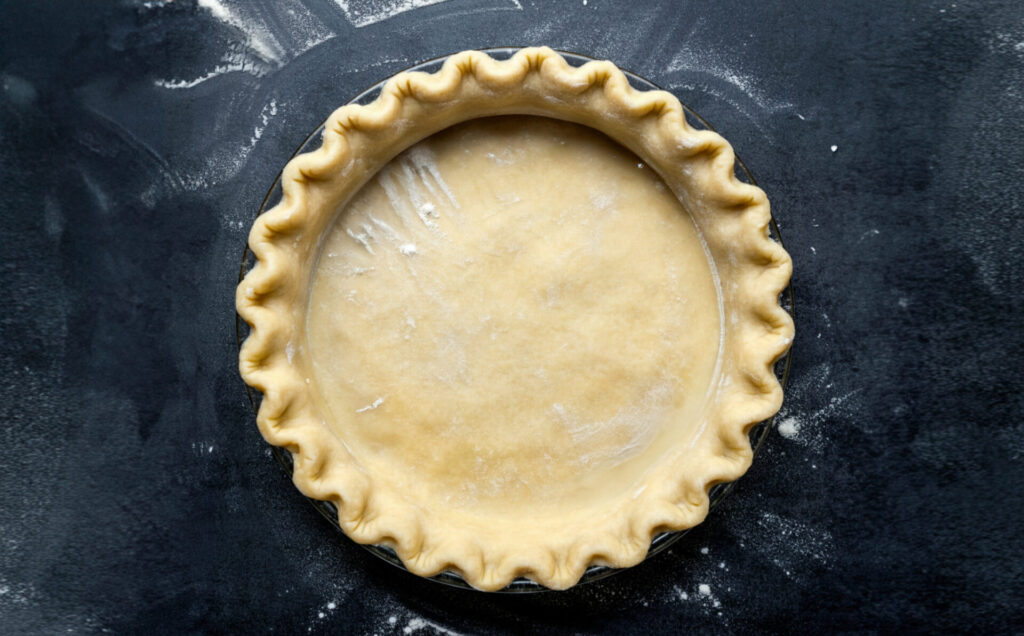
November 6, 2024This recipe elevates the classic sweet potato pie to new heights! With a creamy, spiced sweet potato and banana filling nestled in a flaky, homemade crust, and topped with a luscious bourbon caramel, this dessert is sure to impress. While there are a few steps involved, the end result is a truly unforgettable treat that’s perfect for any occasion.


Share
Click on the icons below to share "Title of the item to share"