Cook, Learn, and Share to Fight Hunger.
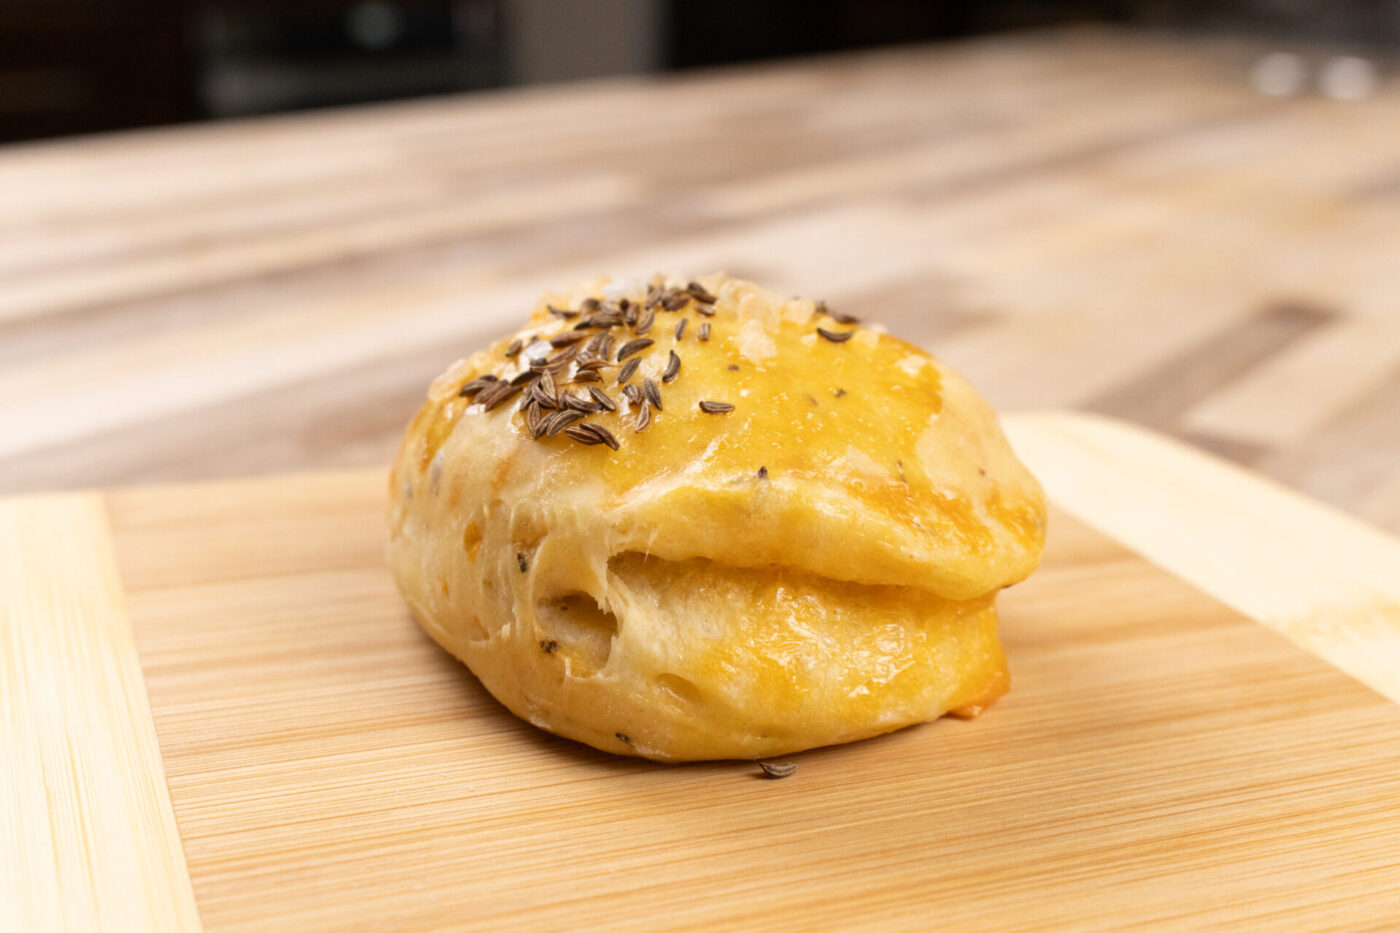
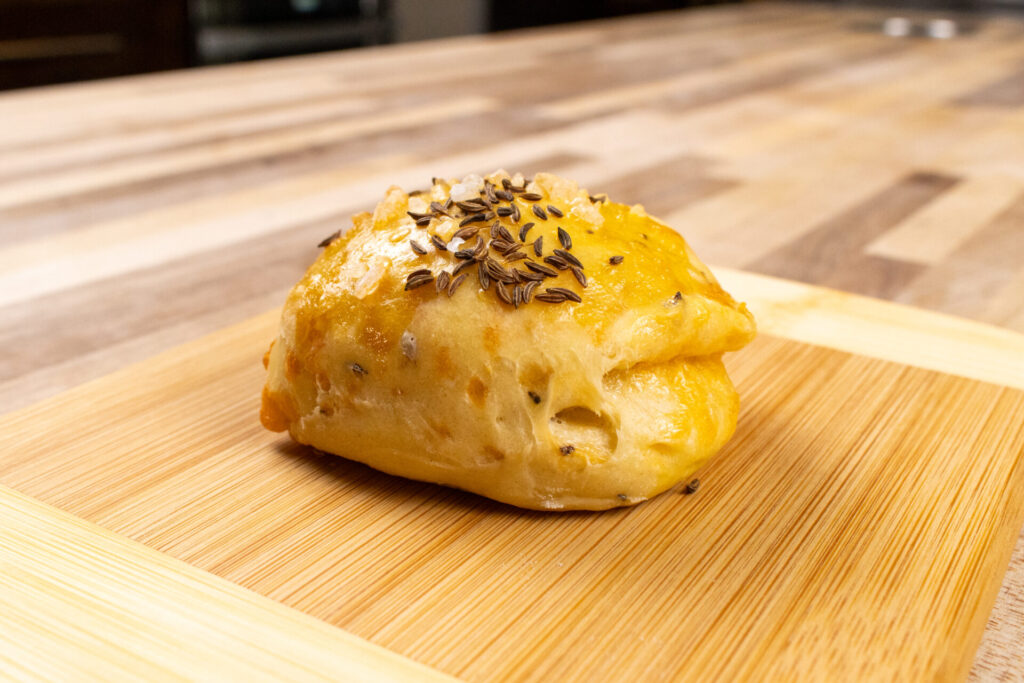
Pagáče (Pagache) with Cracklings on the small cutting board, look from medium distance, on the butcher block countertop
  • 45 min.
  • 2 h 30m.
  • 2/5

Ingredients:

Leaven:

Dough:

Filling:

Directions:

1. Leaven:

Let’s start the preparation of Pagáče (Pagache) with Cracklings by preparing the leaven.

1.1. Place into a medium mixing bowl:

¼ cup of bread flour
1 TBSP of confectioners’ sugar
2 TSP of active dry yeasts
½ cup of lukewarm milk

Thoroughly stir with a whisk until fully combined (about 30 seconds).

1.2.

Cover with plastic wrap or plate.

1.3.

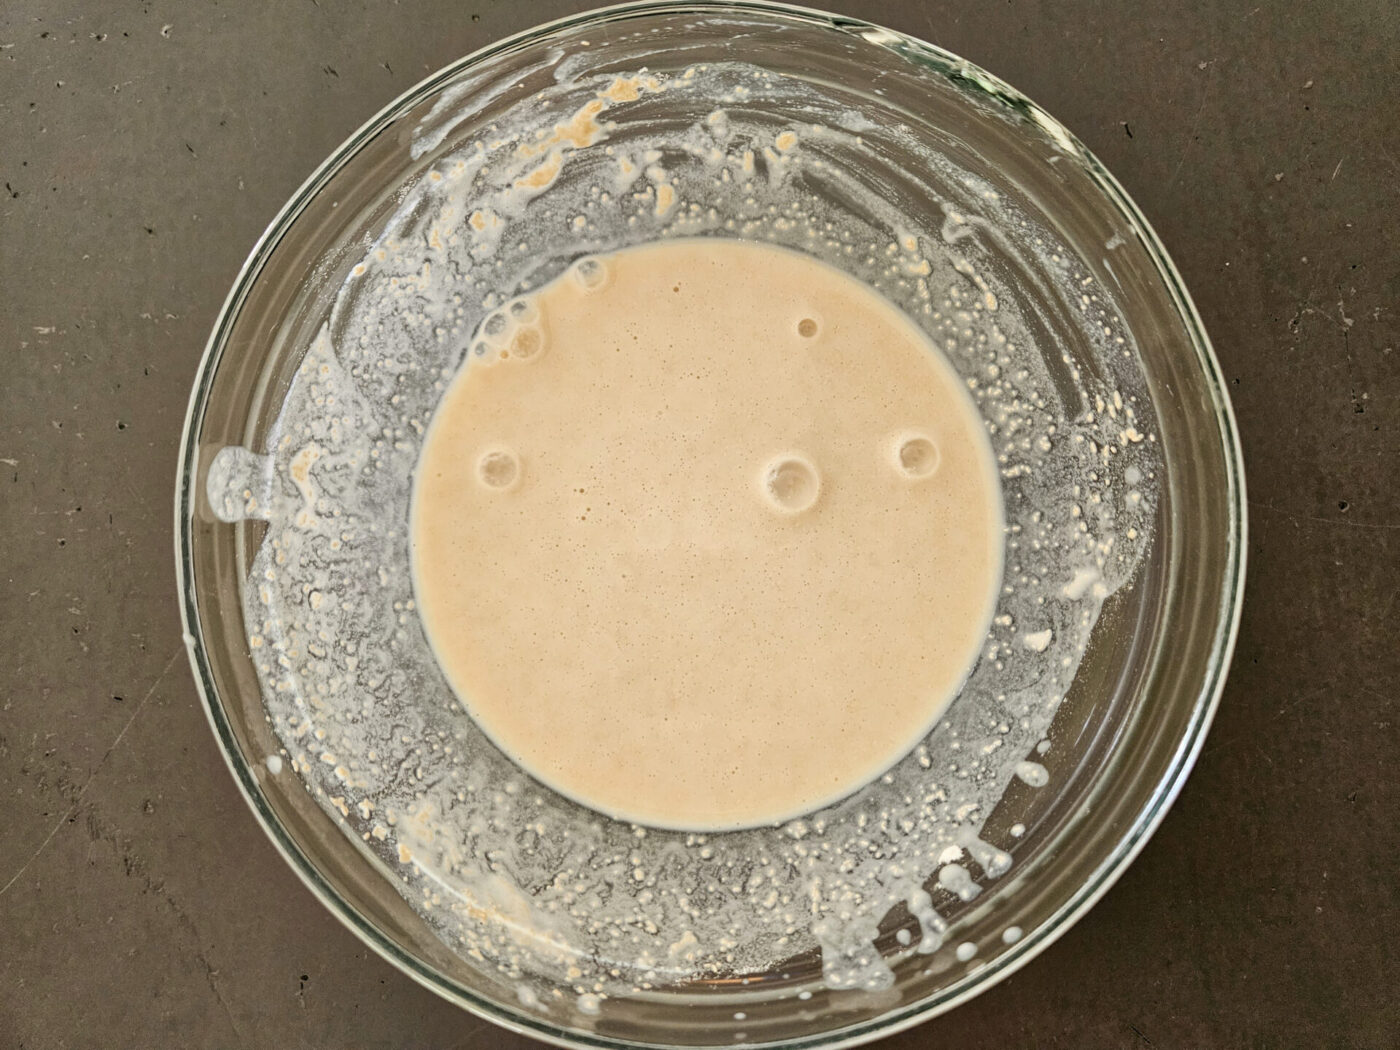
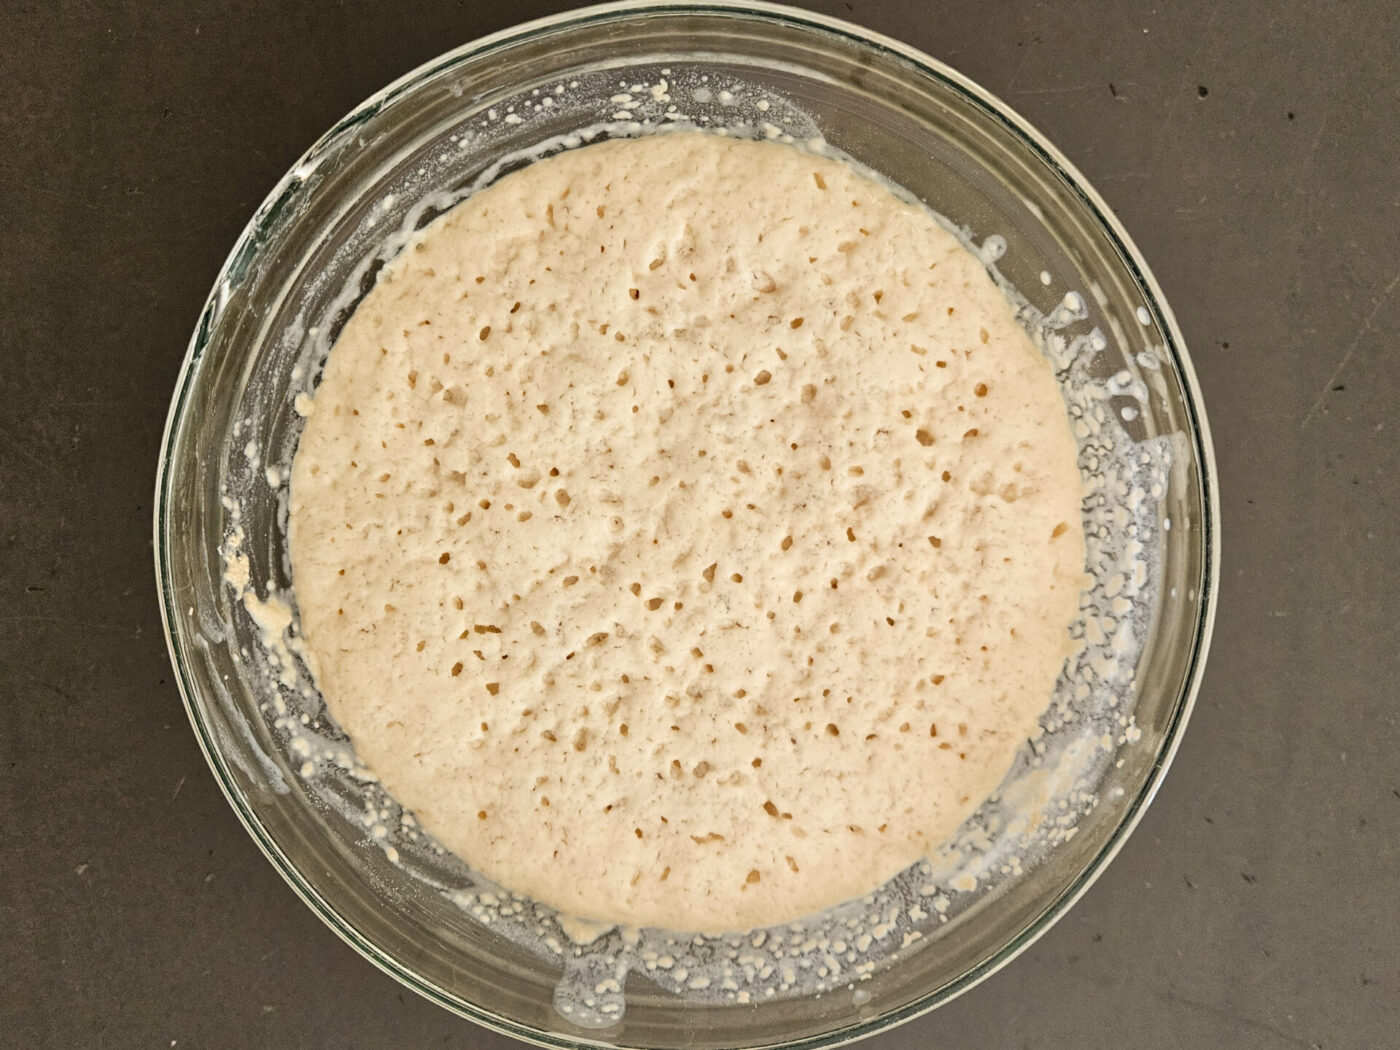
Set aside until it doubles in volume (about 15 – 30 minutes).

Leaven before raisingLeaven after raising

2. Dough:

2.1. Place into a kitchen mixer with a hook attachment:

2 ½ cups of bread flour
½ TSP of whole caraway seeds
½ TSP of salt
½ TSP of ground pepper

And shortly hand stir with a whisk.

2.2. Add:

½ stick of very soft butter
1 egg
½ cup of lukewarm milk
Leaven from step 1

Knead at a slow speed until all ingredients are partially combined.

2.3. Then increase the speed to medium-high and knead until nicely combined (about 1- 2 minutes).

Note:
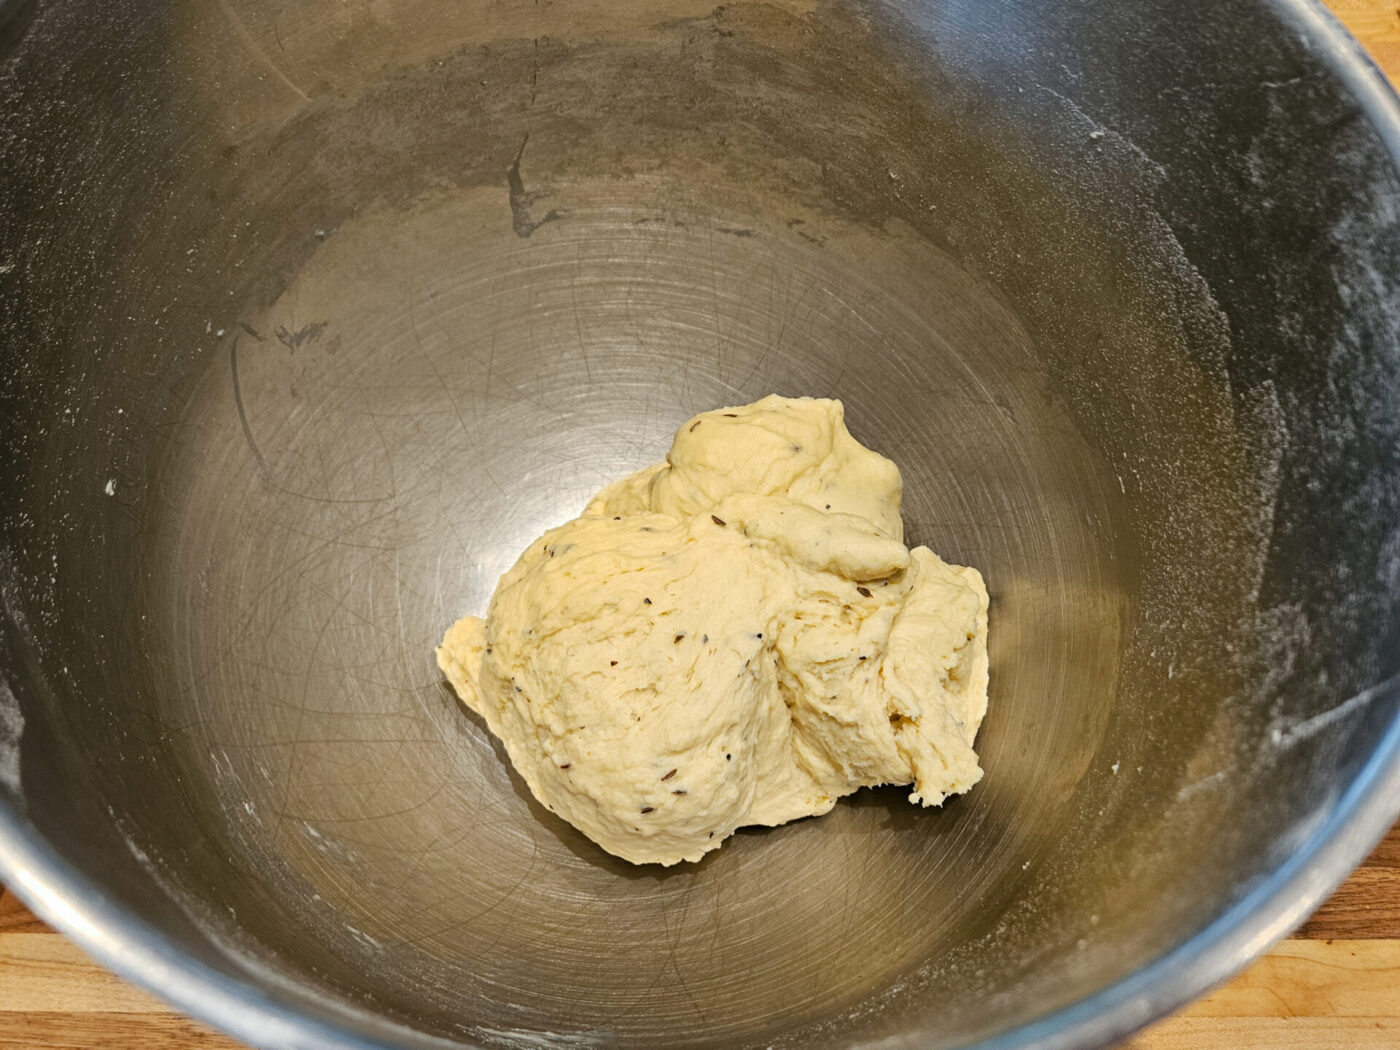
The final dough is slightly sticky and can partially stick to the bottom of the bowl. Use a bowl scraper to release it from the hook and the bottom of the bowl.

3. Rising the Dough:

3.1.

Remove the mixing bowl from the mixer and cover it with plastic wrap or plate.

3.2.

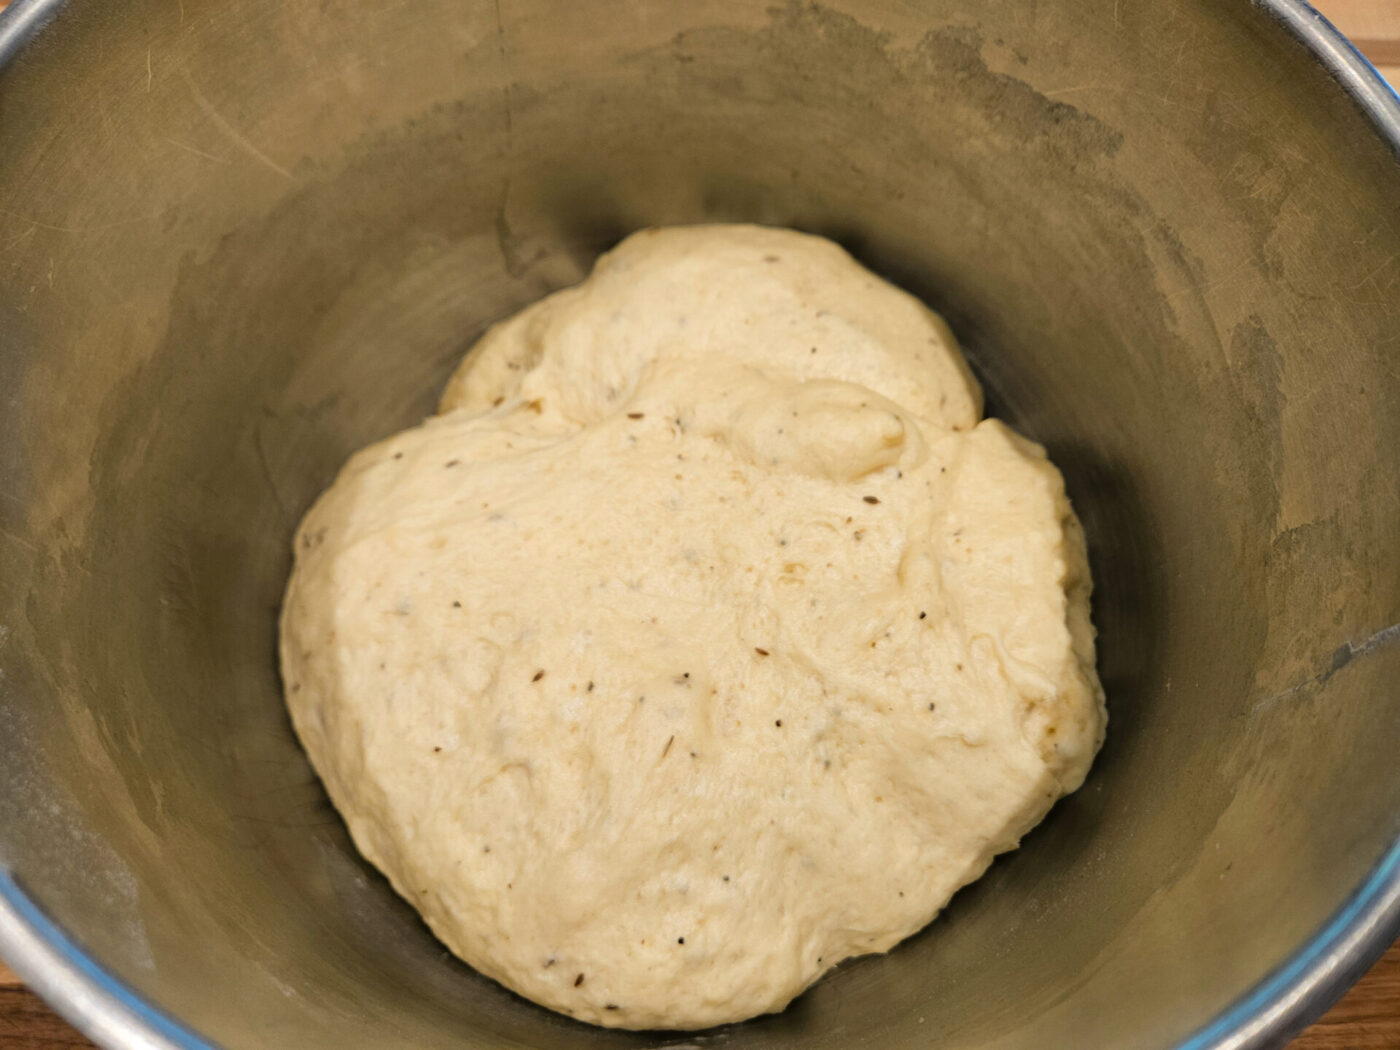
Let it rise in a warm place until it has approximately doubled in size (about 1 – 2 hours).

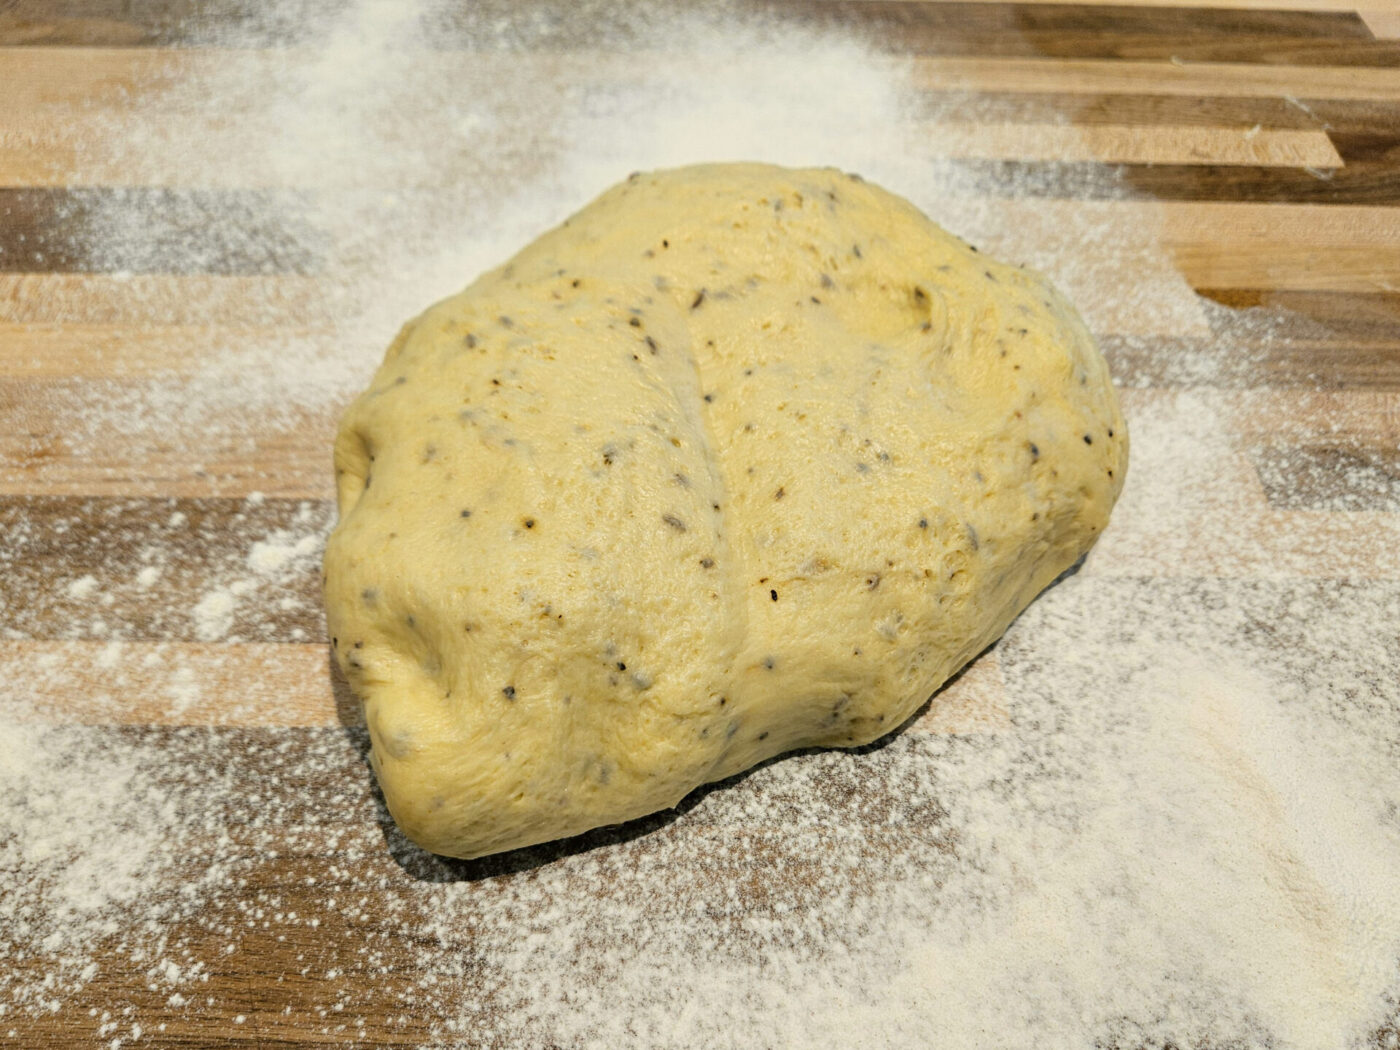
Dough for Pagáče (Pagache) with Cracklings right after formingDough for Pagáče (Pagache) with Cracklings after raising

4. Pork Cracklings Preparation:

4.1.

Prepare cracklings according to the recipe or use store-bought.

4.2.

Then let pork cracklings fully cool or remove from the refrigerator.

4.3.

Place 1 – 2 cups of pork cracklings into the kitchen food processor and process them into a paste.

4.4.

Place aside for the later steps.

Pork cracklings Škvarky are usually served cooled and are absolutely delicious! They can be used as snacks (eat them as snacks, like snacking on potato chips), appetizers, for making Pork Crackling sspread, or even for preparation of the best version of Slovak pastry called “Pagace”. They are made from pork back fat (read more about this ingredient below) that is rendered down in a particular but very easy way to delicious meaty like a treat. The delicious side effect of this effort is also perfect pork lard, which effortlessly appears at the end of cooking. Pork lard Sádlo is perfect for many things, and it can also be used as a fine layer, like spread on bread sprinkled with finely chopped onion and salt. But the best usage is for cooking – it is a perfect fat for sauteing or frying thanks to its high smoking point. Another great option is to use it as a shortening in your baked goods. It is nutritiously very rich, and it gives your food a lovely flavor. With this recipe, you will get both pork cracklings and lard with minimum effort.

Tom the Chef Tom the Chef Founder

5. Laminate Pagáče Dough Phase I:

Note: Work on a lightly floured surface.

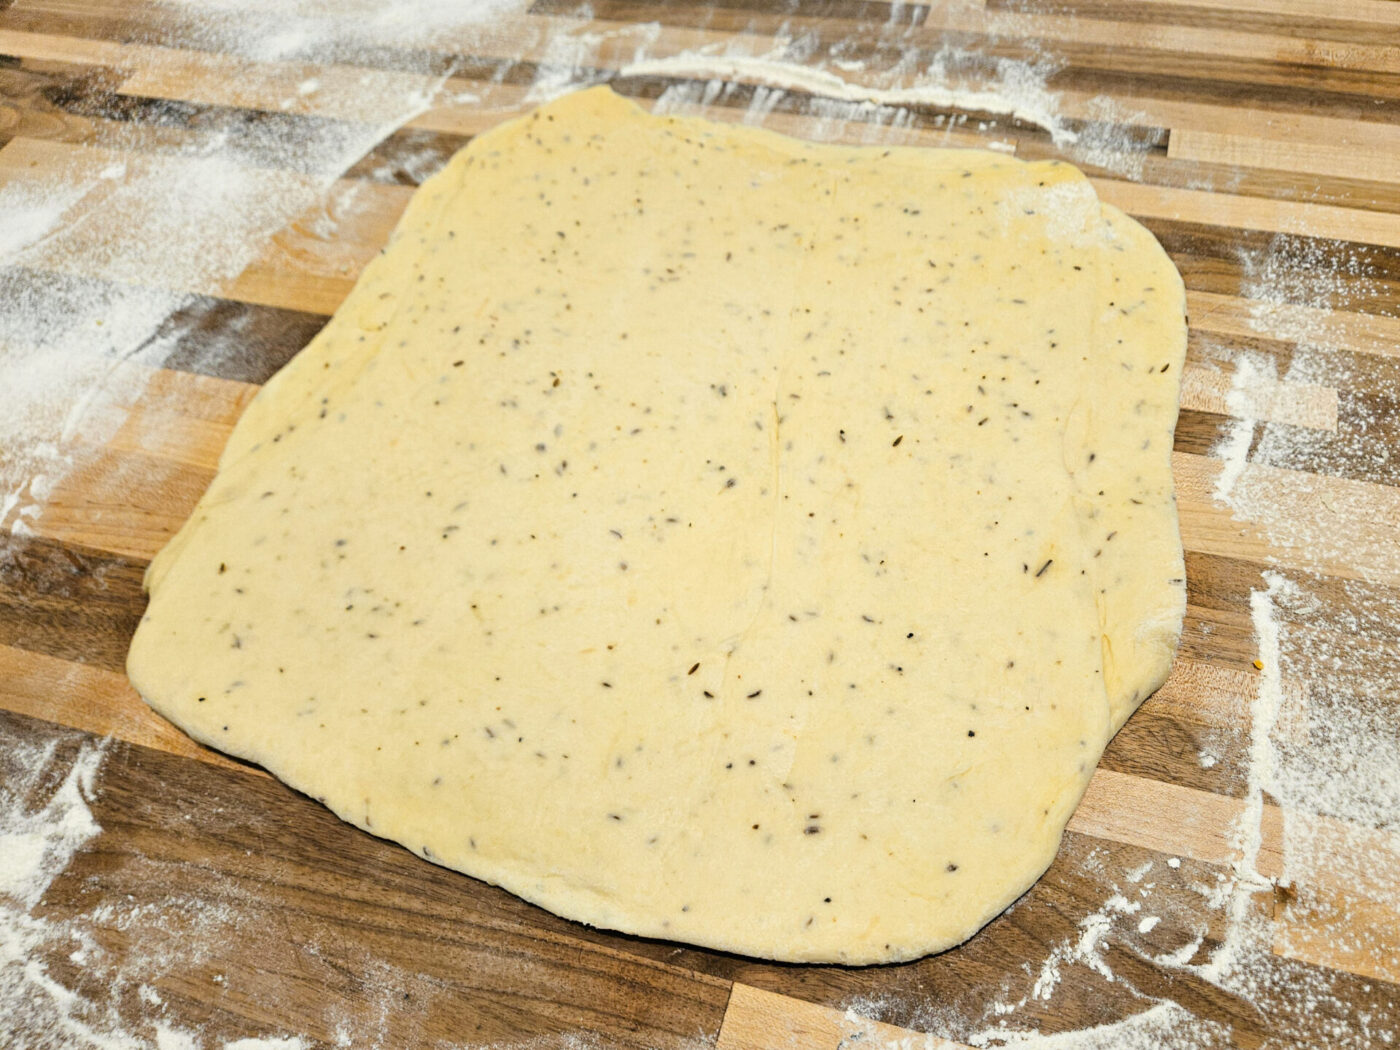
5.1.

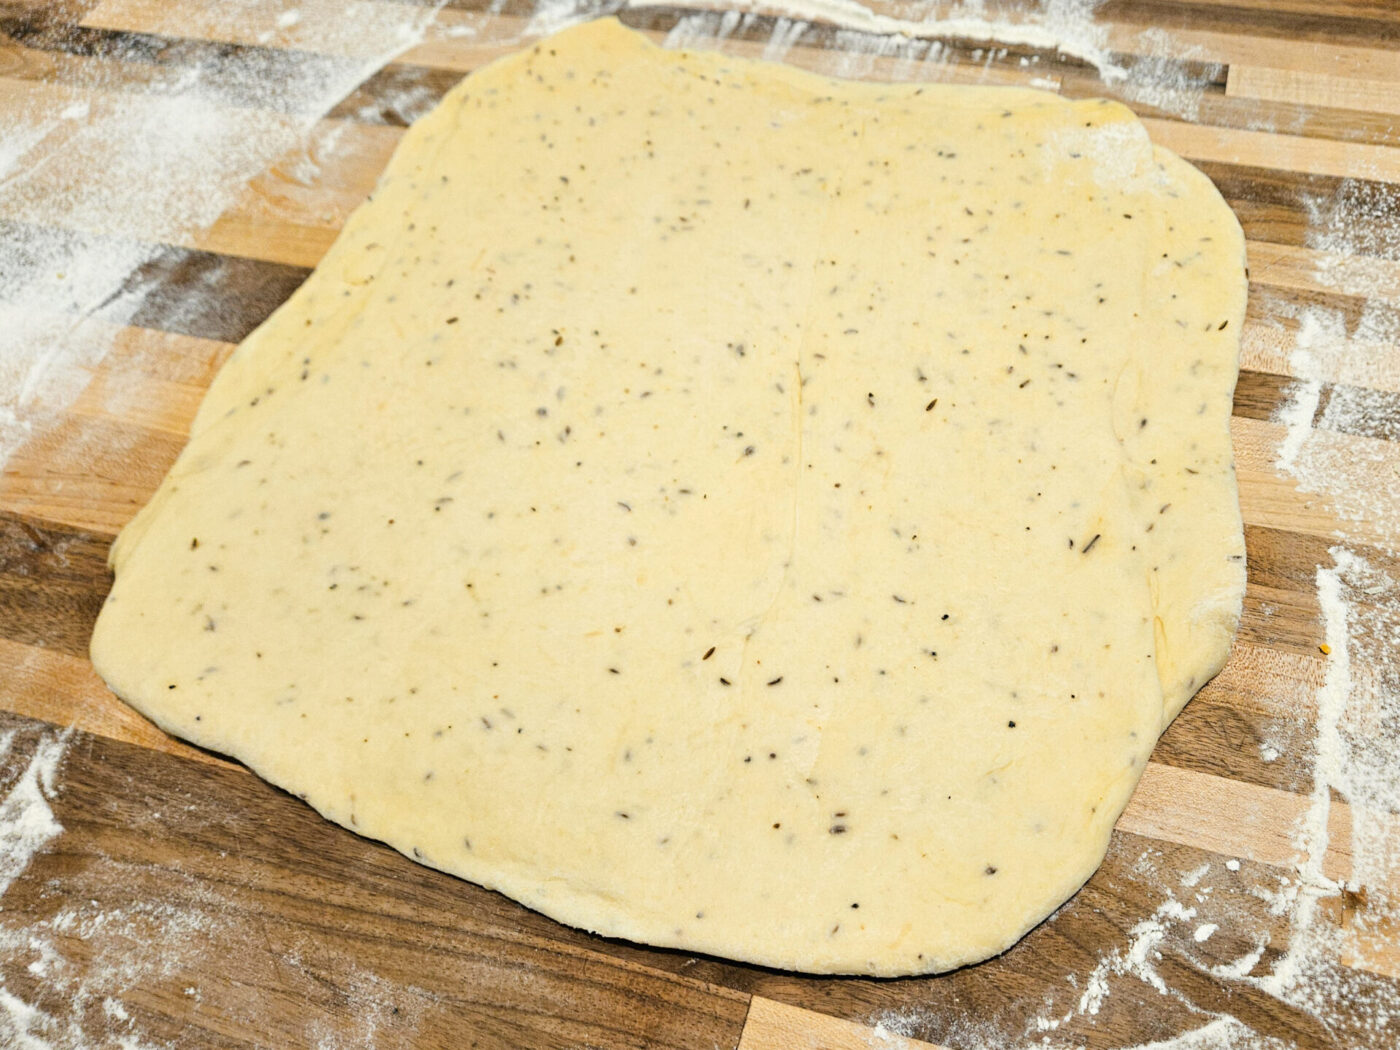
Using a rolling pin, roll it into a square shape (it can be partially round) until you reach the desired thickness of about 1/4 inch.

forming of pagace with cheese -- steps-01forming of pagace with cheese -- steps-11

5.2.

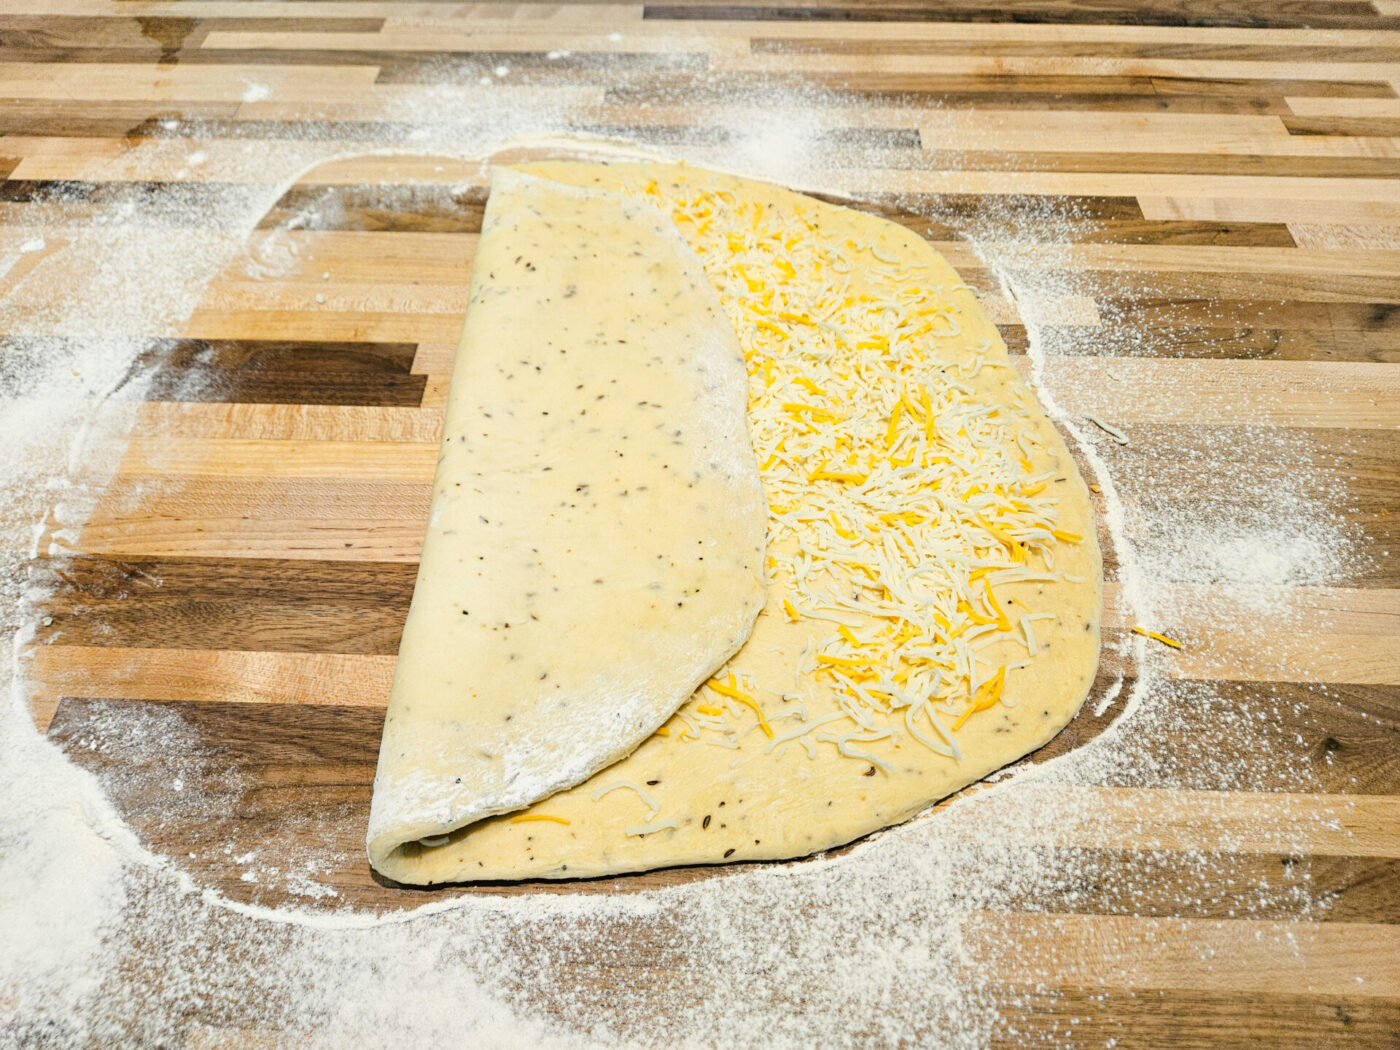
Spread the crackling paste evenly over the entire surface of the dough.

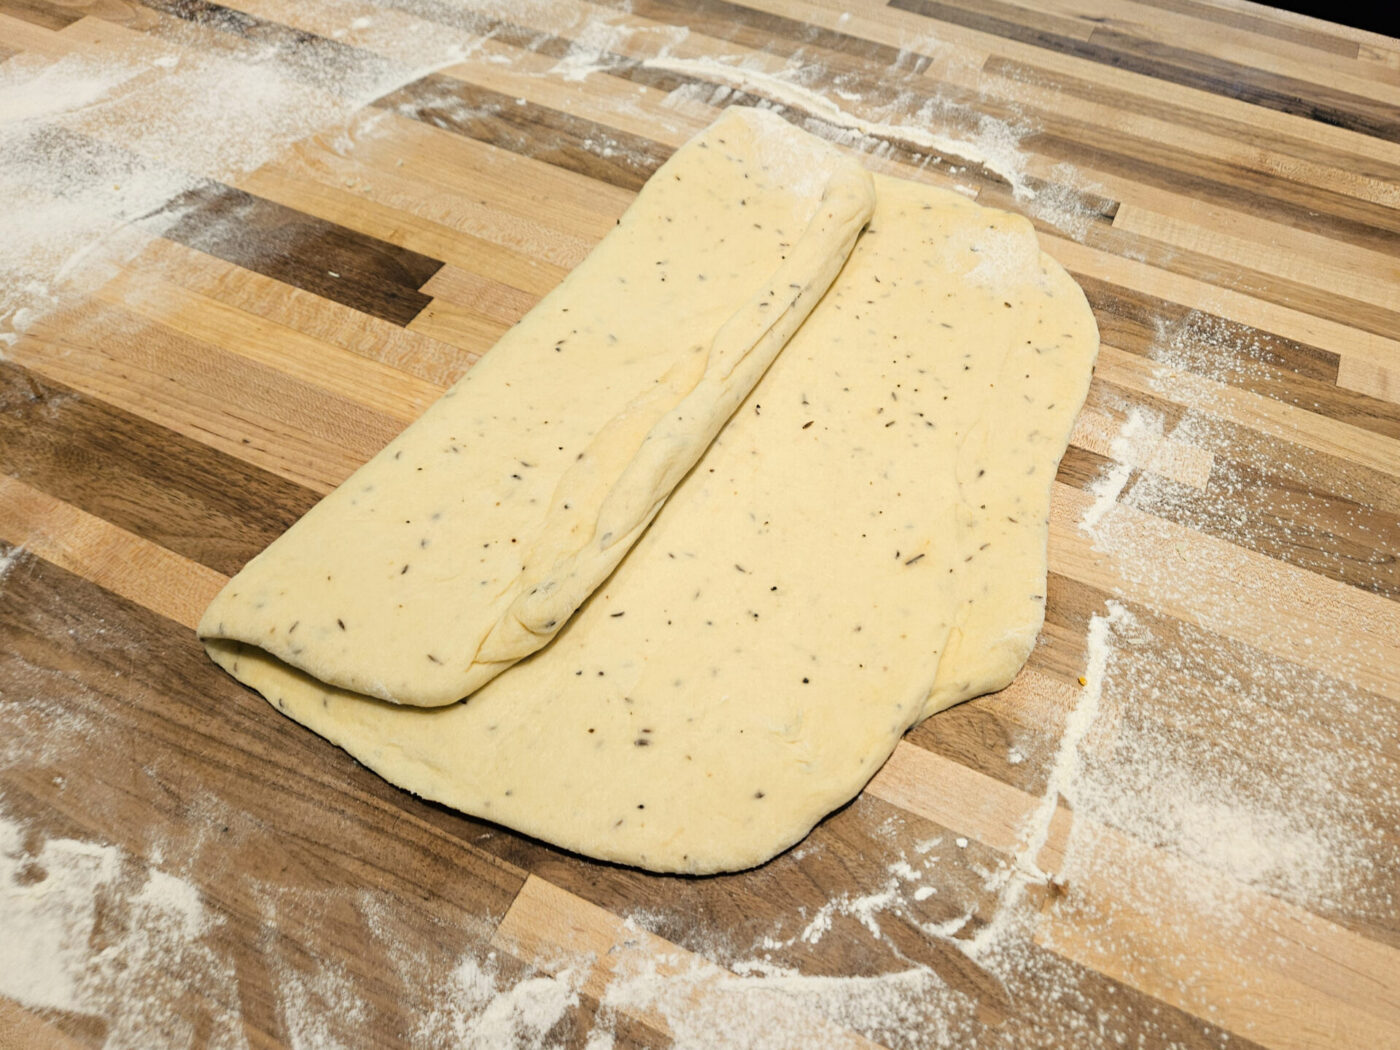
5.3.

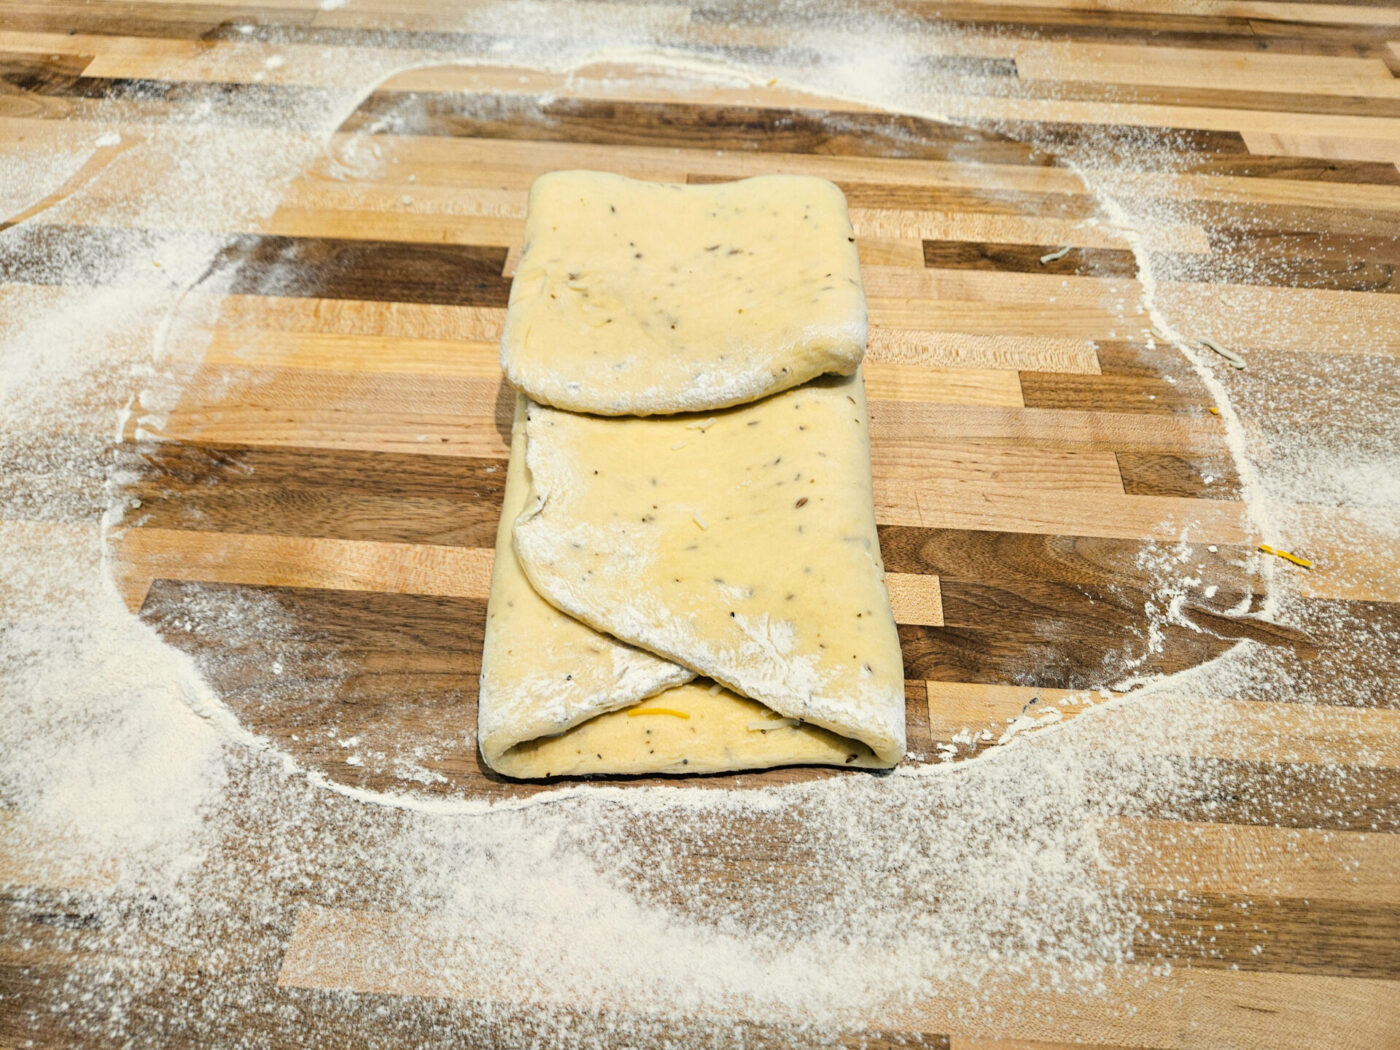
Fold the dough into thirds – bring one-third over the middle third, then fold the second third over the first.

forming of pagace doughforming of pagace dough

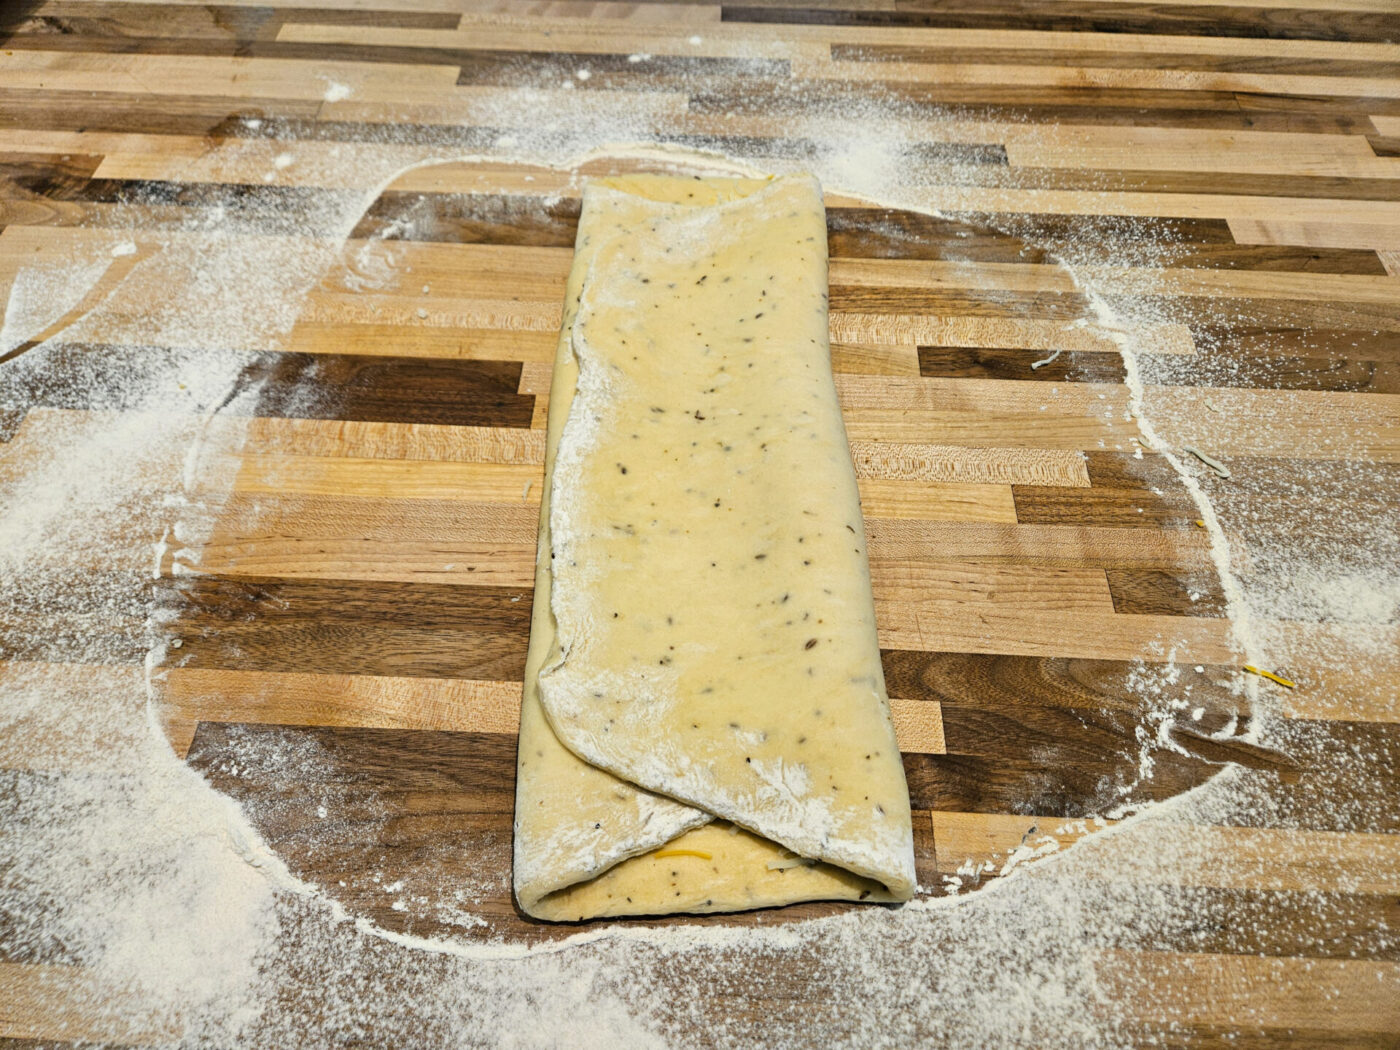
5.4.

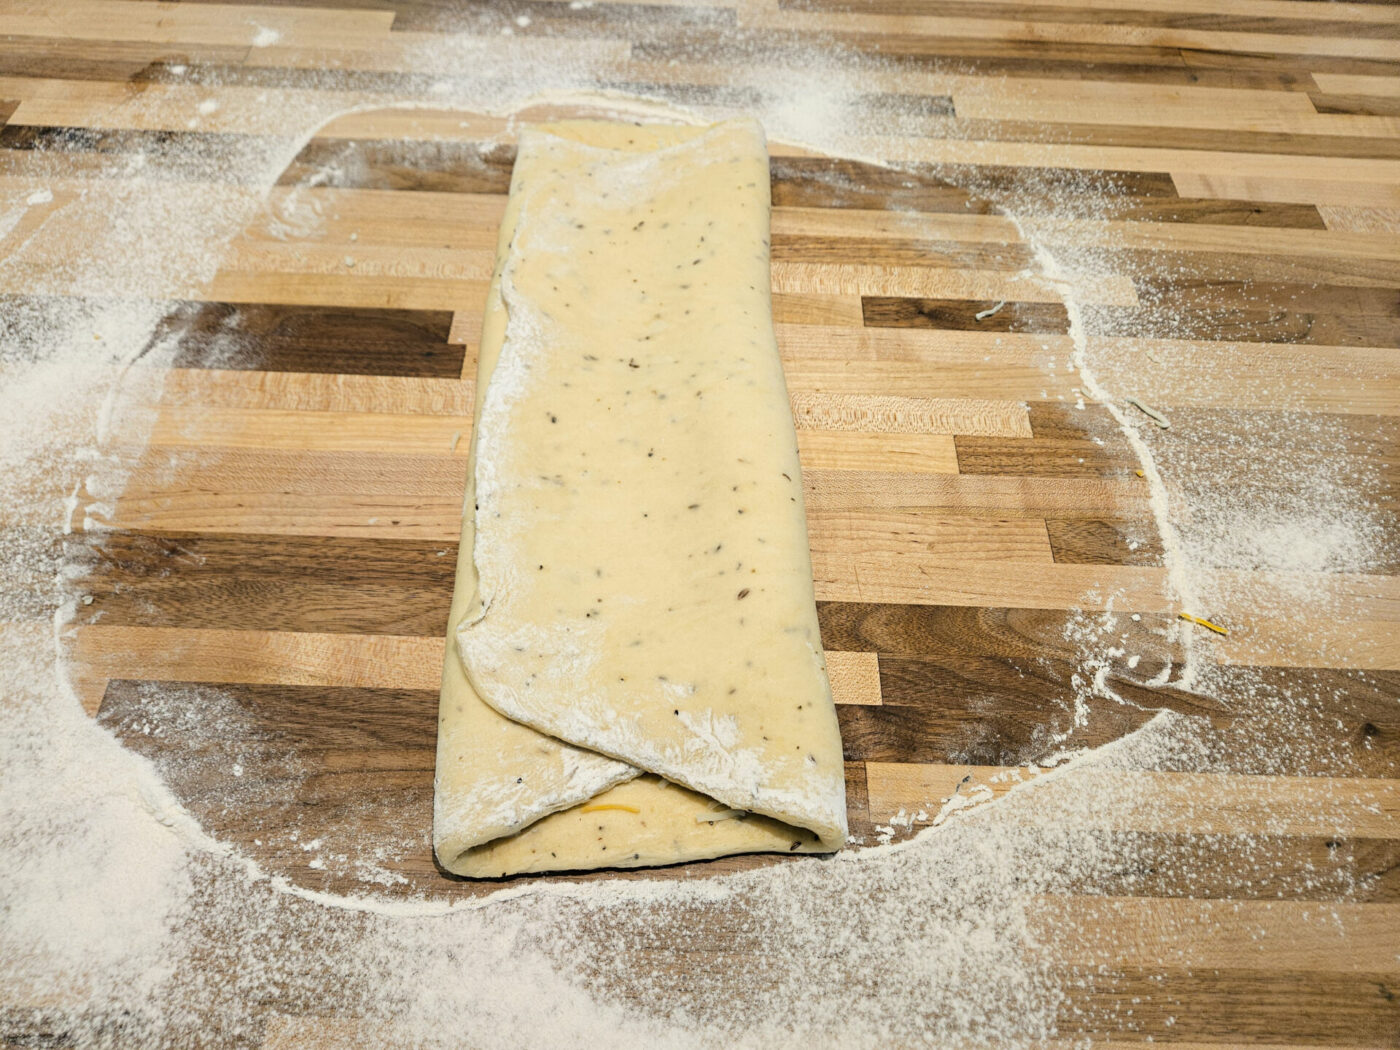
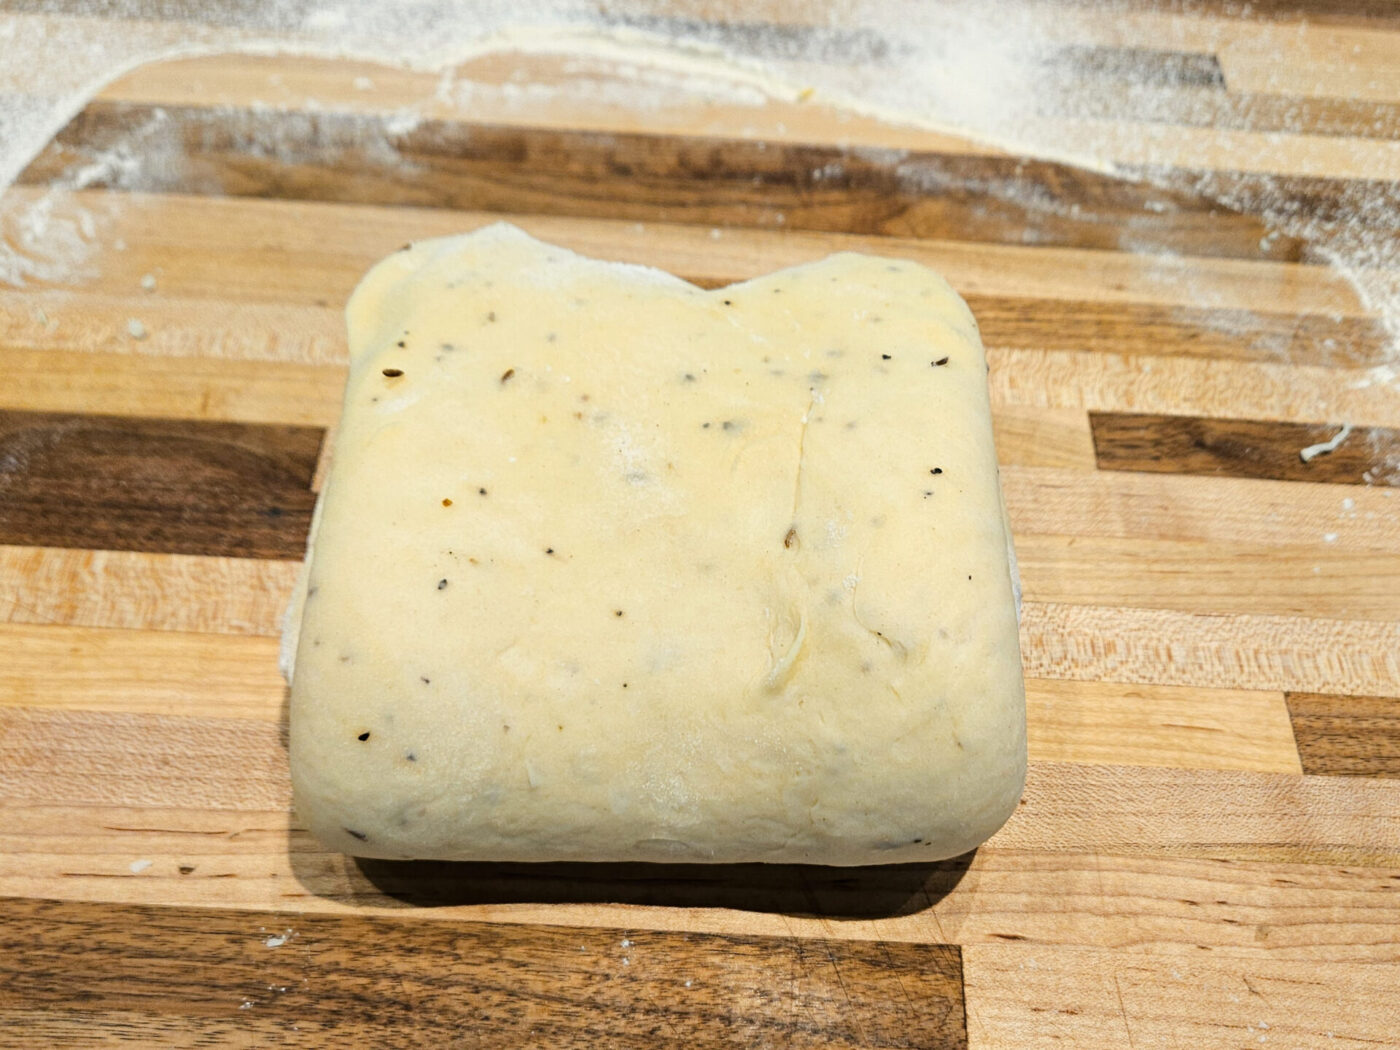
From the other side, fold it again into thirds the same way.

forming of pagace doughforming of pagace dough

5.5.

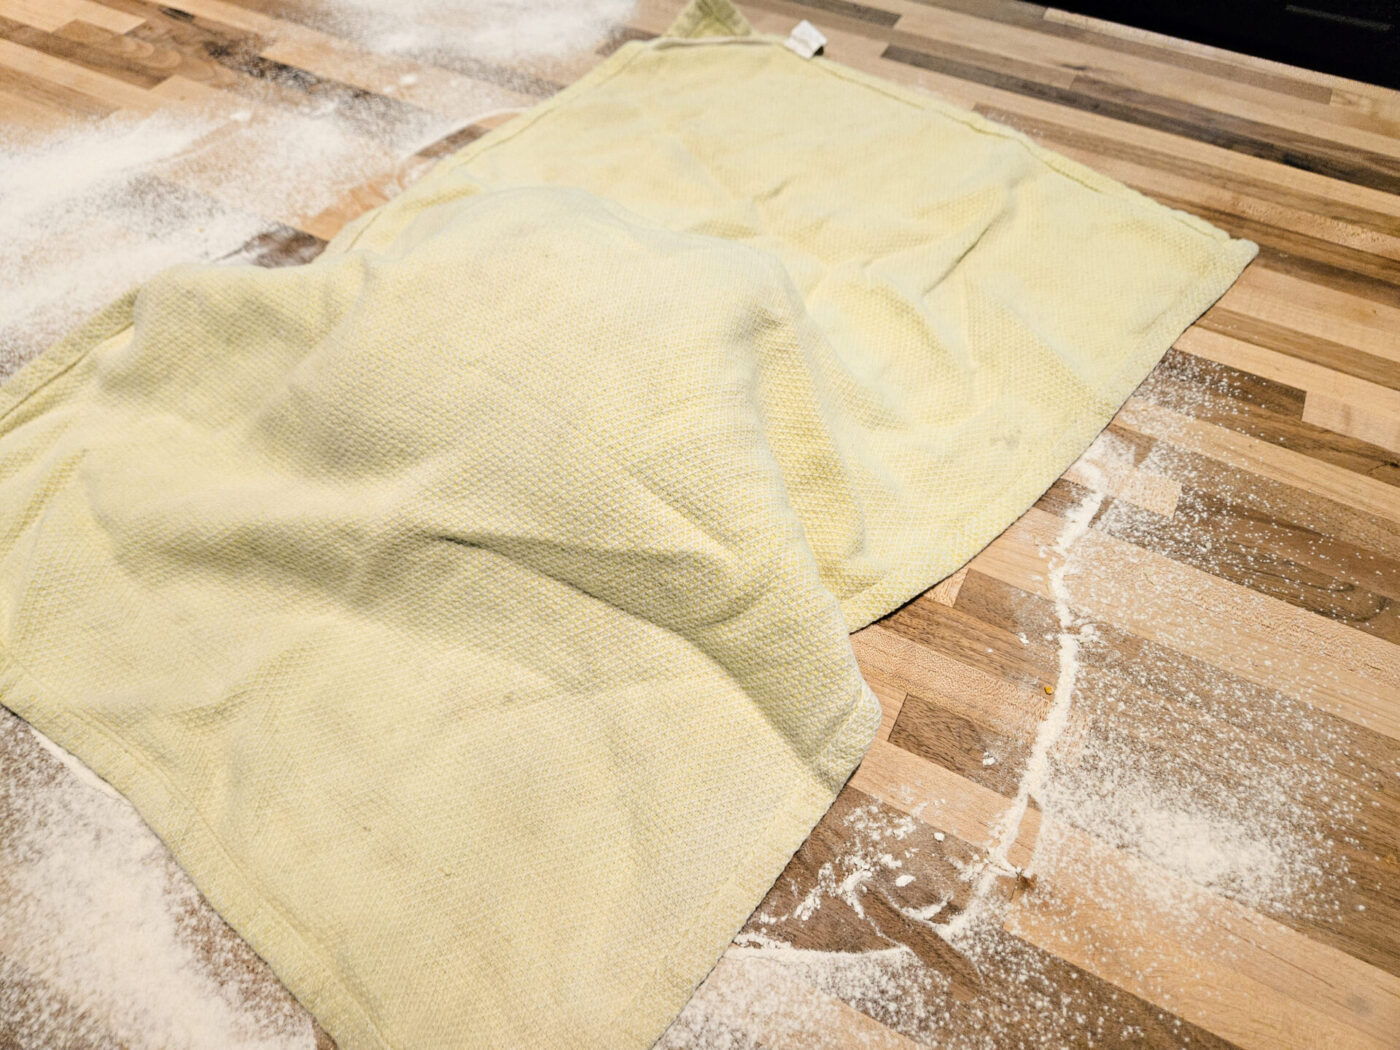
Cover with a kitchen towel and let it rest for about 15 minutes.

forming of pagace doughforming of pagace dough

6. Laminate Pagáče Dough Phase II:

Note: Work on a lightly floured surface.

6.1.

Using a rolling pin, roll it into a square shape (it can be partially round) until you reach the desired thickness of about 1/2 inch.

forming of pagace dough phase IIforming of pagace dough phase II

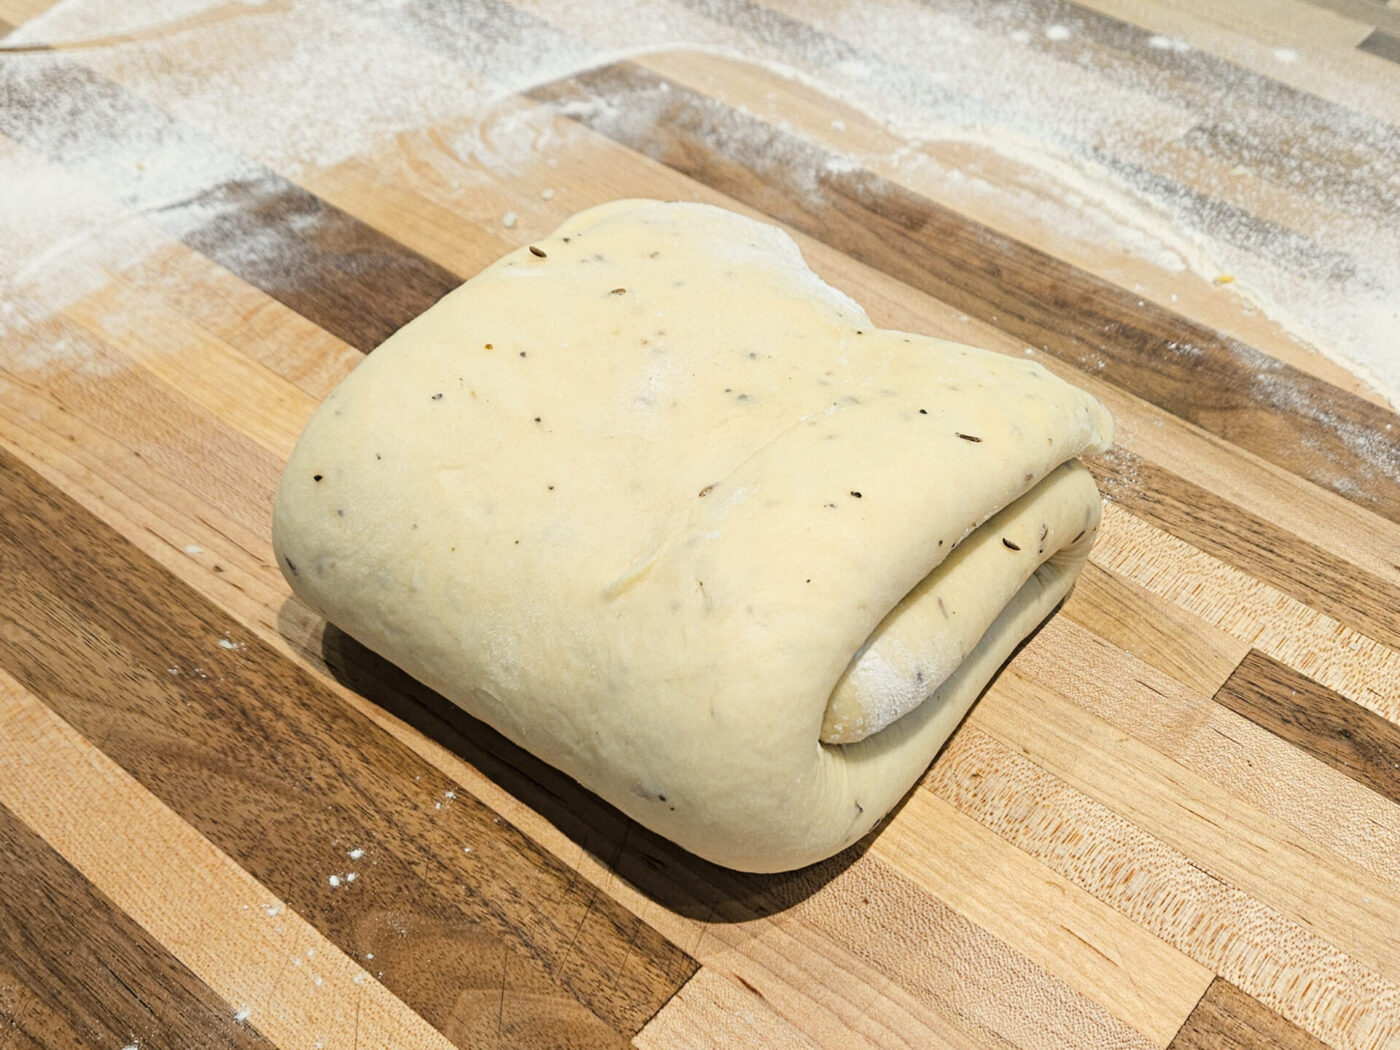
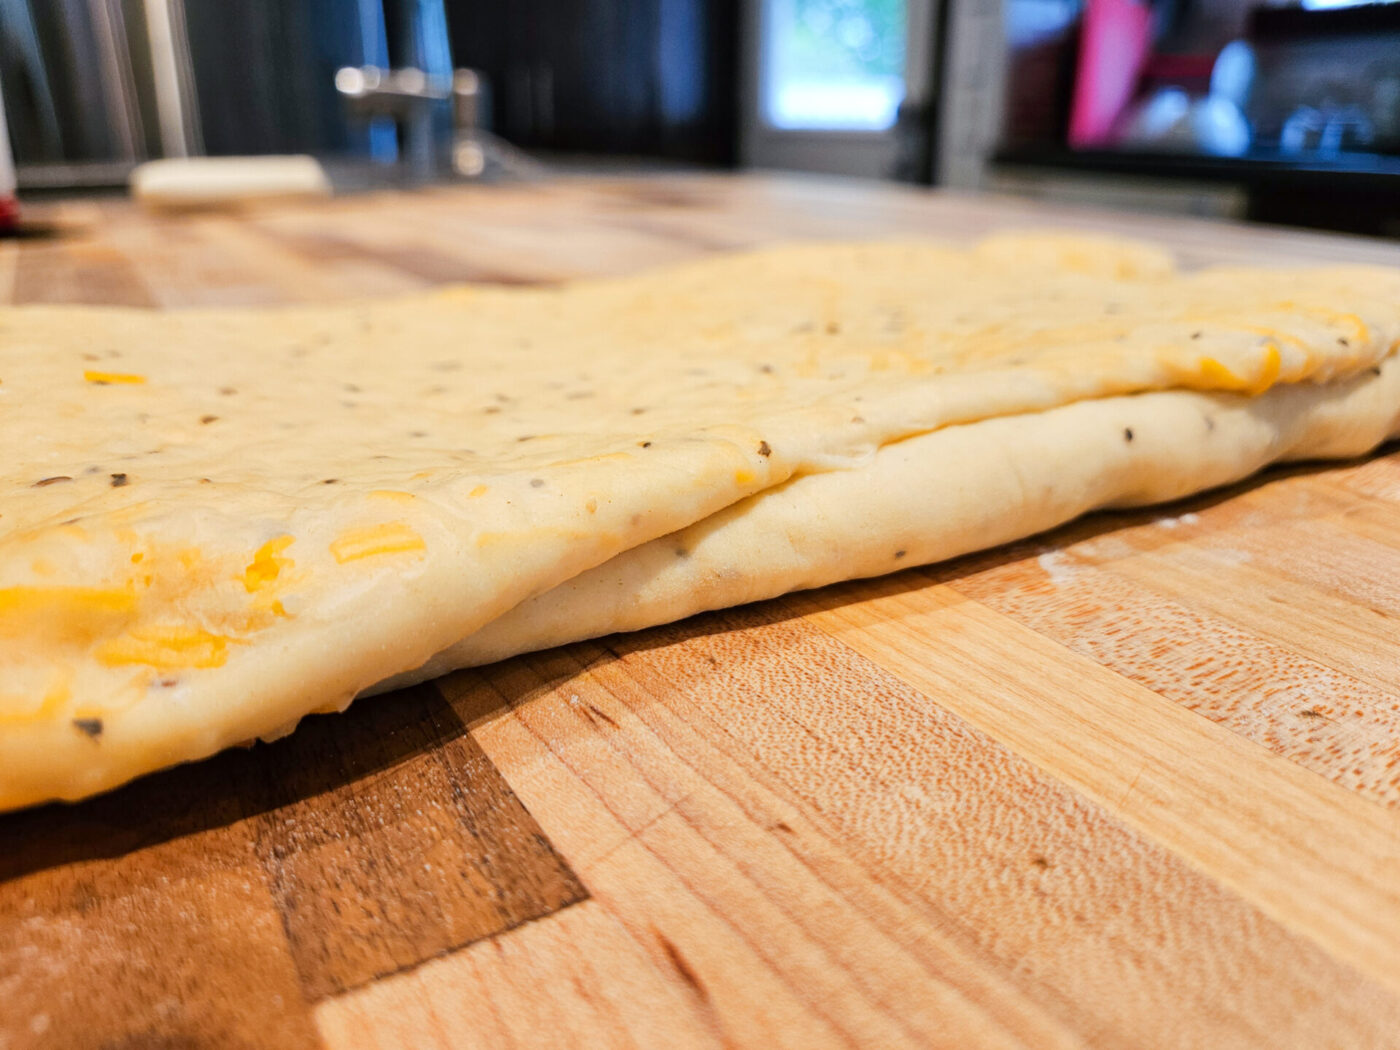
6.2. Fold the dough into thirds – bring one-third over the middle third, then fold the second third over the first.

Important:

Do not fold further in this step.

forming of pagace dough phase IIforming of pagace dough phase II

6.3.

Cover with a kitchen towel and let it rest for about 15 minutes.

7. Form and Proof Pagáče Pagache with Cracklings:

7.1.

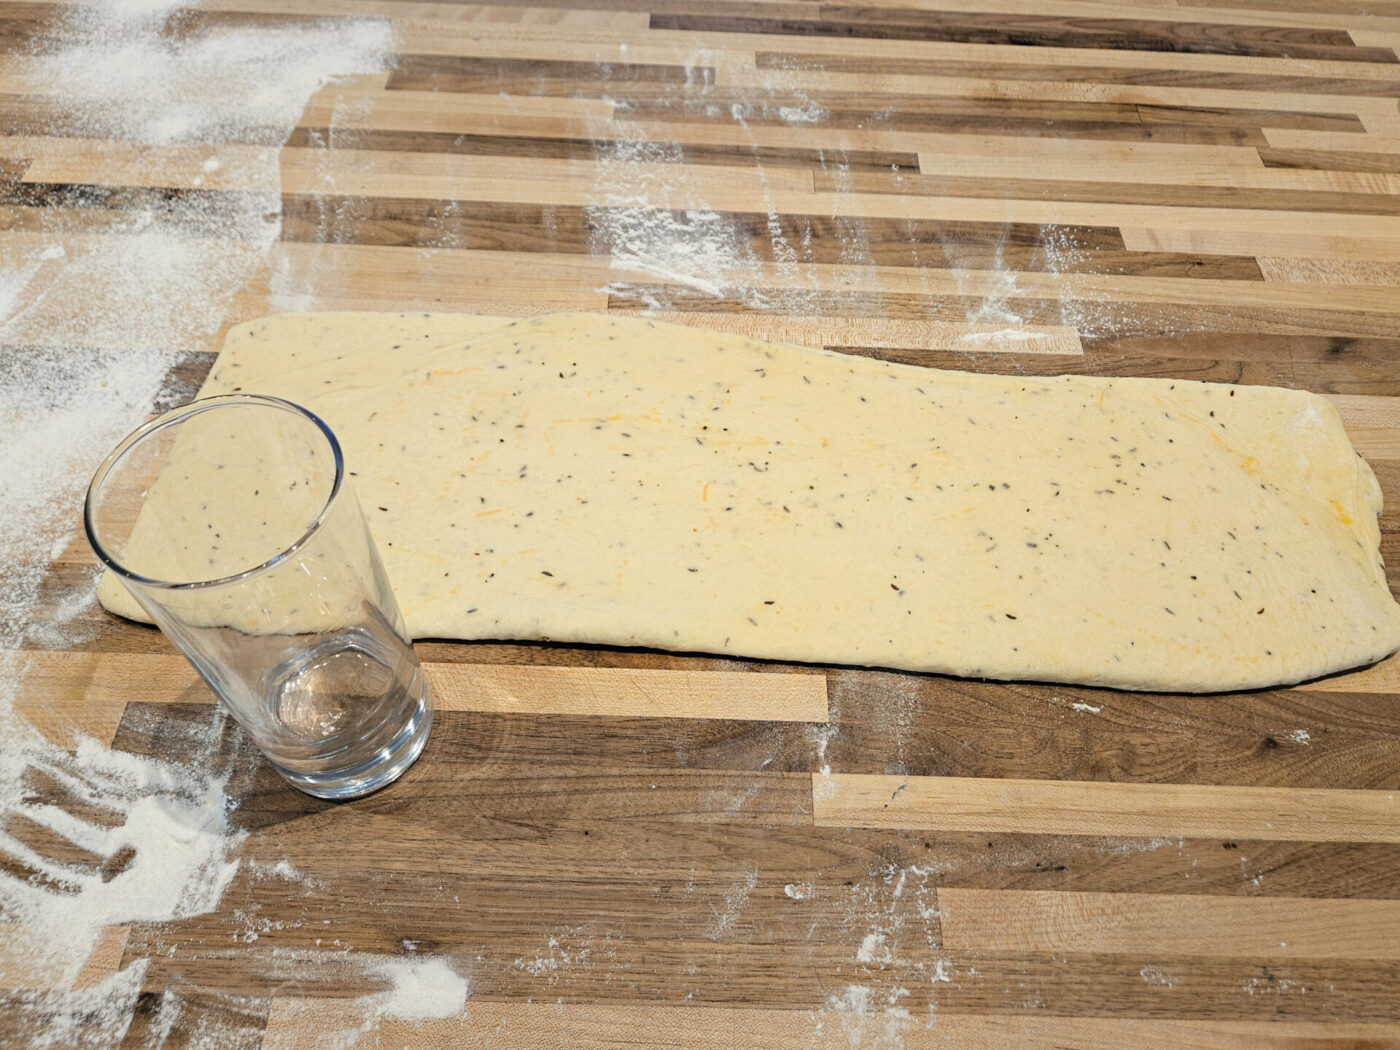
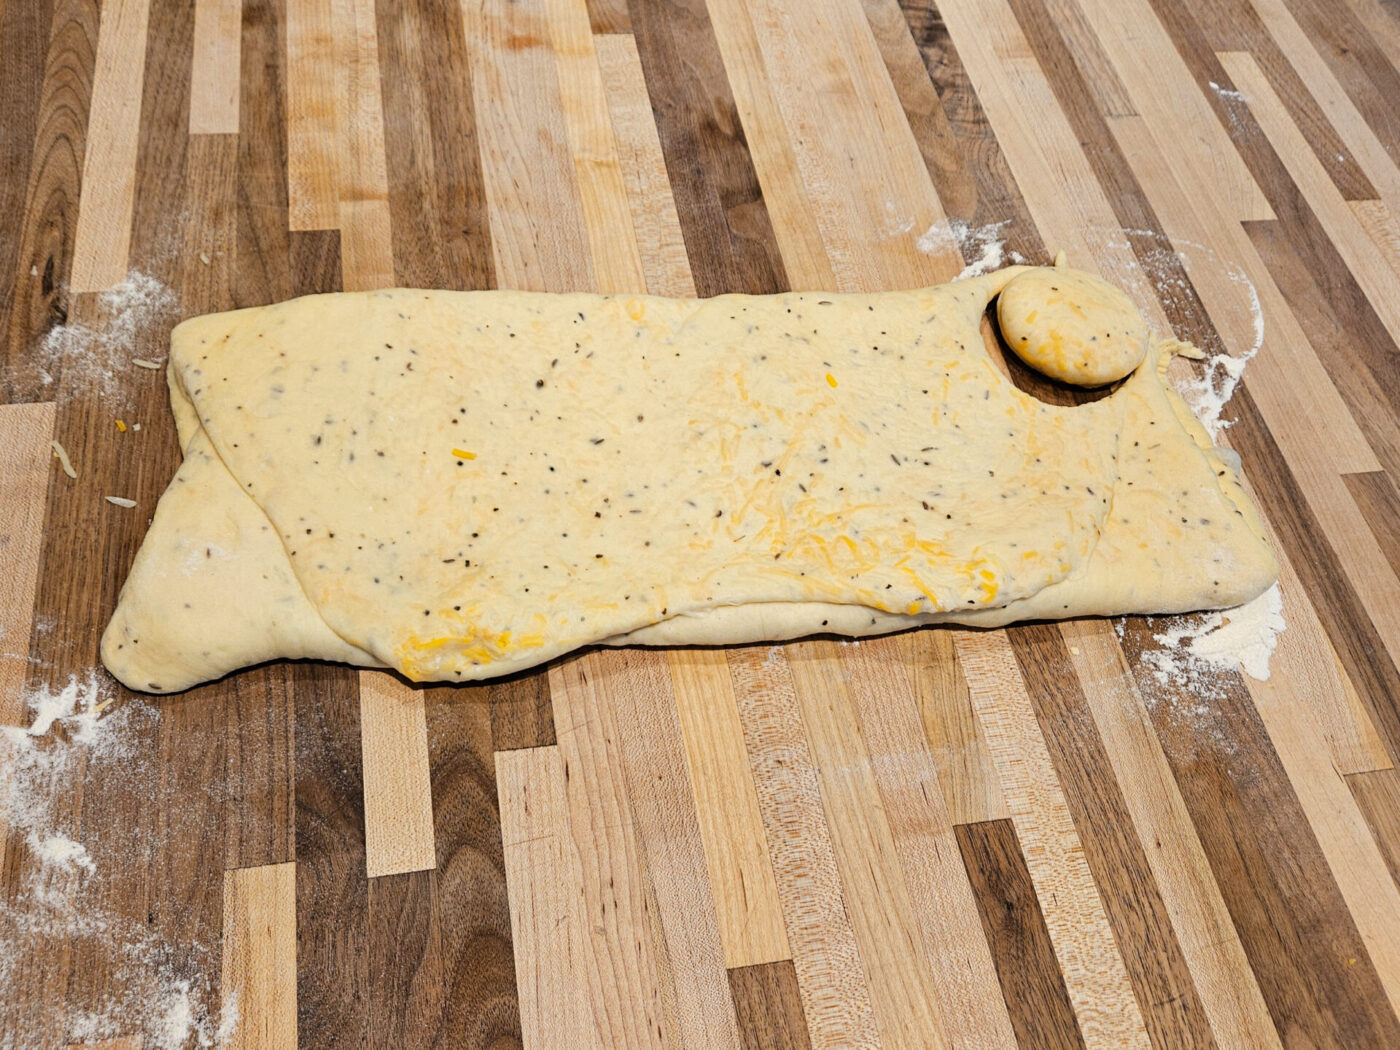
Using a rolling pin, roll it into a desired thickness of about 1/2 inch.

Form and Proof PagáčeForm and Proof Pagáče

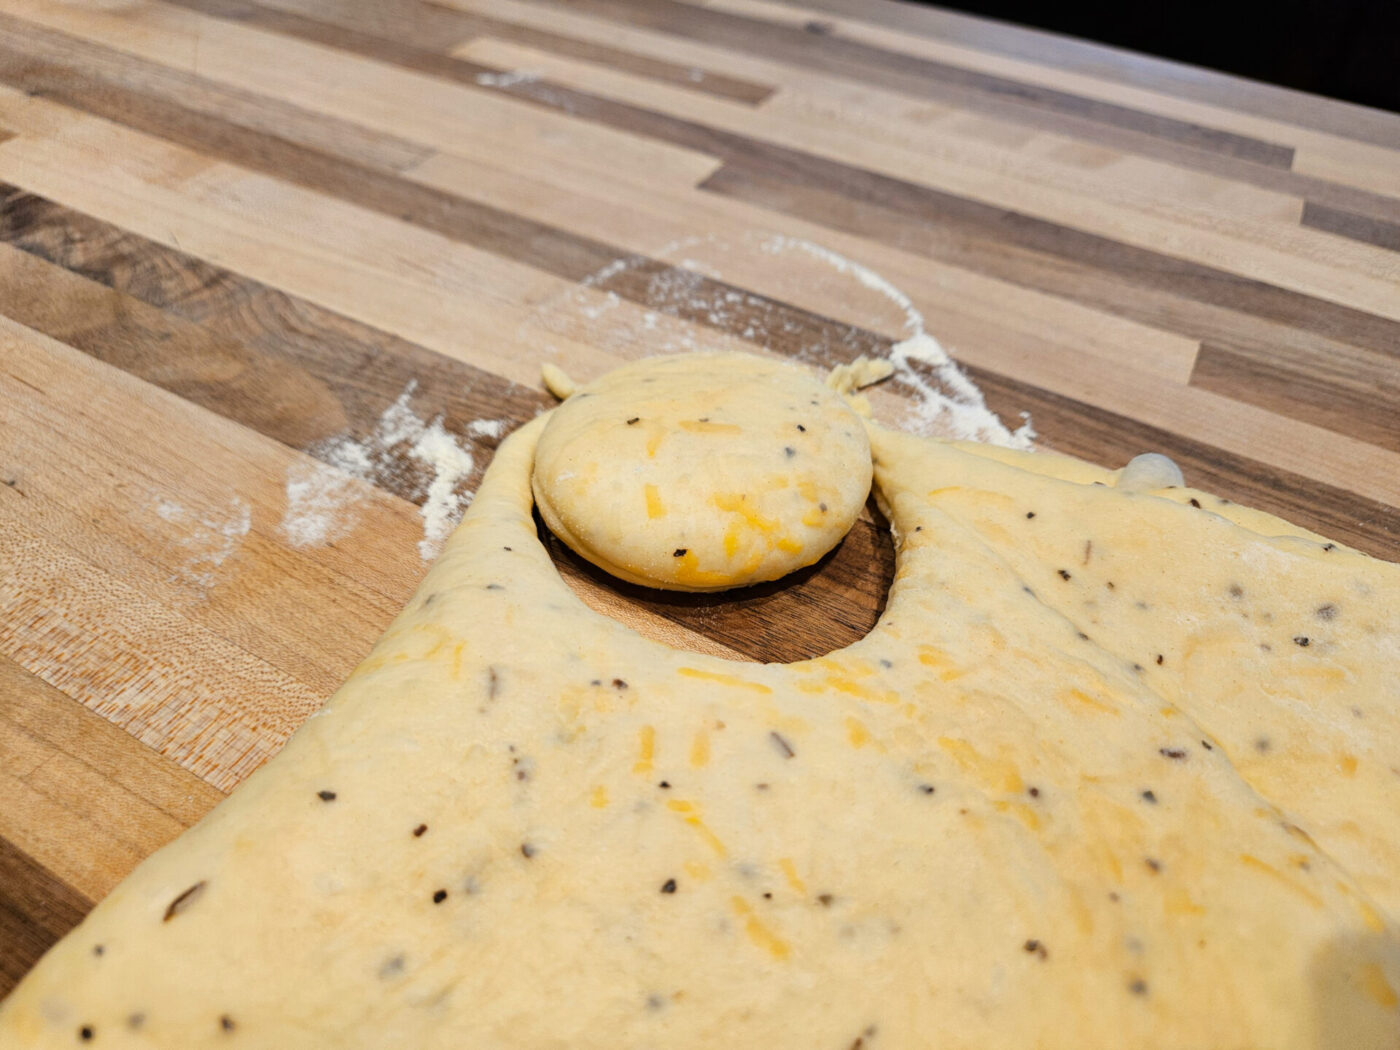
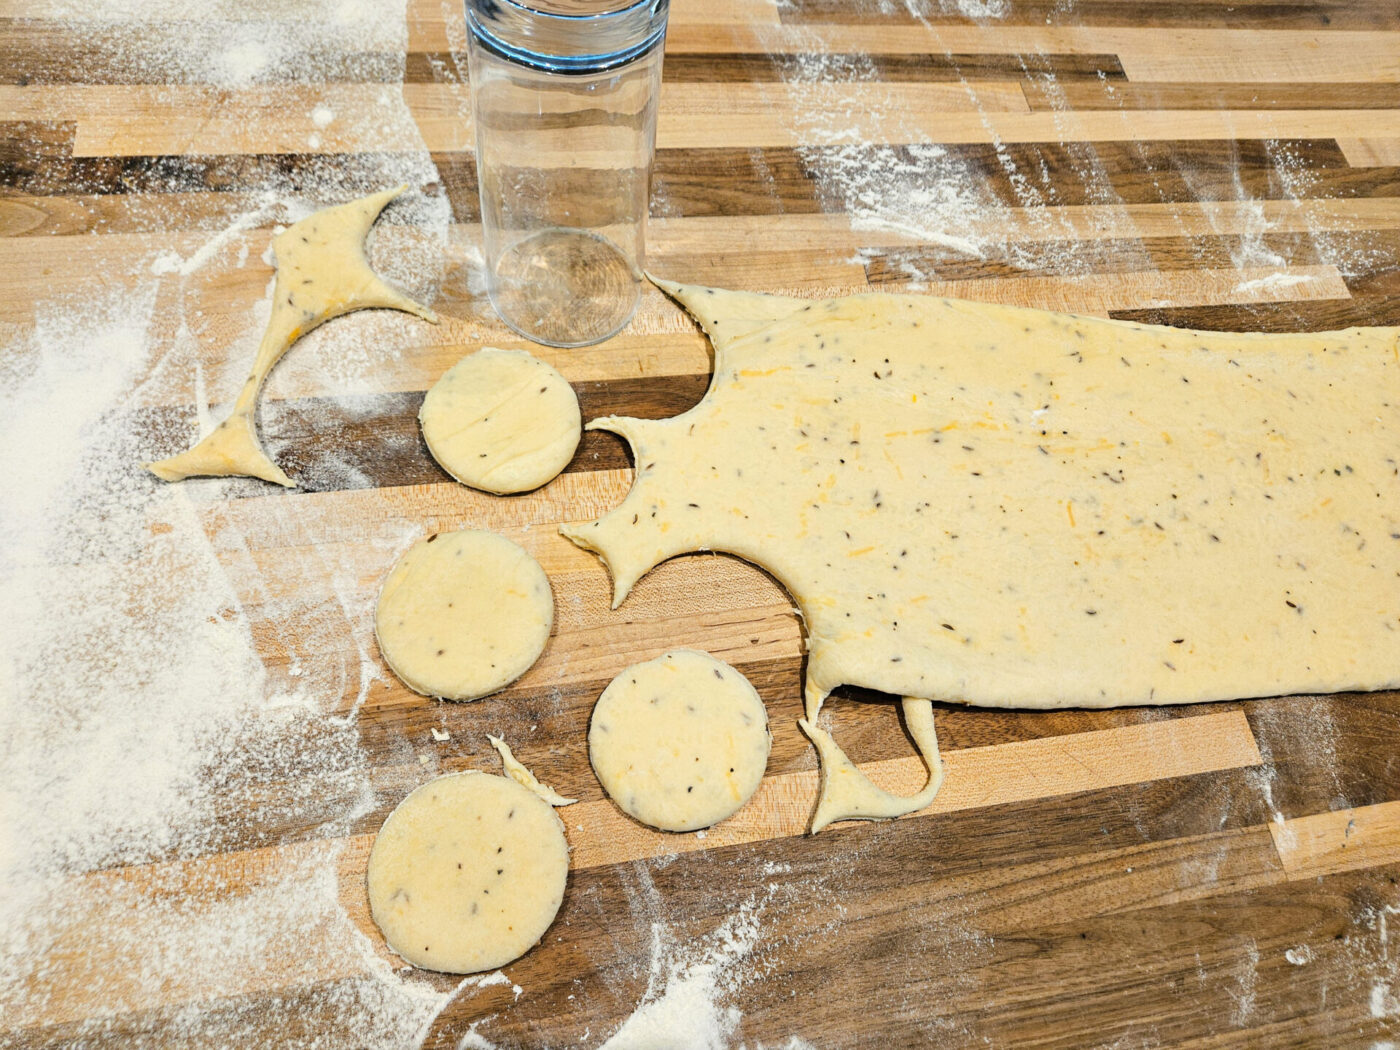
7.2. Using a cookie cutter, cut out individual pagáče and place them directly on the baking sheet.

Tips:

  • It’s best to use a round cookie cutter with a diameter of about 2 inches, but you can experiment with other sizes too.
  • If you don’t have a round cookie cutter, use a glass, preferably with thin walls.
  • After you cut all the round shapes, place the remaining unused dough on the baking sheet – it won’t be as pretty as the round pagáče, but it will taste equally delicious and give you a nice snack before serving the pagáče.
Form and Proof Pagáče Pagache with Cracklings:Form and Proof PagáčeForm and Proof PagáčeForm and Proof Pagáče

7.3.

Place the baking sheet aside and let the pagáče proof (rest) for about 15 minutes at room temperature.

8. Final Preparation & Baking:

8.1.

Set oven to preheat to 350°F.

8.2.

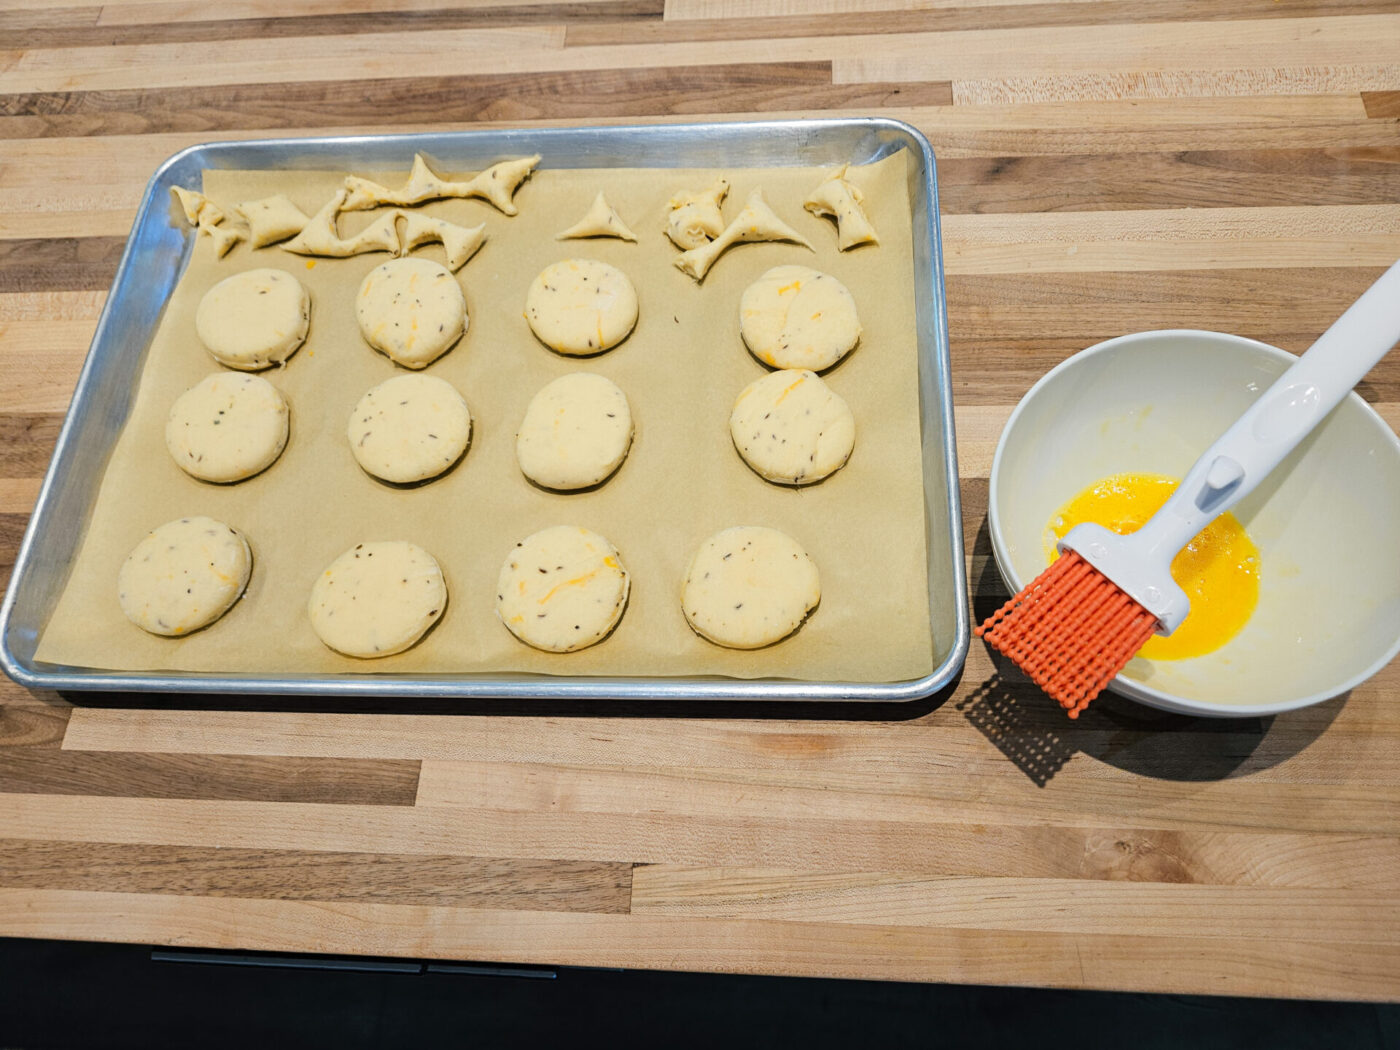
Crack one egg into the mixing bowl and then whisk thoroughly.

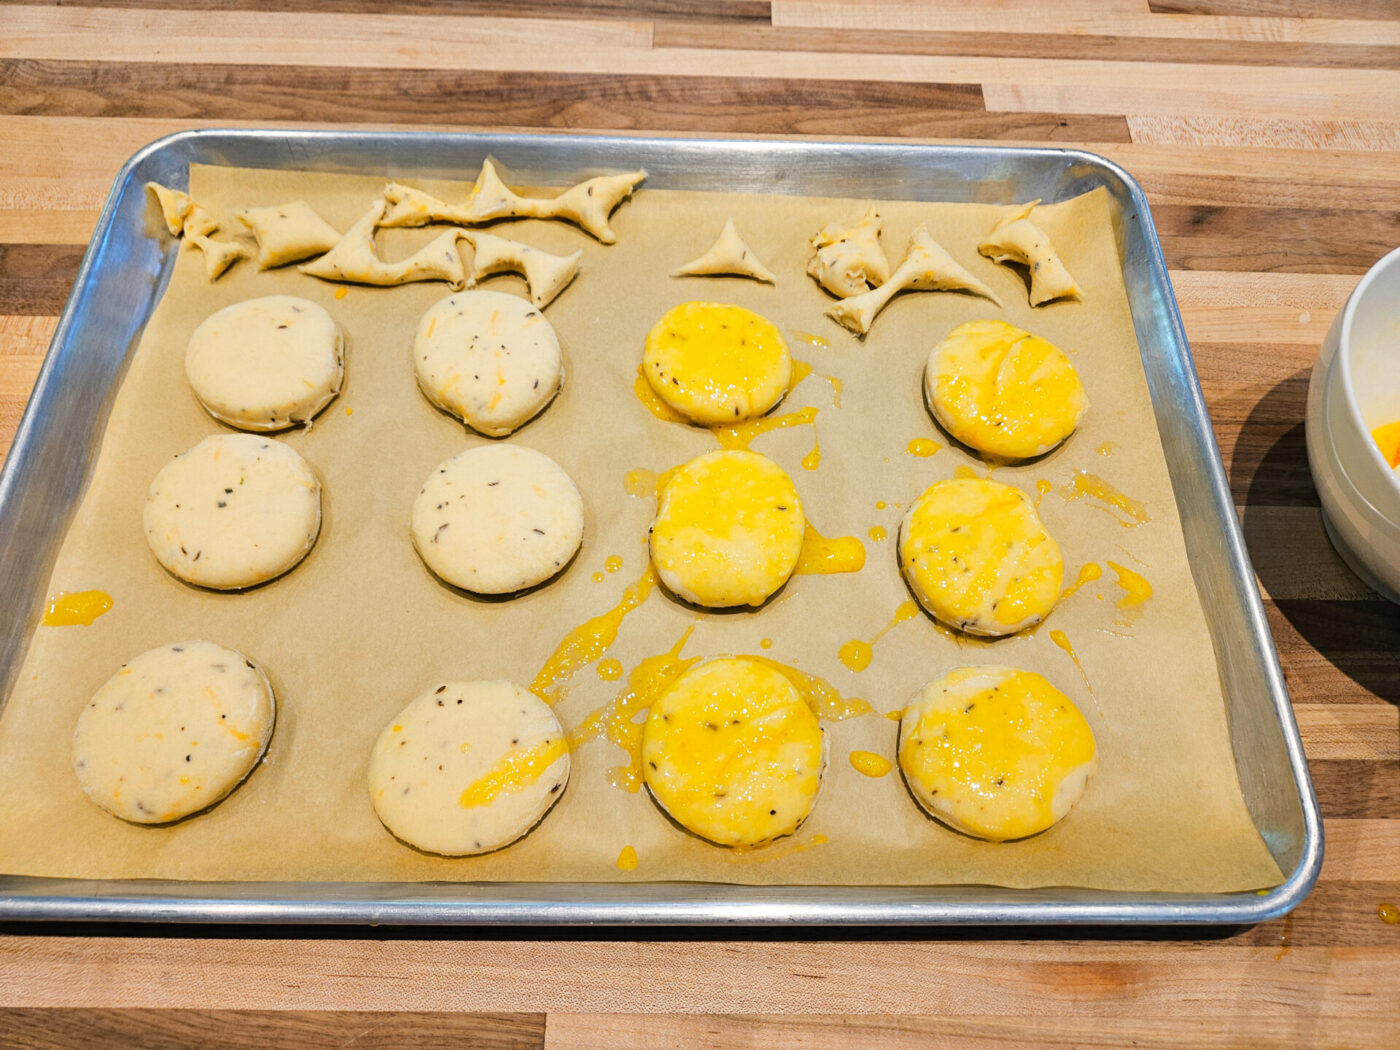
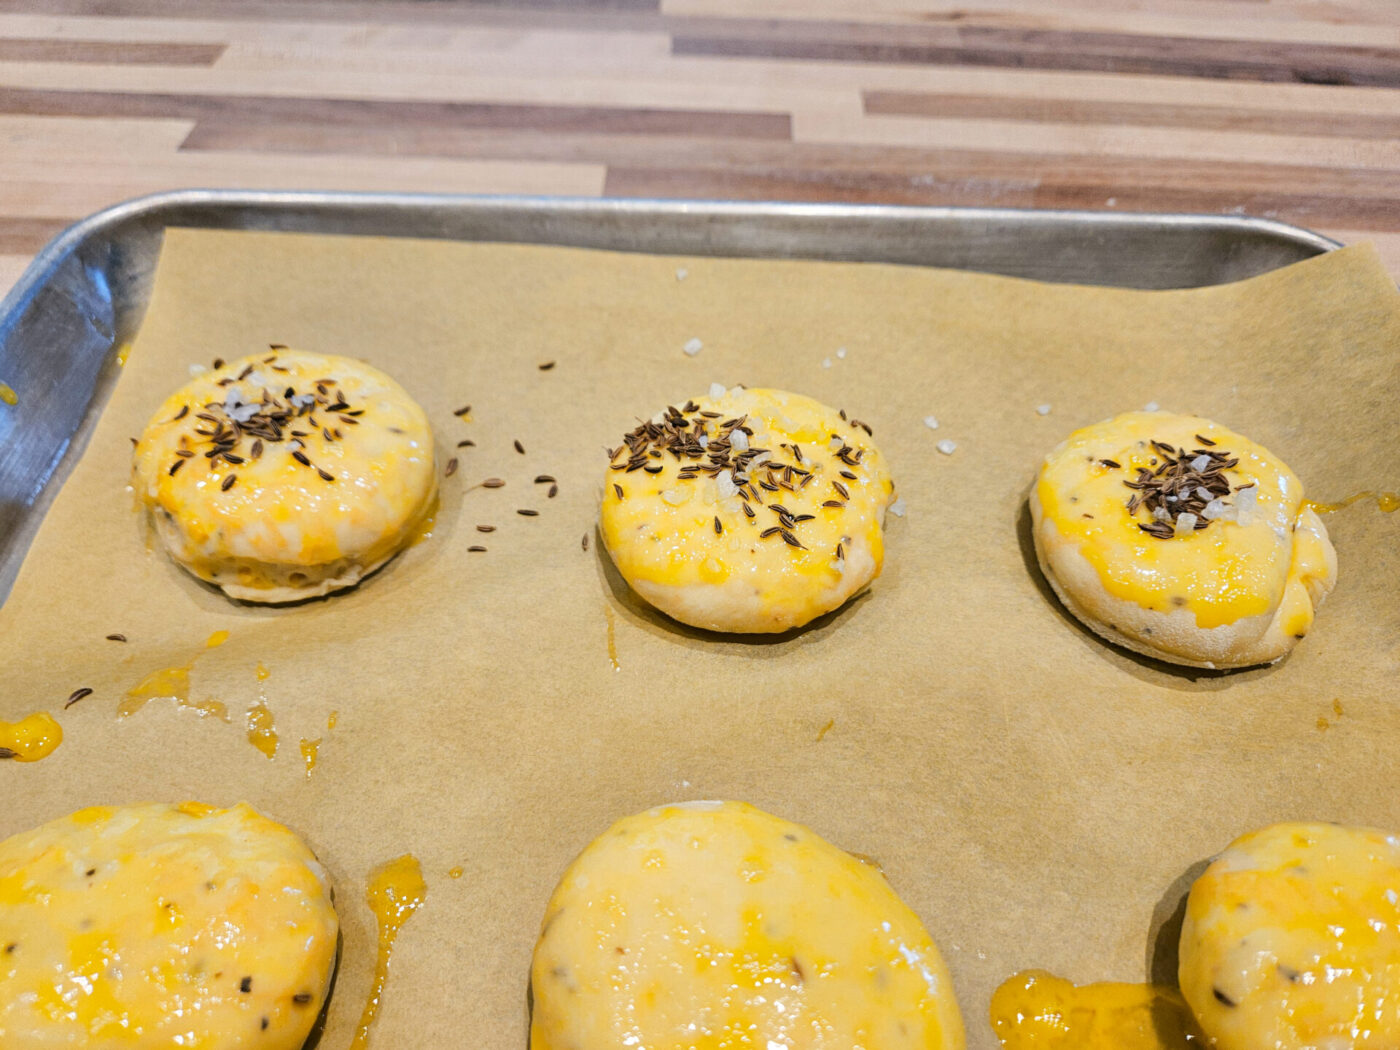
8.3. Brush all pagáče with the whisked egg and gently sprinkle with salt crystals and caraway.

Important:
If you plan to not each pagáče soon after baking (within about 8 – 10 hours), consider skipping the salt crystals since they will eventually start melting and could soak the pagáče.

Form and Proof PagáčeFinal prepration and baking of PagáčeFinal prepration and baking of Pagáče

8.4.

Bake in a preheated oven until they are fully baked and turned to a nice golden color (about 10 – 15 minutes).

8.5.

Remove from the oven and let fully or partially cool (yes, pagáče can also be served warm!).

Pagáče (Pagache) with Cracklings
About the Author:
Tom the ChefFounder
# 1
  • Published Recipes: 269
  • Av. Recipe Evaluation:
  • Location: Iowa, USA
  • Member since: 2023-02-02

Disclaimer

  1. General Information Content on this page above, including the content provided on www.CookingHub.com, including all recipes, articles, and other materials, is for general informational purposes only. This content reflects the personal opinions and experiences of its authors and is not intended to provide professional dietary, medical, legal, or political advice. Please consult a qualified professional before making any decisions based on the information presented here.
  2. Content Ownership and Use Content on this page above, including content published on CookingHub.com is owned by the individual authors who created it. Only the authors can access, modify, or delete their content from the platform. Our content may be embedded on third-party websites and blogs without modification. No reimbursement will be provided for this use. If an author removes content from CookingHub.com, it will no longer be available through any embedded links.
  3. Limitation of Liability Neither www.CookingHub.com (operated by the CookingHub Foundation) nor content authors are responsible for any outcome or consequence resulting from the use of information on this site. This includes, but is not limited to:
    • Food Safety: Any health risk related to food handling, food quality, or failure to follow USDA recommendations (including minimum safe cooking temperatures).
    • Preparation Safety: The proper and safe handling of cooking equipment or its suitability for any given task.
    • Recipe Outcomes: The final look, taste, or success of following a recipe.
    • Ingredients and Equipment: The sourcing of ingredients, tools, equipment, or anything else related to the preparation and consumption of food.
    • Nutritional and Dietary Information: The accuracy of nutritional data. This information is provided as a courtesy and should not replace advice from a medical provider. You are responsible for verifying that a diet is suitable for your personal health needs.
    • Errors and Omissions: Any potential errors, typos, or unclear directions in articles and recipes.
  4. User Responsibility All readers, visitors, and users of embedded content are solely responsible for evaluating recipes and articles. You must make your own decisions about whether to follow the steps and recommendations provided. It is your responsibility to ensure that ingredients and preparation methods are safe and appropriate for your personal dietary restrictions and health conditions.