Chocolate Coating and Dipping
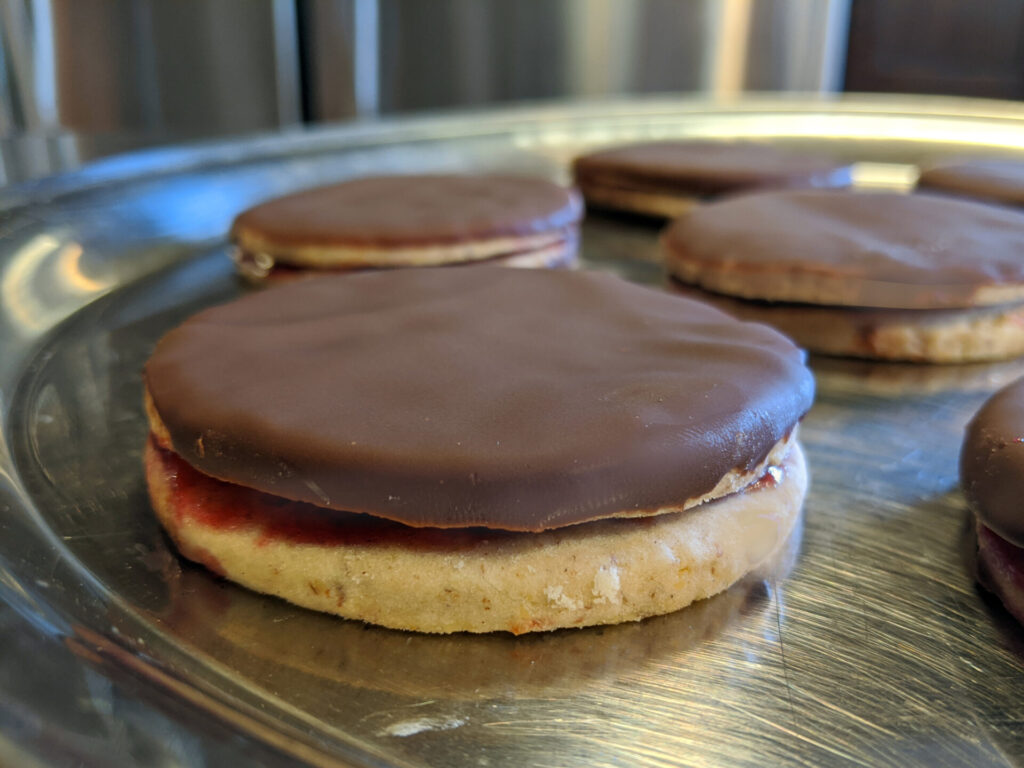
October 19, 2023Chocolate coating or dipping is a very fun process. If you follow a few simple rules, you will succeed. In this section we will be looking at techniques for coating a cake or dipping fruit or cookies into the chocolate.
 Tom the Chef Founder
Share
Click on the icons below to share "Title of the item to share"