


Fruit & Vegetable Preparation & Cutting
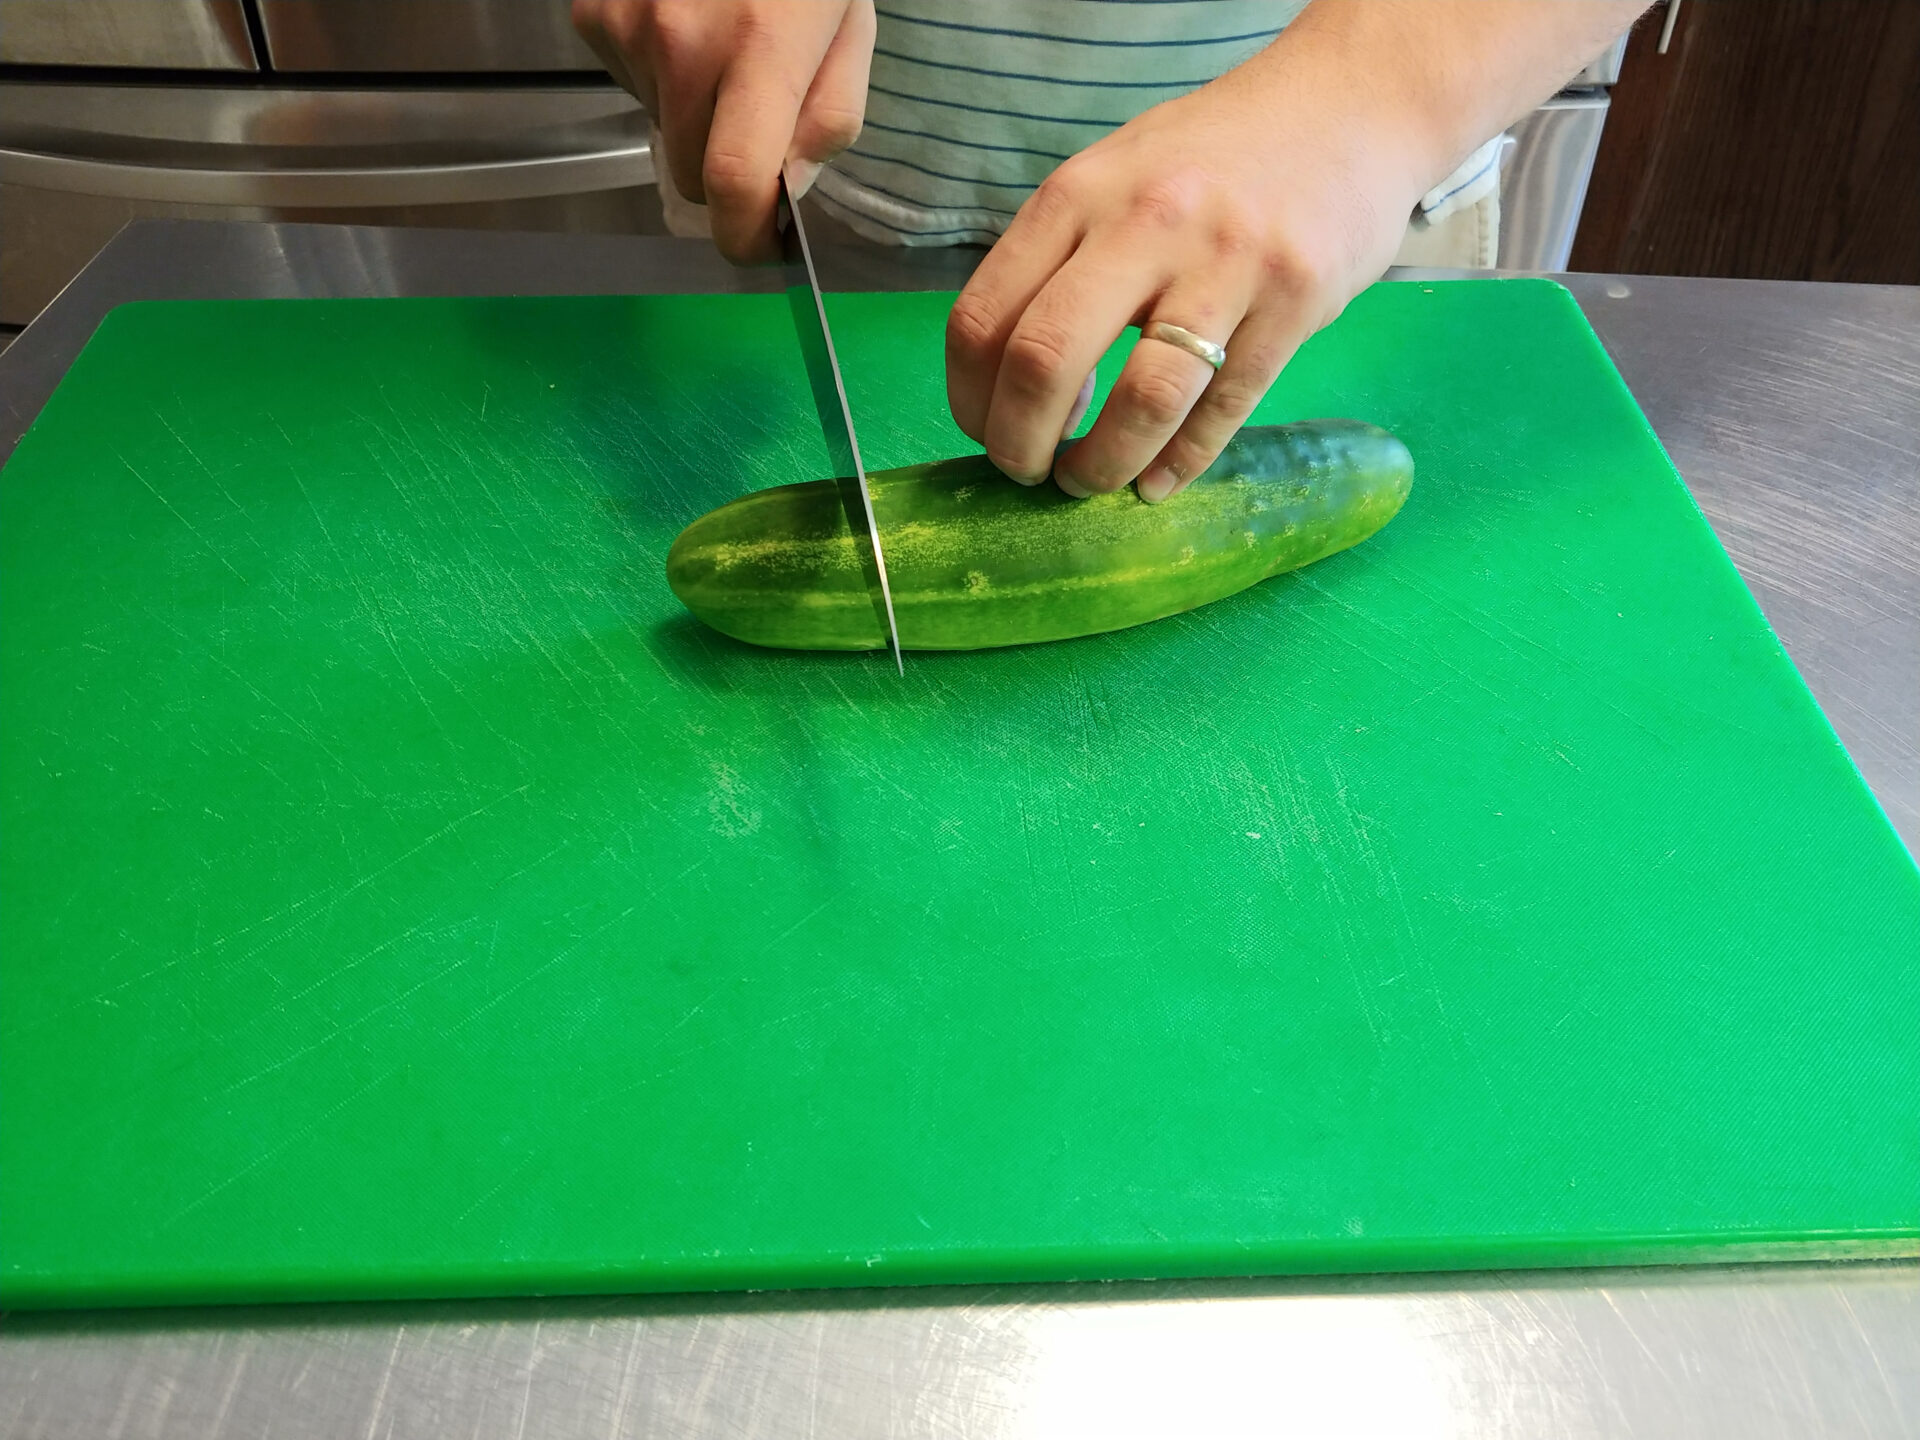
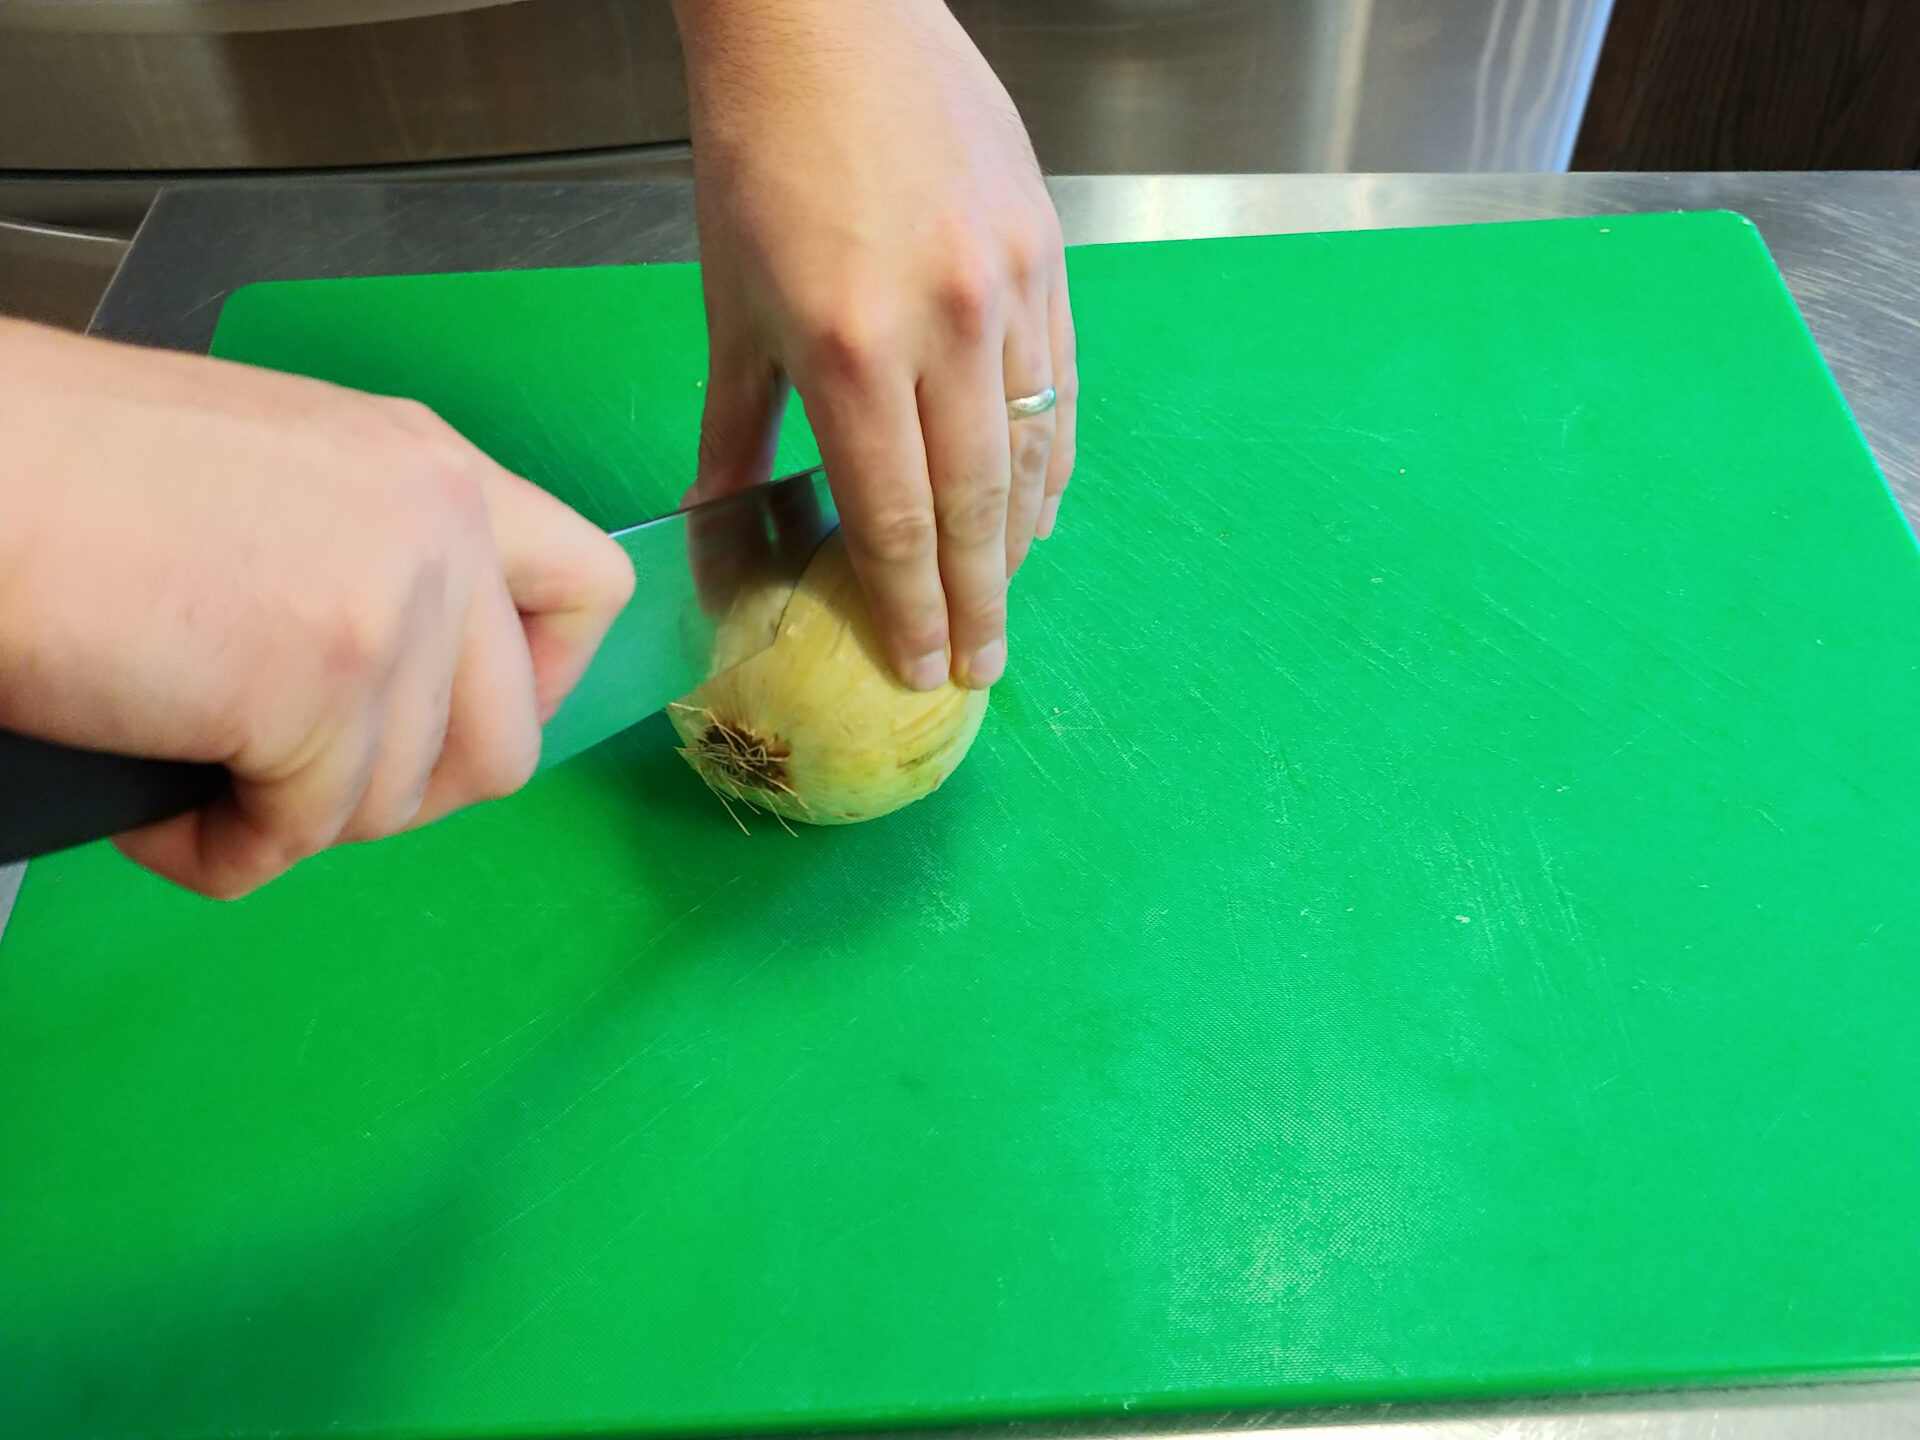
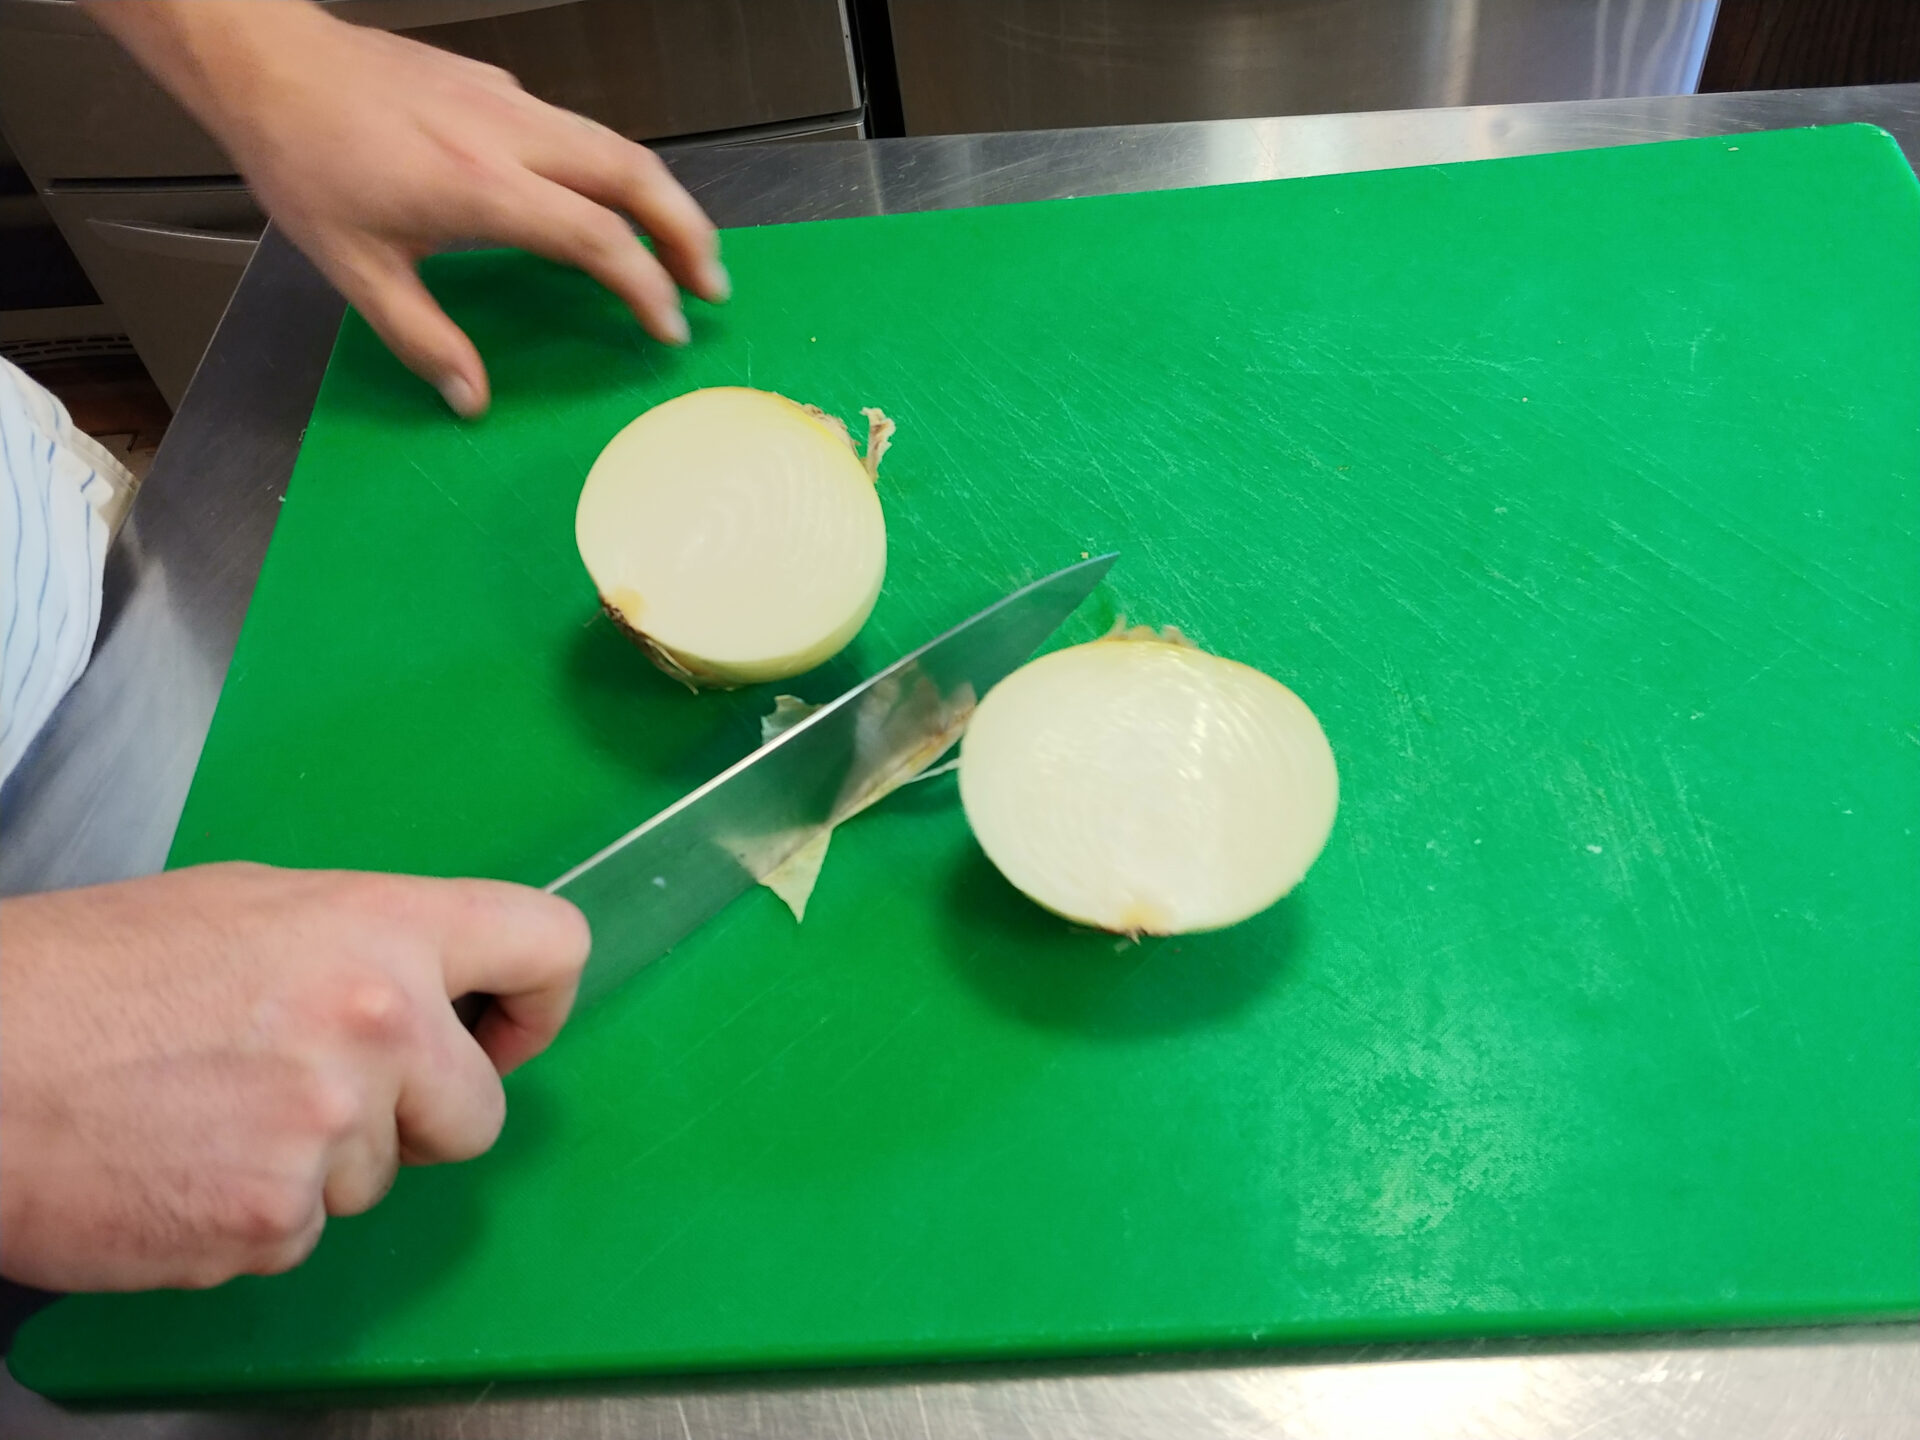
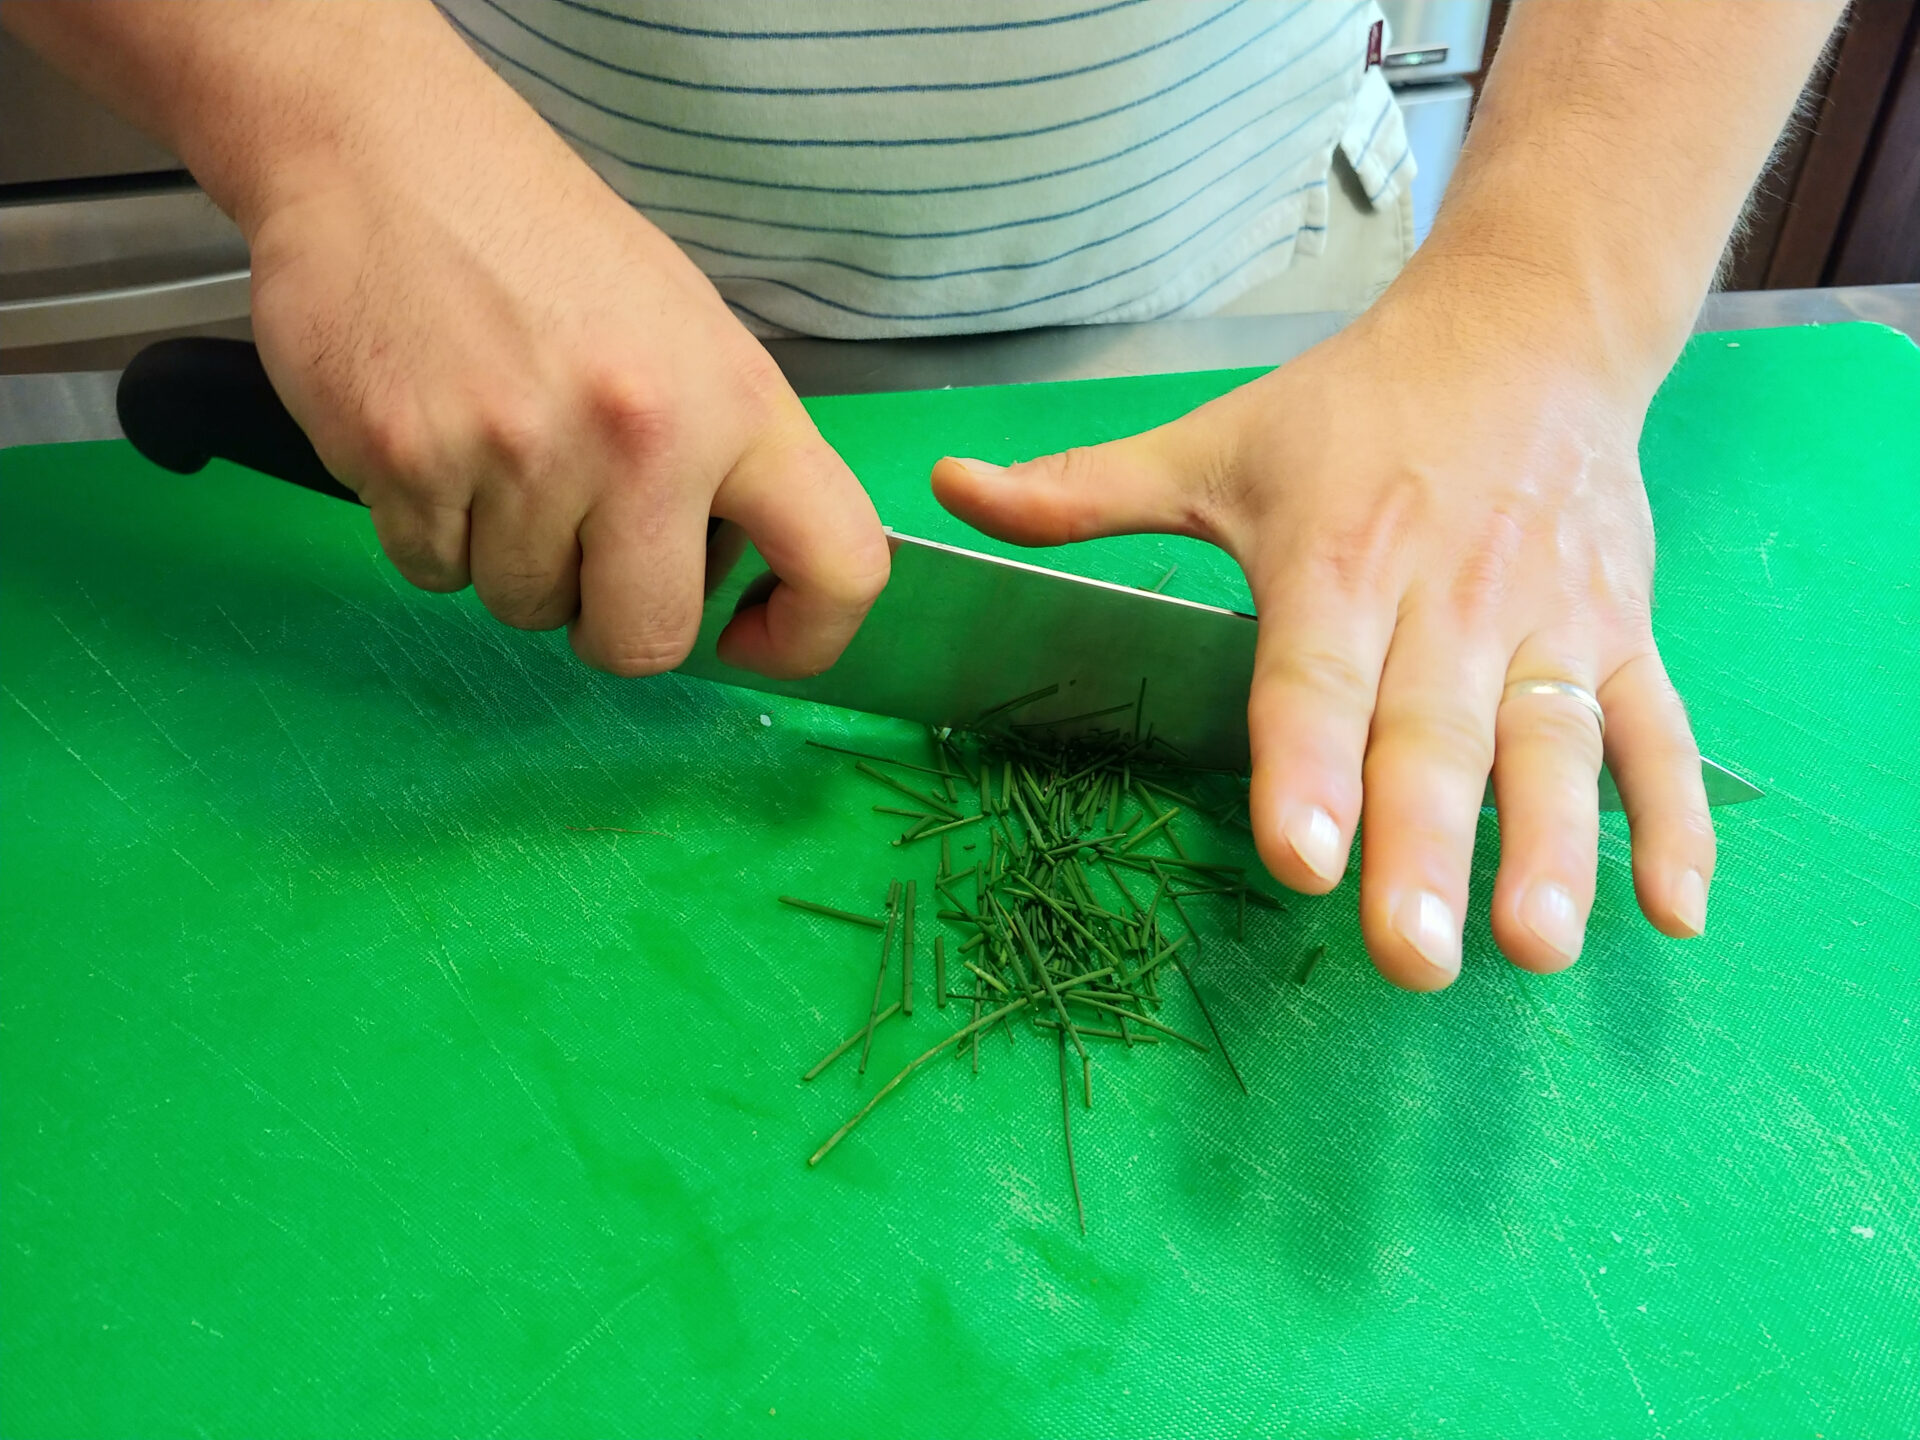
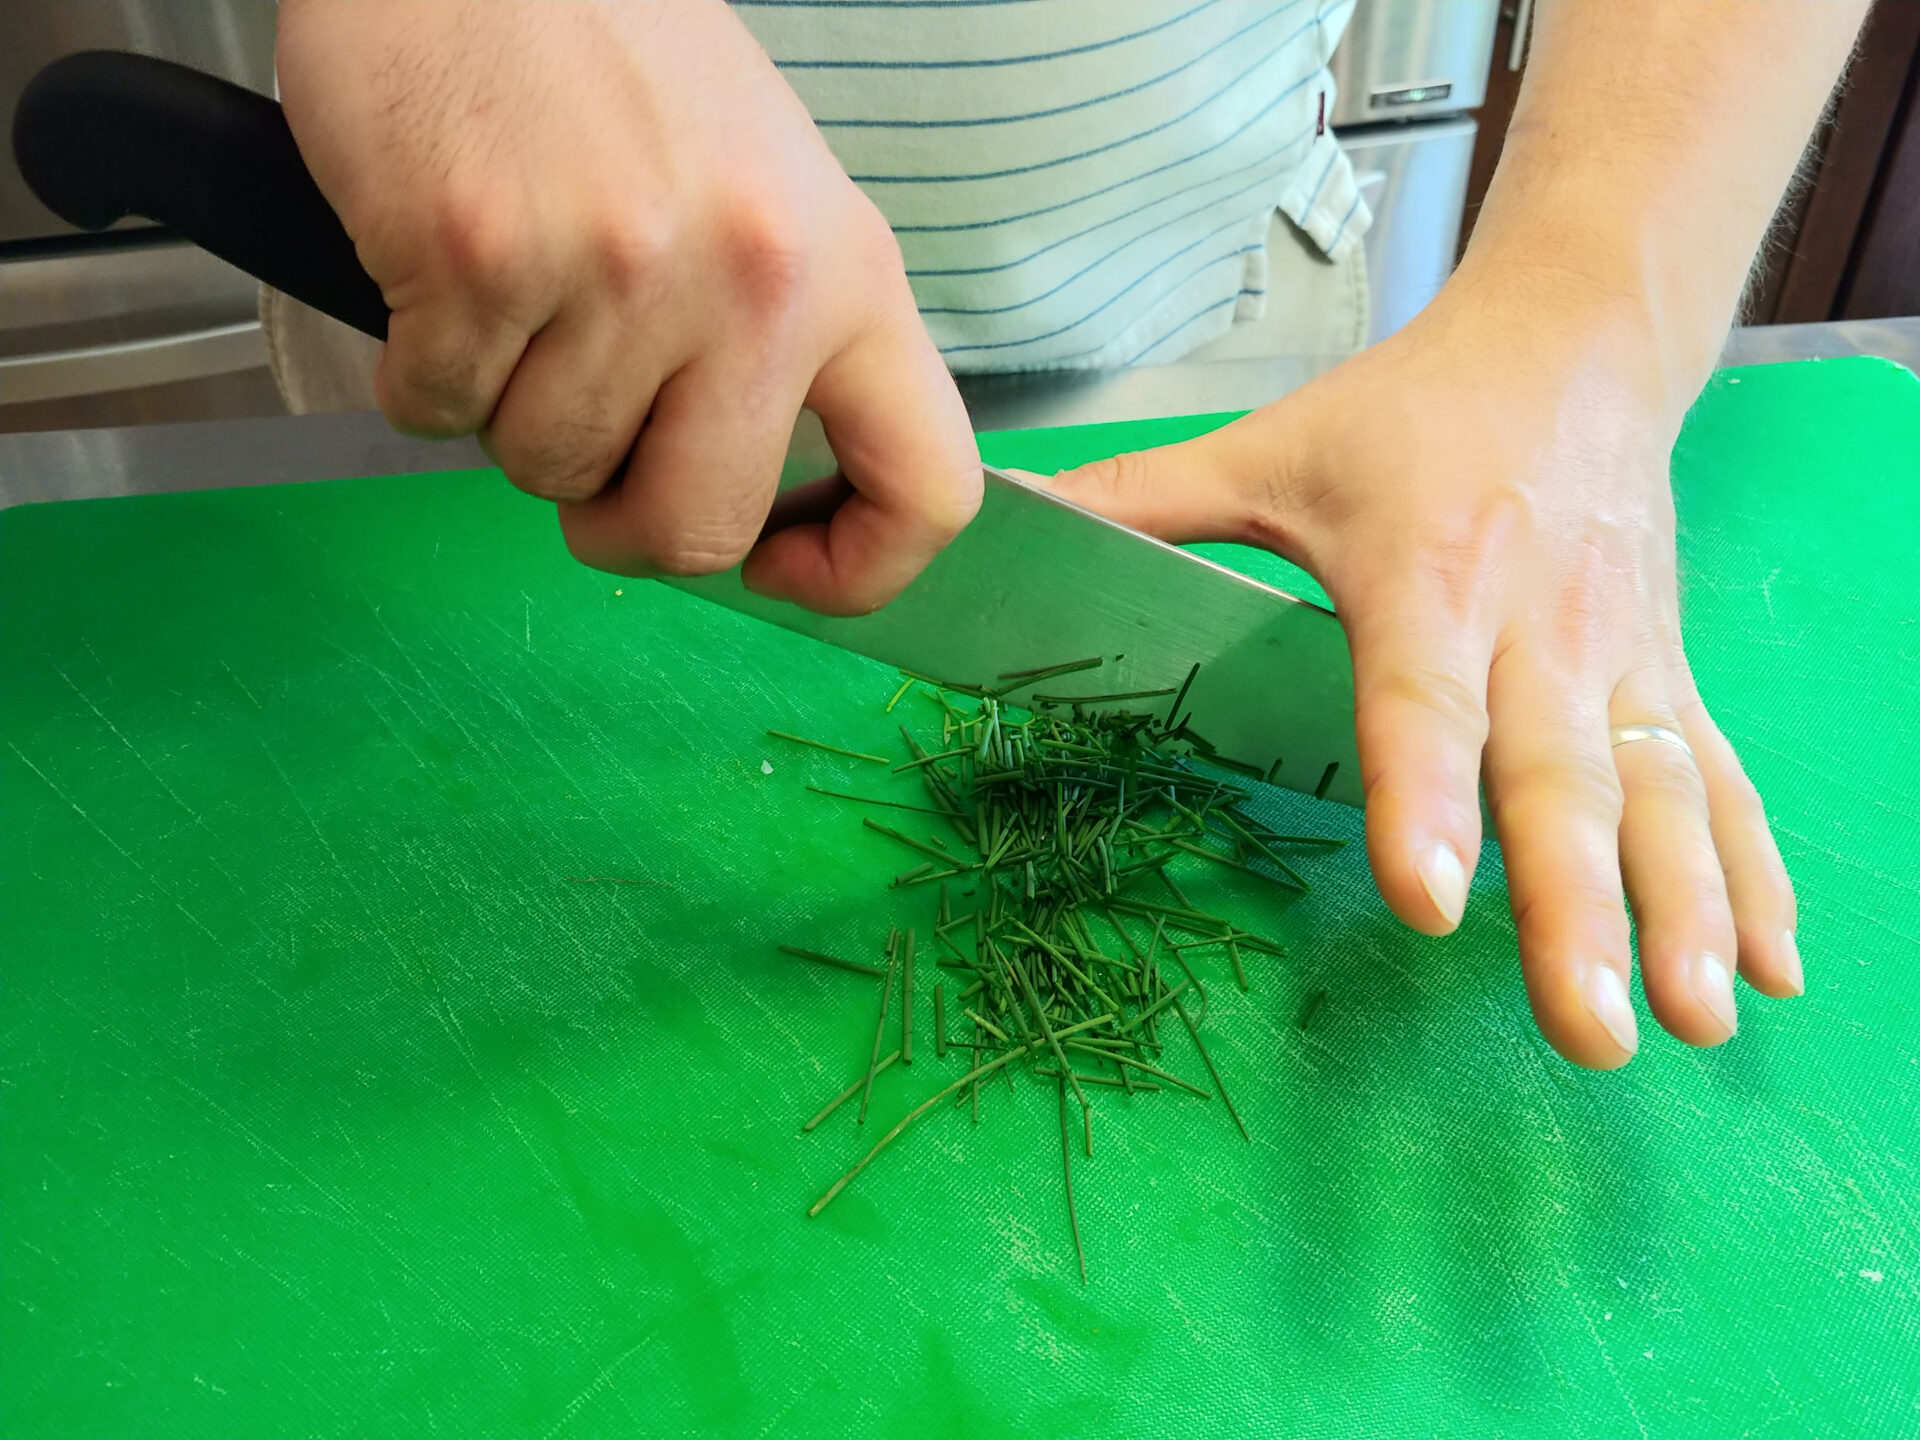
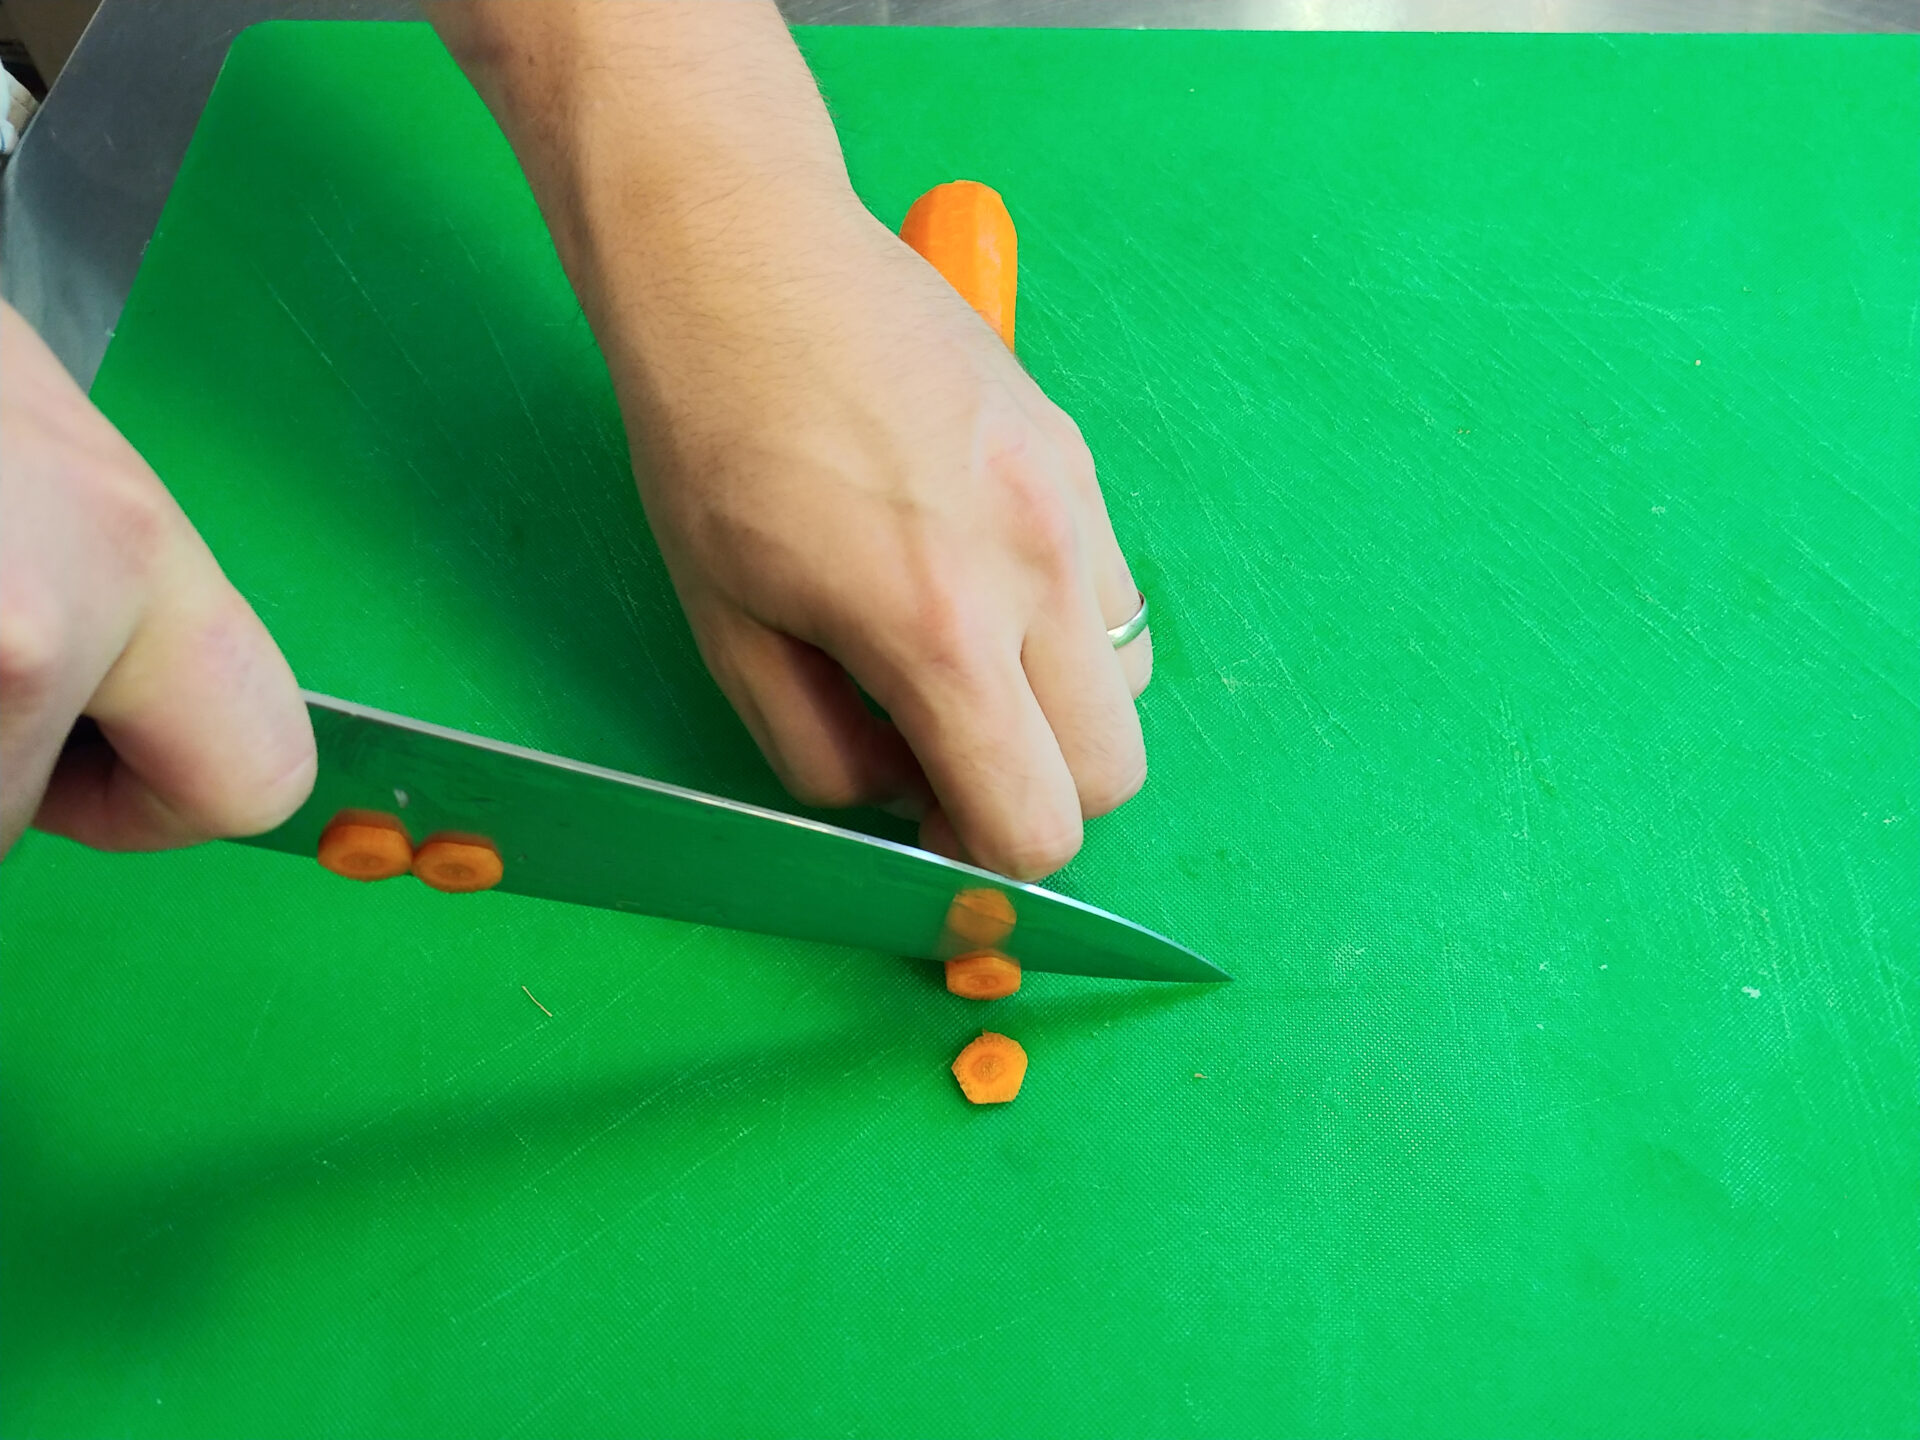
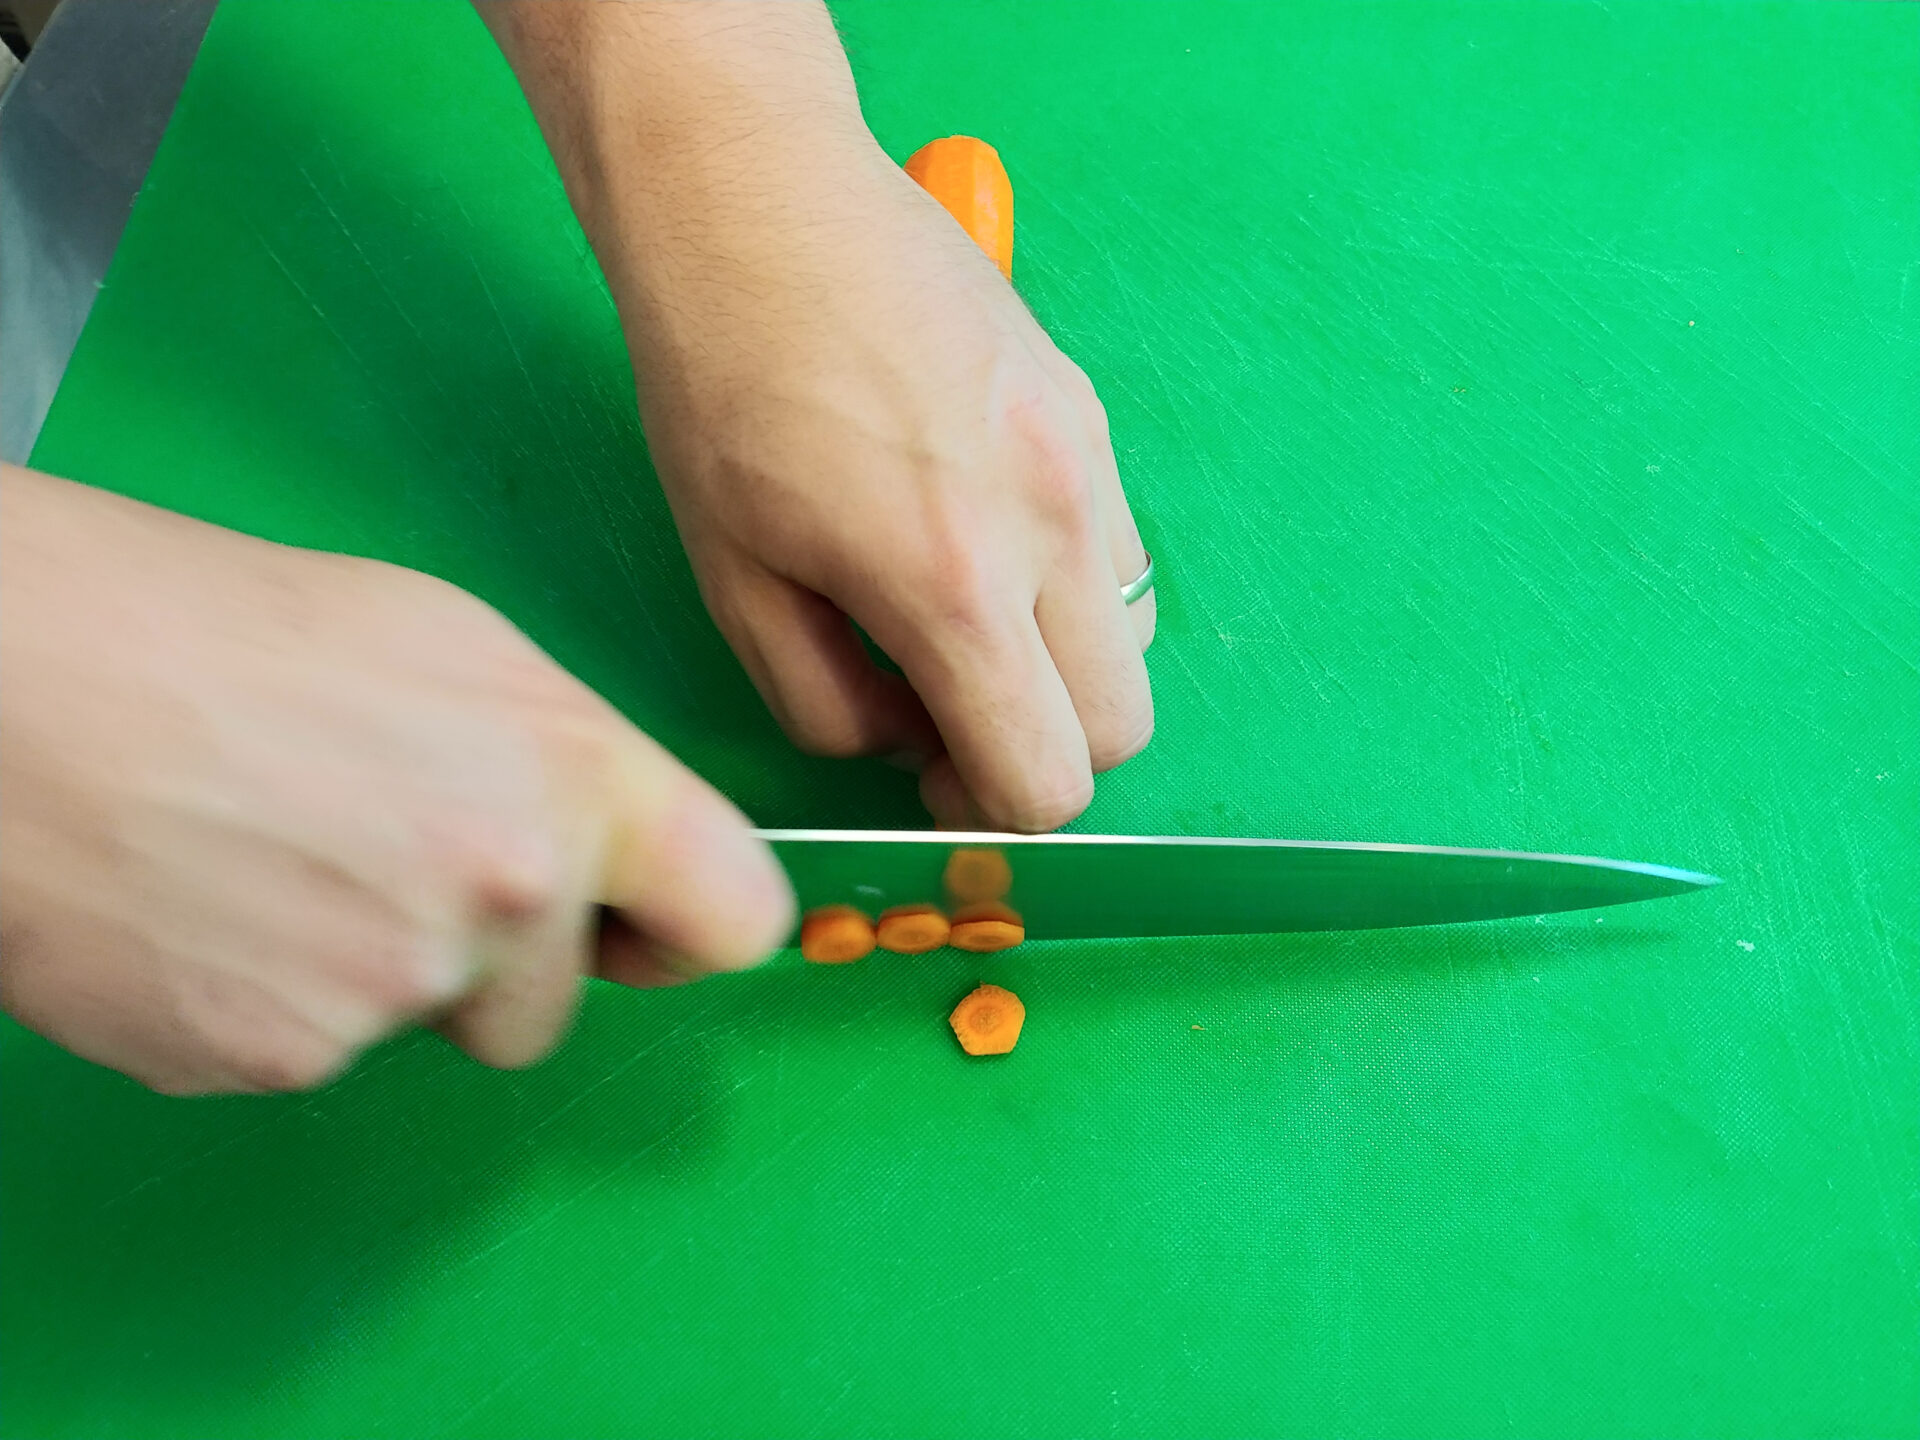
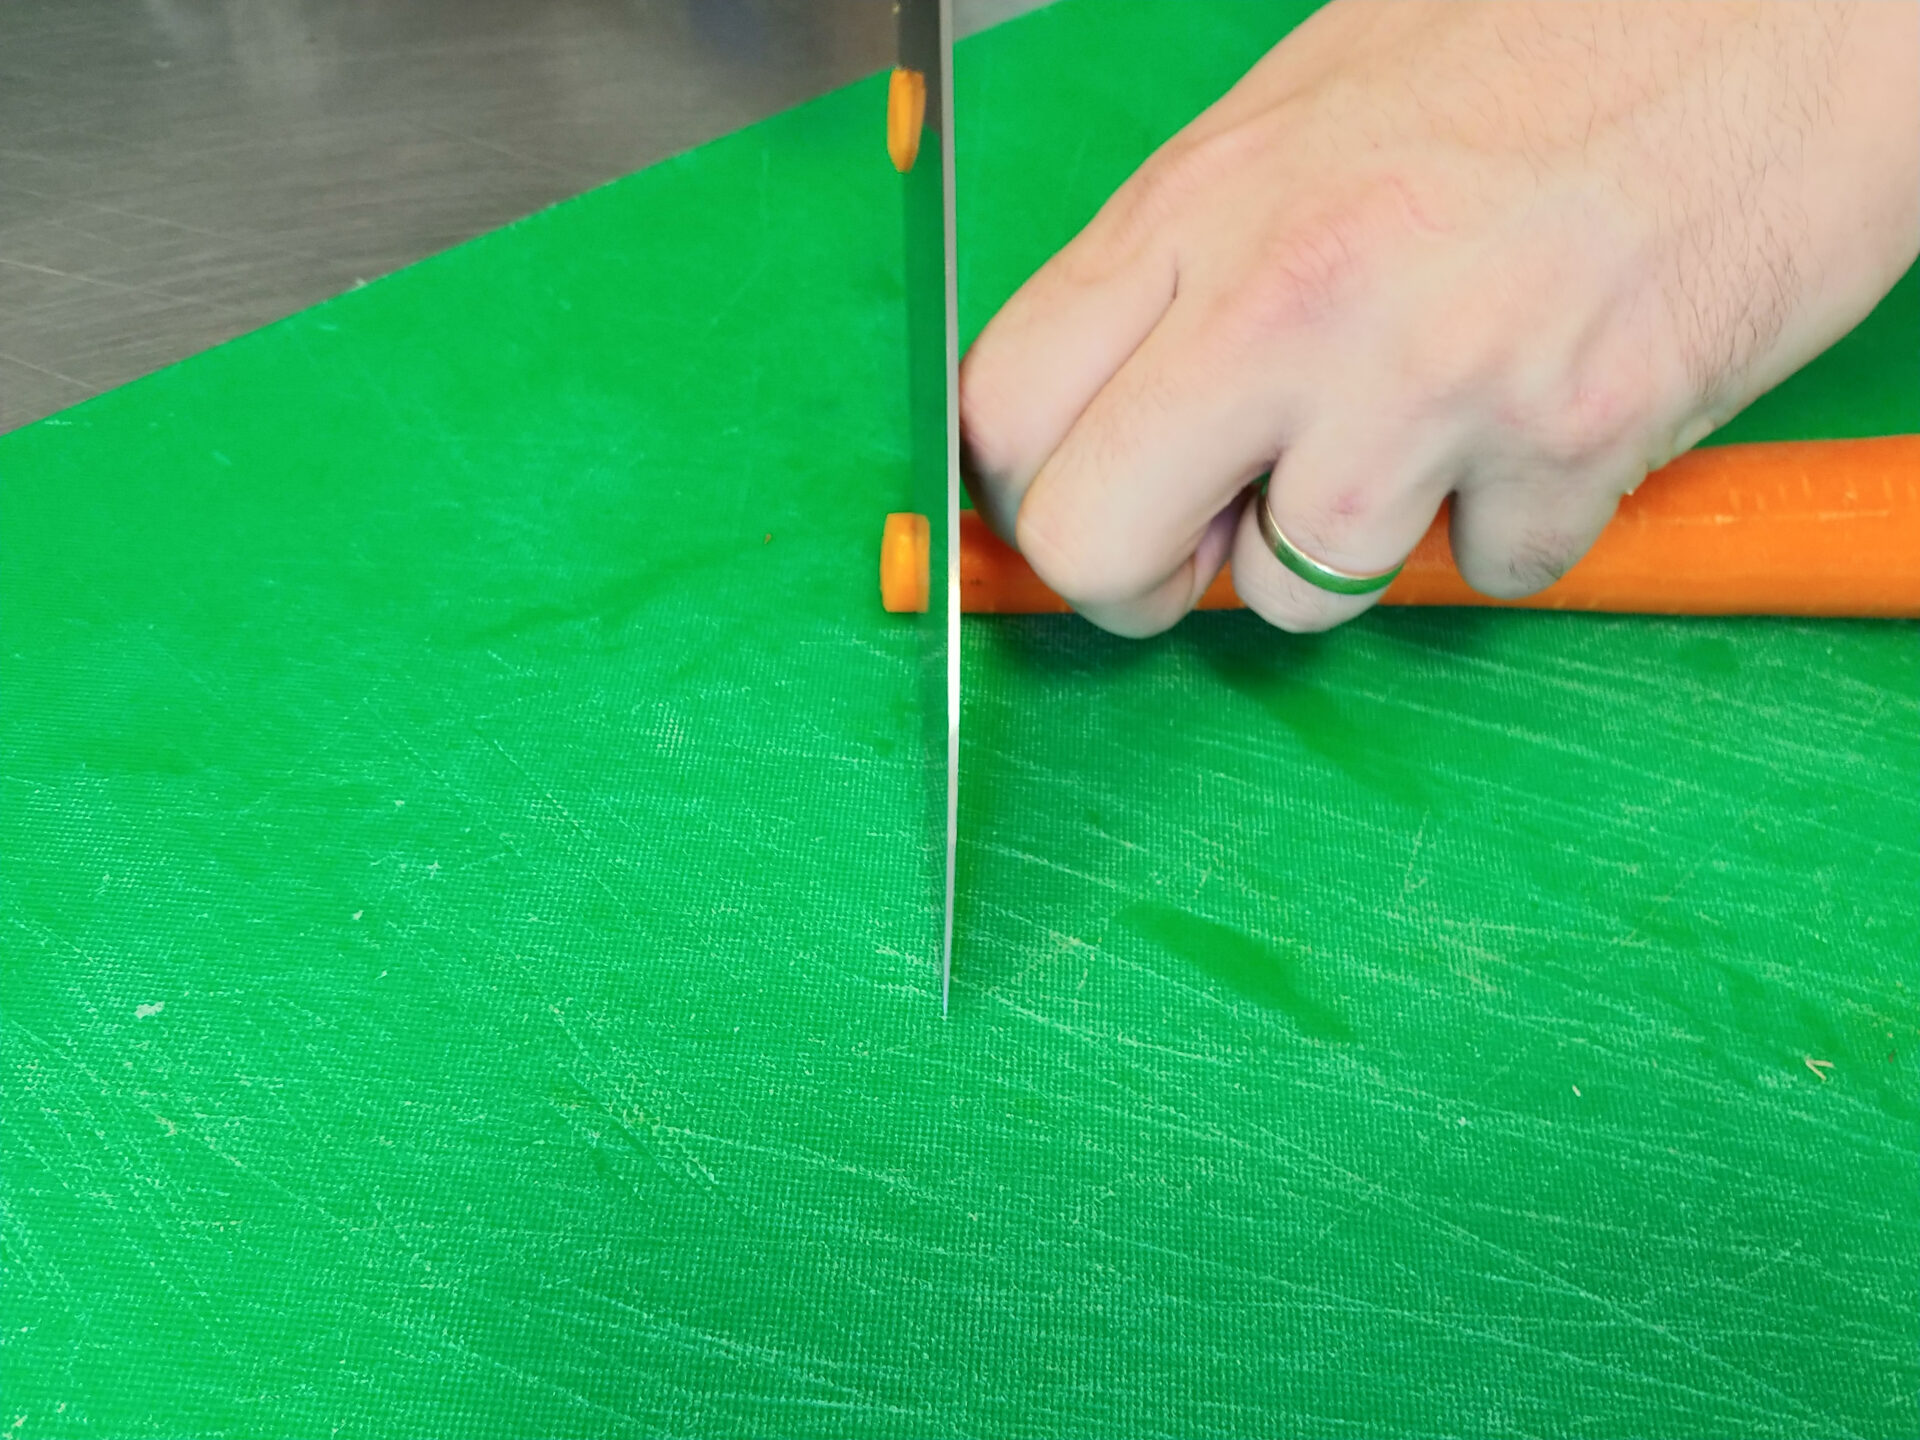
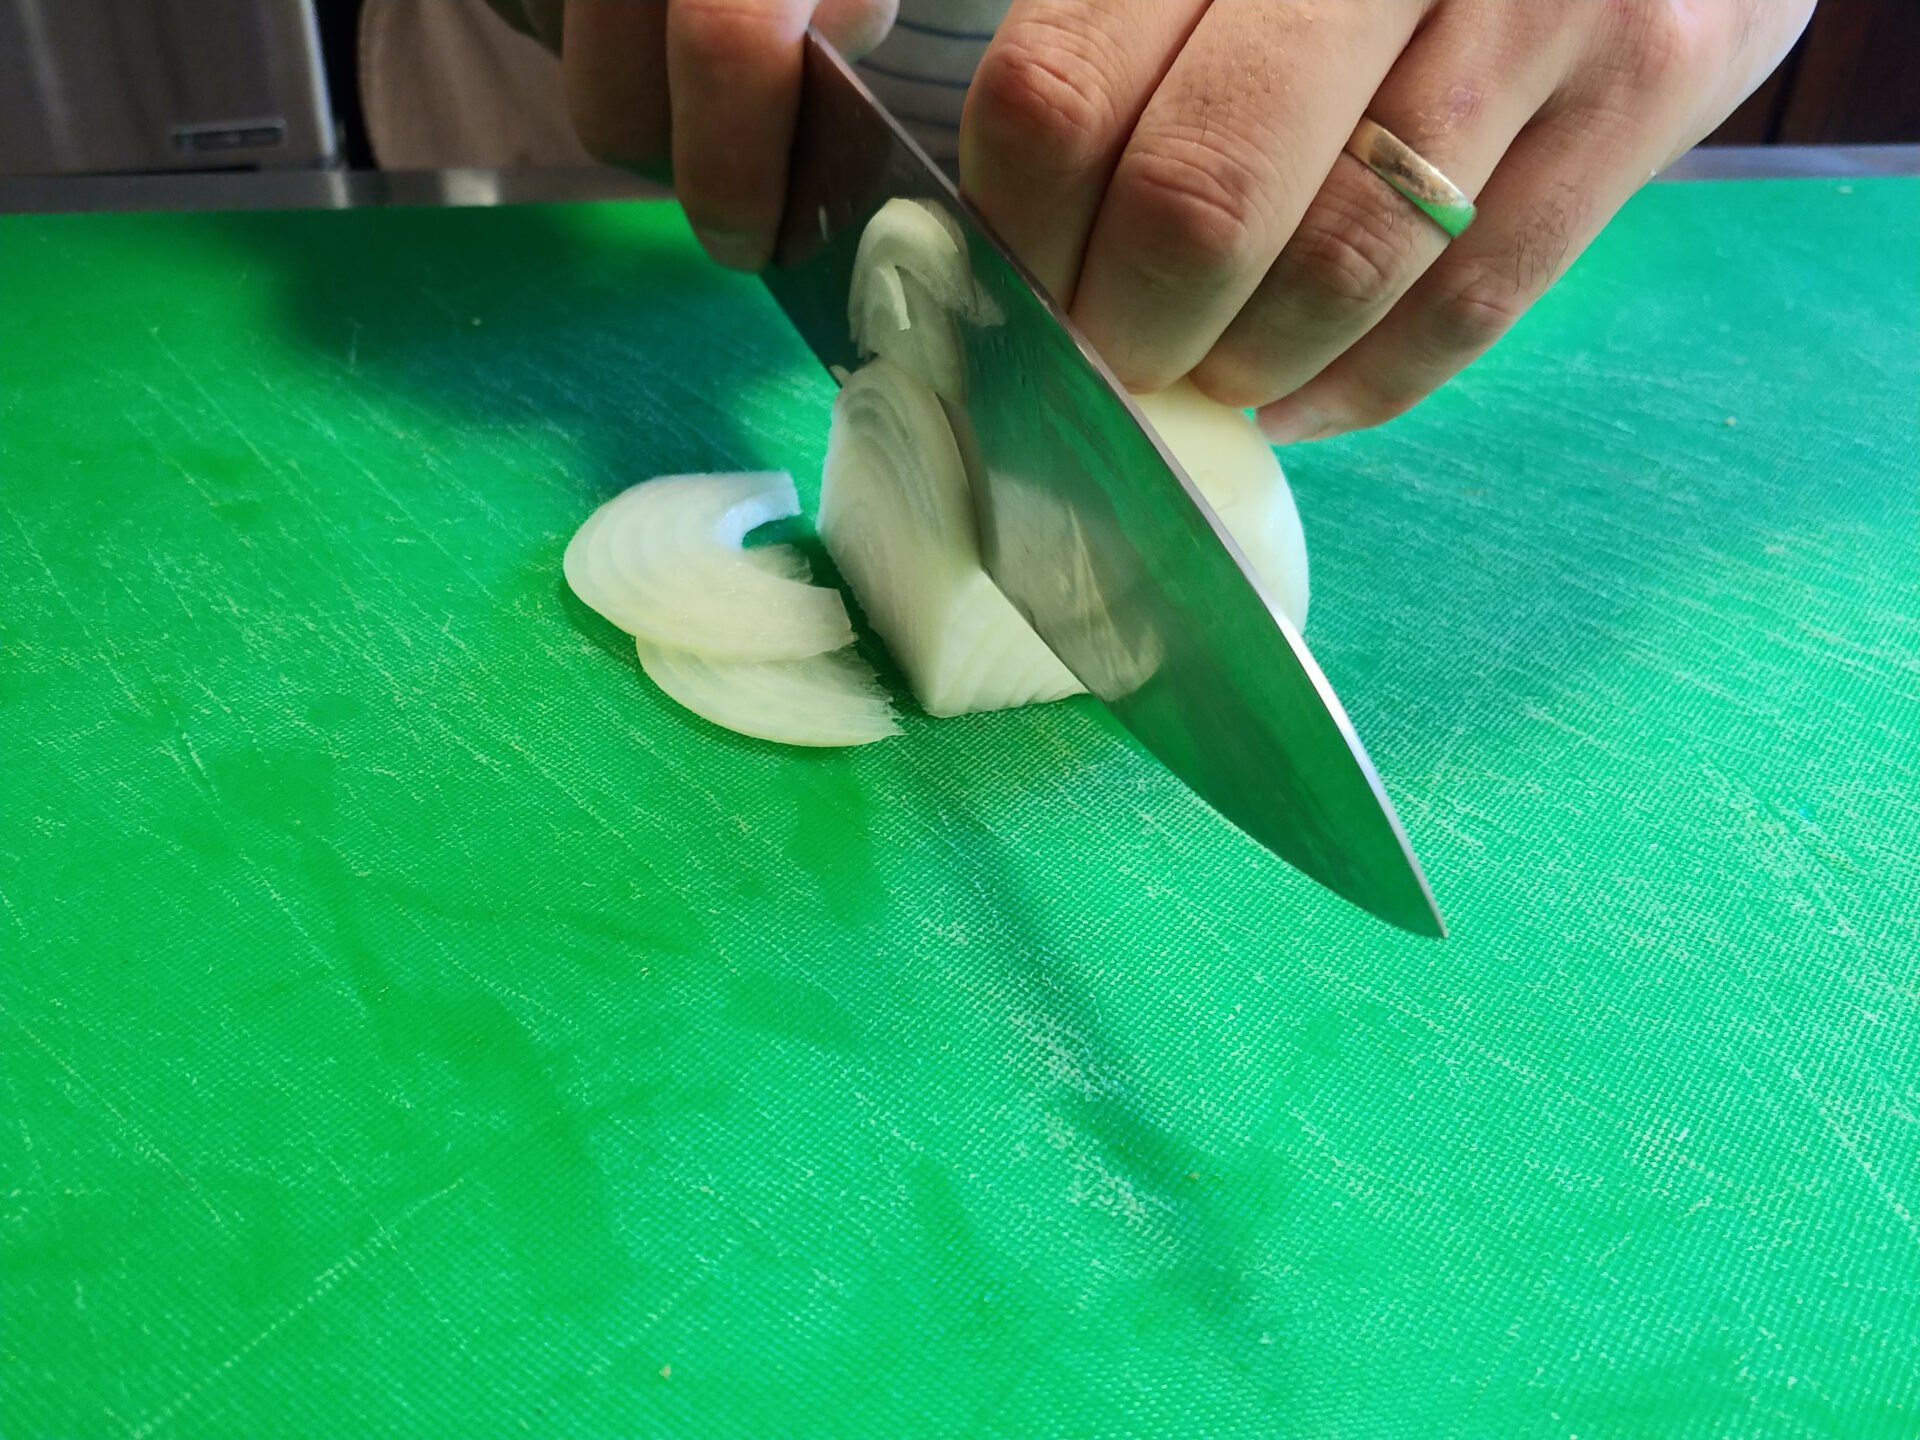
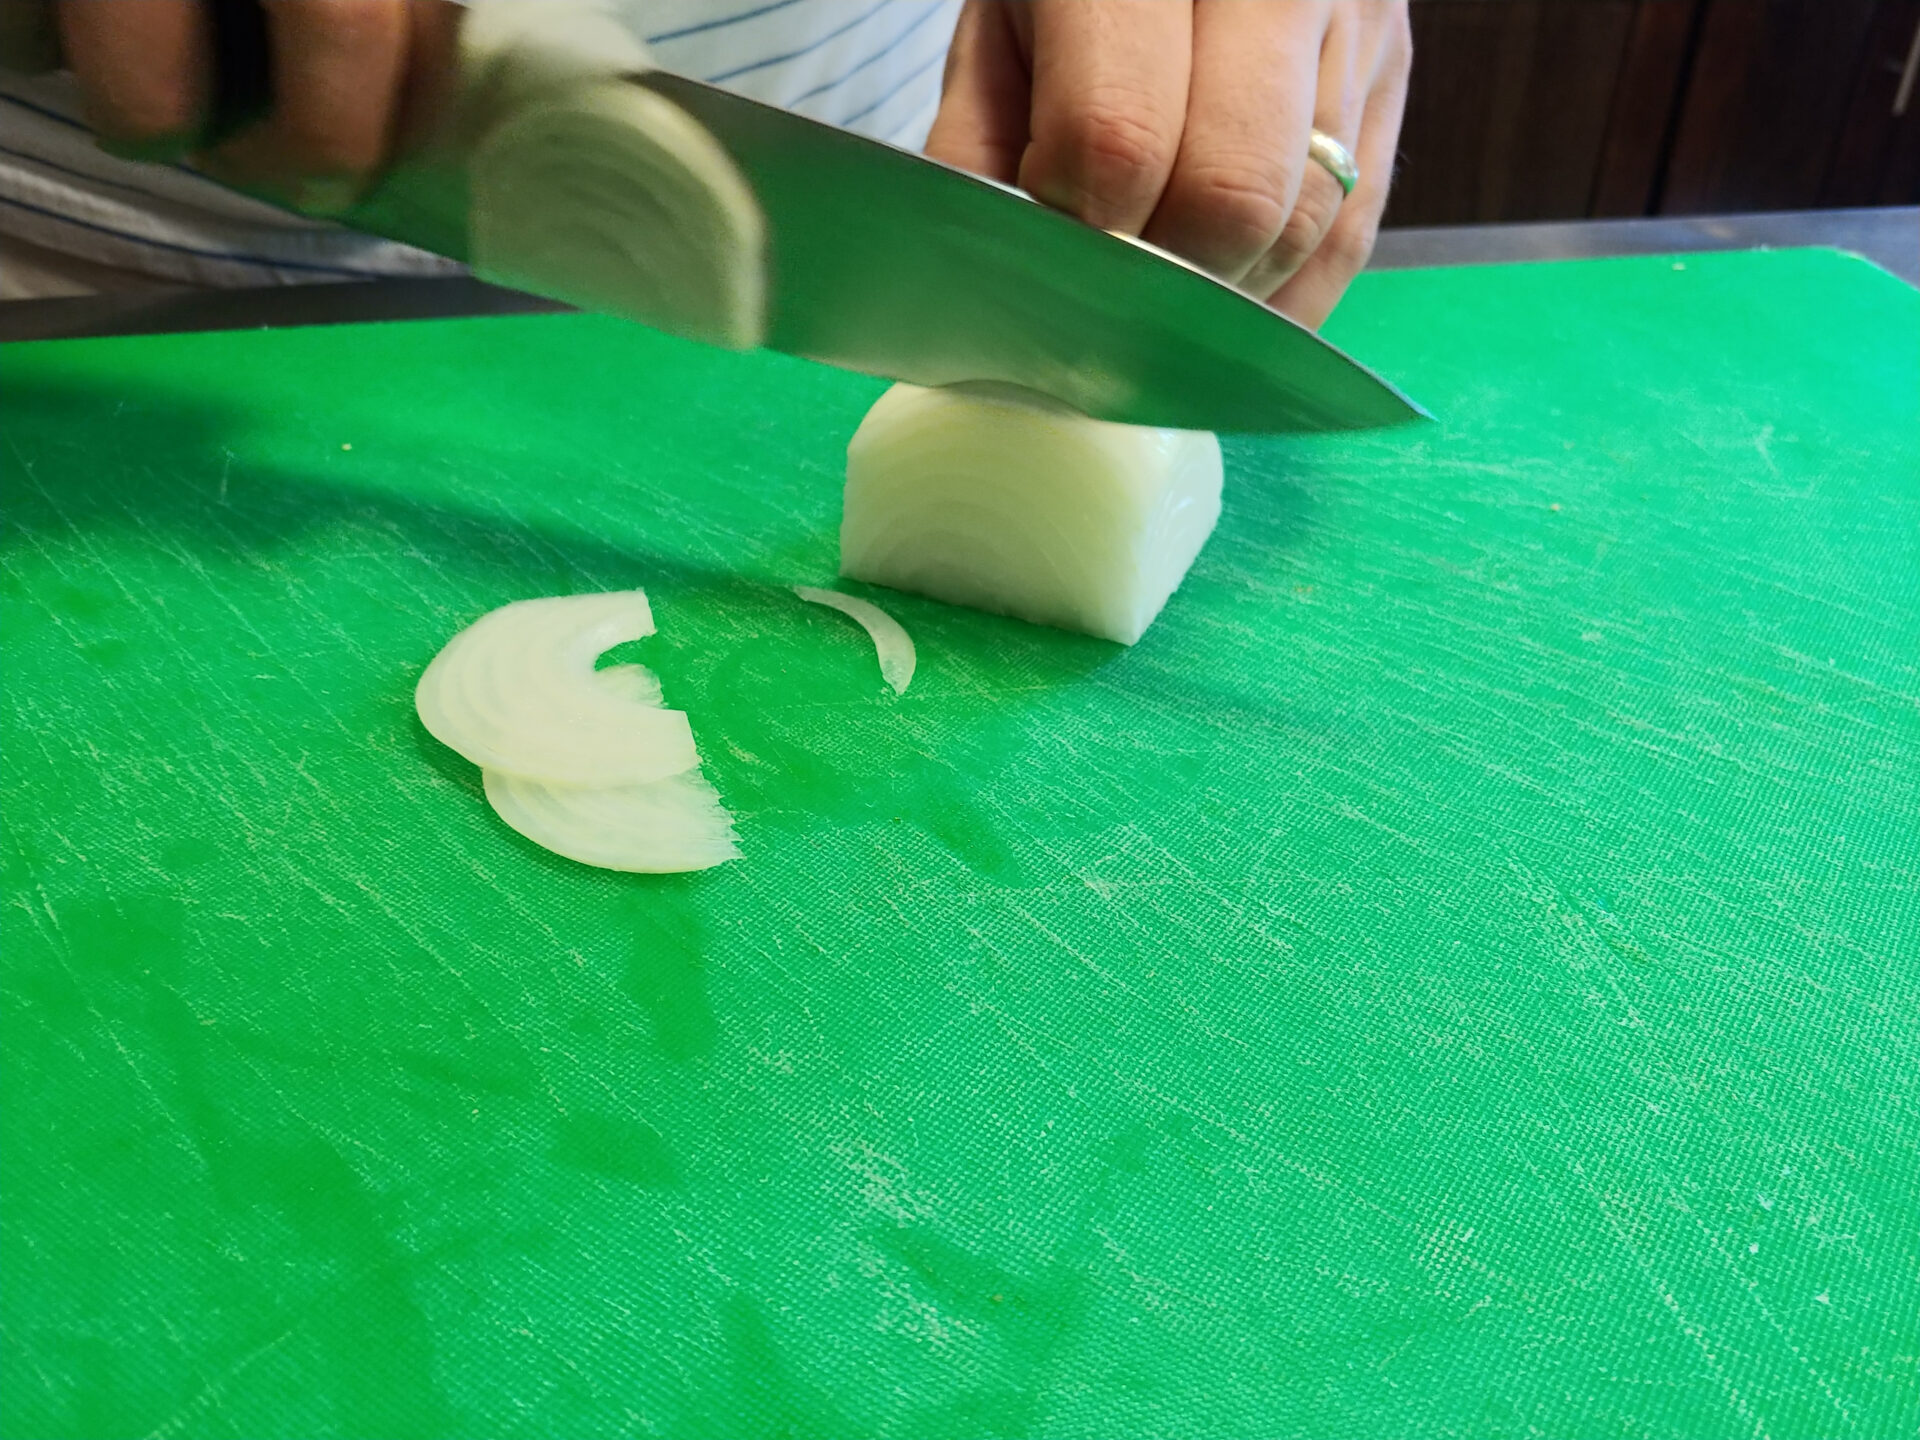
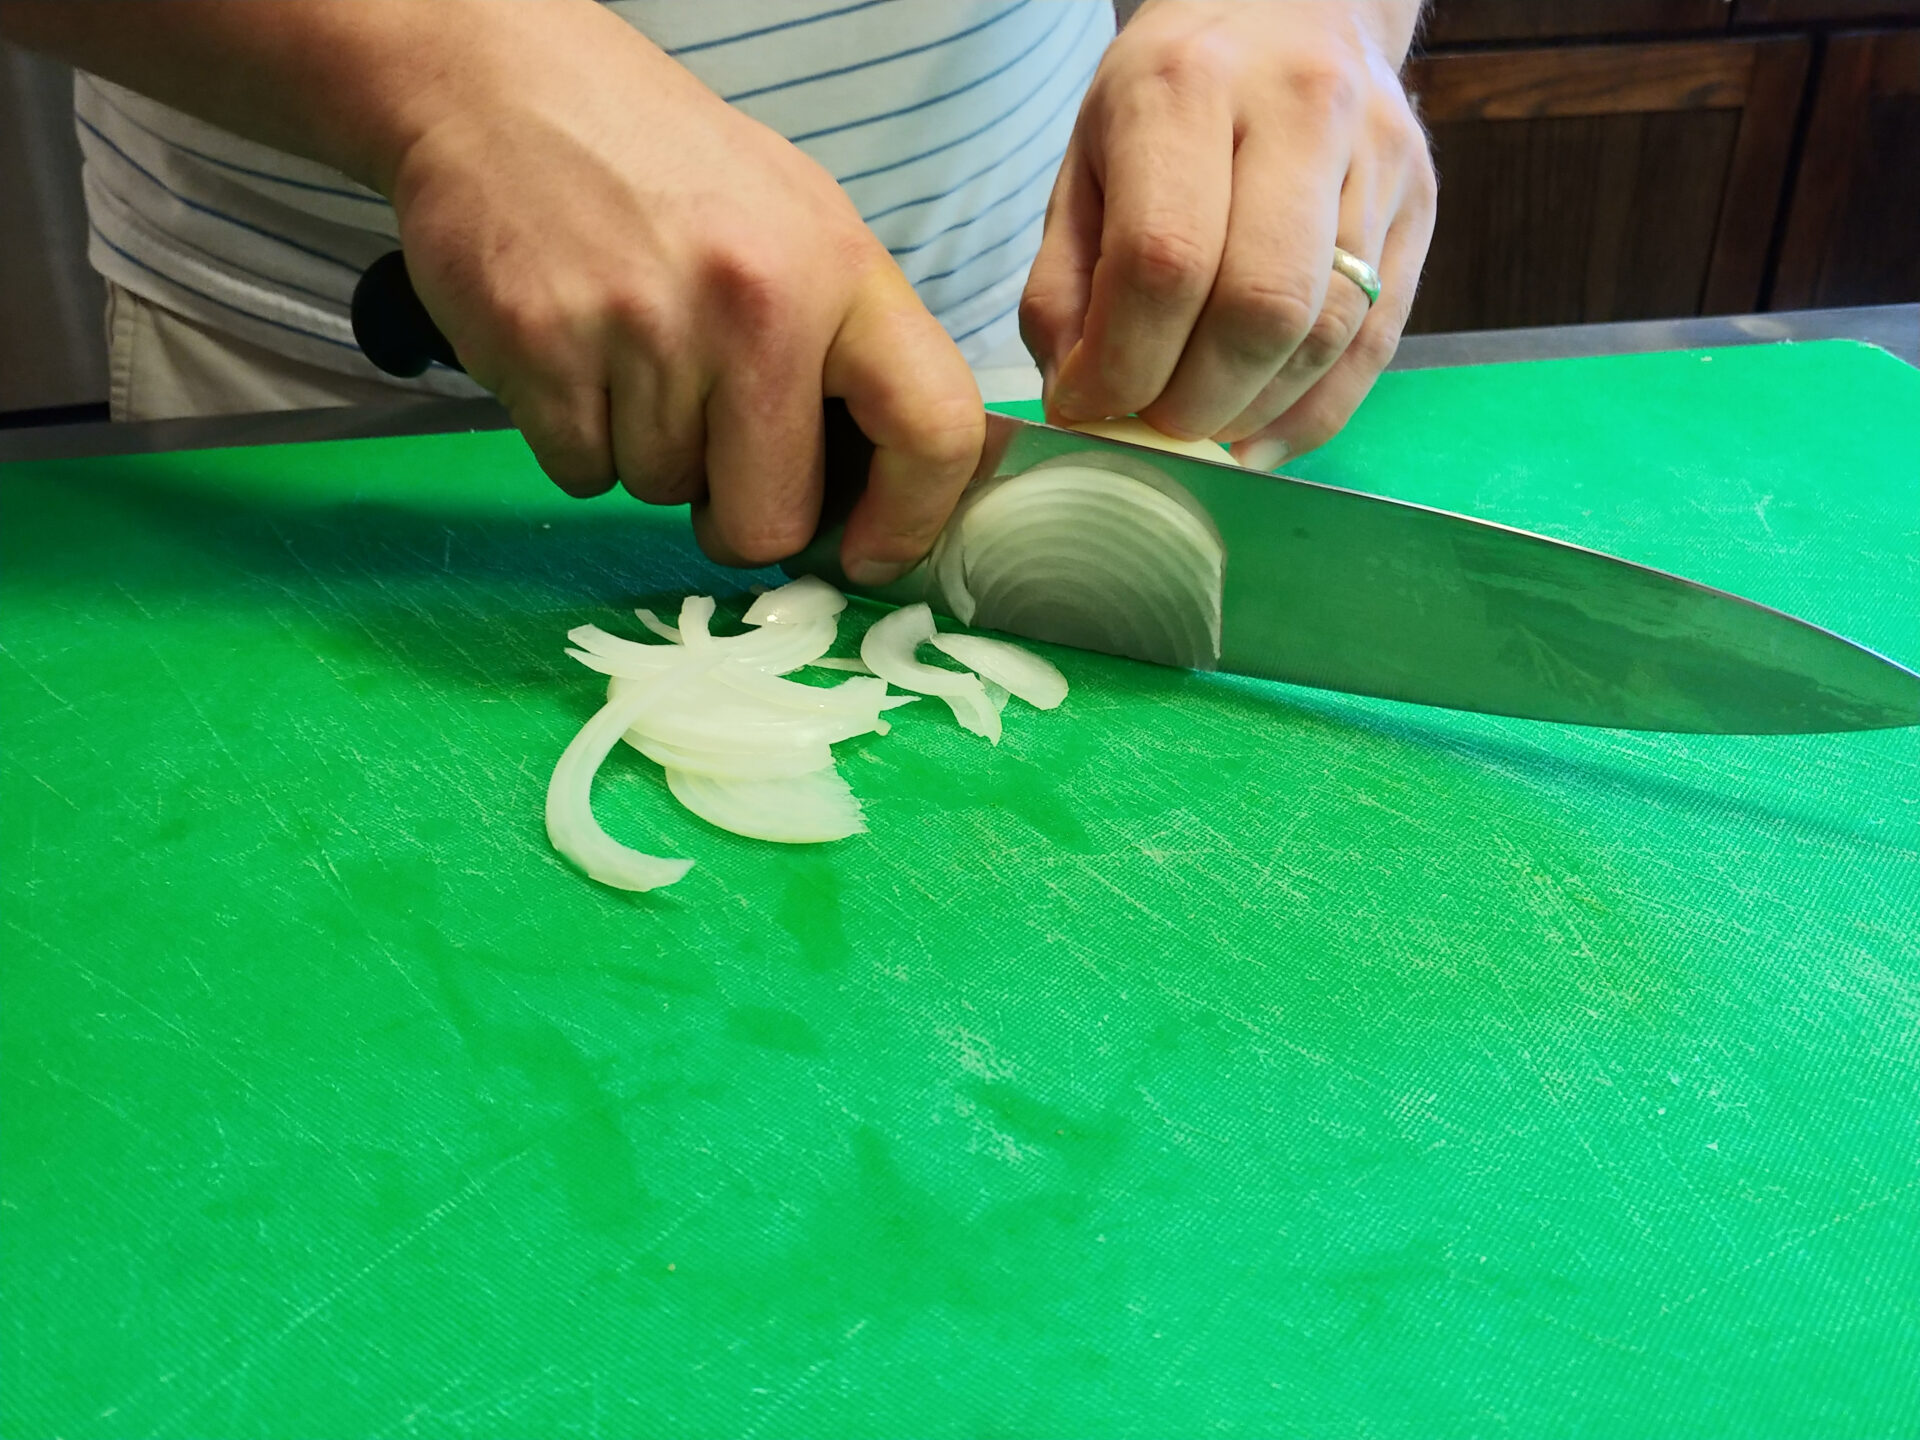
September 29, 2023Fruit and vegetables are nutritious, full of vitamins, and are very flavorful. Even if you are not interested in gaining the health benefits or appreciate the initial taste, fruit and vegetables are often very important for creating a final flavor in many meals (creating important flavor elements). The following are ways to wash, peel, and cut your produce. In this section, I’m not able to cover all fruits and vegetables but have chosen the most common ones. In this section I’m not able to cover all fruits and vegetables but have chosen the most common ones.
 Tom the Chef Founder
Share
Click on the icons below to share "Title of the item to share"