Cook, Learn, and Share to Fight Hunger.
Tuna Cakes: Tuna cake with lemon on the blue oval plate, side close up shot
  • 30 min.
  • 30 min.
  • 2/5

Ingredients:

Tuna Cakes:

Final touch:

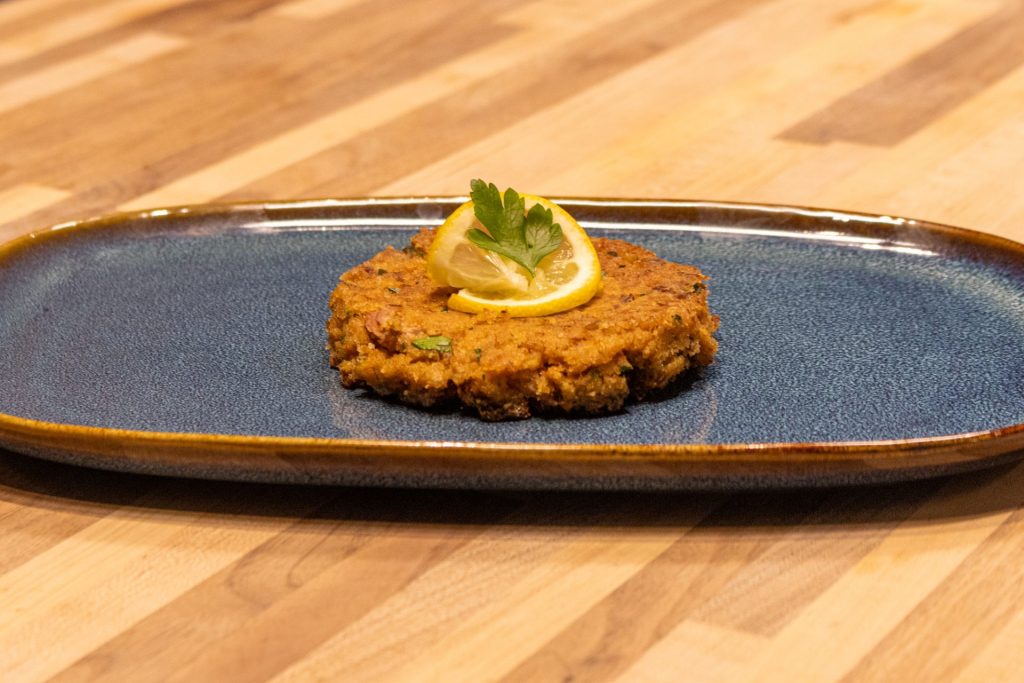
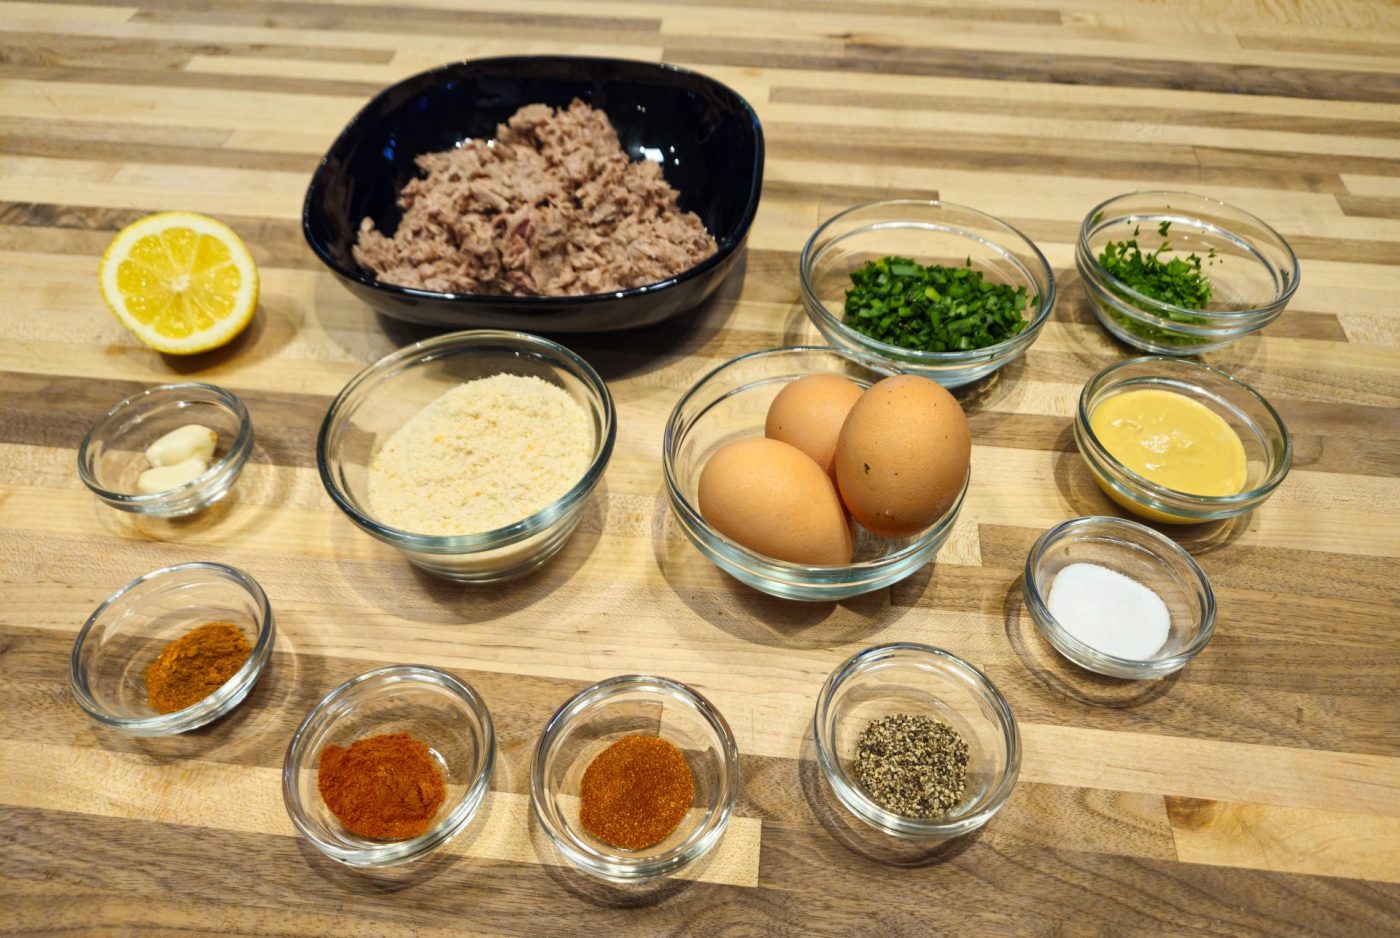
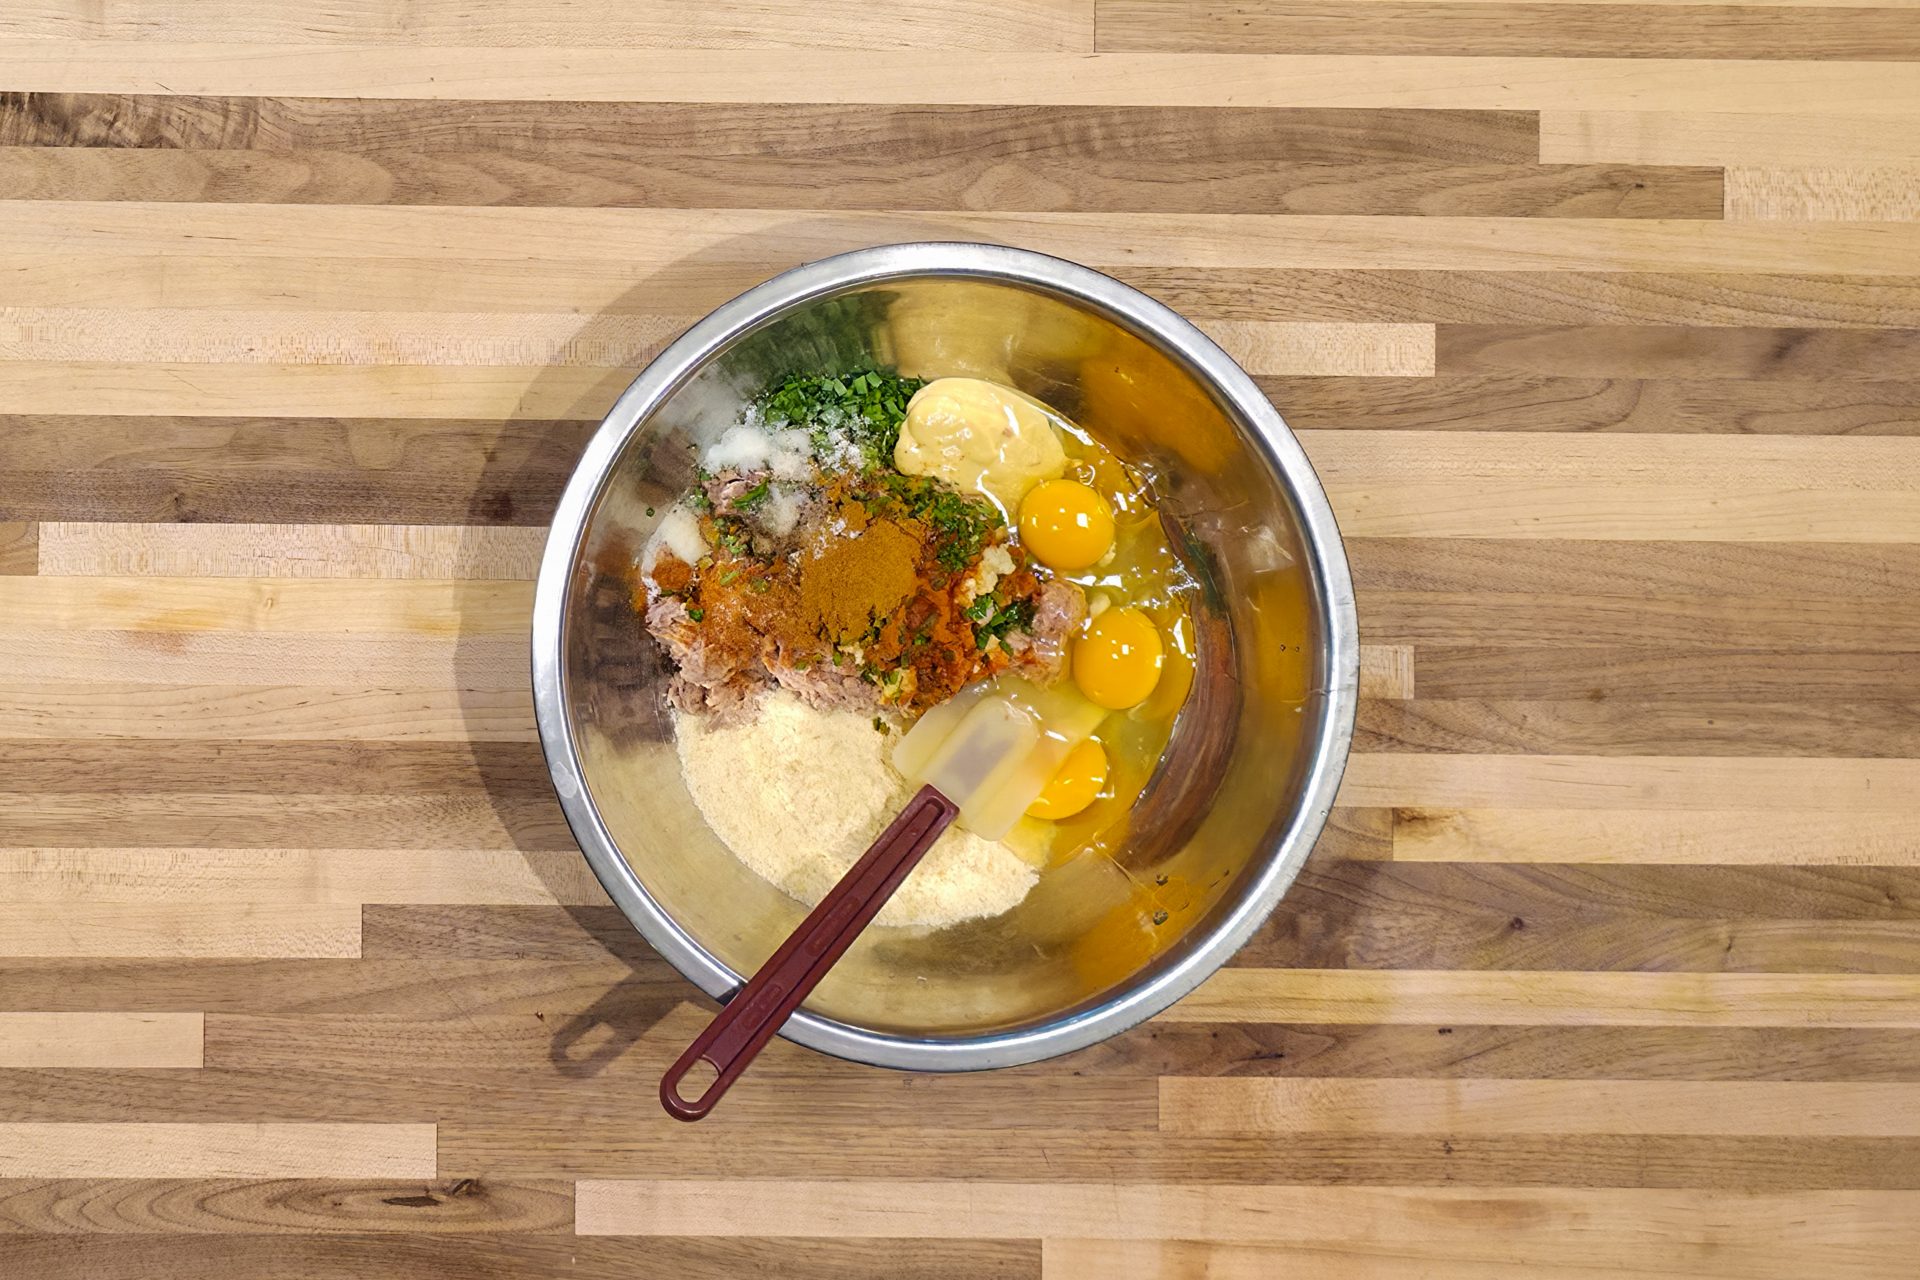
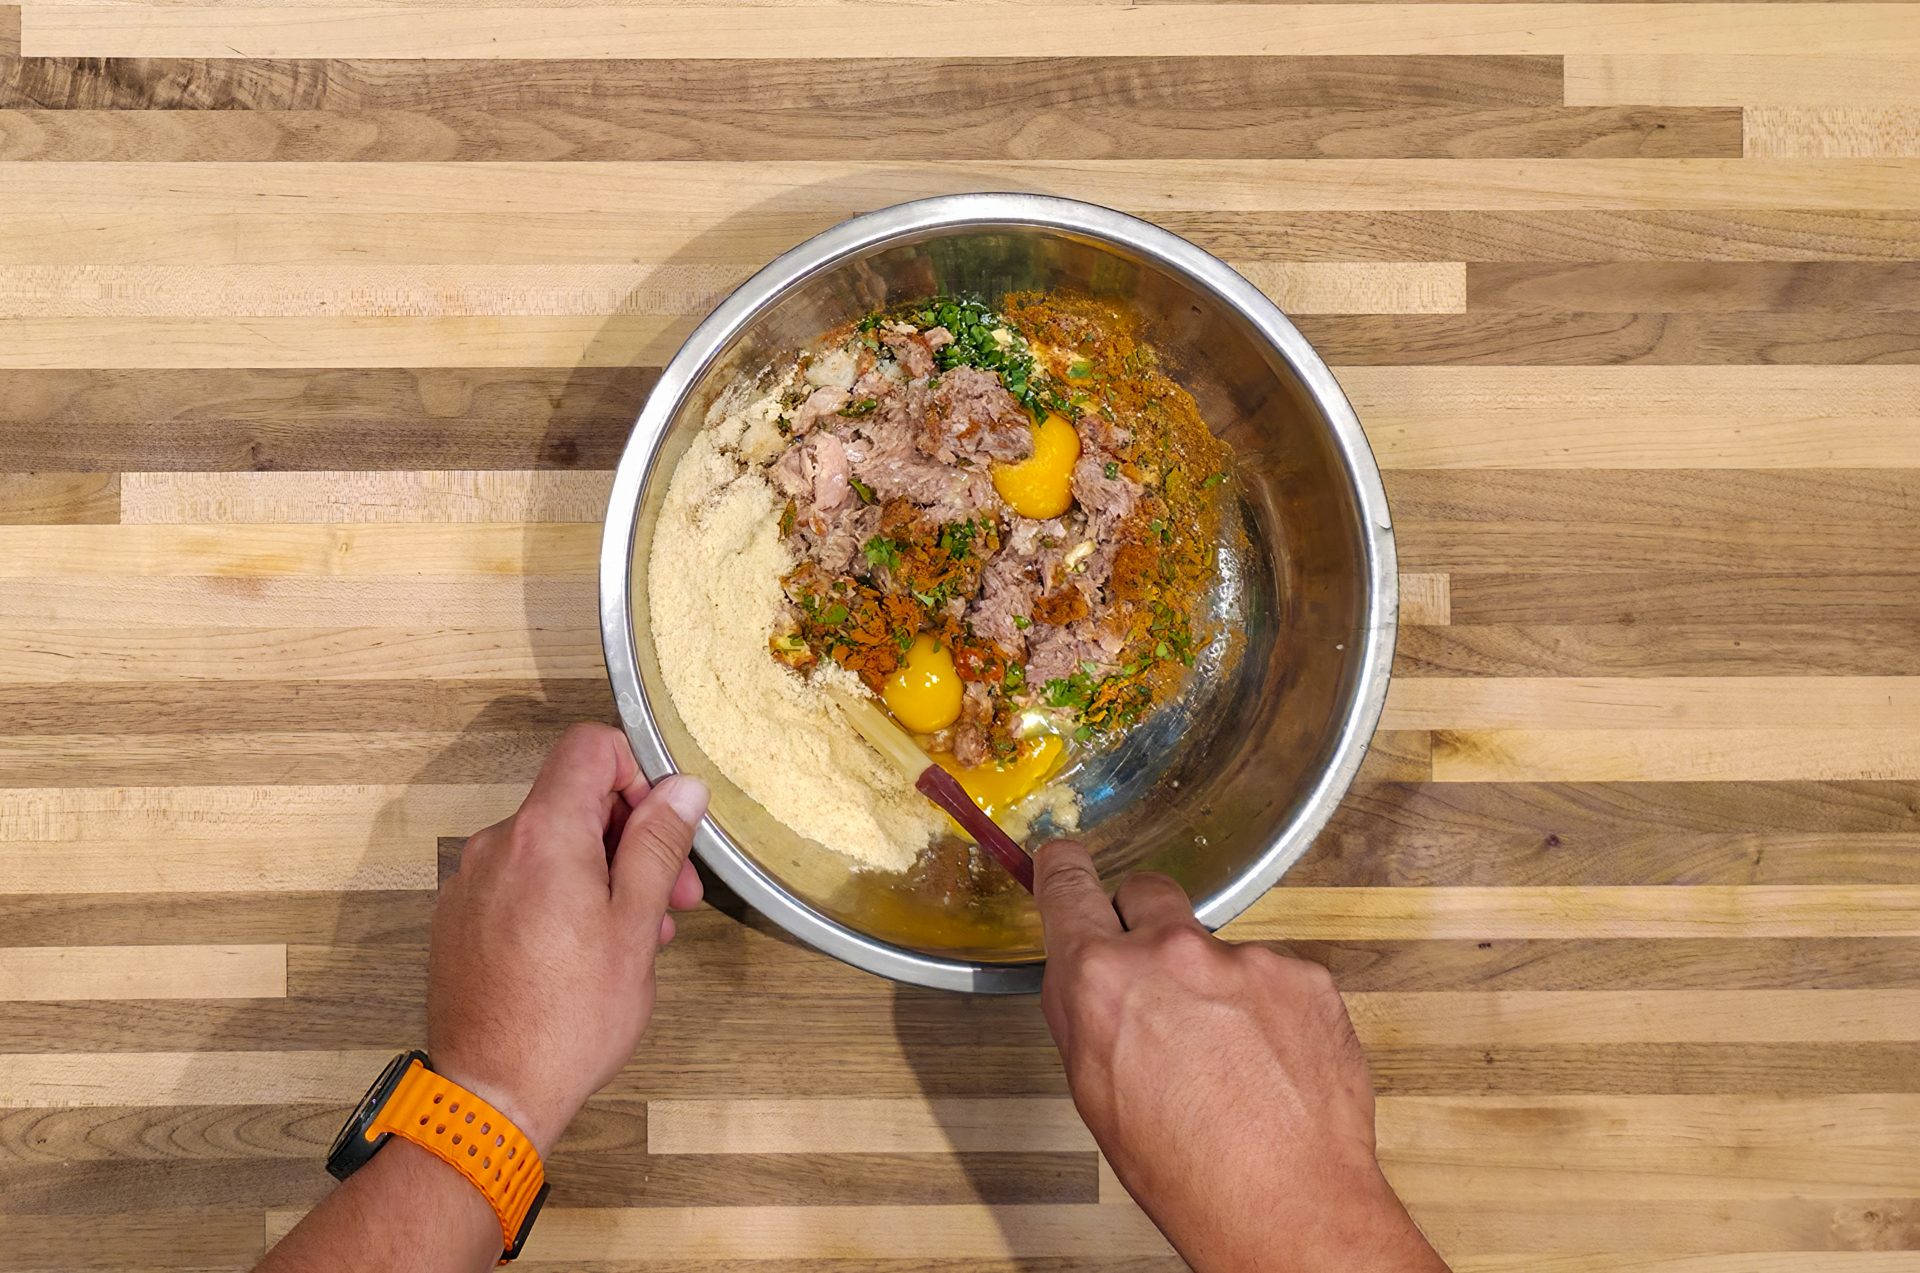
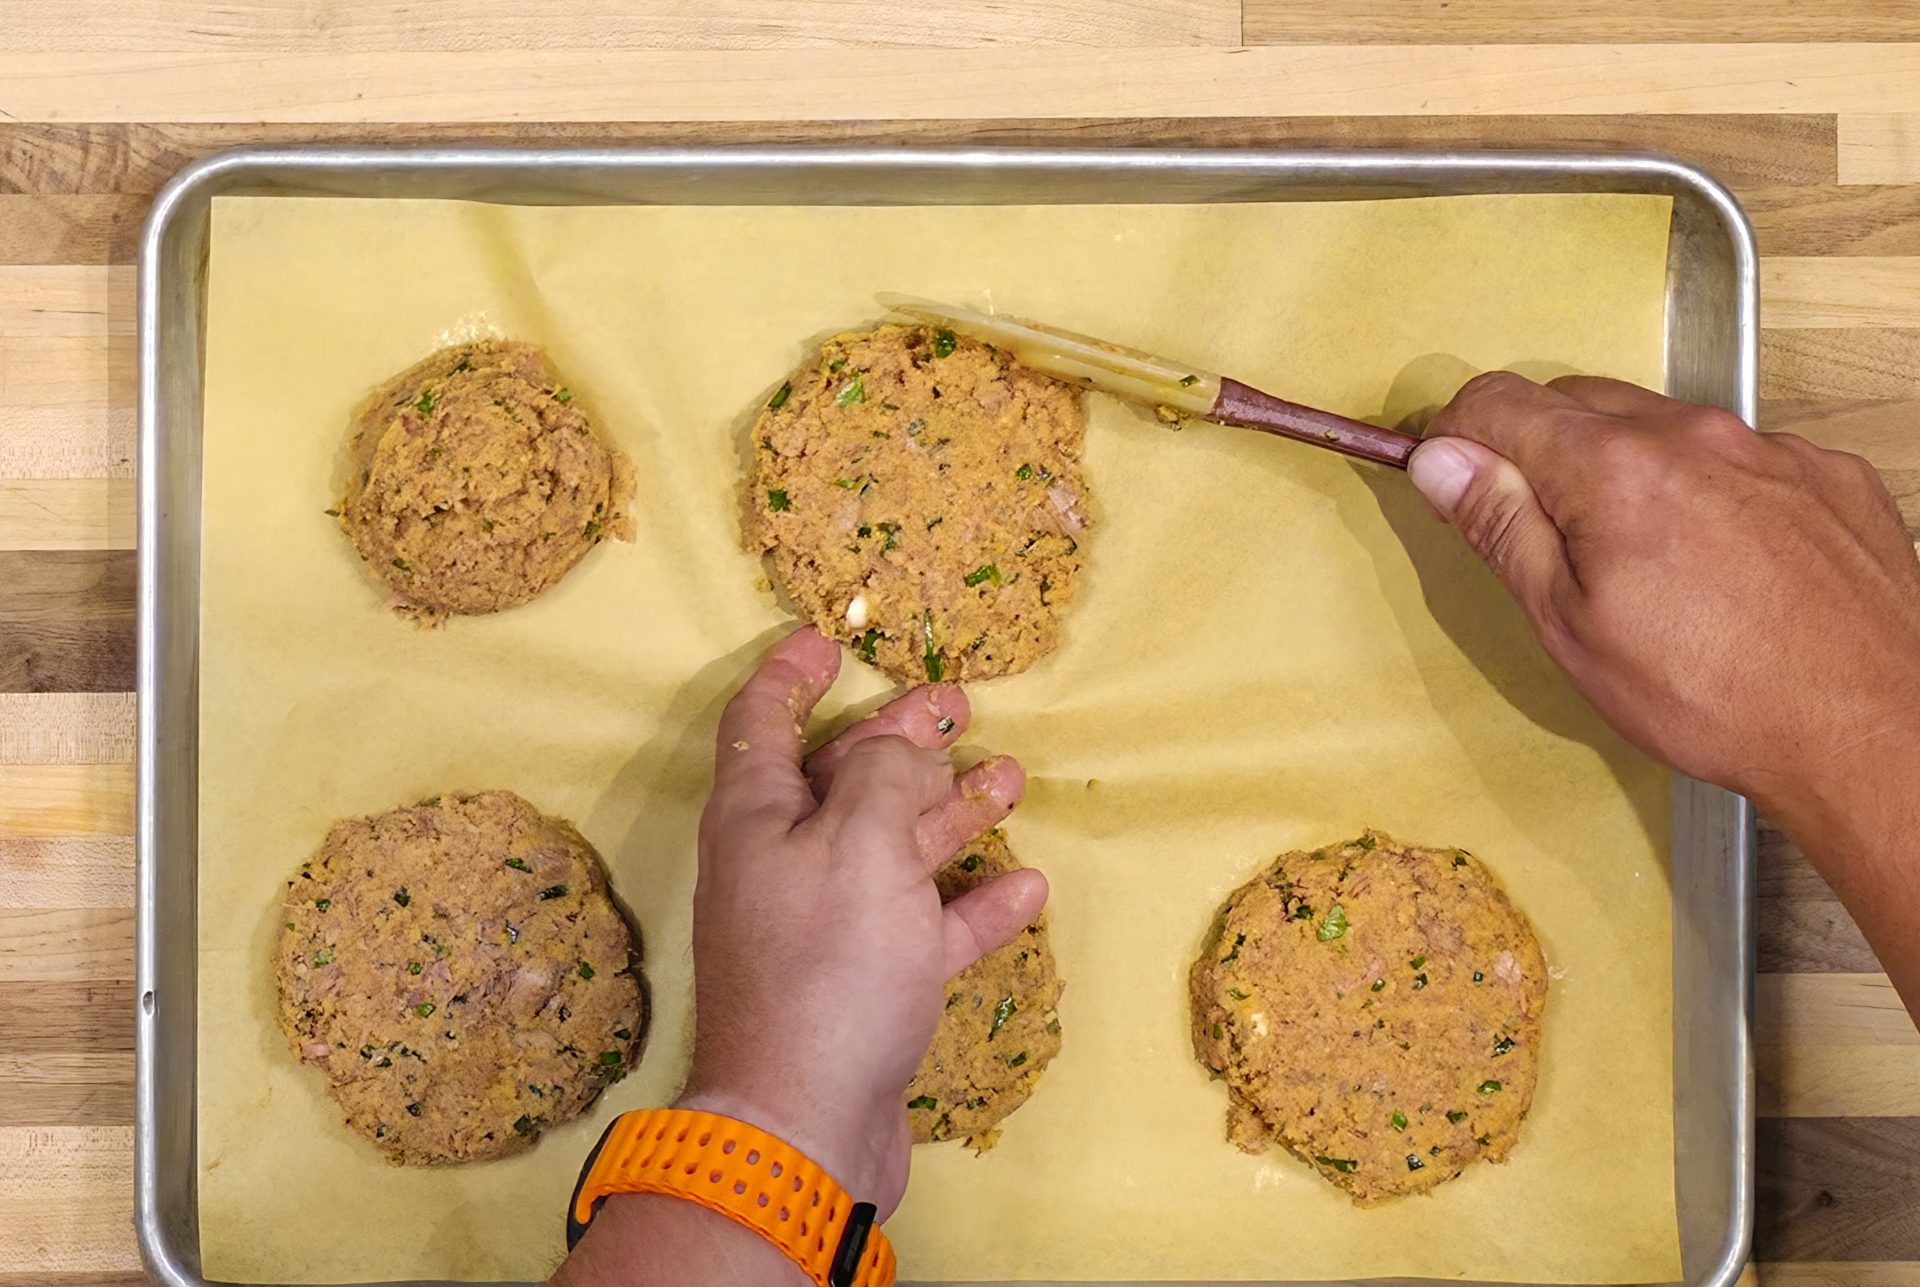
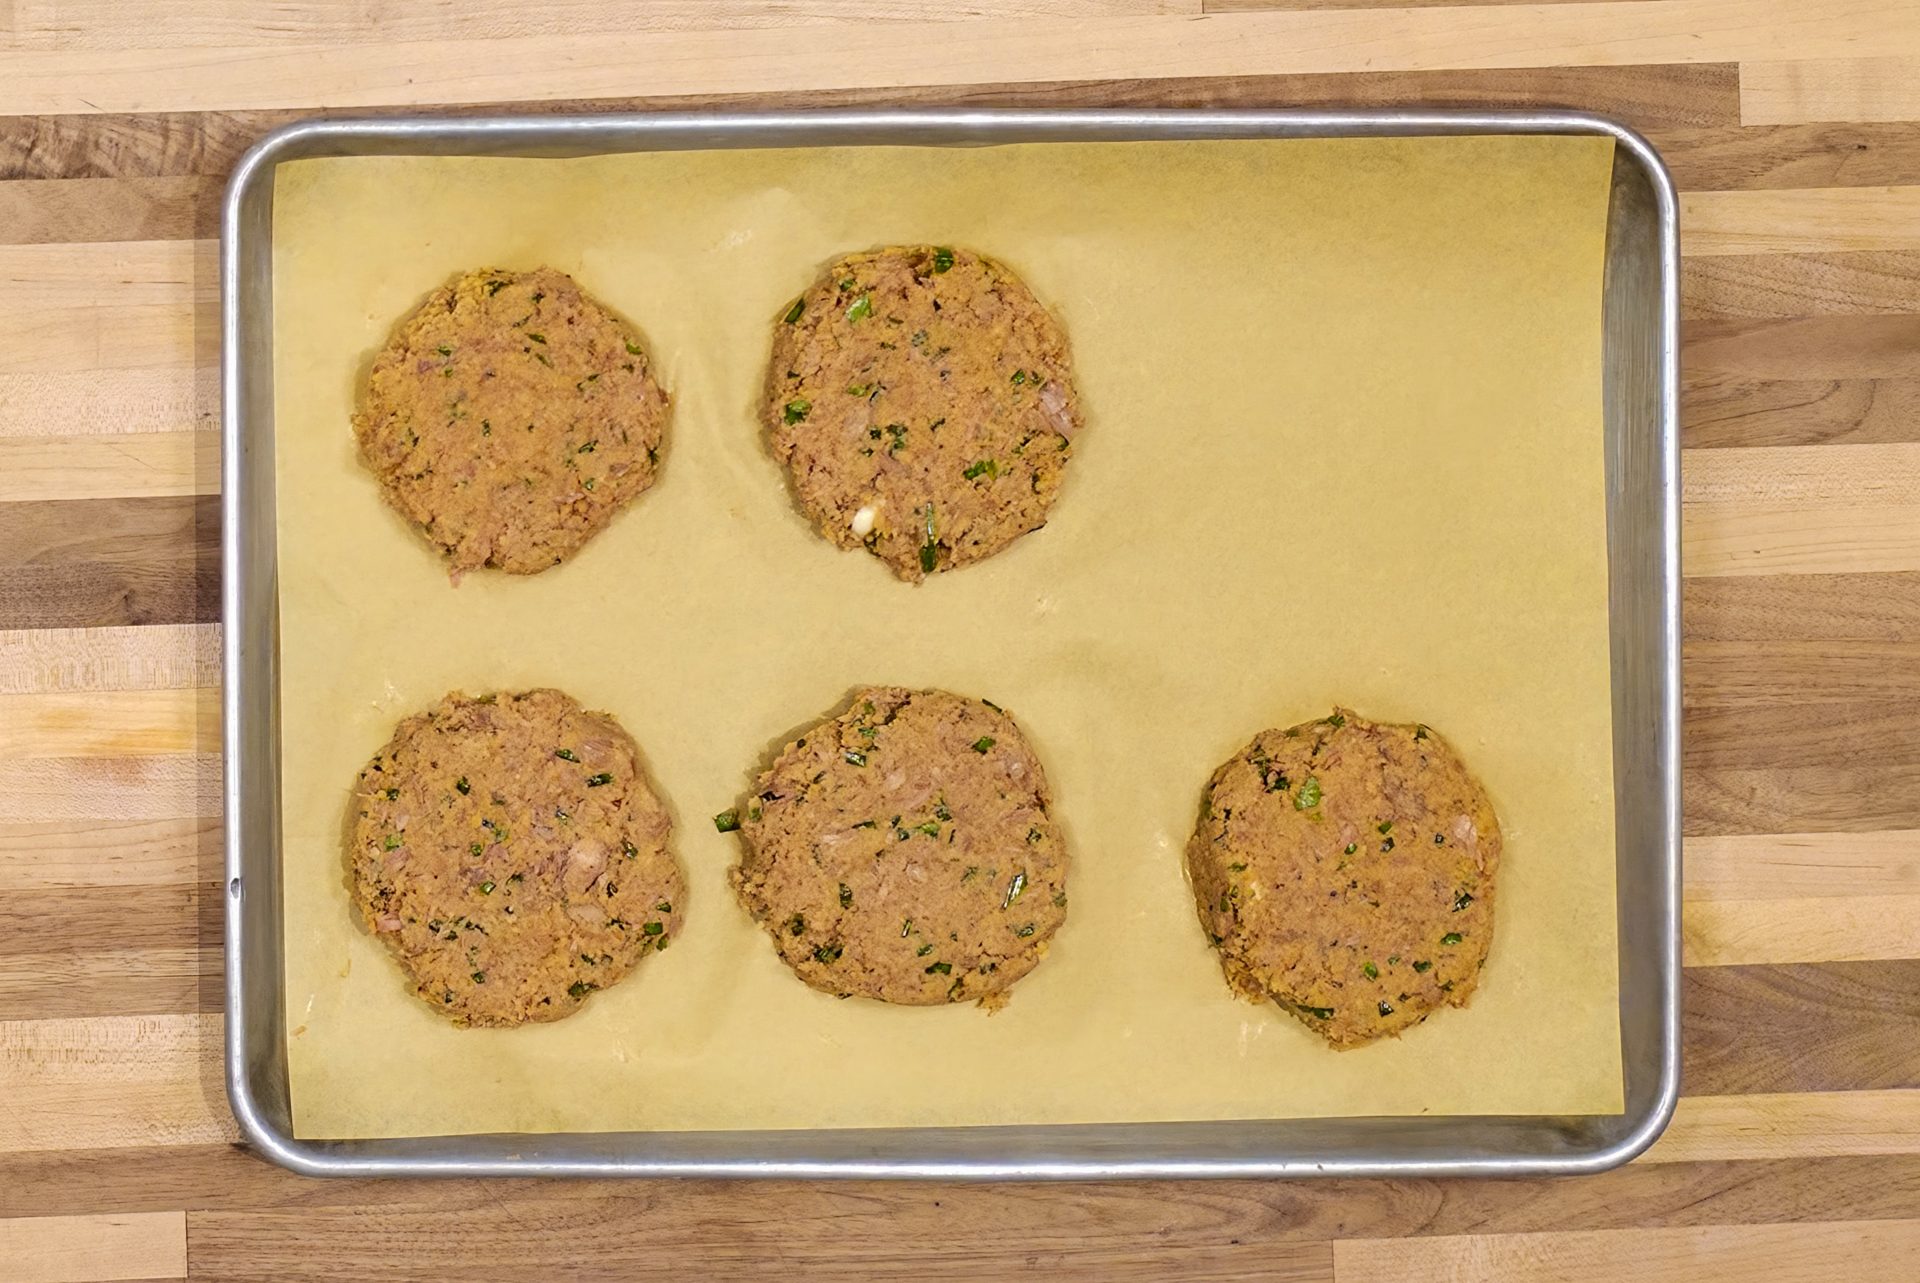
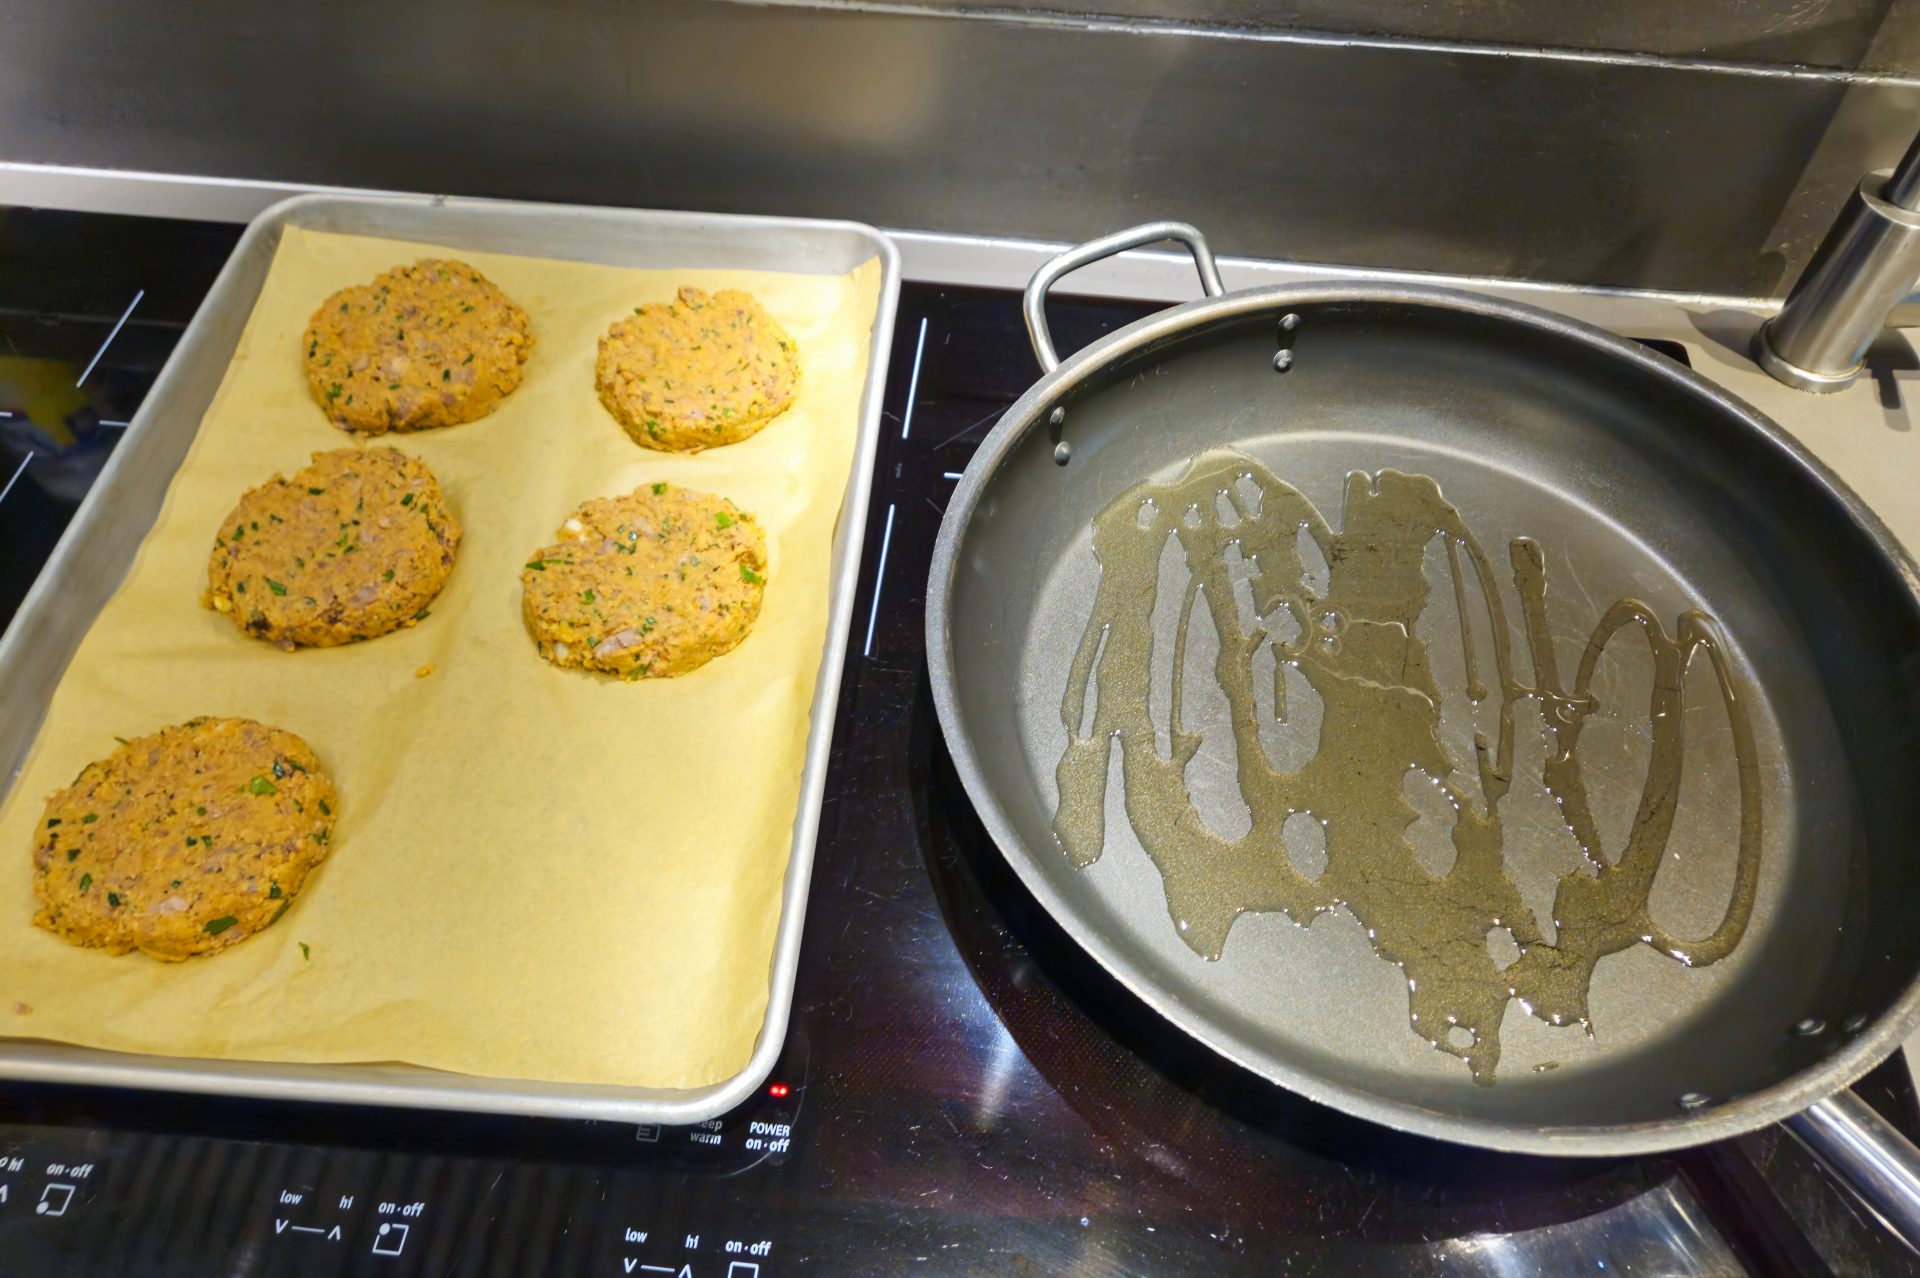
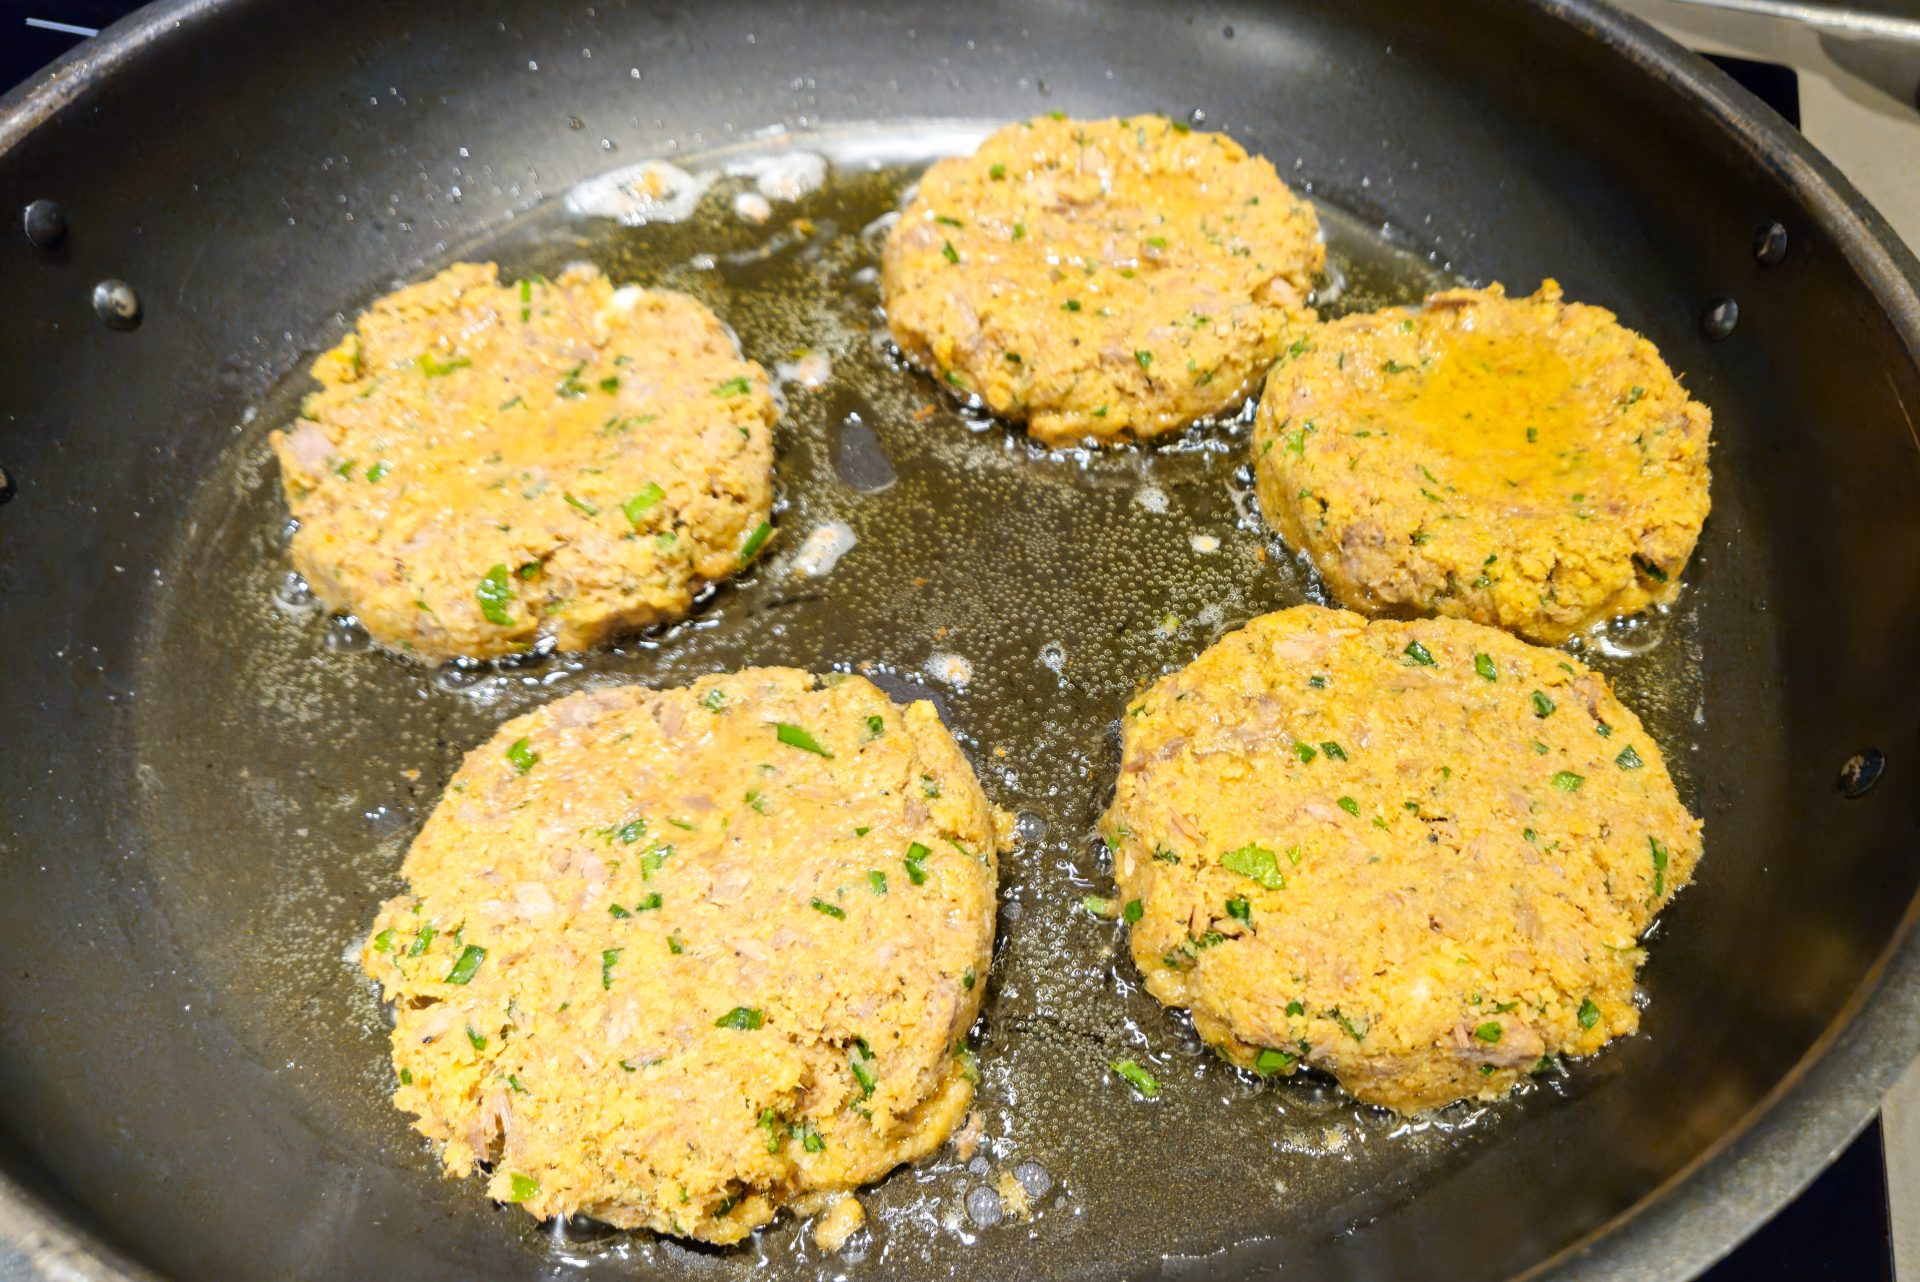
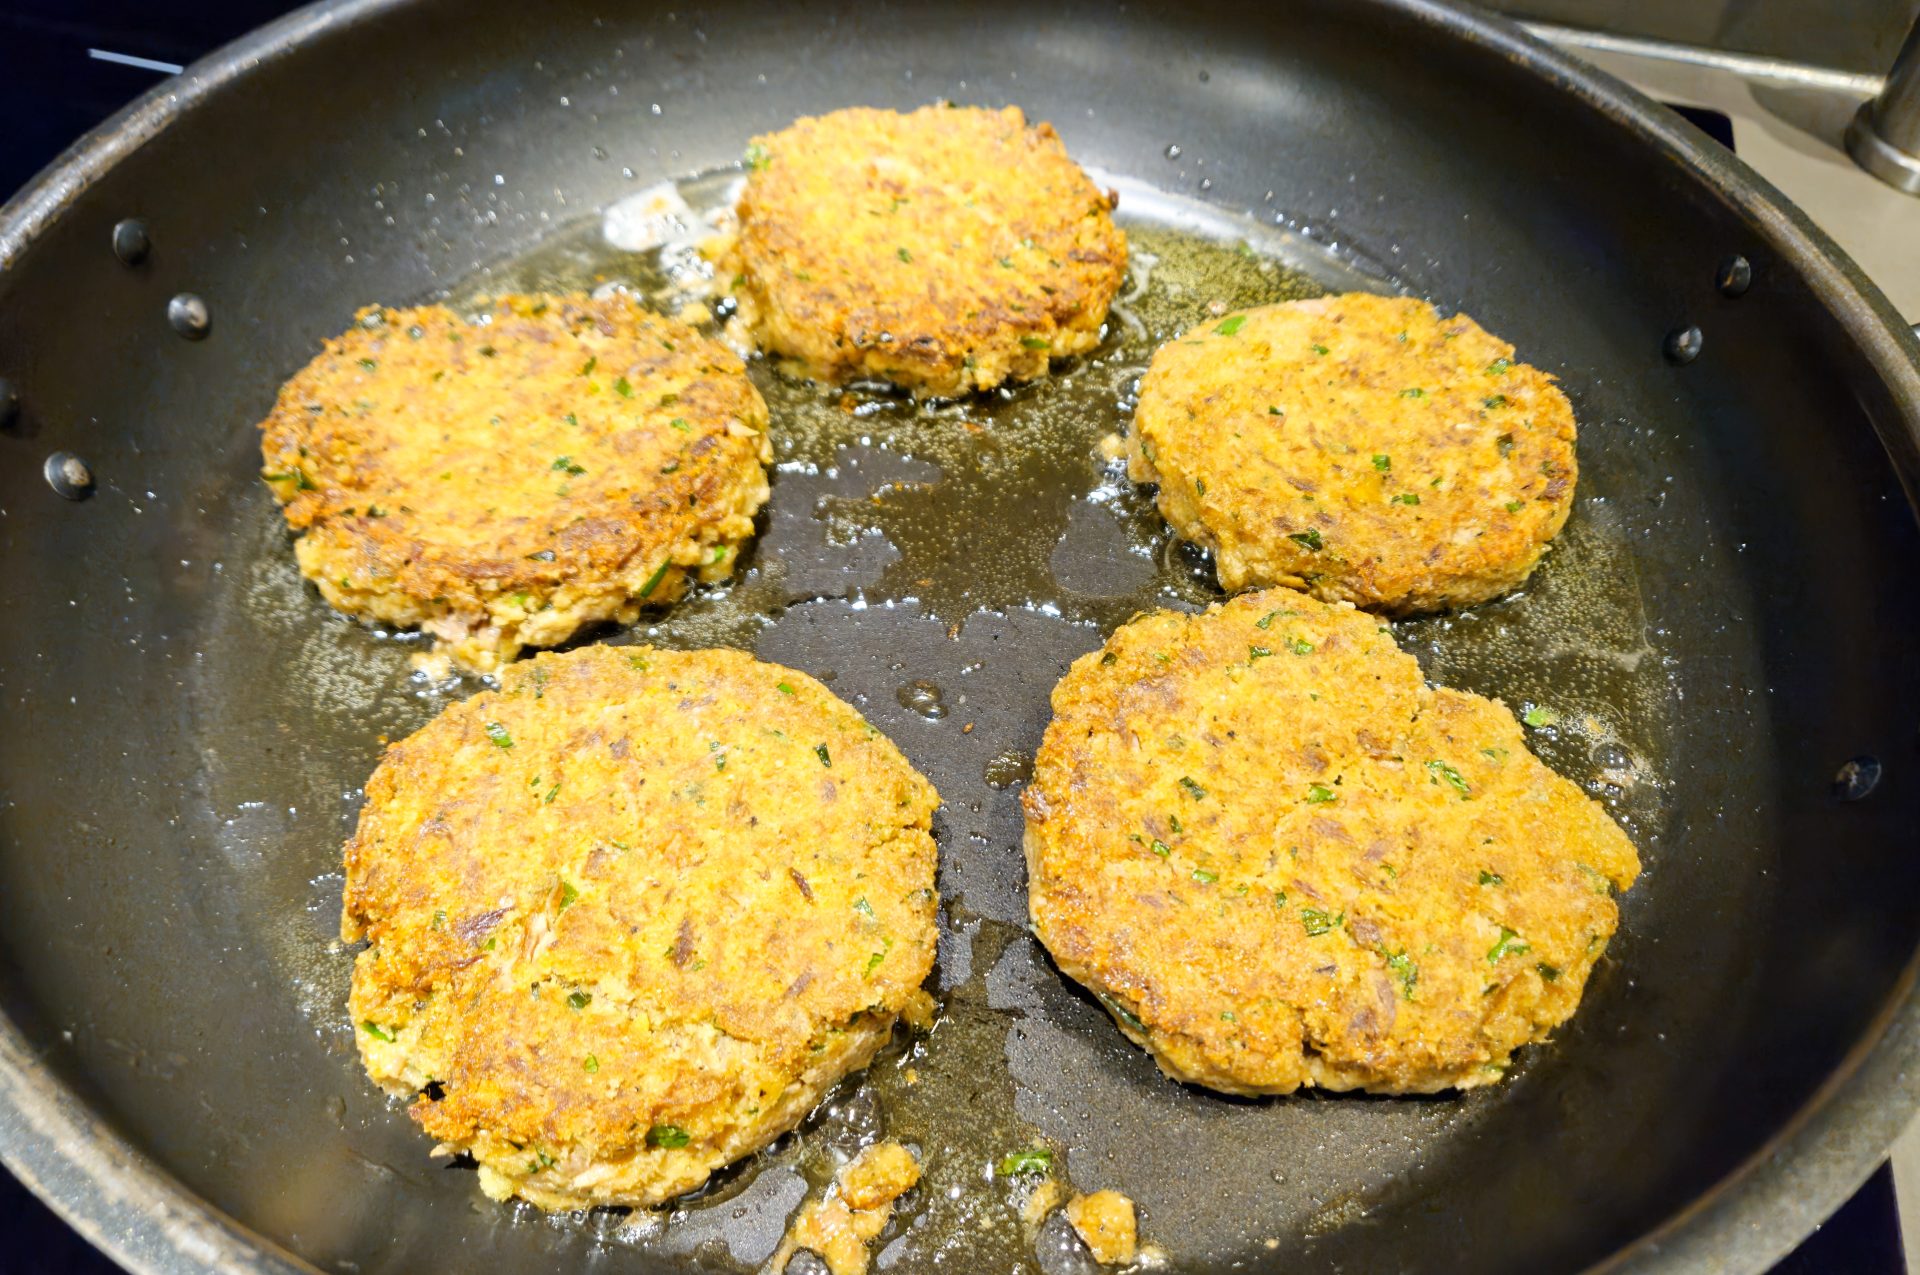
* Each tuna can should be 5 OZ before draining and 4 OZ after draining = total 12 OZ after draining; add more cans of tuna if the tuna has less meat than usual. Use any tuna you like or have available. Tuna in olive oil will have a superior flavor, while tuna in water (its own juices) will be lighter in calories. With either option, make sure the tuna is drained. A small amount of residual liquid can be present, but no more than that.

Tools:

Recipes

Best served with:

Directions:

Tuna Cake - steps-02

All the ingredients you need to prepare delicious Tuna Cakes.

1. Tuna Preparation:

Let’s start the preparation of Tuna Cakes with the tuna preparation.

1.1. Place the tuna in a strainer to allow the liquid to drain.

Note:
A small amount of residual liquid can be present.

1.2.

Then, place it in a medium bowl.

1.3.

Using a fork, smash any large pieces of tuna if present.

2. Form Tuna Cakes:

2.1. To create the tuna cake dough, add to the mixing bowl:

3 eggs
3 TBSP of Dijon mustard
Juice from 1 lemon
¼ cup of fresh chives – finely chopped
2 TBSP of fresh parsley
2 cloves of garlic – grated
½ TSP of paprika
½ TSP of smoked paprika
Optional: ½ TSP of cayenne pepper
½ TSP of salt
½ TSP of ground pepper
¾ cup of breadcrumbs

Thoroughly stir together with a spatula until nicely combined and the tuna cake dough is formed.

Tuna Cake - steps-04Tuna Cake - steps-05

2.2. Check the consistency of the dough and add up to ¼ cup of breadcrumbs to thicken it if needed.

Important:

  • The tuna cake dough can be slightly sticky but needs to be firm enough to form into patties.
  • Test by trying to create one patty yourself by hand. Keep in mind that we are going to freeze the patties shortly before cooking, which will make them even more compact, so be willing to accept some stickiness and softness.
Tuna Cake - steps-06

2.3. Then, using a 4 FL OZ disher or a ½-cup measuring cup for large tuna cakes, or a 4 FL OZ disher or a ¼-cup measuring cup for small tuna cakes, scoop portions for each tuna cake patty and place them on a baking sheet lined with parchment paper.

Notes:

  • A disher with a trigger will make the entire process more streamlined.
  • If you are using a measuring cup, you may need to use a knife to release the dough from the cup.
Tuna Cake - steps-08Tuna Cake - steps-09

2.4. When all the portions are on the baking sheet, gently press down on the center of each to form tuna cakes about ¾ to 1 inch high, and then shape the sides with a spatula.

Note:
The exact height is up to you but try to keep the height consistent for even cooking.

Tuna Cake - steps-10Tuna Cake - steps-11Tuna Cake - steps-12Tuna Cake - steps-13Tuna Cake - steps-14Tuna Cake - steps-15

2.4.

When all the patties are formed, let them settle and slightly harden in the freezer for at least 15 minutes, but preferably for about 30 minutes (no need to cover them).

3. Pan Fry:

Note: Based on the size of your pan, you may have to work in batches.

3.1.

Preheat the fry pan on medium-high heat with ¼ cup of frying oil.

Tuna Cake - steps-16

3.2. Carefully place the tuna cakes in the pan and cook on one side for about 4-5 minutes.

Notes:

  • During this time, the tuna cakes should develop a nice color (not pale but not burned, either), and be partially cooked.
  • If your burner is too powerful, you may have to reduce the heat slightly to prevent burning.
  • If your burner is too weak, you may have to increase the heat or extend the cooking time.
Tuna Cake - steps-17Tuna Cake - steps-19

3.3. Then, turn them to the other side and cook until the other side has a good color and the tuna cakes are cooked through (usually for 3-5 minutes).

Important:

They should reach a minimum safe serving temperature of 160°F at the thickest point; check with a food thermometer.

Tuna Cake - steps-20

3.4.

Remove from the pan, place it on the cooling rack or plate with a paper towel for about a minute to release excessive cooking fat.

4. Plating and Serving Tuna Cakes:

4.1.

Place the tuna cakes on a plate.

4.2.

Gently drizzle them with fresh lemon juice and sprinkle them with salt and pepper.

4.3.

Decorate with a slice of lemon and, optionally, fresh herbs.

4.4.

Serve with tartar sauce and herb baguette for an appetizer, or with your favorite sides for a main course.

The vast and teeming oceans offer a breathtaking array of life, and among its most captivating inhabitants are the countless varieties of Types of Saltwater Fish. For centuries, these aquatic creatures have played a pivotal role in human civilization, serving as a crucial source of sustenance and inspiring culinary traditions across the globe. The sheer diversity of Types of Saltwater Fish is astounding, each possessing unique characteristics that influence its flavor, texture, and suitability for different cooking methods. Embarking on a culinary exploration of Types of Saltwater Fish is an adventure in taste and discovery, opening up a world of exciting possibilities for both home cooks and professional chefs alike. Understanding the general categories and qualities of Types of Saltwater Fish is the first step towards appreciating their culinary versatility.

Tom the Chef Tom the Chef Founder
About the Author:
Tom the ChefFounder
# 1
  • Published Recipes: 269
  • Av. Recipe Evaluation:
  • Location: Iowa, USA
  • Member since: 2023-02-02

Disclaimer

  1. General Information Content on this page above, including the content provided on www.CookingHub.com, including all recipes, articles, and other materials, is for general informational purposes only. This content reflects the personal opinions and experiences of its authors and is not intended to provide professional dietary, medical, legal, or political advice. Please consult a qualified professional before making any decisions based on the information presented here.
  2. Content Ownership and Use Content on this page above, including content published on CookingHub.com is owned by the individual authors who created it. Only the authors can access, modify, or delete their content from the platform. Our content may be embedded on third-party websites and blogs without modification. No reimbursement will be provided for this use. If an author removes content from CookingHub.com, it will no longer be available through any embedded links.
  3. Limitation of Liability Neither www.CookingHub.com (operated by the CookingHub Foundation) nor content authors are responsible for any outcome or consequence resulting from the use of information on this site. This includes, but is not limited to:
    • Food Safety: Any health risk related to food handling, food quality, or failure to follow USDA recommendations (including minimum safe cooking temperatures).
    • Preparation Safety: The proper and safe handling of cooking equipment or its suitability for any given task.
    • Recipe Outcomes: The final look, taste, or success of following a recipe.
    • Ingredients and Equipment: The sourcing of ingredients, tools, equipment, or anything else related to the preparation and consumption of food.
    • Nutritional and Dietary Information: The accuracy of nutritional data. This information is provided as a courtesy and should not replace advice from a medical provider. You are responsible for verifying that a diet is suitable for your personal health needs.
    • Errors and Omissions: Any potential errors, typos, or unclear directions in articles and recipes.
  4. User Responsibility All readers, visitors, and users of embedded content are solely responsible for evaluating recipes and articles. You must make your own decisions about whether to follow the steps and recommendations provided. It is your responsibility to ensure that ingredients and preparation methods are safe and appropriate for your personal dietary restrictions and health conditions.