Types of Ground Beef Meat
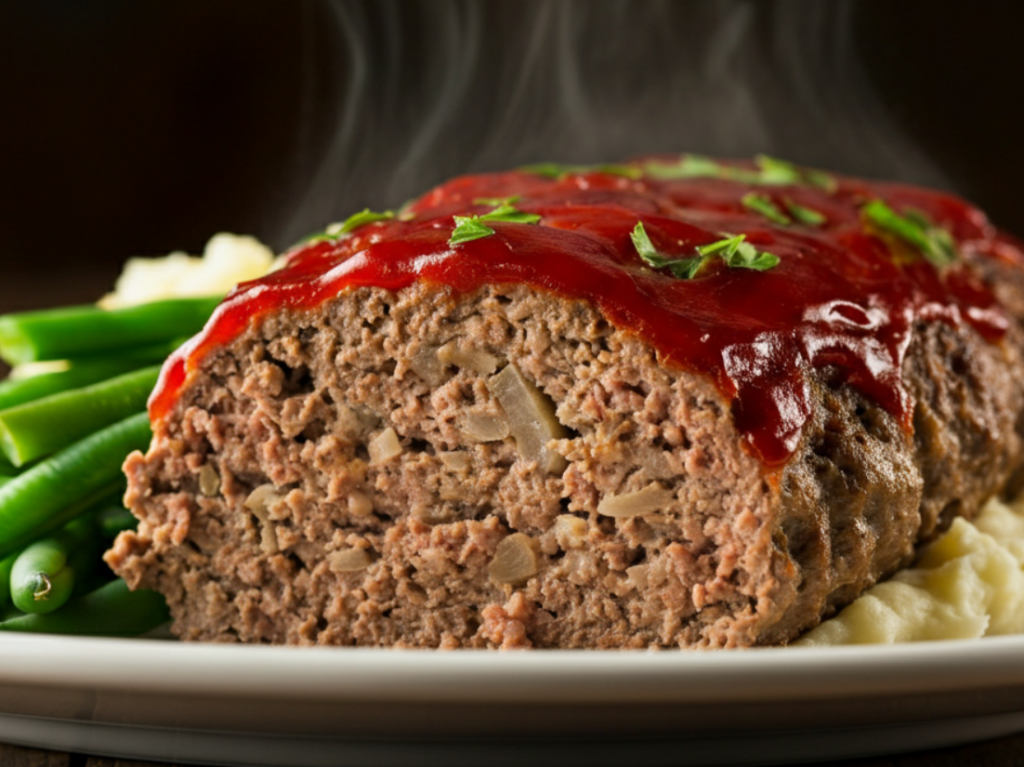
May 26, 2024Ground Beef Meat, the humble staple in kitchens across the country, boasts a surprising variety when it comes to its lean-to-fat ratio. This seemingly simple percentage can drastically change the flavor, texture, and ideal uses of this versatile ingredient. Let’s delve into the world of ground beef subcategories and what they mean for your cooking endeavors.
 Tom the Chef Founder
Share
Click on the icons below to share "Title of the item to share"